
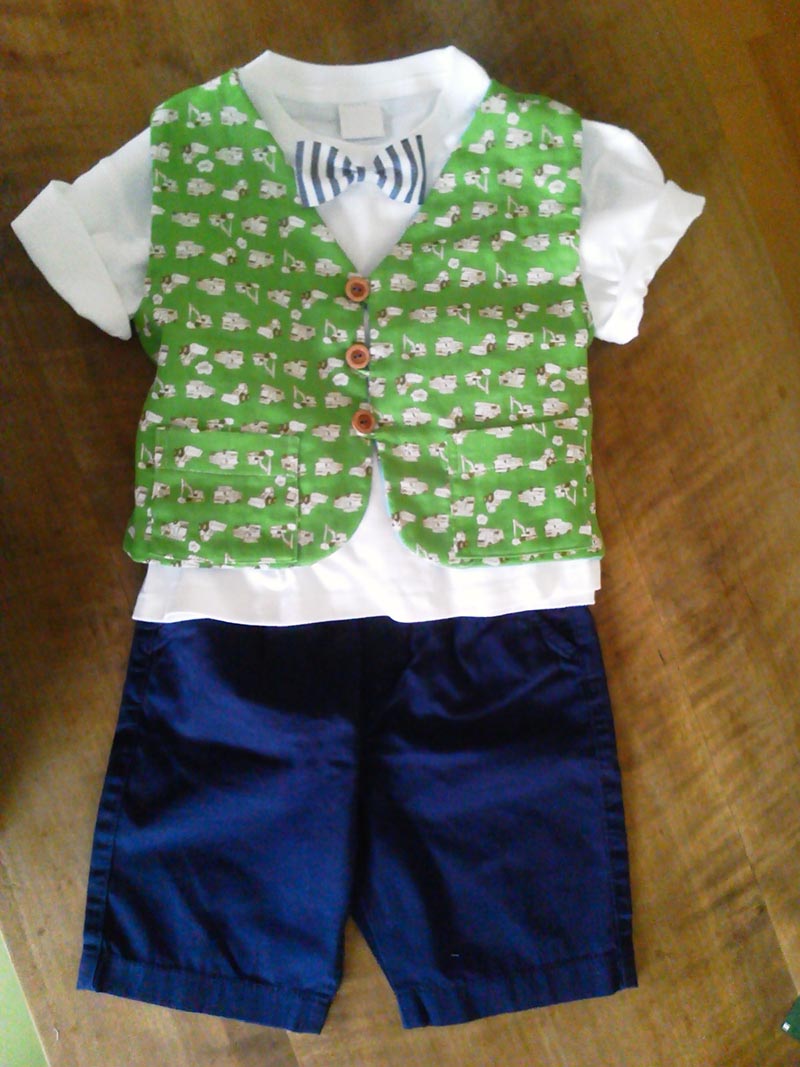
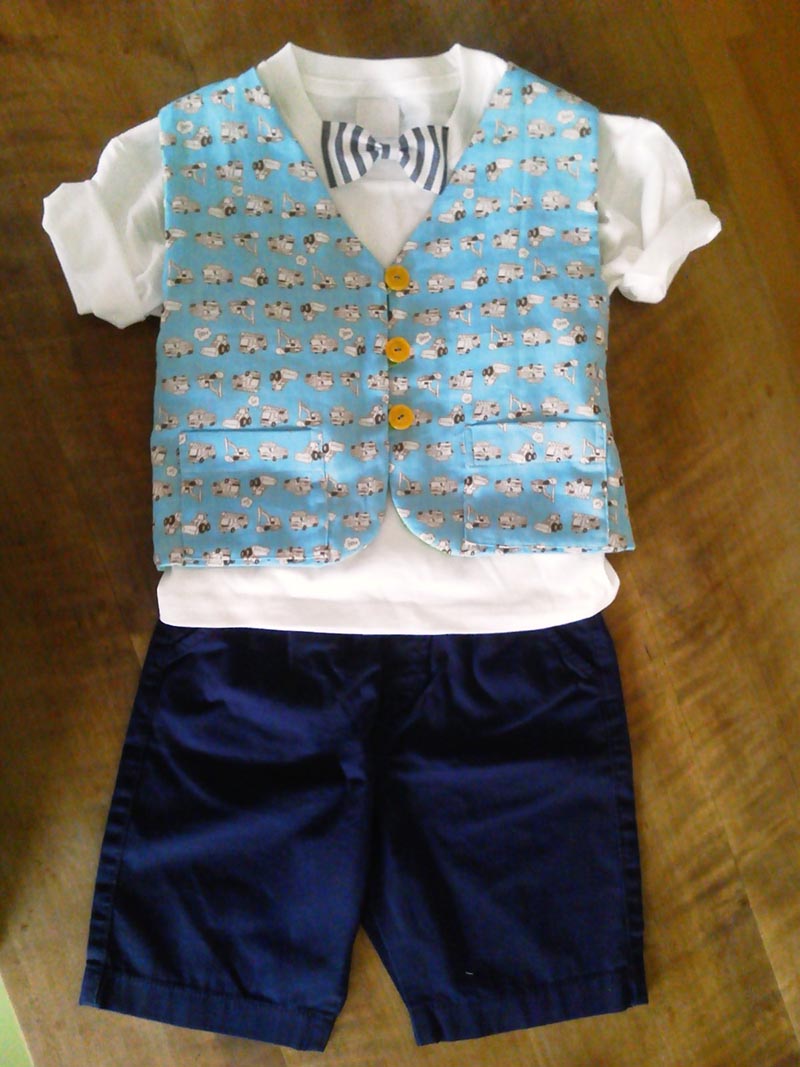
Today’s project is a reversible vest for boys made with a fabric filled with boys’ favorite patterns, working vehicles. Hiromi Niikura, whose brand is known as “Ichi Nino San” is here to introduce her creation.
Fabric shown for this sample: Children’s Castle P29200-201 (B),(D)
Materials:
□ Fabric (A): 110cm×40cm
(B): 110cm×40cm
□ Button: Two kinds of three buttons each (1.8cm diameter)
We interviewed Hiromi about her creation:
Kokka Fabric (KF): What did you think of the fabric you used for this project?
Hiromi Niikura (HN): I thought that soft texture and pretty colors were perfect for children’s clothing. I chose a vest so that a child themed pattern and colors will be best utilized.
KF: Can you tell us any special elements or ideas that you incorporated into this creation?
HN: I made it reversible to take advantage of the color combinations.
KF: What are some tips for making this vest?
HN: The pockets and loops should be prepared first. Though it may involve some detailed work, having them ready will help and expedite the process. Since the seams will all be tucked inside, serging the seam will not be necessary except for finishing the shoulder seam with hand stitches.
KF: How should we dress a child in this vest?
HN: The small pattern will go well with either solid color or printed shirts and T-shirts. For this project, I used printed patterns for both front and back sides. You may use a solid color for one side, which will make the vest more versatile when coordinating with other garments. This simple shape vest will look cute in wool or quilted fabric especially for winter.
KF: Thank you very much, Hiromi! Here are sewing instructions along with step by step photos from her. Enjoy crafting!
How to make a reversible vest
1.


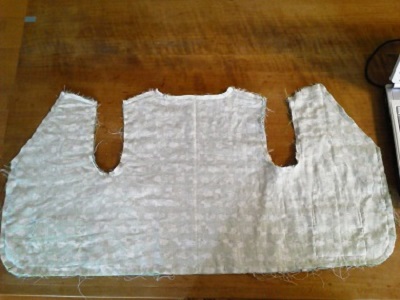
Cut the fabrics exactly to the pattern. Both fabrics are cut the same, except you will need only one loop fabric.
2.

Make a pocket. Fold the seam and sew both side edges.
3.
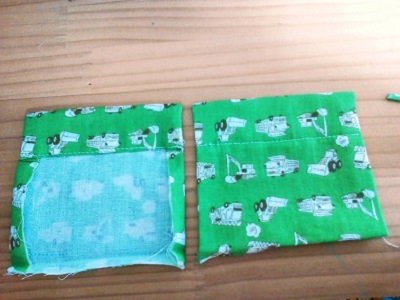
Turn the pocket opening inside out. Fold the side and bottom seams.
4.
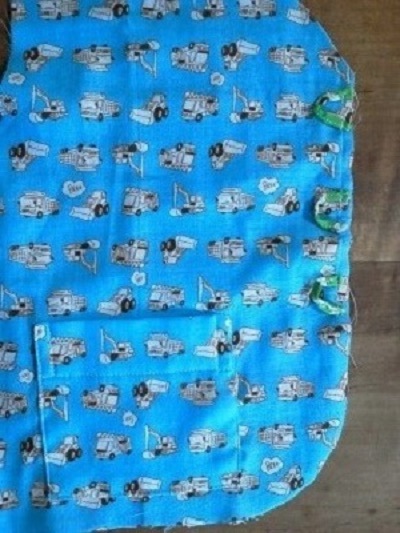
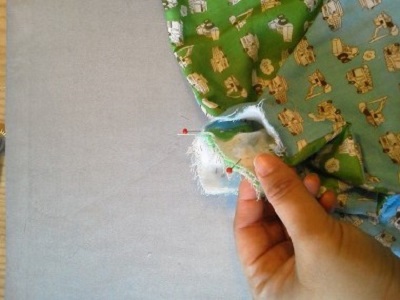
Attach a pocket to the font/outer side of the front body fabric. Baste the loop.
5.
With front/outer sides facing each other, sew all the way around except for the shoulder.
6.
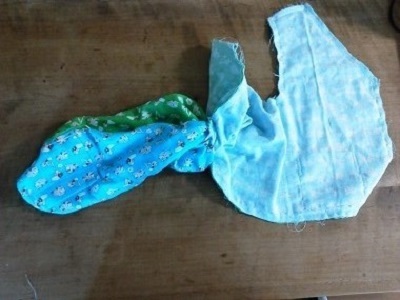
Using the shoulder opening, turn it inside out.
7.
With front/outer sides facing each other, put together the shoulder of the front body and back body and sew.
8.
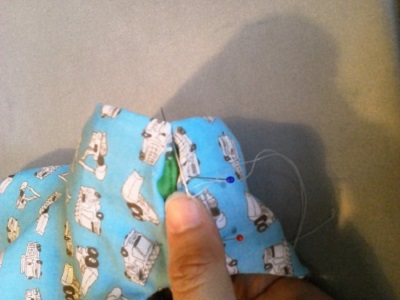
Fold the shoulder seam inward and close the opening using a blind stitch by hand.

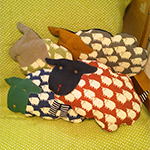 Sheep Shaped Throw Pillow
 Long Gilet (Vest)
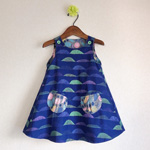 A-Line Reversible Dress – Sewing Instruction