
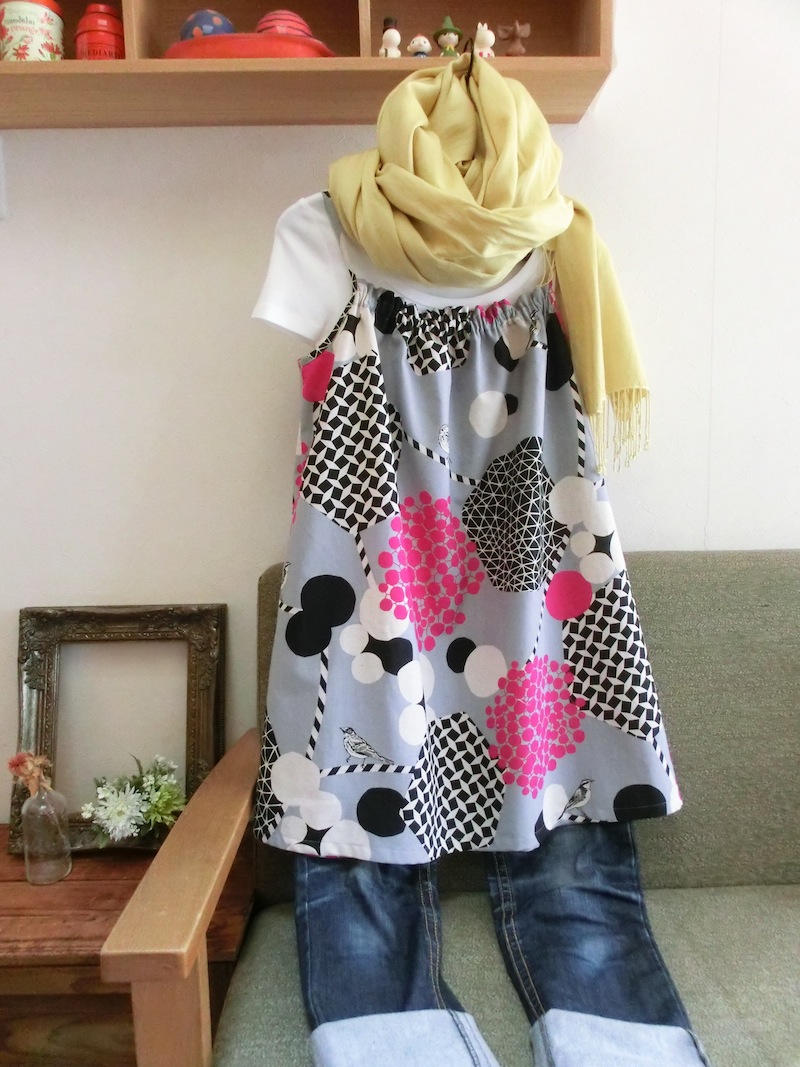
Today’s project is a cami dress made with “seed,” a 150cm-wide large print fabric from echino’s 2014 collection. This fabric contains a mixture of nature-inspired motifs like animals and plants combined with graphical geometric designs. Kayo Shimizu, who appeared in the past Inspiration column with her echino backpack creation, has returned with another interesting project.
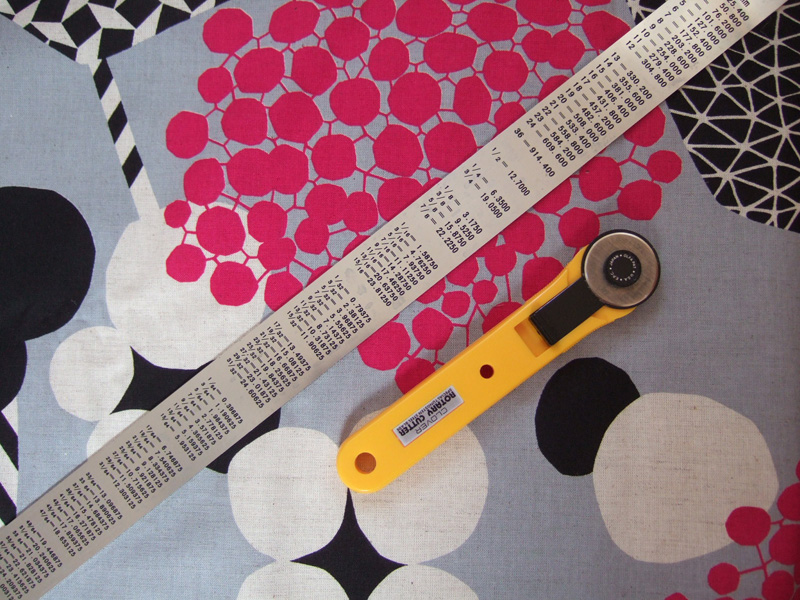
Fabric shown for this sample: echino JP95210-10 (A)
Materials:
□ Fabric: 150cm×120cm
□ Elastic Tape: 60cm (1cm width)
We interviewed Kayo about her creation:
Kokka Fabric (KF): What did you think of the fabric you used for this project?
Kayo Shimizu (KS): It is a beautiful fabric. The bright pink color stands out so much in the sea of gray. The color tone is versatile and seasonless. It is a great fabric for any type of project.
KF: Can you tell us any special elements or ideas that you incorporated into this creation?
KS: Since it uses elastic tape, it is an easy to wear, one-size- fits all dress. This dress is based on a design that I created before. I added a design twist to the previous version that was 15cm shorter at waist length. If you prefer a skinnier look, you can tighten the width toward the center on the pattern. This dress can also be worn as maternity wear.
KF: What are some tips for making this dress?
KS: Please pay extra attention when finishing the piping. Other than that, this is a relatively easy project. Also you need to make sure that both shoulder straps are at the same length.
KF: How should we wear this dress in everyday situations?
KS: Since it is a loose fitting dress, you may want to mix it with a slim look inner top or bottom. Cropped pants or rolled up pants, which will show part of your legs, will make you look very feminine.
KF: Thank you very much, Kayo! Here are sewing instructions along with step by step photos from her. Enjoy crafting!
How to make a cami dress
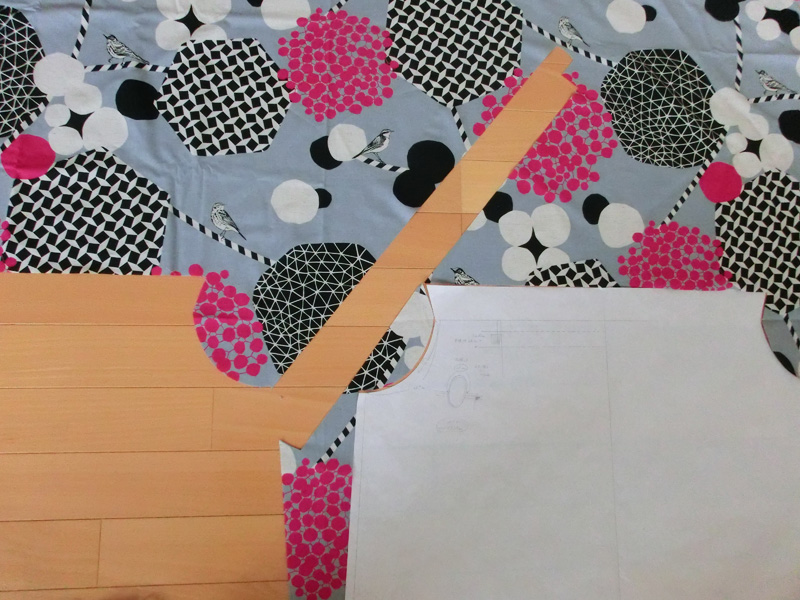
1.
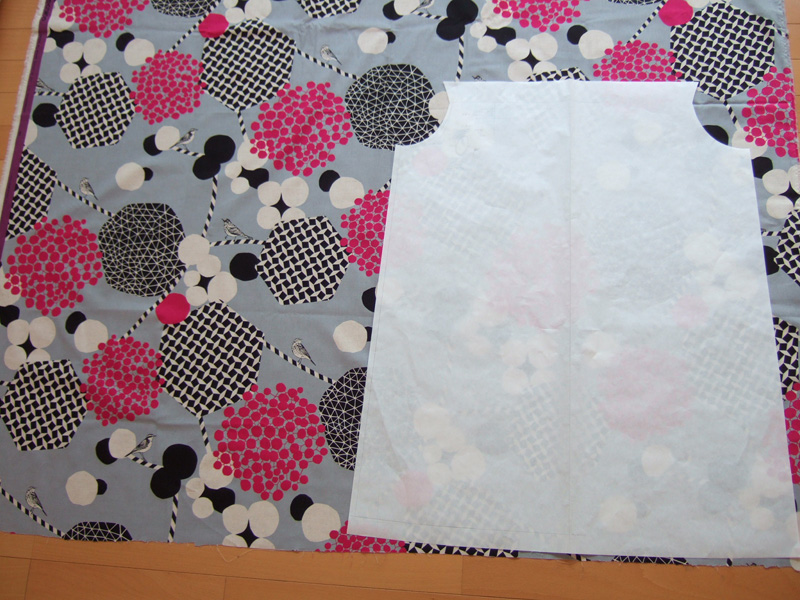

Cut the fabrics. Please be careful with the placement of the pattern as the design is going in one direction.
2.
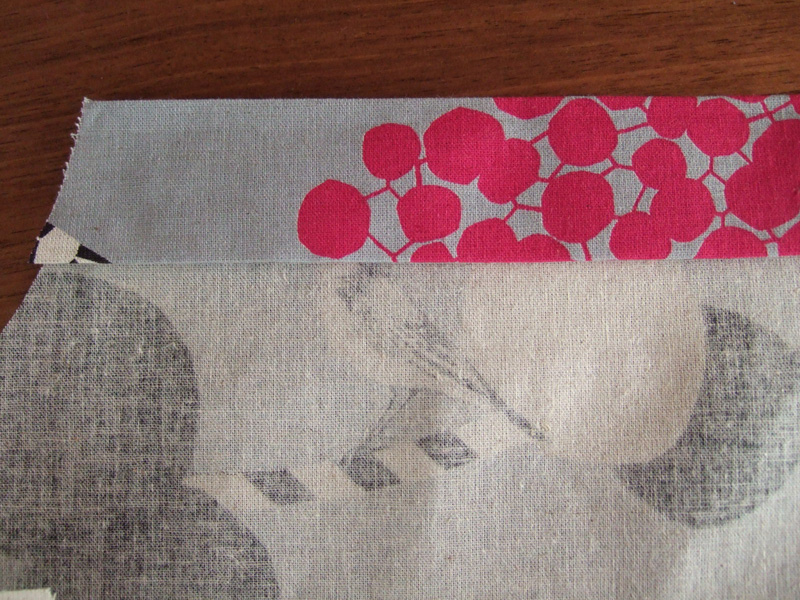
Iron the top edge of the fabric.
3.
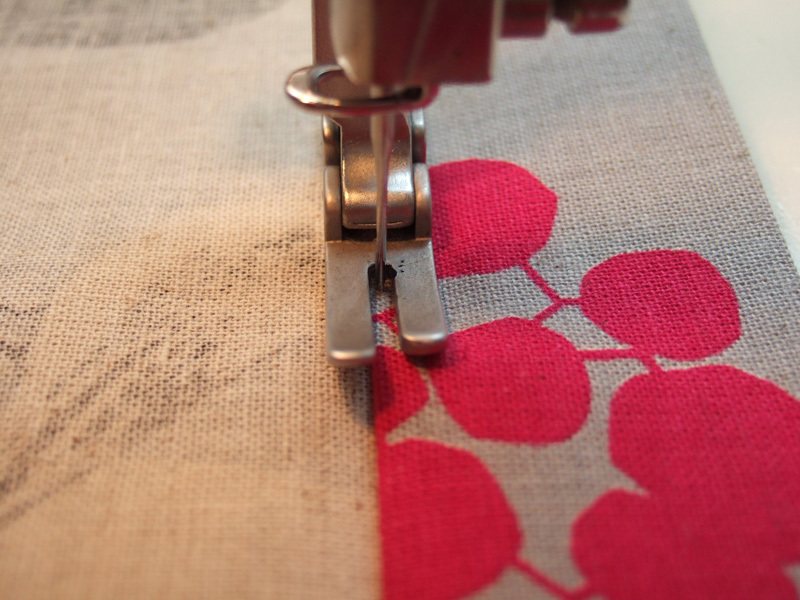
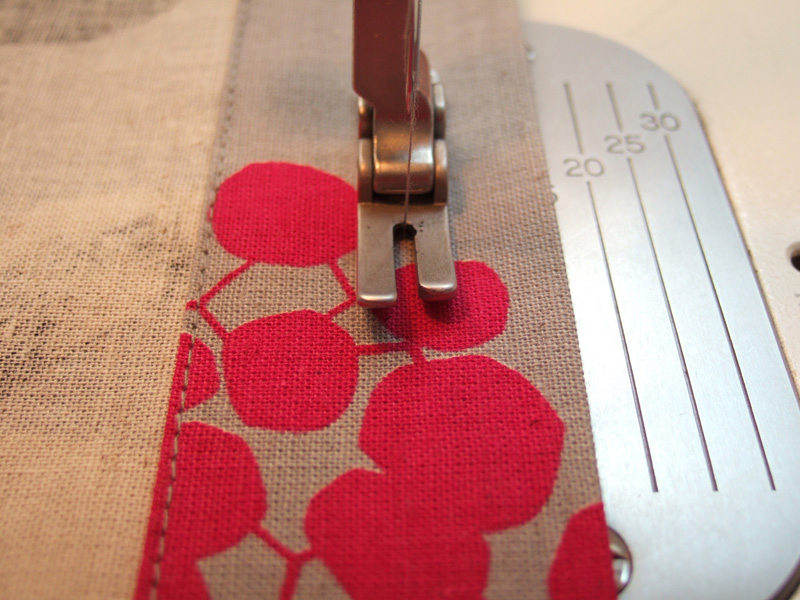

Run two stitch lines at the top.
4.
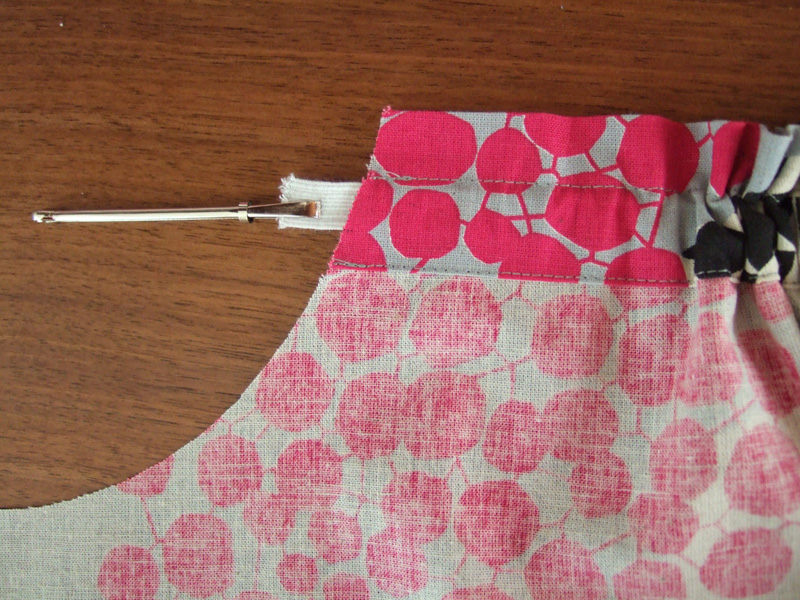
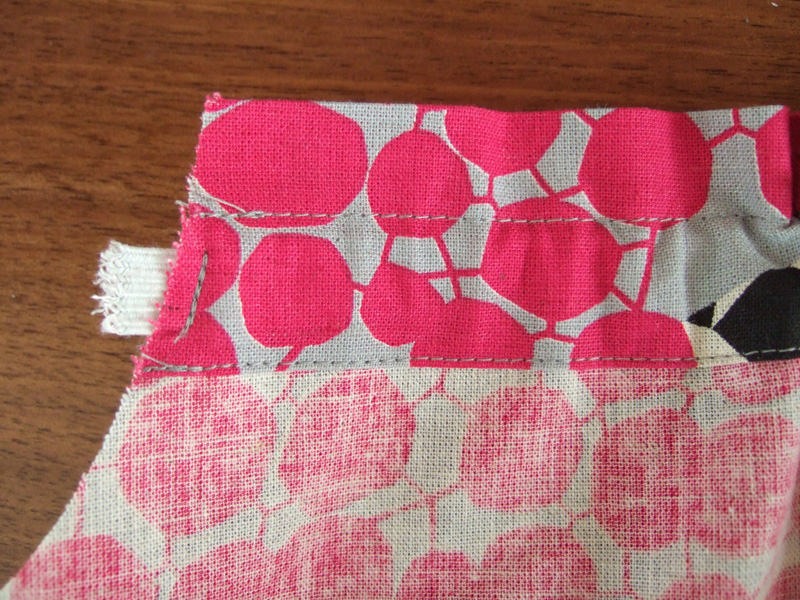
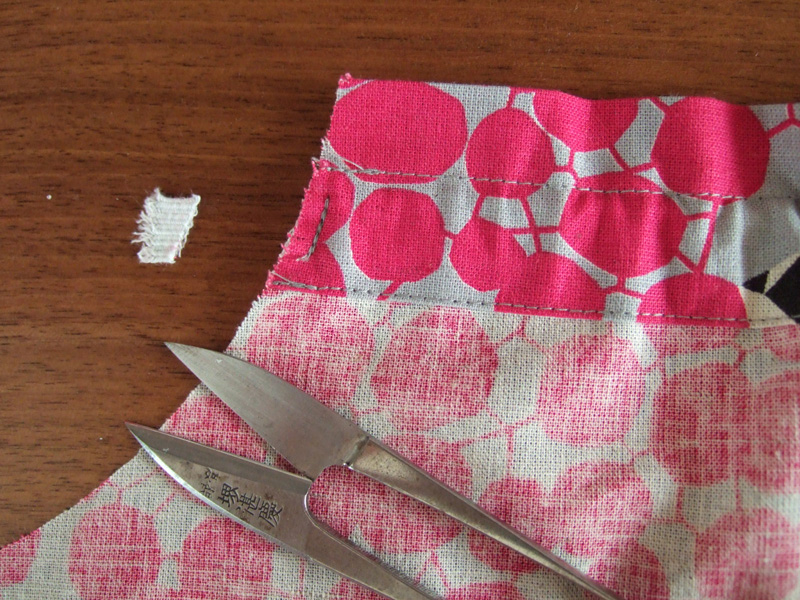
Put through the elastic tape.
The finished length should be 27cm (including the seam). I like to cut it at 28cm, have extra 5mm on both sides so that I can run a stitch to secure. Cut the excess at the end of the process as the elastic could get dirty during the process.
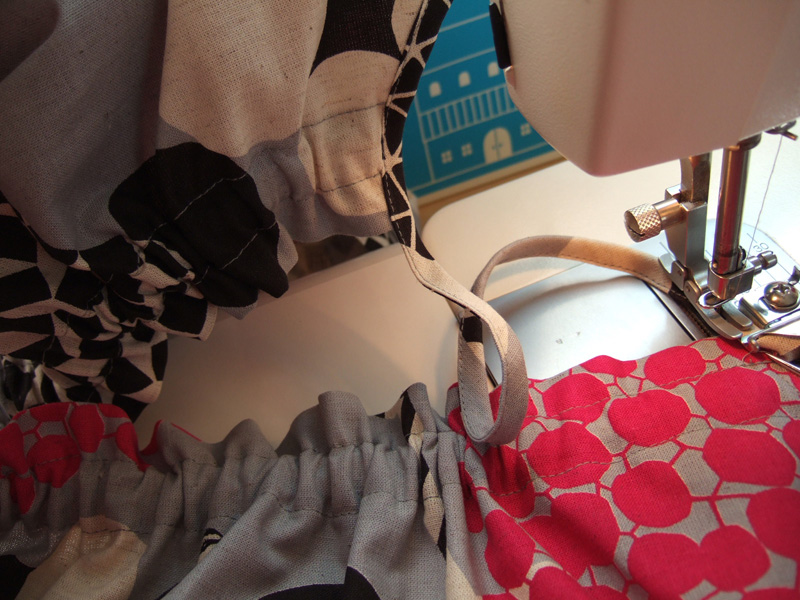
5.
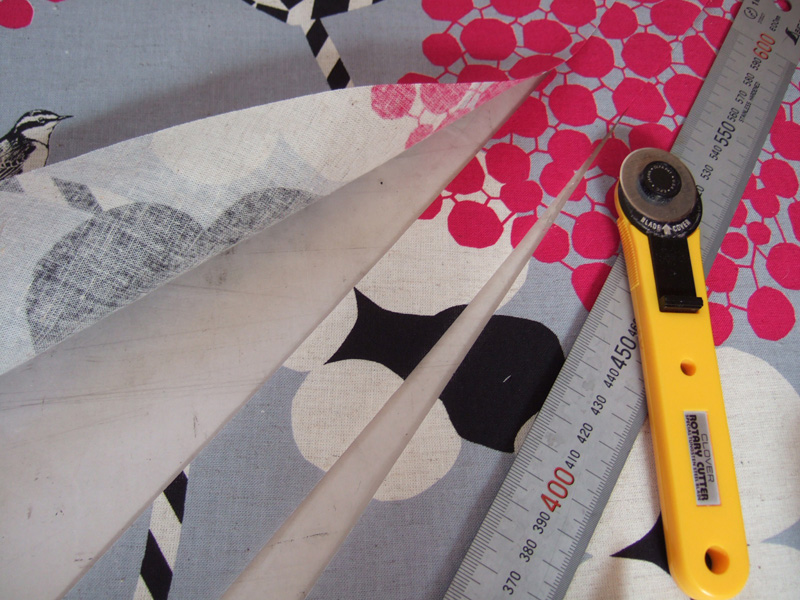
Finish the piping from an armhole to shoulder strap.
Using a roller cutter, carefully cut the piping strip. A metal ruler is also useful. Normally, the piping strip (bias binding tape) is cut diagonally at 45 degrees. Please don’t be too concerned about being too exact.
6.
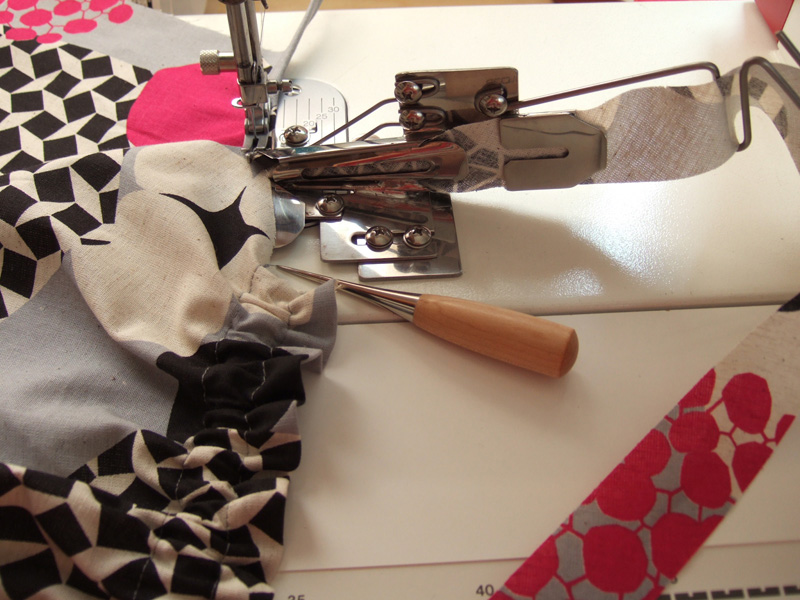

For your information, I used a special sewing machine attachment that finishes the piping process. You can have it custom made through your sewing machine mechanic. It is convenient, however it is also a little pricey at about $100.
7.
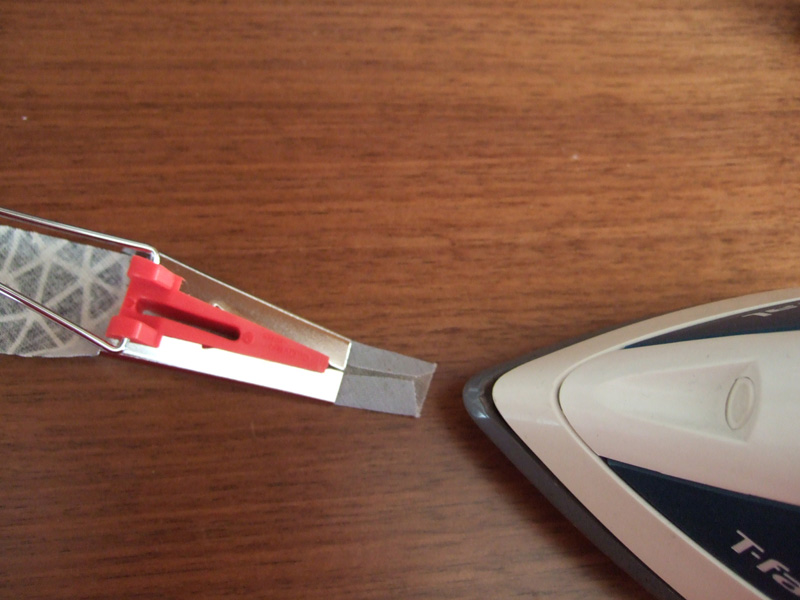
The other option is to use a commercially available (from Clover brand) tape maker using an iron. A 35mm cut fabric can create a 18mm-wide tape.
8.
Finish the piping.
Please pay extra attention when stitching from one armhole to another armhole! The length of the shoulder strap needs to be the same. The piping strip could stretch depending on the fabric. This time, the fabric was firm and easy to handle. Please be careful with the length of the shoulder strap.
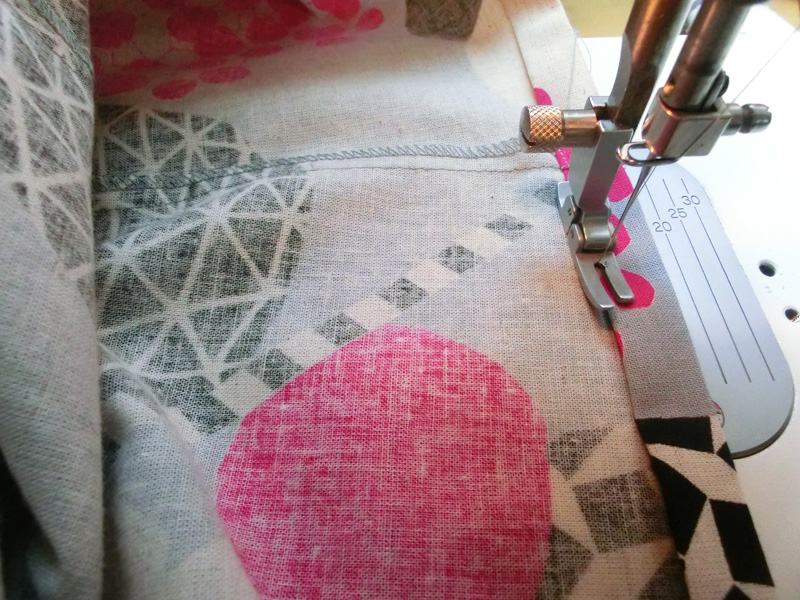
9.
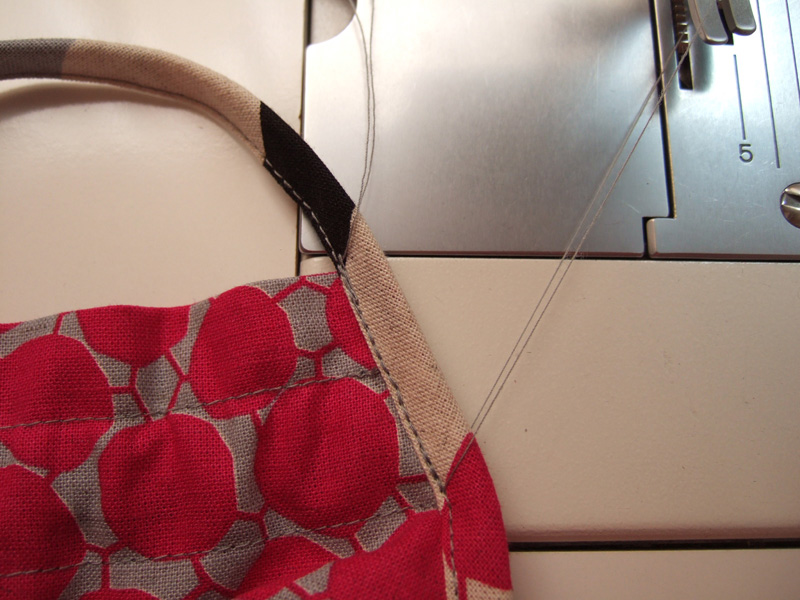
Please run extra stitches around the armhole piping strip to secure. This area gets stretched and stitches could get loose in the course of dressing and undressing. You can run backstitches when finishing the piping or stitch later. Try to run the stitch over the original stitch lines for a clean finish.
10.
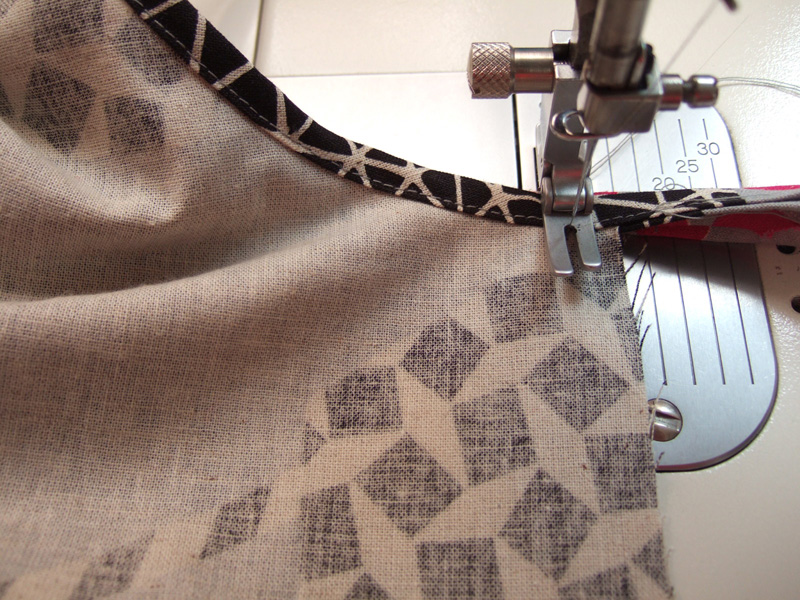
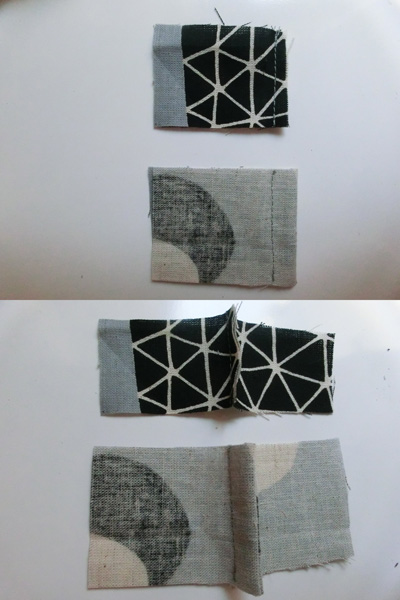
To finish the sides and hem, you may either serge or use zigzag stitches. If you don’t have either capability, you may finish using the French seam as shown in the picture.
When using the French seam, the side seam should be 1.5cm. Stitch from the front, turn it over and sew again. It has a clean finish as the seam is covered inside. Please be careful as it gets thick where the piping is.
11.

Where armhole and side meets, it may look flappy. Run some stitches to press it down (optional). Since the front and back have the same pattern, it is best to press down the seam to one side (normally to the backside).
12.
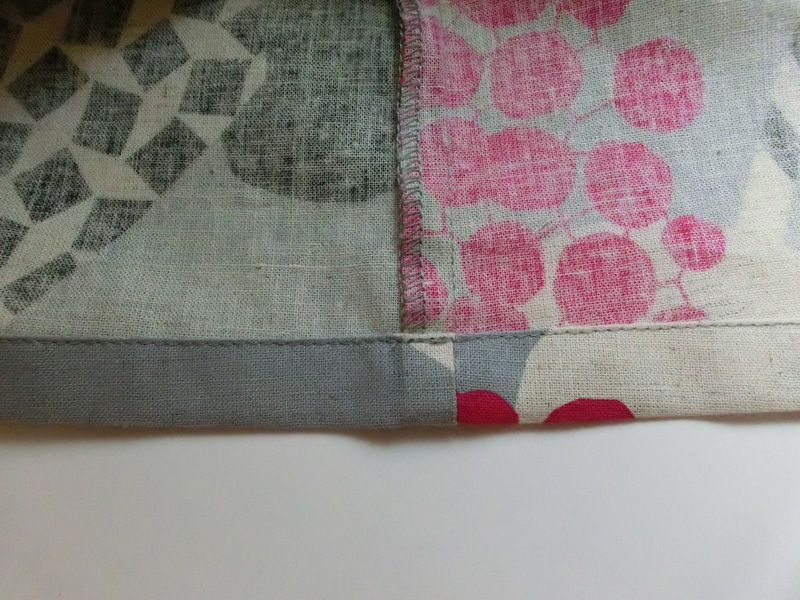
Finish the hem.
The seam allowance is 3cm. Fold hem up by 1.5cm twice to stitch. Stitch the hem and finish!

 Cotton Sateen One-Piece Dress
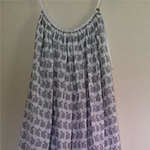 Cami dress in double gauze fabric
 Dress with French Sleeves