
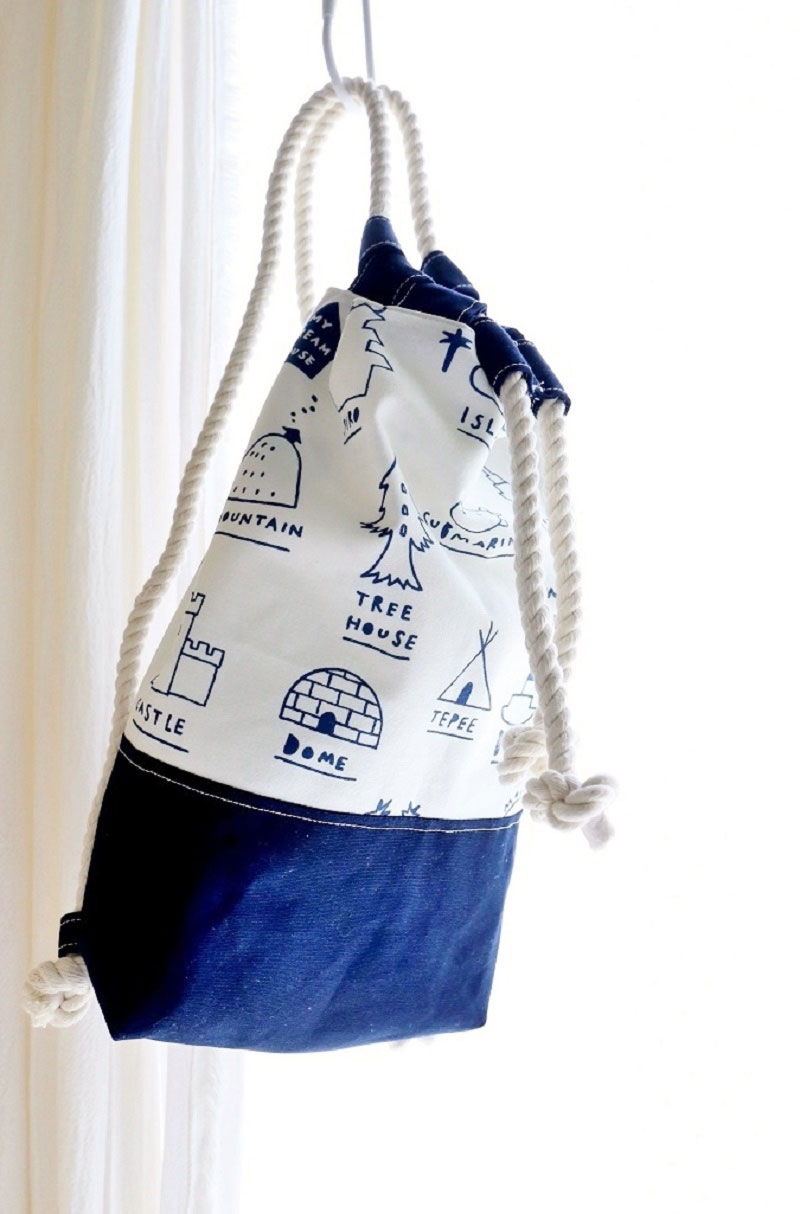
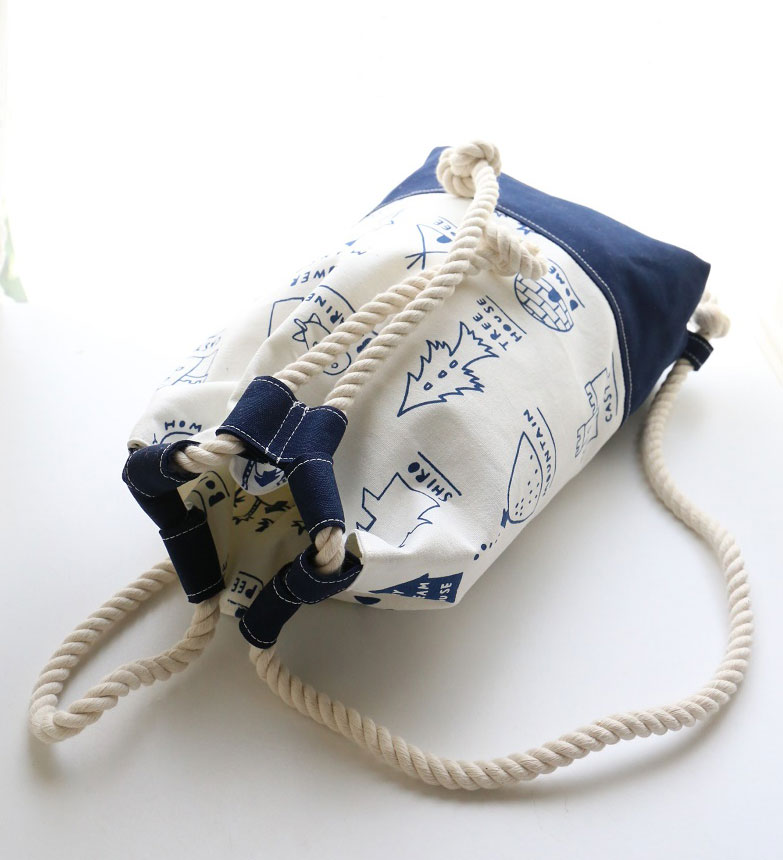
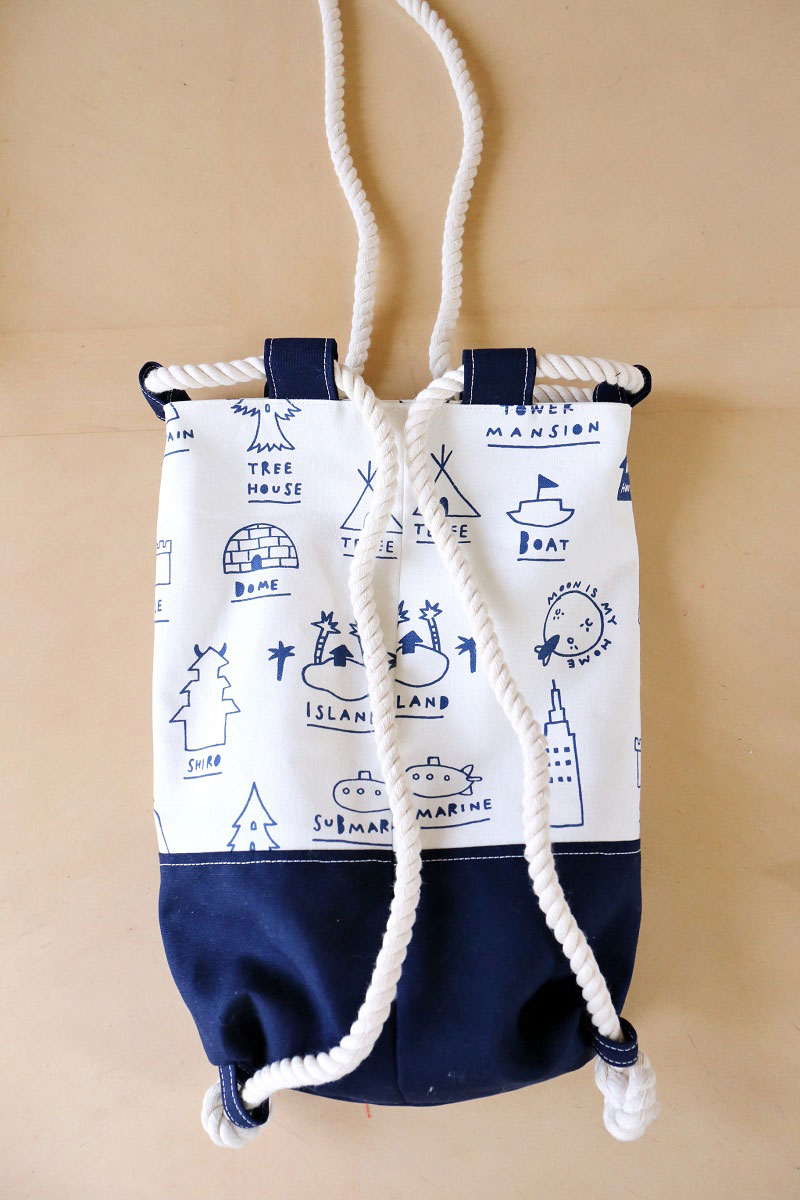
This drawstring bag will make a perfect accompaniment for your outing during this balmy season. The fabric, line drawing, features a simple line drawing illustration against a white background, and has the right level of casual feel without being too cute. The many fabric loops made with the spare fabric can work in lieu of metal rings to complete the bag.
Fabric shown for this sample: line drawing P45700-701A Canvas
Materials:
□ Fabric (Outer fabric a, Lining fabric): 110cm wide×40cm
(Outer fabric b, Loop, Stopper): 90cm×30cm
□ Rope: 2m (1cm diameter)
*All Rights Reserved. ©Kokka
We interviewed Mioko about her creation:
Kokka Fabric (KF): What did you think of the fabric you used for this project?
Clean and playful pen drawings of buildings make such an impression. The design is lovely yet not overly cute. Taking advantage of its character, I wanted to make a bag for a grown up.
KF: Can you tell us any special elements or ideas that you incorporated into this creation?
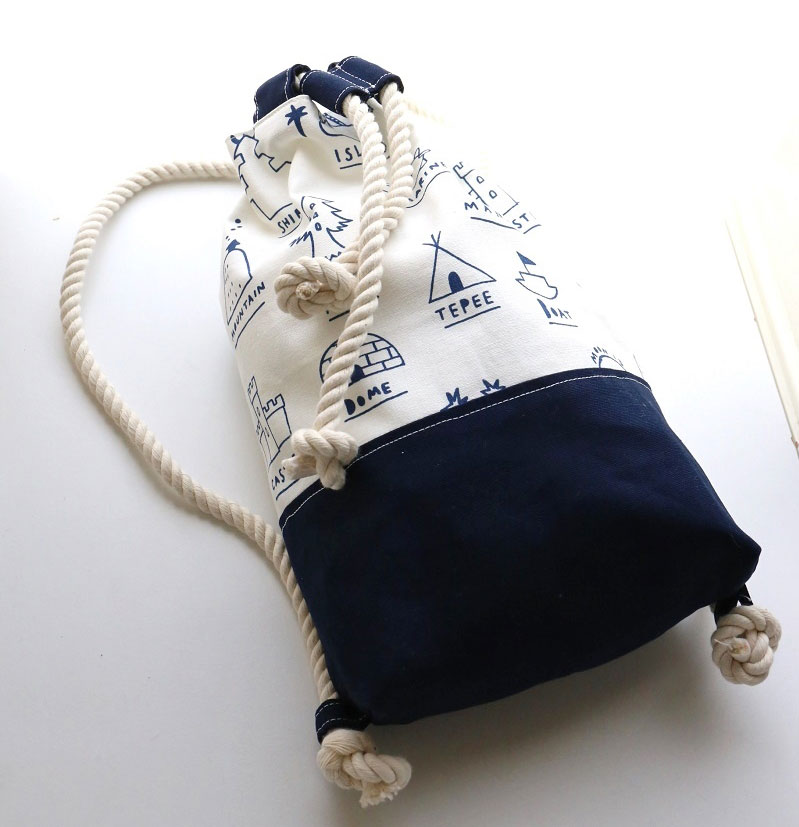
The solid navy in the same color of the drawing makes the bag look sharp.
The rope handle drawstring bag is perfect for the upcoming season.
You can substitute the metal rings by using many fabric loops.
KF: What are some tips for making this bag?
The rope frays easily, so wrap tape around the edge tightly before putting it through the loop.
To avoid further fraying and for ease of mind, secure the tied knots by applying a craft bond.
KF: How should we use this bag in everyday situations?
A child can enjoy it as a backpack, and a grown up can carry it over the shoulder with two handles. The simple design goes so well with any kind of casual fashion.
KF: Thank you very much, Mioko! Here are sewing instructions along with step by step photos from her. Enjoy crafting!
Instructions
1.
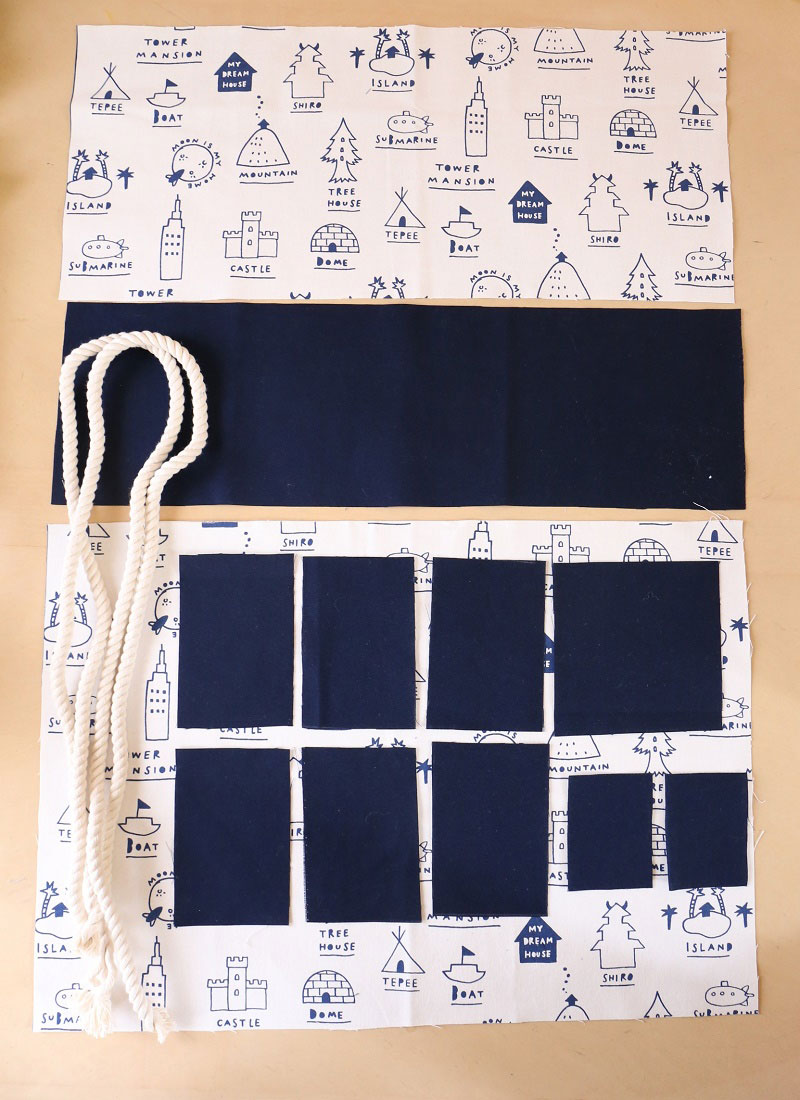
Prepare the materials and cut the fabrics.
2.

With the front sides facing each other, sew together the outer fabrics, top and bottom (a & b). Press down the seam to the bottom side and run stitches.
3.
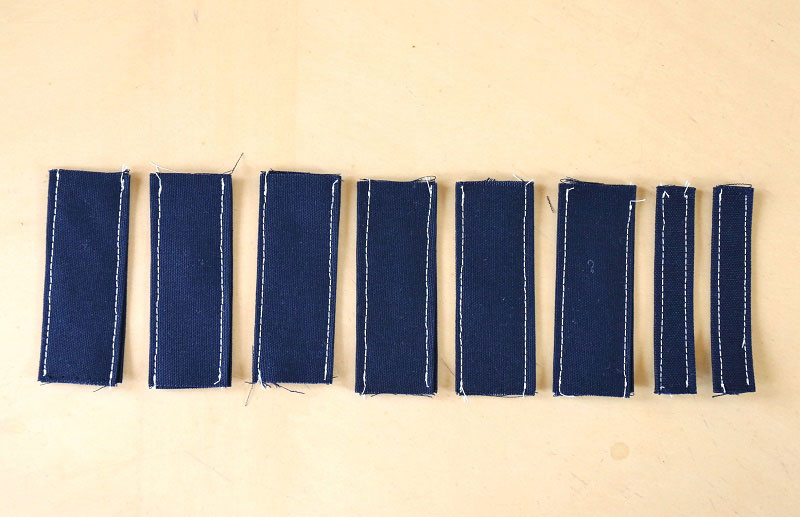
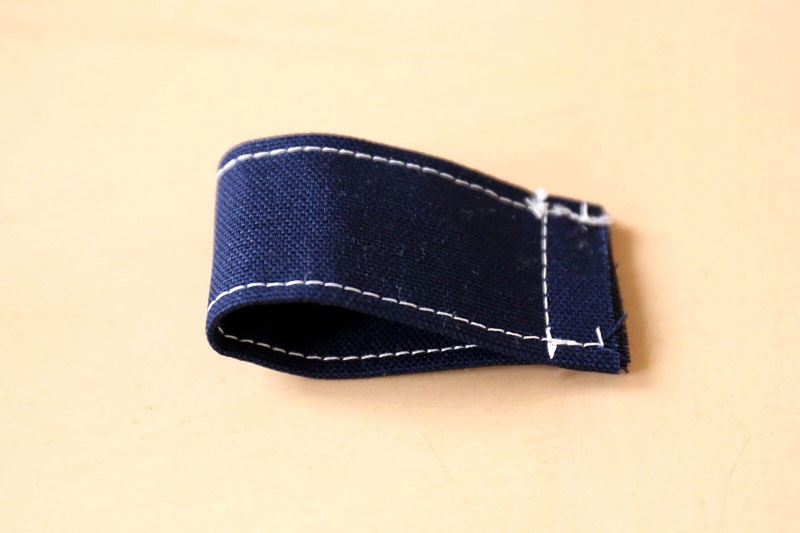
Fold the loop fabrics in four and sew the ends.
4.
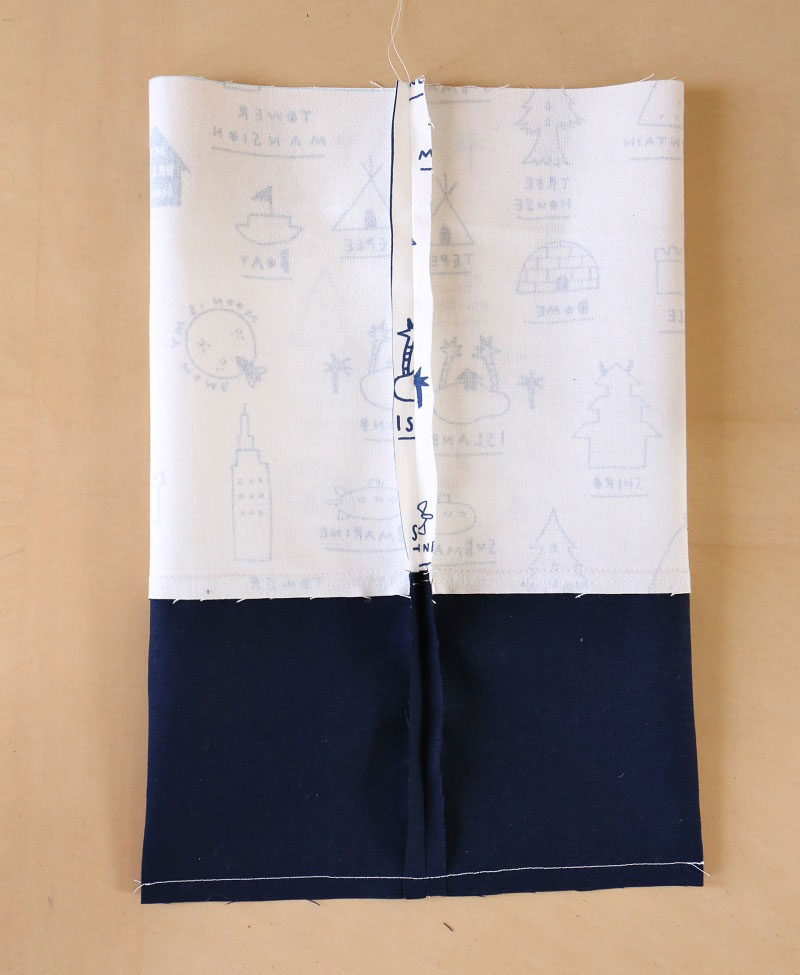
With the front sides facing each other, fold the outer fabric in half and sew the sides. Press the seam open. Bring the seamline to the center and sew the bottom.
5.

Make the gusset (6cm). Place inside the folded bottom loop in-between and sew the gusset.
6.
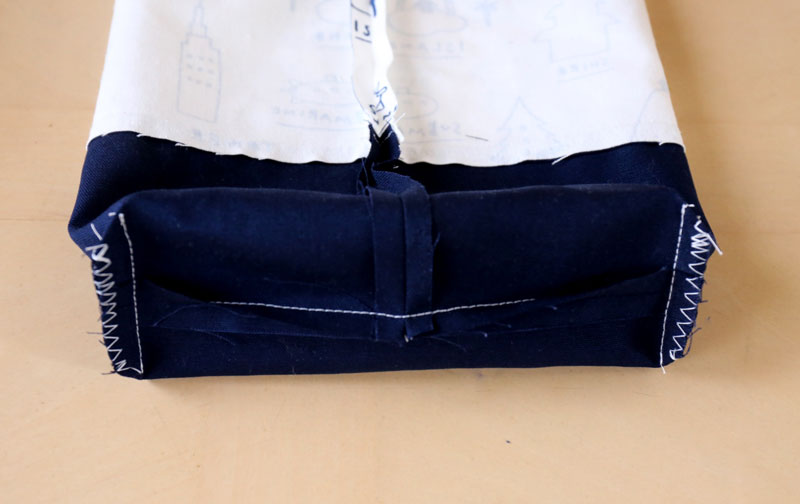
Cut off the excess gusset. Apply zigzag stitches. Turn it inside out. The attached loop looks as shown in the photo.
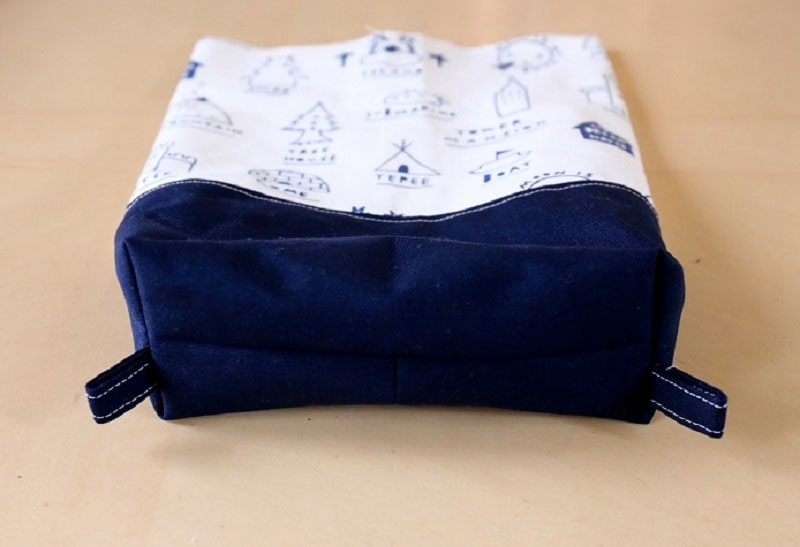
Repeat the same process for the lining fabric. No loop is needed for the lining bag.
7.

Fold the top opening of both outer and lining bags inward for 1cm. Turn over only the outer bag and place the lining bag inside.
8.

Fold the opening loops in half and place them in-between the bag fabrics as shown in the picture.
9.
Fold the stopper fabric in four and sew the end. Fold in half and sew the side.
10.
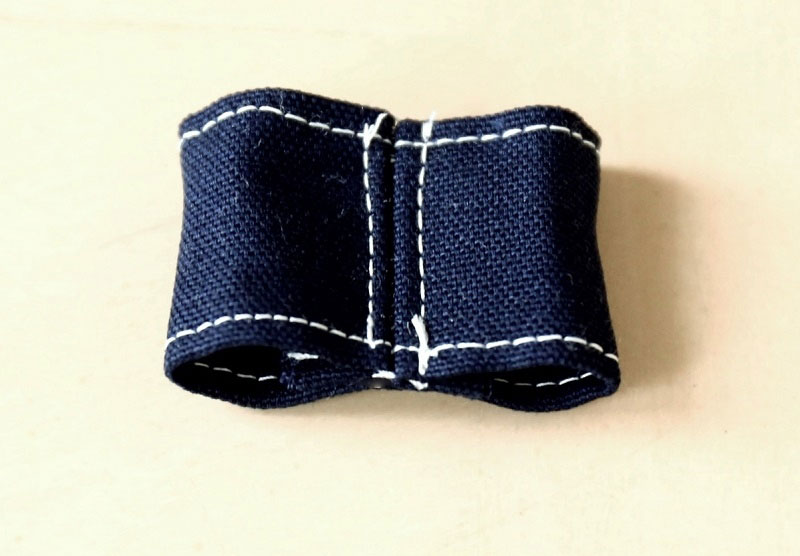
Press the seam open. Turn it over and run two stitch lines in the center.
11.

Put the rope through the loops. Tie the rope at the bottom. Put the top end of the ropes through the stopper and tie the end.

 Drawstring Bag for Yukata
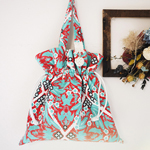 Drawstring Bag with Handles – Sewing Instructions
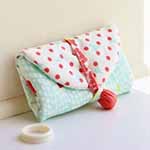 Accessory Case