
Elastic Ribbon about 4cm (l) about 11cm (w)
An extremely adorable kid’s dress is the featured project. Made with double gauze fabric from the Trefle Cuchito series, it is a dress that can be enjoyed for three seasons throughout spring, summer and fall. For a hot summer day, the dress is perfect by itself, or it can be layered with an inner T-shirt or a cardigan on cooler days.
Fabric shown for this sample:YK51030-1A
Materials:
□ Fabric: 110cm wide × 1.2m
□ Button: One piece (1.3cm diameter)
□ Hair tie elastic: One piece (4cm diameter)

*All Rights Reserved. Please refrain from the unauthorized use of project photos.
We interviewed Naomi about her creation:
Kokka Fabric (KF): What did you think of the fabric you used for this project?
Soft color tones and print design make a perfect combination for kid’s clothing. Utilizing the double gauze’s texture and the look of the pattern, I came up with a dress with a sense of fluffiness. The butterflies in the lamé print design is also lovely.
KF: Can you tell us any special elements or ideas that you incorporated into this creation?
The dress in double gauze fabric keep you cool in summer. For fall and winter, it also keeps you warm as the fabric absorbs air. Since it is sleeveless, it can be layered casually with a cardigan. The loose body line allows kids to wear it for a longer season, as a dress in summer and later as a tunic for cooler weather.
KF: What are some tips for making this dress?
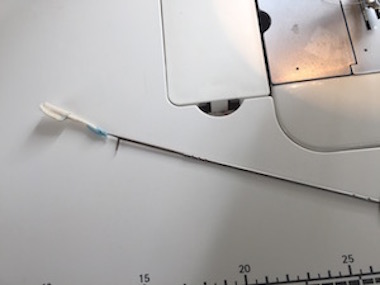
For a clean finish, please use a stiletto as you create the gathering for alignment.
The armhole may be a little tricky to sew. Make sure you iron to score the fabric beforehand.
KF: How should we incorporate this dress into one’s styling?
Add the ribbon made with a remnant to a pair of sandals or a basket bag. It will make a nice addition to a lovely summer outing style. For a different look, pair it with a bright color cardigan and a pair of jeans underneath.
KF:Thank you very much, Naomi. Here are sewing instructions along with step by step photos from her. Enjoy crafting!
Instructions
1.
Cut the fabric. Make a notch on the center of the front body and center of the front and back skirts.
2.

Make the pocket and attach it to the body. Fold the pocket opening in three at 1.5cm interval.
3.

Piece together the shoulders and apply zigzag stitches on the seam. Apply zigzag stitches on the center of the back.
4.

Piece together the back center up to where the opening stops. Press the seam open.
Fold the opening portion (up to the opening) in three and run stitches.
5.
Make a button loop with the bias binding strip.
6.
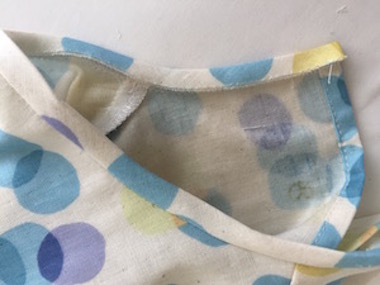
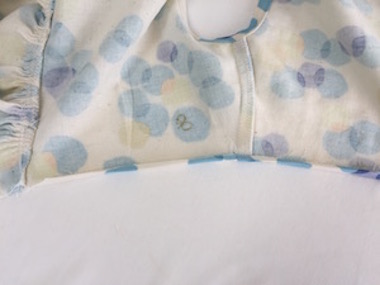
Finish the neckline using the bias binding strip. Place the button loop in-between.
7.
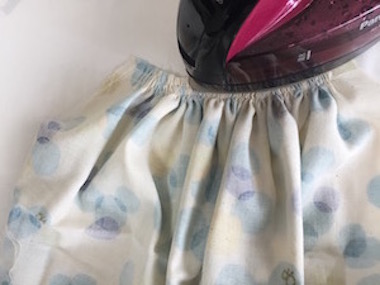
Run rough stitches on the front and back skirt at 0.7cm + 1.5cm to make gathering. Pull the gathering all the way and press with an iron.
8.

Piece together the body and skirt. Finish the seams together with zigzag stitches.
9.
Press the seam to the body side and apply top stitches on the outer body.
10.
Fold the armhole in three and press securely with an iron.
11.
Sew together the sides all the way from the armhole to the hem.
12.

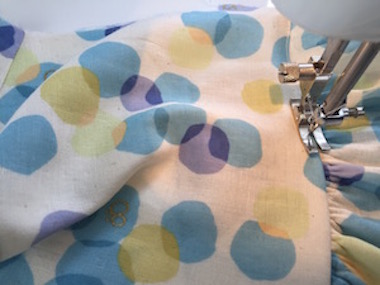
Sew the armhole. Start from the sleeve cap and sew all the way around, somewhat applying tension as you sew.
13.
Press down the side seam to the back side. Fold the hem in three and sew.
14.
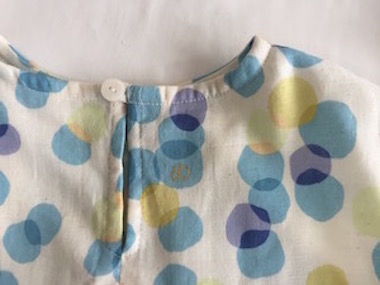
Attach the button to finish.
How to make the ribbon.
15.
Cut the fabric. (For a cuter look, make sure the butterfly design is placed at the end of the fabric.)
16.
Sew all the way around, leaving an opening for turning for 2cm. Start and end the stitches with backstitches.
17.
Cut off the seam to 5mm, except for the opening portion.
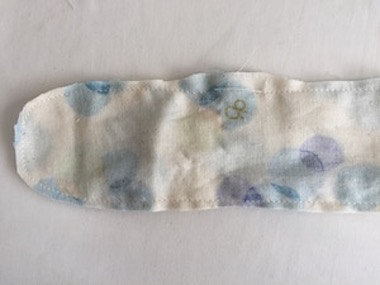
18.
Turn it over using the opening for turning and align the shape using an iron.
19.
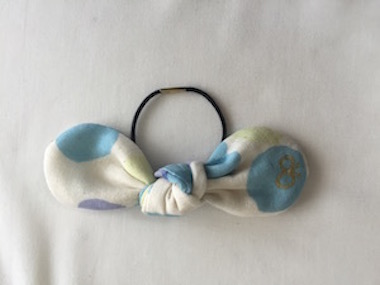
Fold in two and place the elastic in the middle. Tie a knot once.
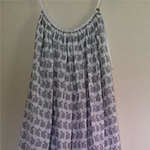 Cami dress in double gauze fabric
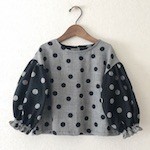 Blouse with Puffy Sleeves
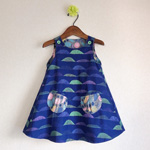 A-Line Reversible Dress – Sewing Instruction