
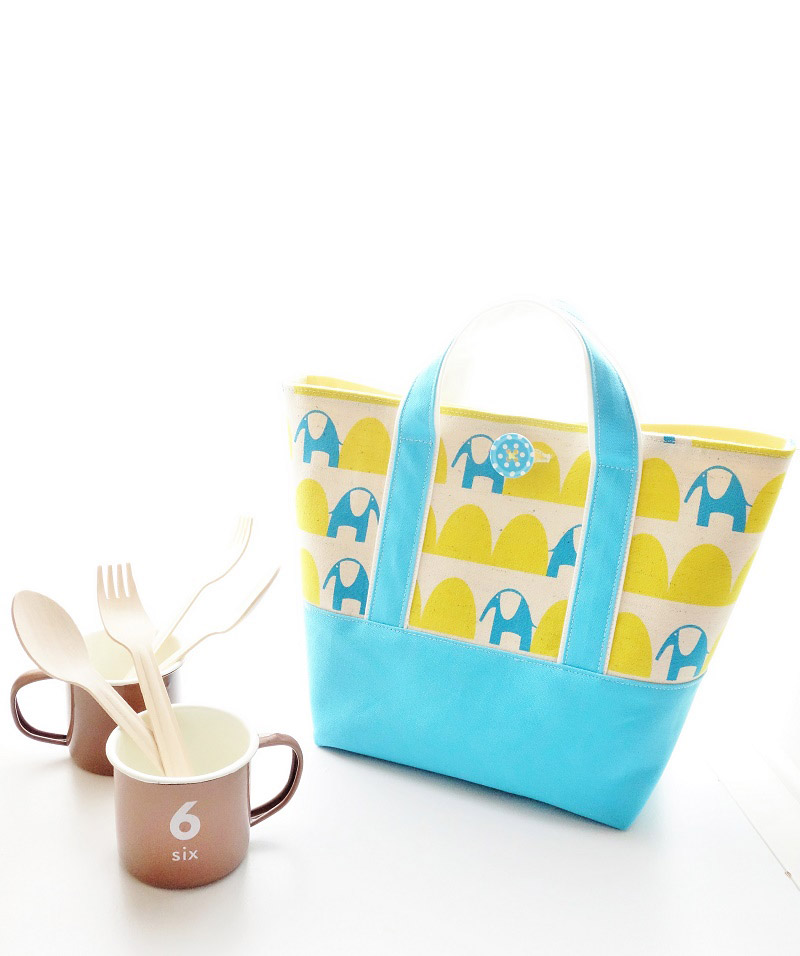
A mini tote bag is created using an elephant design fabric from Ellen Baker’s new collection, Parallels. It features two tones, and uses a refreshing blue, the same color as the elephant, for the bottom and handles. The blue button in polka dots adds a nice accent. It is a perfect bag for a quick running around or as a lunch tote.
Fabric shown for this sample:ellen baker JG42800-801 (A)
Materials:
□ Fabric (Panel outer fabric): 70cm×20cm
(Bottom outer fabric, Handle outer fabric (#11 Canvas)): 40cm×50cm
(Handle lining fabric (#11 Canvas)): 10cm×50cm
(Main bag lining fabric): 30cm×60cm
□ Fusible interfacing: 60cm×20cm
□ Button: One (2cm diameter)
We interviewed Mioko about her creation:
Kokka Fabric (KF): What did you think of the fabric you used for this project?
Looking at the lovely elephant design and bright yellow and blue color combination, I initially thought this fabric would be fun to make something for small children. Then I thought, it is an elephant, it is really stylized, so it may be suitable for a grown-up. I ended up making a small tote that is just right for both kids and adults.
KF: Can you tell us any special elements or ideas that you incorporated into this creation?
I combined the colors to enhance the pop feel of the pattern. When selecting the color for the combination, pick the color that is used less from the patterned (main) fabric. This way it brings cohesiveness and liveliness.
Both the color and pattern are festive, so I kept the design simple. Small details like the white color showing off of the handle and large buttons create more attention.
KF: What are some tips for making this bag?
It is not overly difficult to make, but you may unexpectedly make a mistake with a gusset. What you thought was a straight line may end up being crooked. When folding the gusset, make sure to align the bottom center and side lines. It is best to turn it inside out first to check, before cutting off the excess gusset fabric.
KF: How should we use this bag in everyday situations?
It is great as a kid’s outing bag or as a grown-up’s lunch tote. It adds a nice accent when carried against a simple outfit, like a white shirt and a pair of denim.
KF: Thank you very much, Mioko! Here are sewing instructions along with step by step photos from her. Enjoy crafting!
Instructions
1.
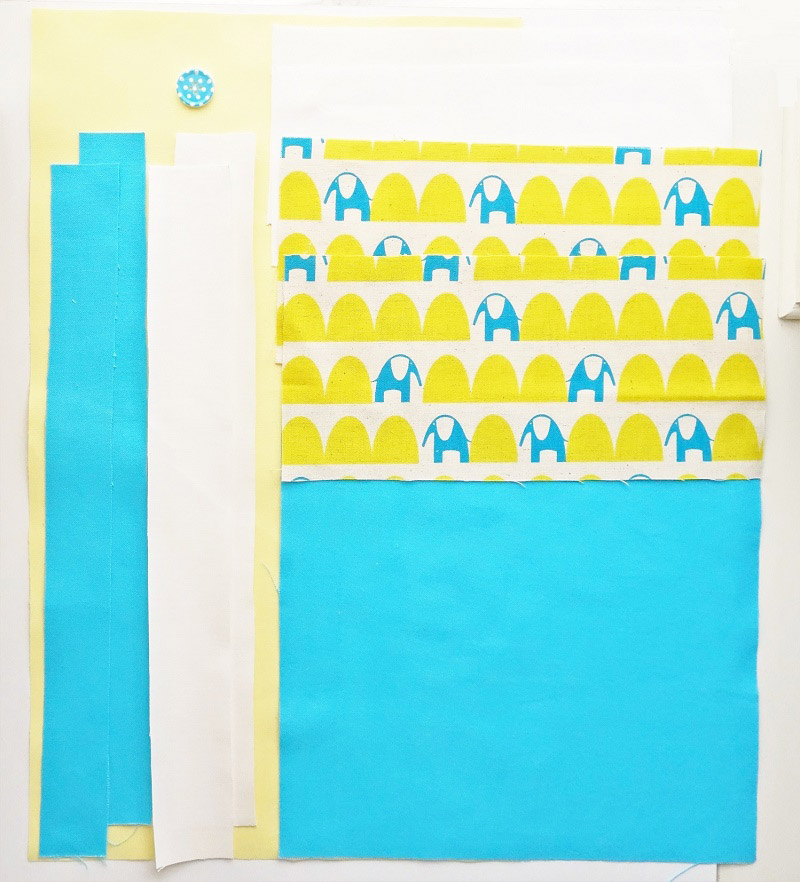
Prepare the materials.
2.
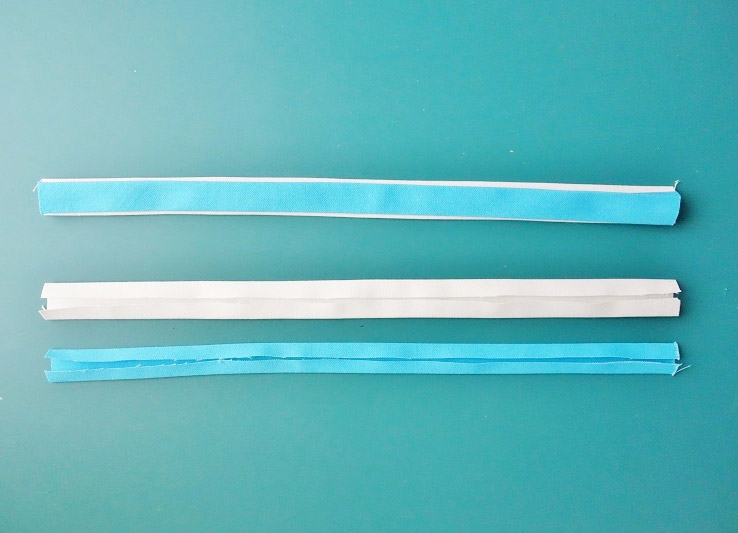
With the front sides facing outside, fold the handle fabric to the center.
3.
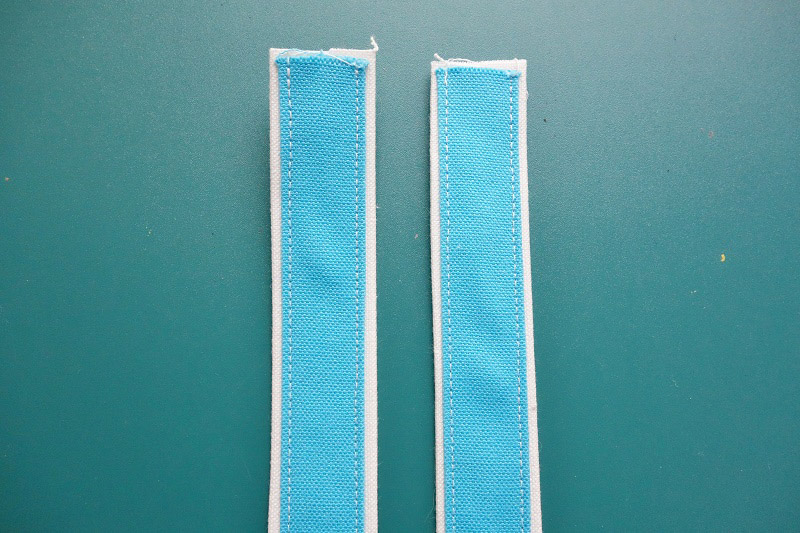 With the front sides facing outside, layer the pieces and sew together.
4.
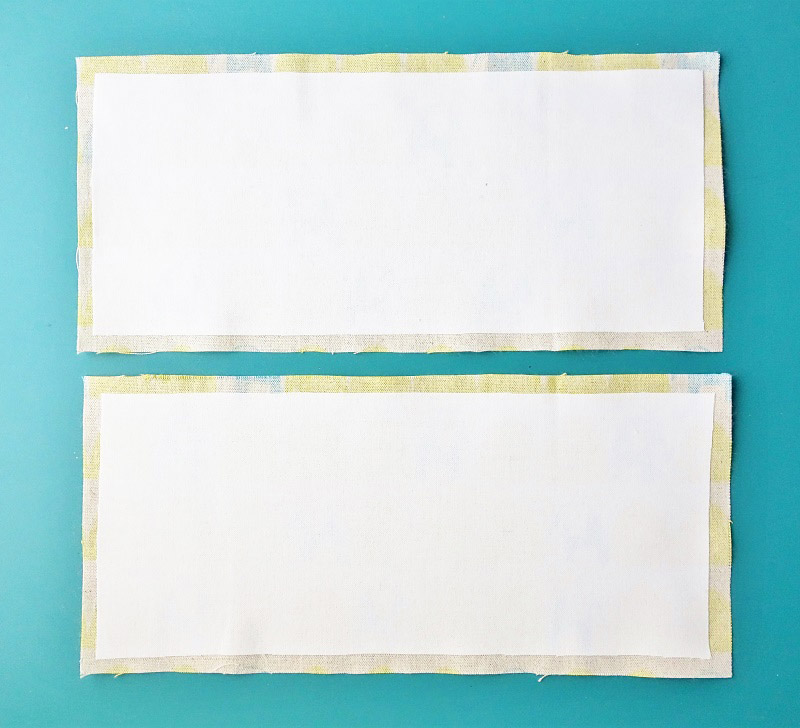
Adhere fusible interfacing on the outer fabrics.
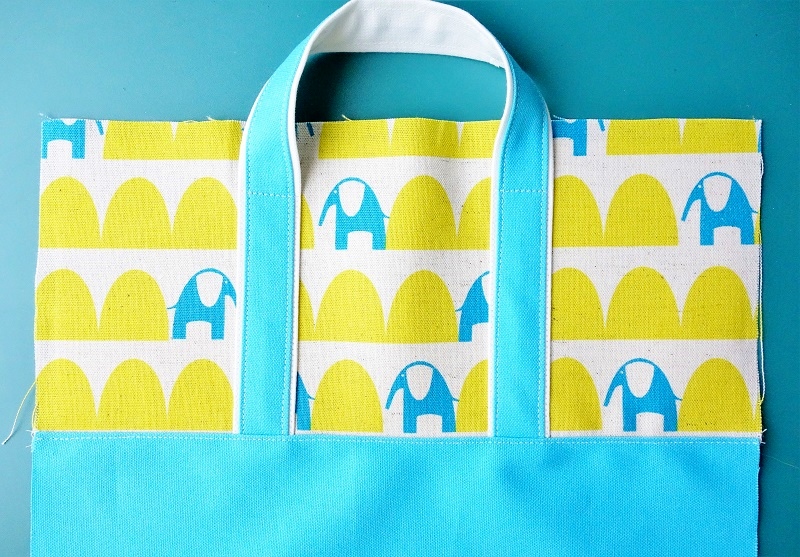
5.

With the front sides facing each other, sew together the outer fabric and bottom outer fabric with the handle in-between. Repeat the process for the other side.
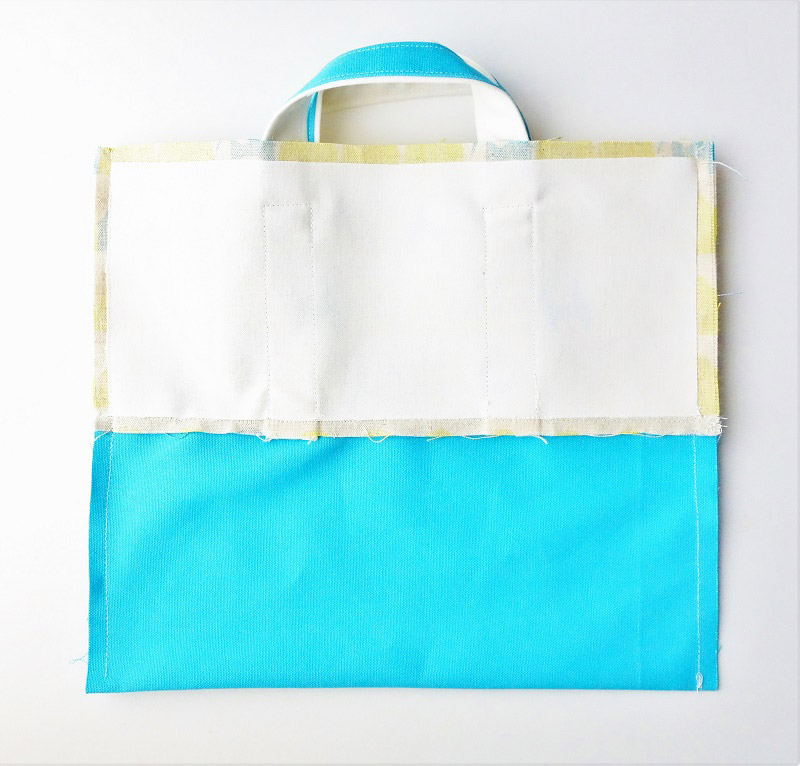
6.
Open the piece from Step 5. Run stitches on the edge of the bottom outer fabric.
7.

Sew the handles for 10cm from the bottom to secure.
8.
With the front sides facing each other, fold in half and sew both sides.
9.

Make the gusset (10cm) and cut off the excess fabric.
10.
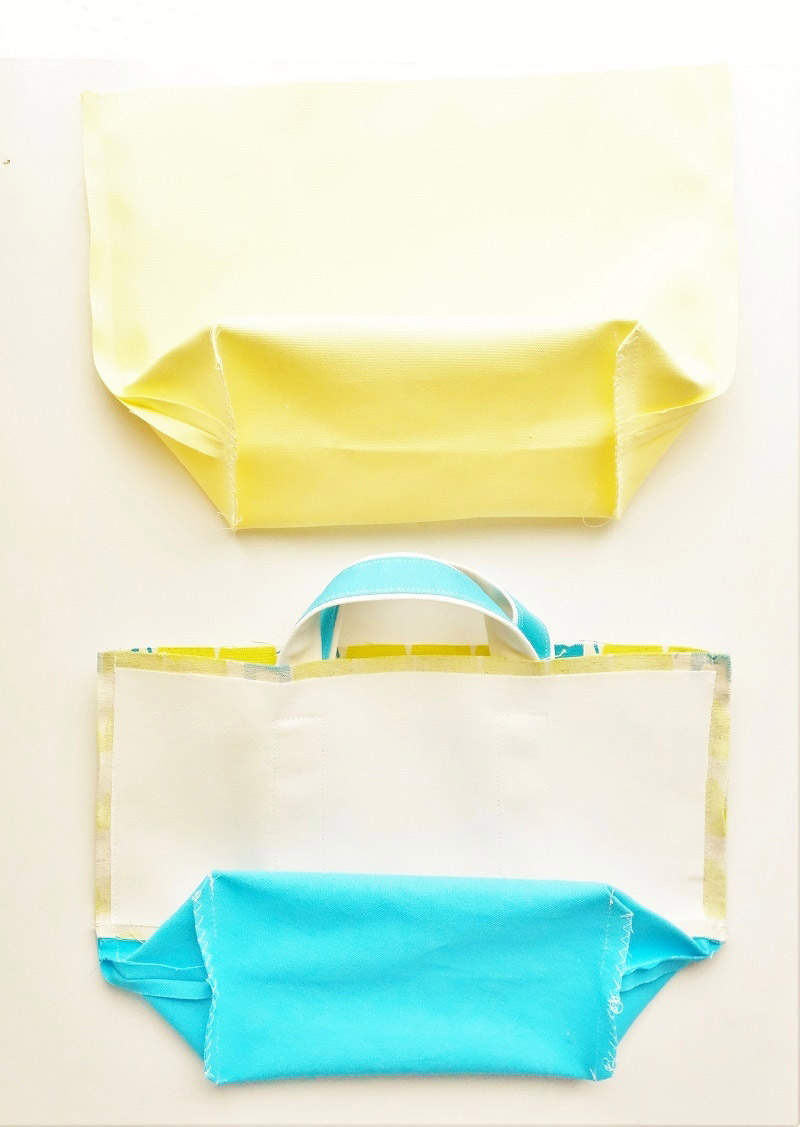
Repeat the process for the lining bag.
11.
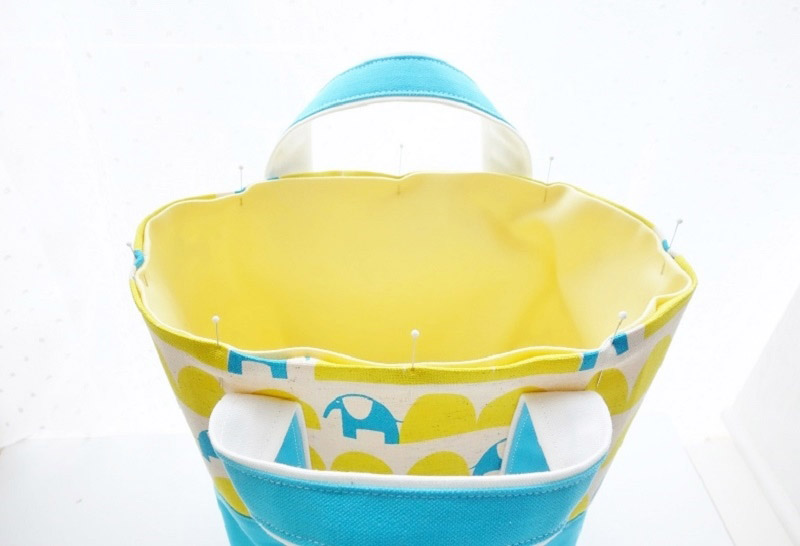
Fold the opening seam of the outer bag and lining bag to the reverse side respectively. Turn only the outer bag inside out and place it inside the lining bag.
12.

Sew around the opening. Make a button hole in the front center at the top.
13.
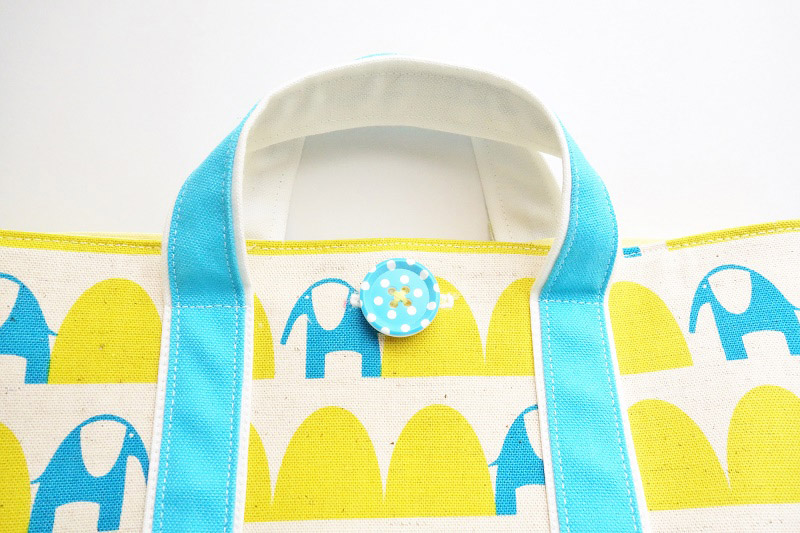
On the front side of the lining bag, attach the button to fit into the button hole.
14.
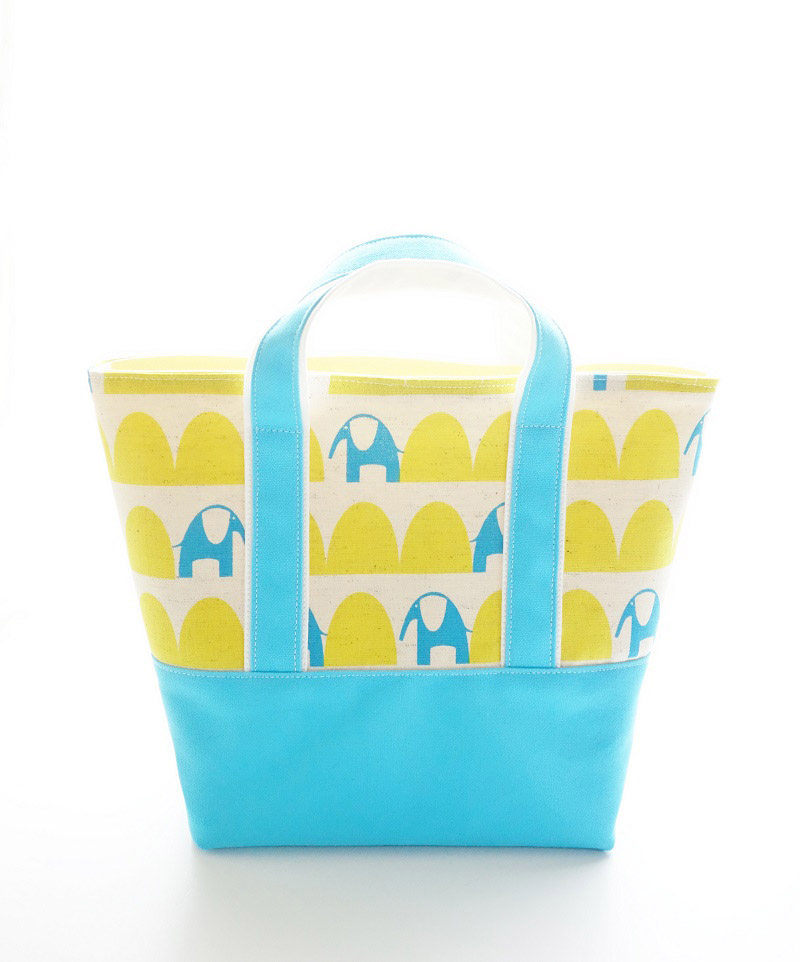
Finished.

 TOTE Bag with a Mini Pouch
 Travel Tote
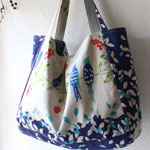 Tuck Tote with Large Gusset