
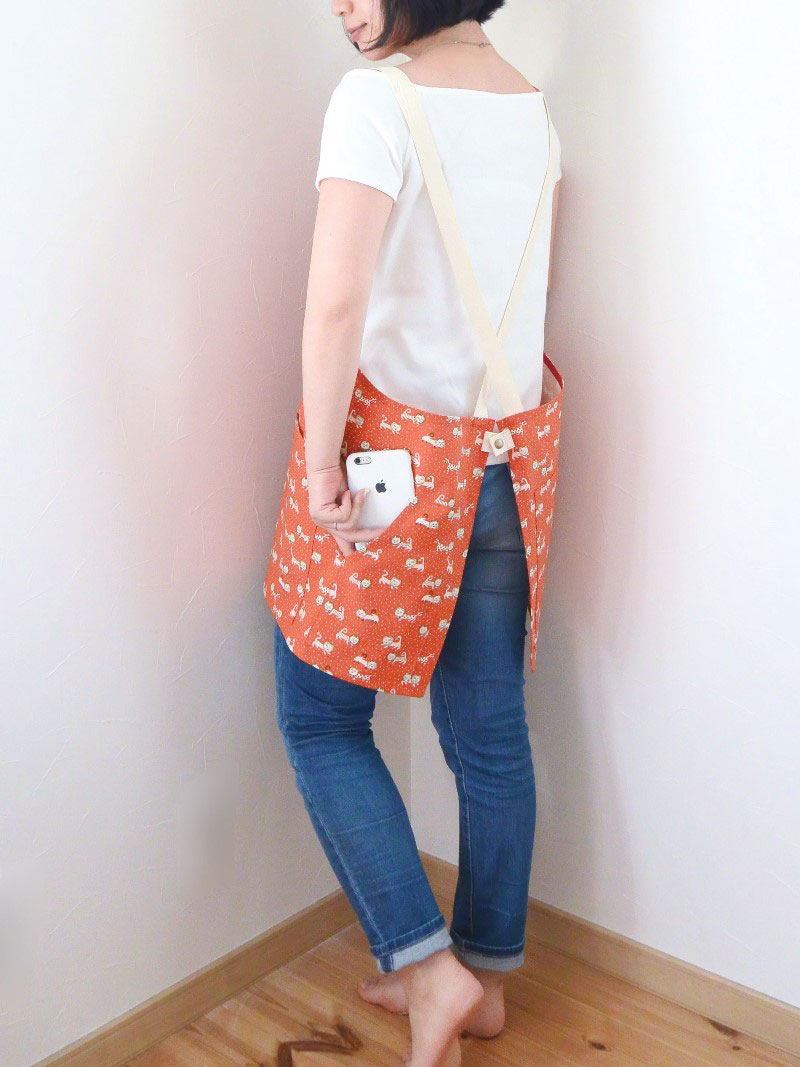
Everyday chores become fun with this apron filled with animal prints. The pockets are added for both front and back, allowing you to be flexible, especially for your smart phone to fit in the back pocket.
Fabric shown for this sample: Animal world P46600-601B
Materials:
□ Fabric: 110cm widex1m
□ Twilled tape: 1.5m (width 2.5cm)
□ Double folded bias binding tape: 1.5m (width 1.1cm)
□ Snaps: One pair (diameter 1.3cm)
□ Rivet: Two pairs (diameter 0.9cm)

*All Rights Reserved.
We interviewed Anriko about her creation:
Kokka Fabric (KF): What did you think of the fabric you used for this project?
The lion prints on a sea of orange is so lively. It may not be suitable for clothing, yet I thought it would be nice to make something wearable. So I came up with an apron that can make your everyday chores fun.
KF: Can you tell us any special elements or ideas that you incorporated into this creation?
The everyday apron cannot be just pretty. With all the daily work in mind, this design is user friendly. It incorporates the housewife’s daily reality like wanting to carry a smart phone in a back pocket. I also thought of a design that won’t mess up the clothing worn underneath the apron.
KF:What are some tips for making this apron?
It is not that difficult to make as it doesn’t have any challenging sewing process. You can customize the pockets to your liking and usability.
KF: How should we use this apron in everyday situations?
It is not tied in the back, so it can be worn loosely over your clothing without messing it up. The short length won’t bother your legs, even with wide-leg pants or skirt underneath. You can wear it over any type of outfit.
KF:Thank you very much, Anriko! Here are sewing instructions along with step by step photos from her. Enjoy crafting!
Instructions
1.
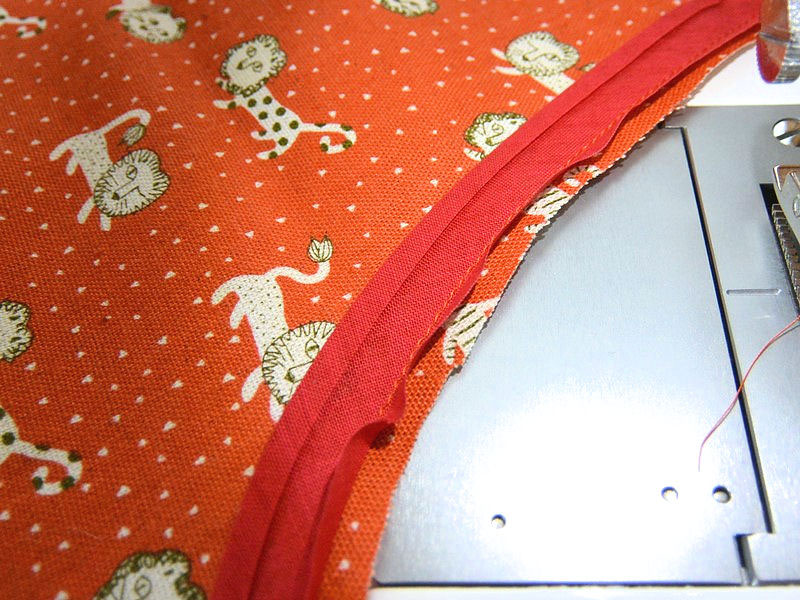
When attaching the bias binding tape on the side, allow for a little extra as seen in the picture. This way, it can create a clean finish when the tape is turned over.
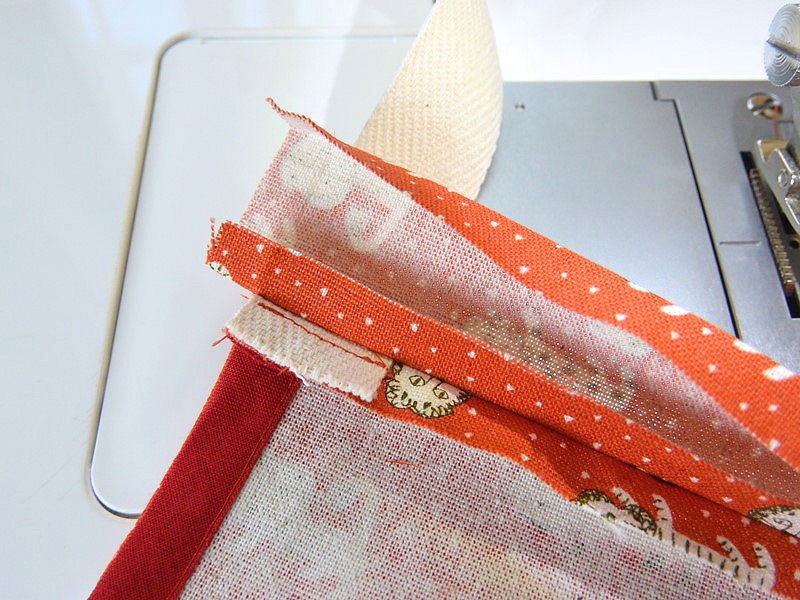
2.

If you want to customize the pocket, please do so after sewing the sides. It will help you balance it better. While the rivet is added where it is divided, it is just an accessory. You can substitute it with stitches only.
3.
Please adjust the shoulder strap length by trying it on. Once you know the length, baste it before securing. My height is 158cm and I shortened it by 4cm from the suggested length in the instructions.
4.

You may choose to use the same fabric for the shoulder strap and tabs. I used the snaps, but you can substitute it with a button or magnetic snap.
5.
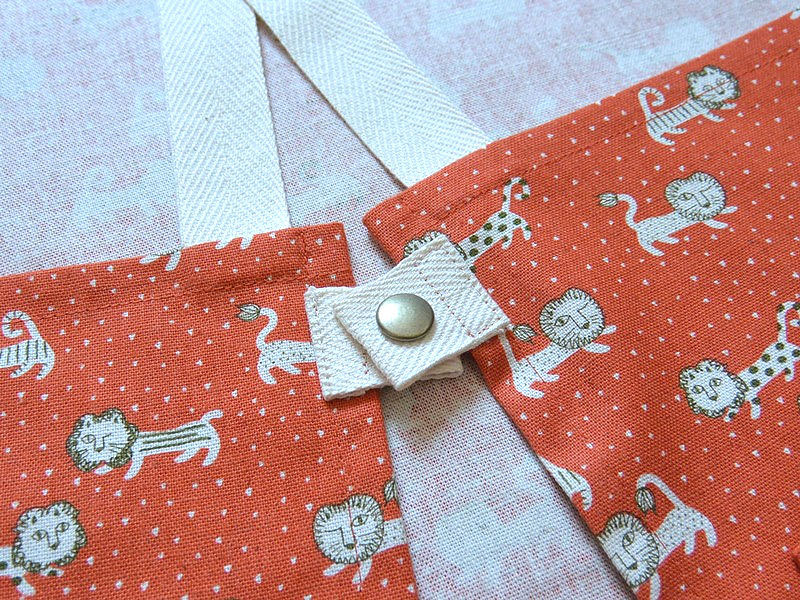
The tabs are attached. This is an important point. Rather than securing it by tightening the right and left side, it has extra wiggle room that allows for flexibility without finely adjusting the angle of the shoulder straps.
6.
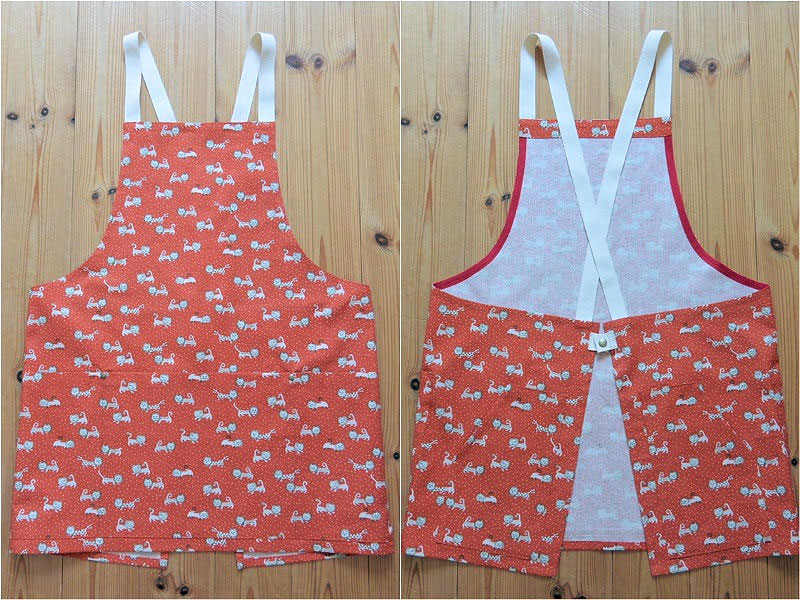
It is finished.

 Smock Apron
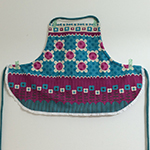 KID’S Apron
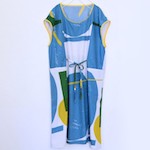 Tunic Style Dress