
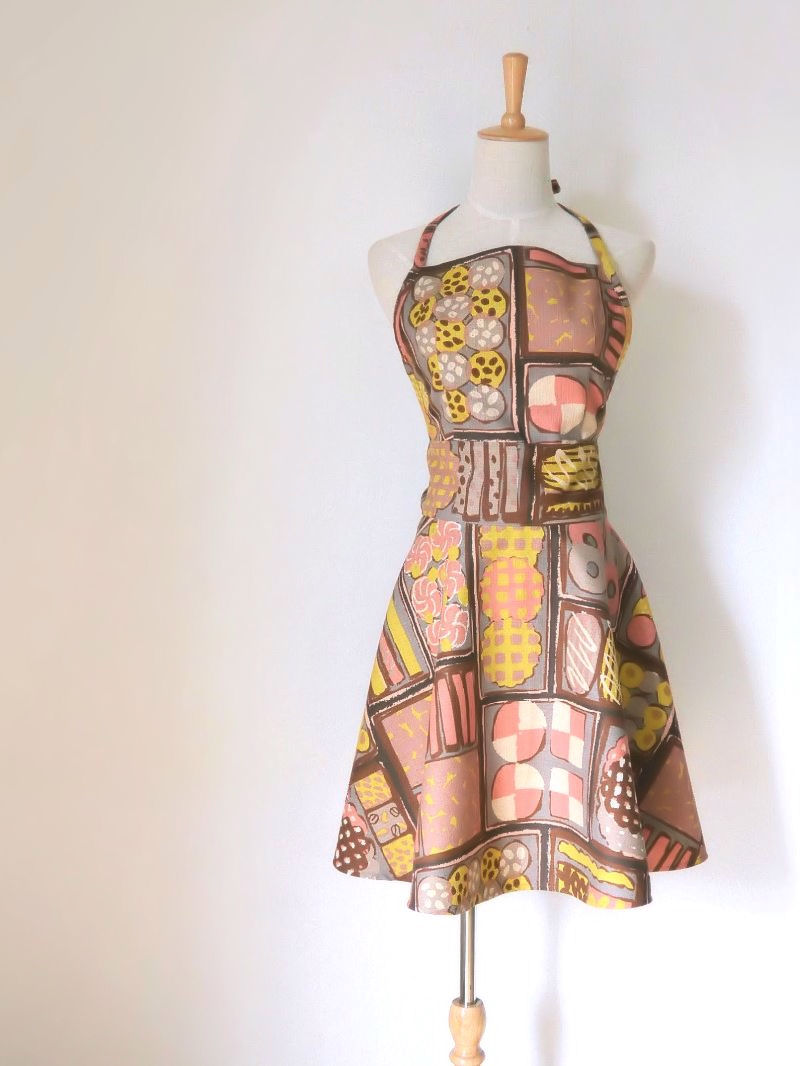
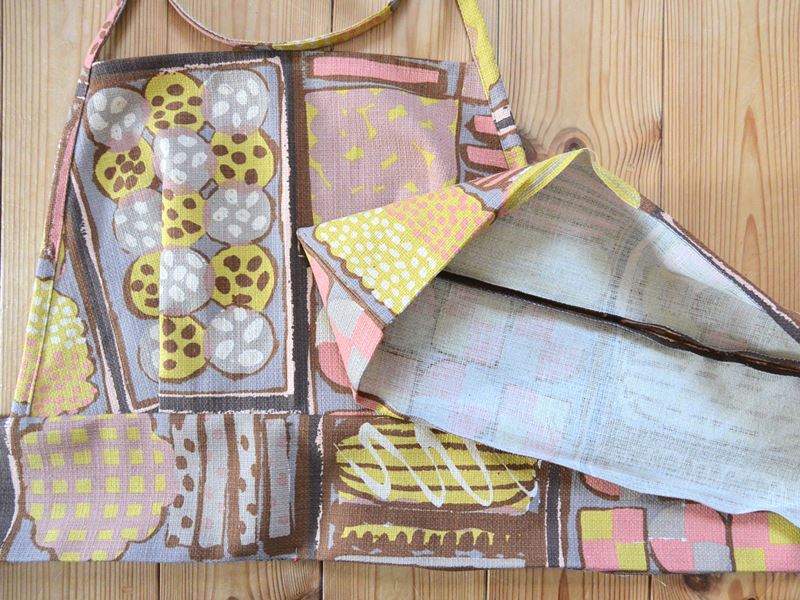
Whether you are young or old, sweets are always everybody’s favorite. Everyone’s favorite pieces are now turned into a lovely fabric called Oyatsu, named after a Japanese word that means snacks and treats. The fabric will surely add fun to your snack time. Using the Cookie can design from the Oyatsu series, a super cute and girly apron is created. It will definitely attract attention at a cooking class and will put you in a cheerful mood at a party!
Fabric shown for this sample: OYATSU EKX5000-1B
Materials:
□Fabric: 110cm wide x 2m
*All Rights Reserved. Please refrain from the unauthorized use of project photos.
We interviewed Anriko about her creation:
Kokka Fabric (KF): What did you think of the fabric you used for this project?
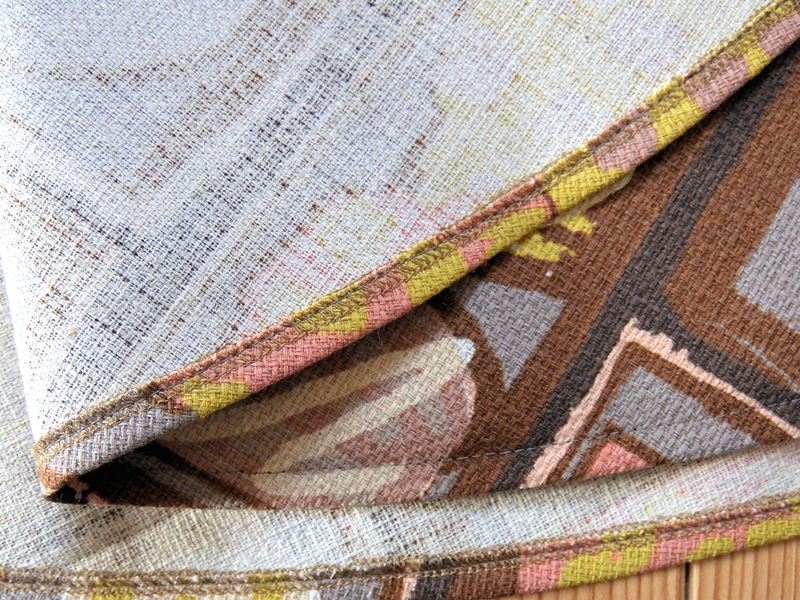
This cotton linen material with a basket weave has a rough yet distinctive texture. I thought it would look nice if used for something wearable.
KF: Can you tell us any special elements or ideas that you incorporated into this creation?
The motif itself comes from the fabric’s title, Cookie can, so I wanted to emphasize that. It is a very sweet looking apron, yet has a cute and mature feel because of its chic color tone.
KF: What are some tips for making this apron?
Please be careful not to stretch the material as you sew the pieces together, specifically skirt and sides of the bodice piece, since the weave of the fabric has a tendency to stretch. Many of the hems are finished by wrapping around the end fabrics. For a much cleaner finish, I recommend an extra step of ironing the fabrics first.
KF: How should we use this apron in everyday situations?
This apron makes such a statement, and it actually goes well with any outfit (lol). When you want to look cute, going to a cooking class, or at a home party … this apron is great for all these occasions.
KF:Thank you very much, Anriko! Here are sewing instructions along with step by step photos from her. Enjoy crafting!
Instructions
1.
Prepare the materials.
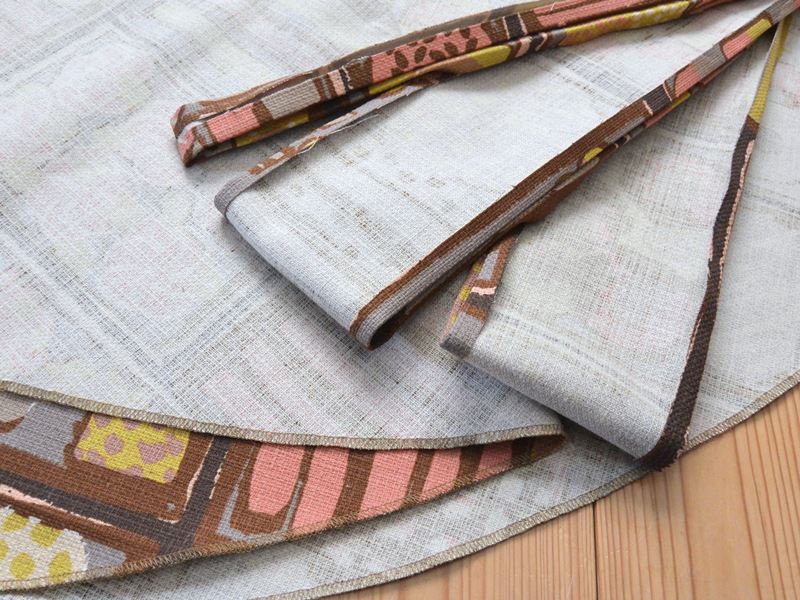
Many pieces require diagonal cutting. First and foremost, apply zigzag stitches on the hem of the skirt after cutting. To make the process more efficient, iron the pieces altogether at once.
2.
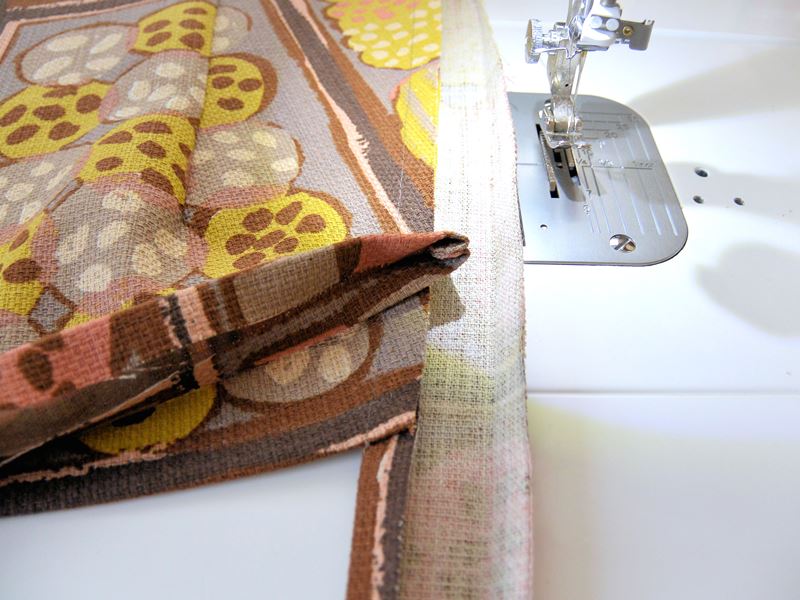
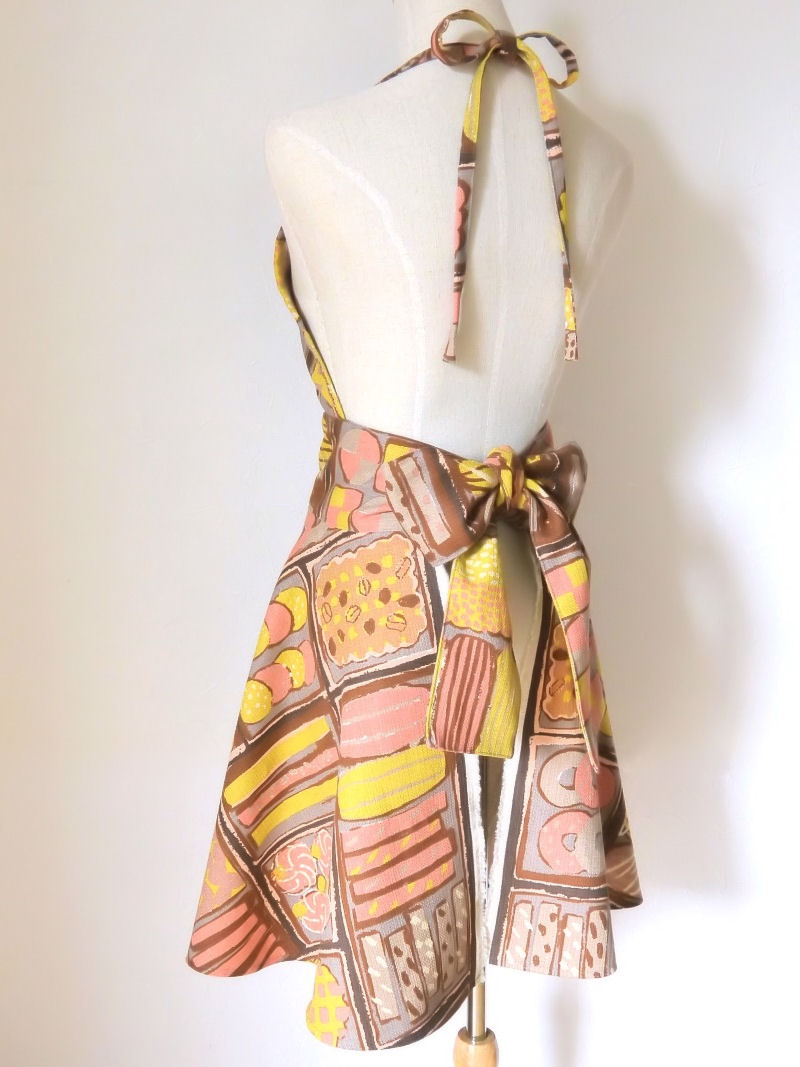
The sides of the bodice will be finished with piping. If you are not good at this process, you can achieve a clean finish, by applying from the back and cover it. The end of the ribbon piece is closed at this point with the front sides facing each other.
3.
The waist ribbon is attached to the bodice. The skirt is about to be pieced together.
Make sure to iron the pieces to score, as once the skirt is attached, you will continue the rest of the process all the way to the end.
4.
You may find sewing this much of flair challenging with extra seam. Try not to rush the process. Here you apply zigzag stitches on the edge and fold 1cm hem in two to finish the hem. You could also try other methods including folding it in three, finish with raw edge, or use narrow rolled edge. For a beautiful flair, you may choose to use a method that results in a lighter finish.
5.
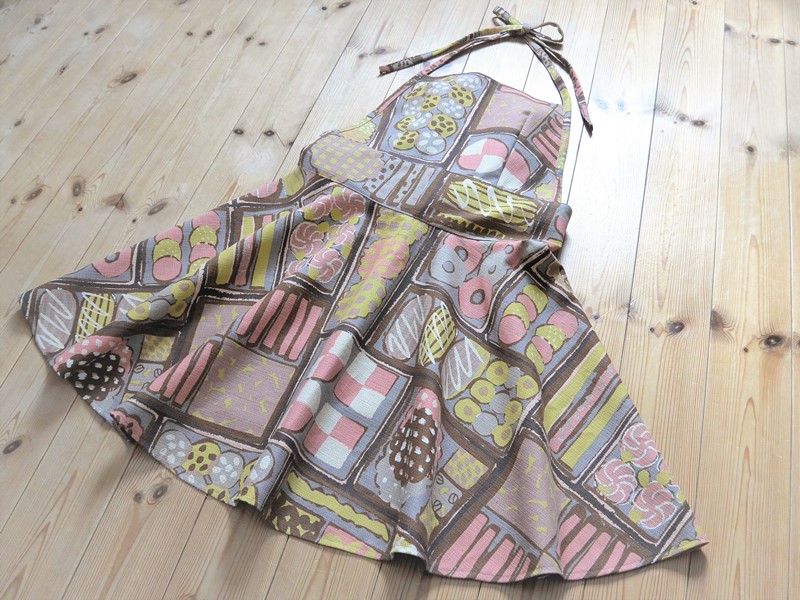
Finished
Instead of using a ribbon tied around the neck, halter-neck will also look lovely.

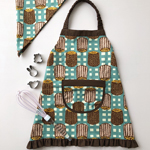 Kid’s Apron and Head Scarf Sewing Instructions
 Bib Apron in Coffee Color
 Everyday Apron