
This week we are featuring a hair turban, a handy item for hot summer days. Under the glittering summer sky, the refreshing blue color brings a sense of freshness. Among the tiny history series, this swan design features especially smaller motifs. This subtle design adds cuteness around your face. A popular blogger and handcraft artist, Mioko Sugino, aka komihinata is sharing her creative idea.
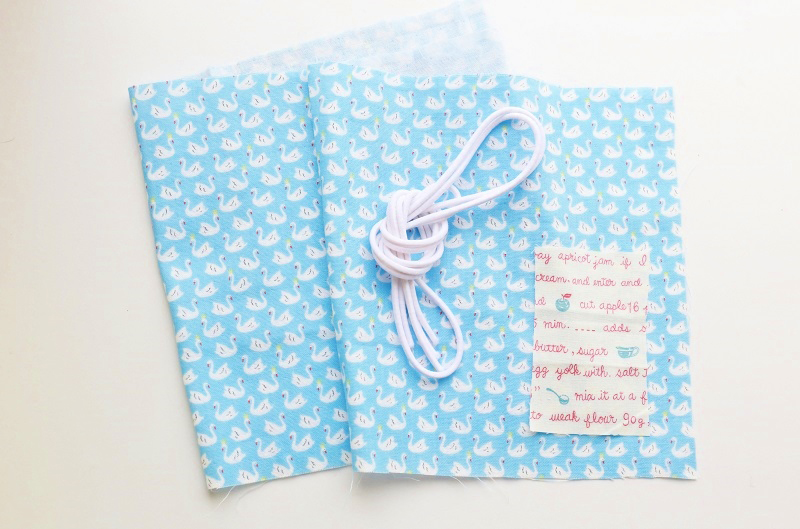
Fabric shown for this sample: tiny history P37000-701 (B)
Materials:
□ Fabric (Main part): 80cm×20cm
(Embellishment):10cm×10cm
□ Elastic: 1.5m (0.3cm diameter)

We interviewed Mioko about her creation:
Kokka Fabric (KF): What did you think of the fabric you used for this project?
A lovely design with tiny aligned swans and color tones gave me the impression of freshness and cuteness. Incorporating a soft texture, I wanted to create something that directly touches your skin, so I chose a hair turban. Straight line motifs made it easy to cut and sew.
KF: Can you tell us any special elements or ideas that you incorporated into this creation?
I tried to make the process as easy as possible.
With the elastic inside, it hides small flaws as the fabric is all gathered.
The accent is the embellished fabric in the center.
KF: What are some tips for making this turban?
It is very easy as it only requires straight stitching!
Make sure to securely tie the elastic so that it won’t undo when pulled.
Before sewing the edges of the main part together, pull and check the tightness of the elastic.
Please adjust the length of the fabric and elastic to your liking.
KF: How should we use this turban in everyday situations?
Of course you can wear it while washing your face and putting on make-up. You will find it handy during a hot season as it keeps hair away from your face, keeping you feel cool.
A matching handkerchief and scrunchy in the same fabric will look cute.
KF: Thank you very much, Mioko! Here are sewing instructions along with step by step photos from her. Enjoy crafting!
Instructions
1.
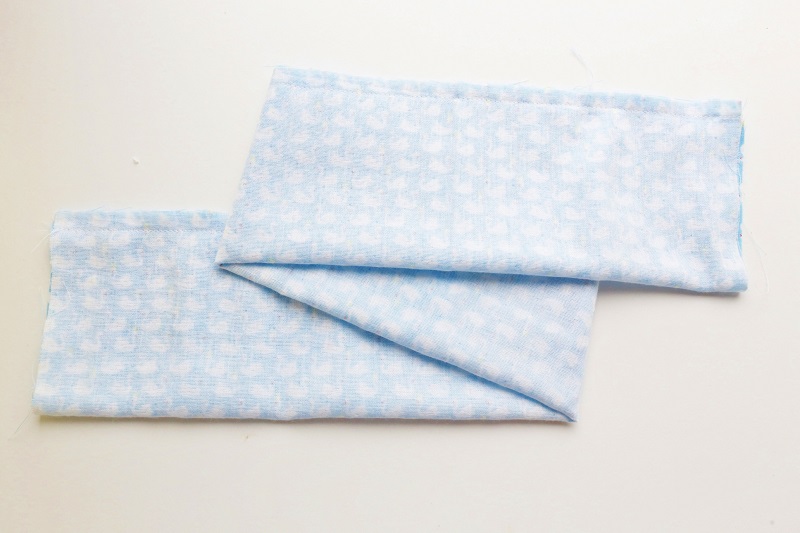
With the front sides facing each other, fold the double gauze fabric in half.
With 1cm seam, sew lengthwise for 74cm. After sewing, press the seam open.
2.
Turn it inside out and set the seam to be in the center.
3.

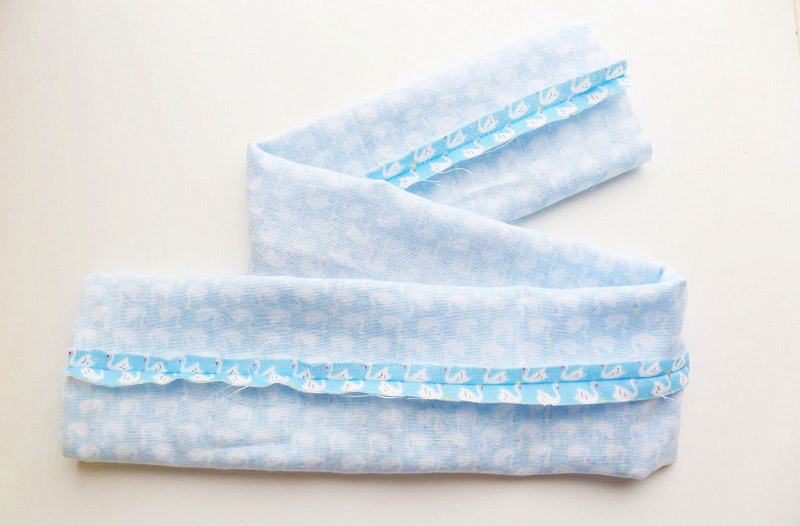
Run topstitches at 0.3cm from the edge.
4.

Run topstitches in the center, dividing it roughly into three.
5.
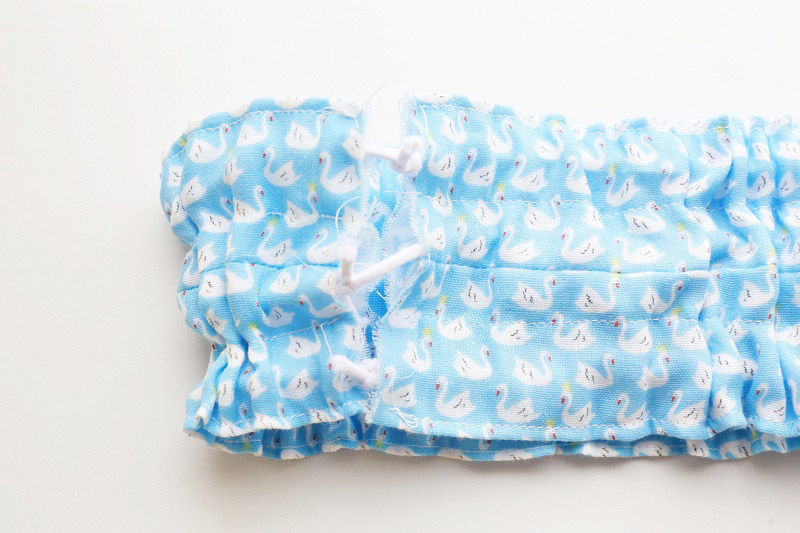
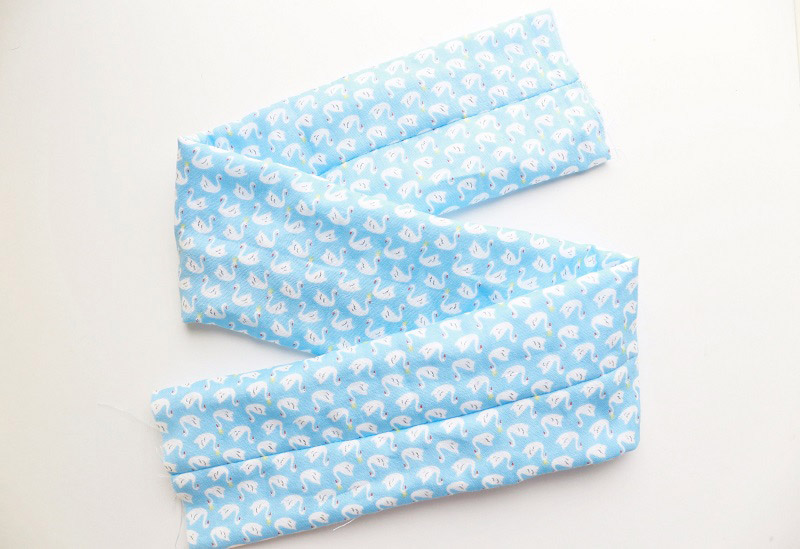
Put the elastic through and tie each end securely.
6.

Put both ends of the fabric and sew together.
7.
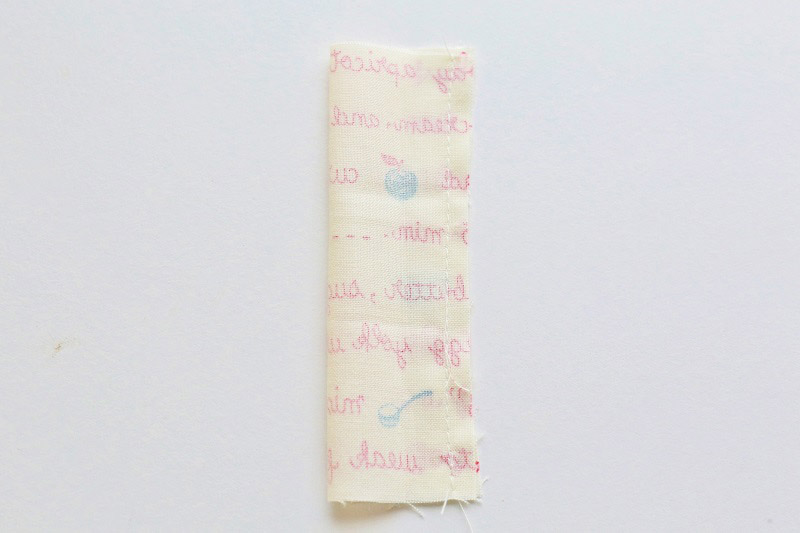
With the front sides facing each other, fold the embellishment fabric in half and sew.
8.
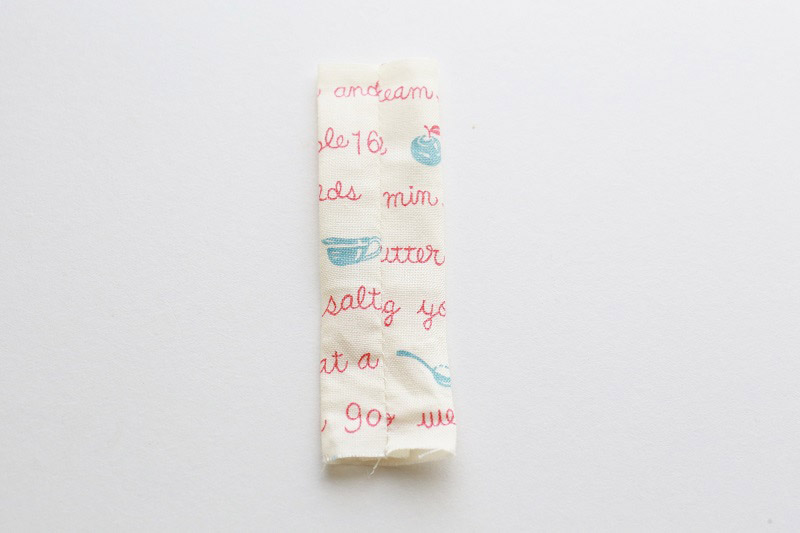
Turn over the embellishment fabric and set the seam to be in the center.Press the seam open.
9.
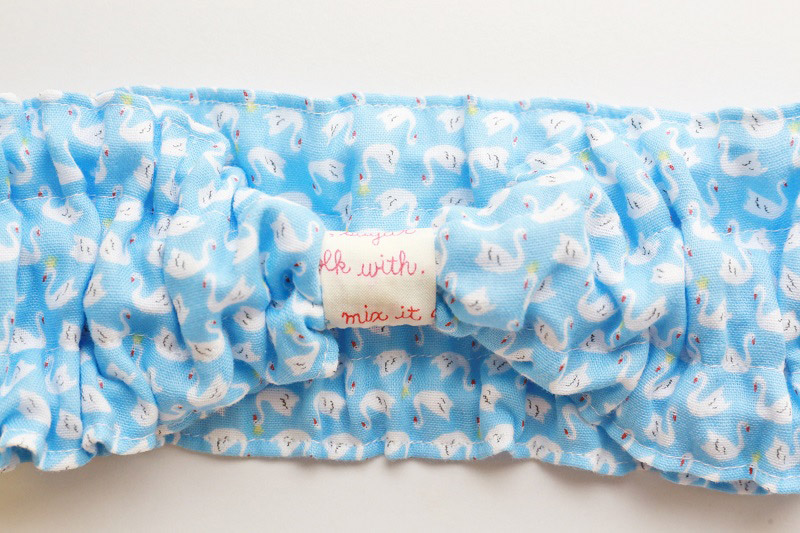
Cover the sewn-ends with the embellishment fabric. Fold-in the end for 1cm and secure it using blind stitches.

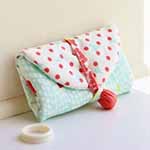 Accessory Case
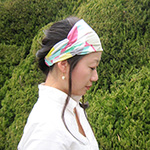 Headdress
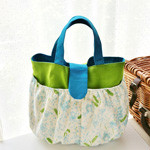 Fluffy Bag with Pockets