
Here is a suggestion for those who are so preoccupied with using smartphones – why not enjoy writing in a notebook once in a while?
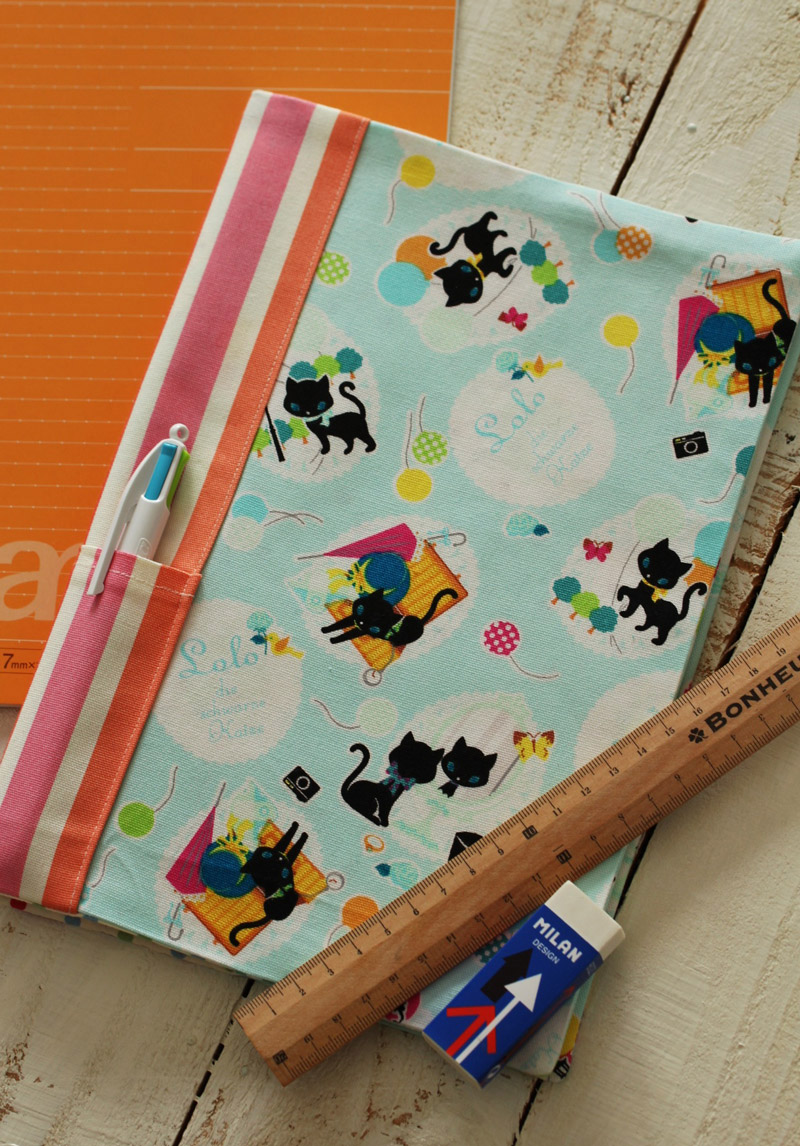
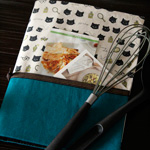
Taking a moment from a busy everyday life to write a journal of the day’s happenings on a blank page of a notebook paper will provide you with a somber feeling. The featured project, a notebook cover, will make such “notebook life” a very special one. By putting additional pockets on the back and sleeve, you can have your secret pad. The selected fabric is Lolo, the Black Cat’s Going for a walk, from the PUSH PIN* x KOKKA collection. A popular handcraft artist, Kanae Nakayama who is full of ideas, is introducing her creation.
Fabric shown for this sample:HG2303-1 (B)
Materials:
□ Fabric (Outer fabric a, b, c): 70cm×30cm
(Outer fabric d (gingham check)): 20cm×30cm
(Pocket, Back fabric (stripe)): 20cm x 50cm
(Lining fabric (polka dot)): 40cm x 30cm
We interviewed Kanae about her creation:
Kokka Fabric (KF): What did you think of the fabric you used for this project?
I thought the girls in elementary school would love this design.
When coming up with the design and fabric combination, I was thinking of creating an item that would look cute when taking it out from a girls’ backpack.”
KF: Can you tell us any special elements or ideas that you incorporated into this creation?
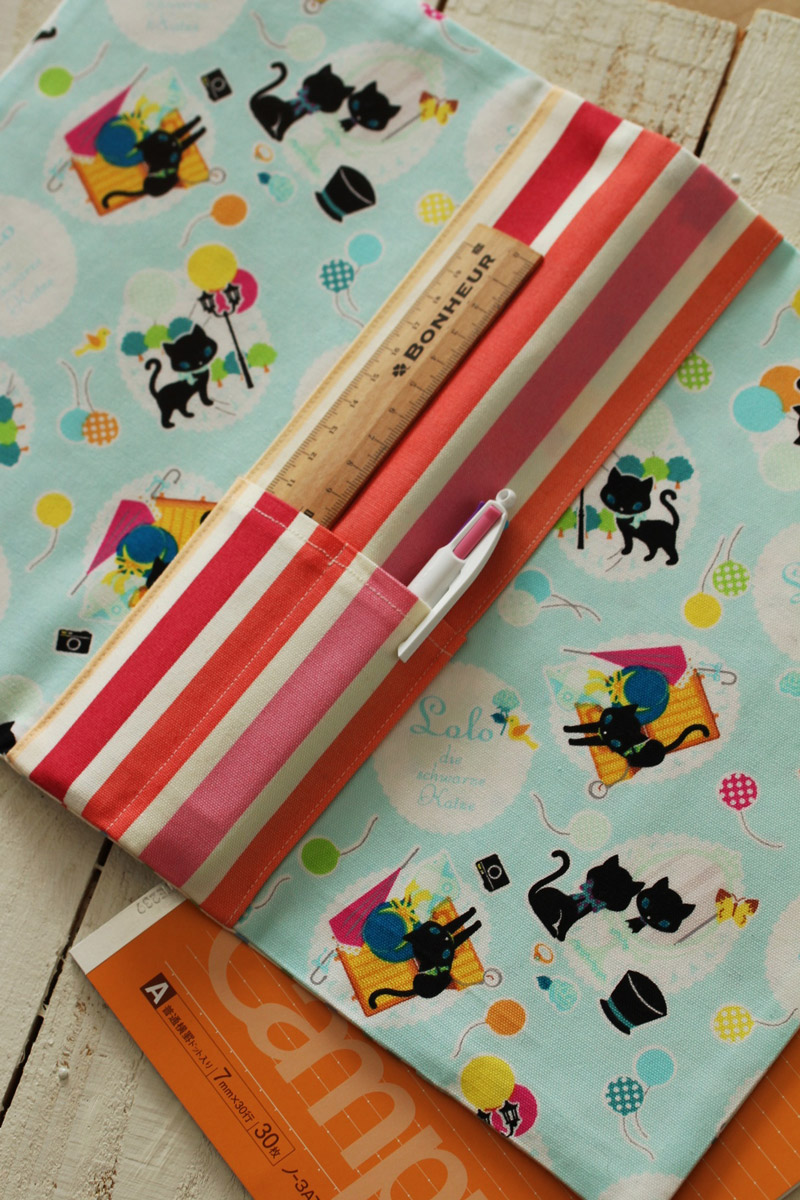
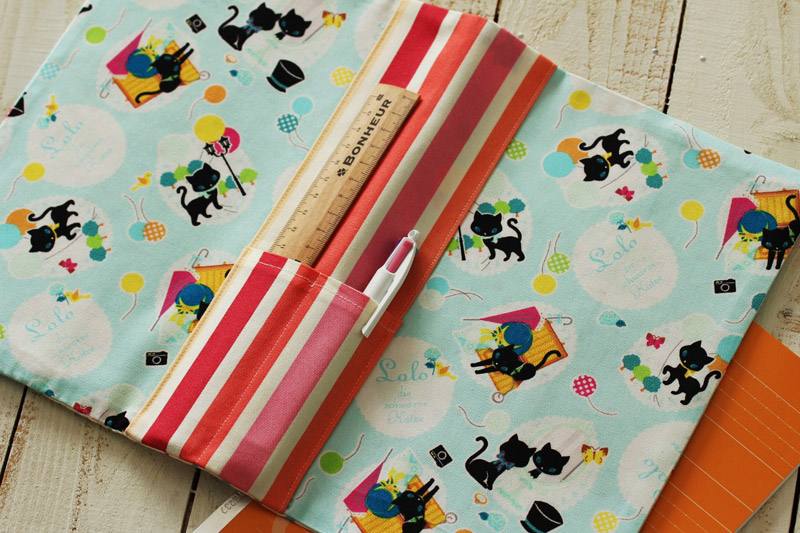
The back has a pocket for pens and a ruler.
Inside of the left flap features divided pockets.
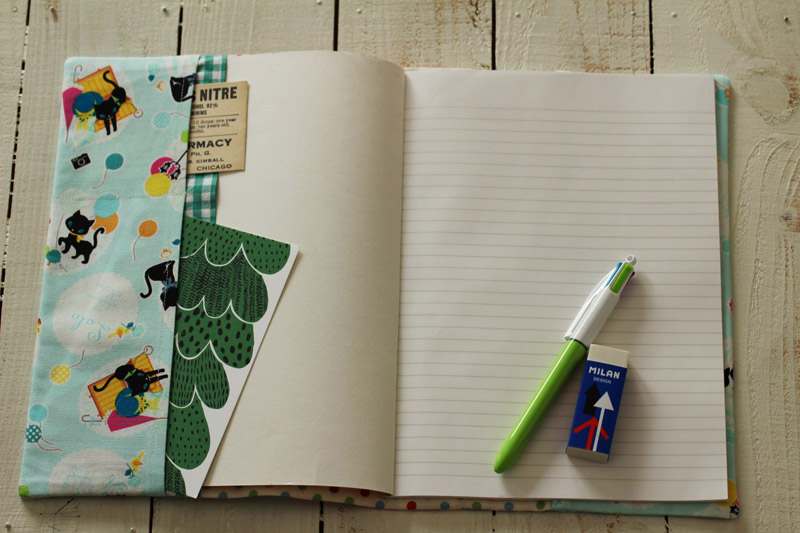
A business card size pocket at the top and a post card size pocket at the bottom.
KF: What are some tips for making this cover?
A pocket fabric is placed on the back (stripe) fabric and both seams are folded inward together. When doing so, you may find a bit of tension as the fabrics are layered at the pocket opening. Try to loosen the pocket fabric a little bit so that the finish will look nice and clean.
KF: How should we use this cover in everyday situations?
I suggest using the cover for a correspondence notebook, an essential notebook between a teacher and parents at an elementary school. It is your one and only notebook and you can keep the letters in a pocket. By adding this cover to a regular notebook, something simple becomes something very special.
KF: Thank you very much, Kanae! Here are sewing instructions along with step by step photos from her. Enjoy crafting!
Instructions
1.
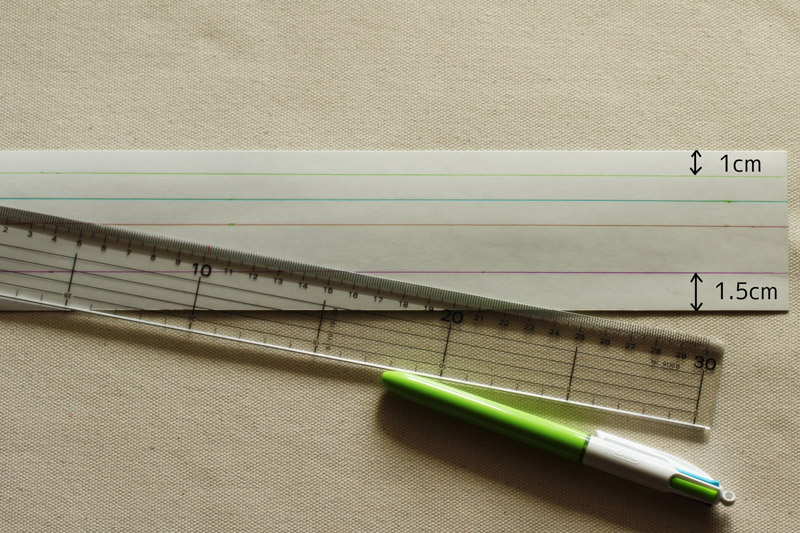
Utilize a cardboard ironing ruler for a clean creasing.
In order to reuse the ruler later, it is indicated with three 1cm-wide marks and one 1.5cm-wide mark.
2.

Fold a 1.5cm seam for the pocket and iron to score.
3.
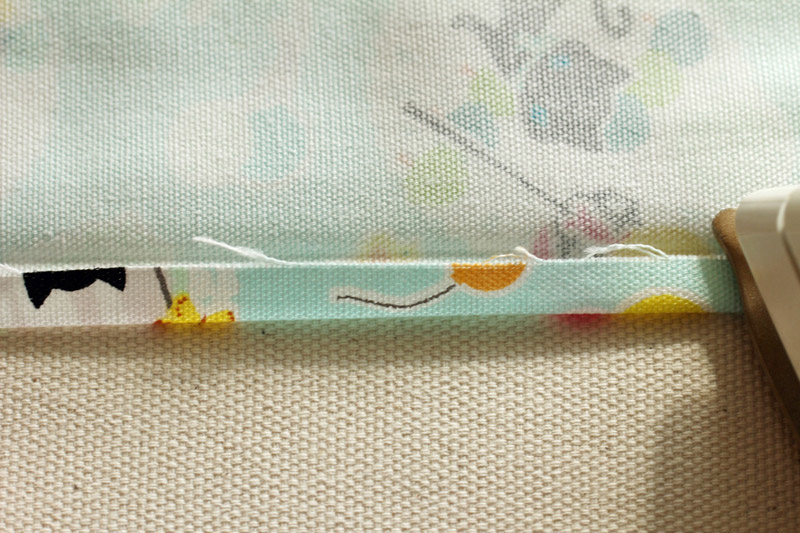
Open the fold. Re-fold the fabric by aligning the fabric edge and fold line, and press with an iron.
4.
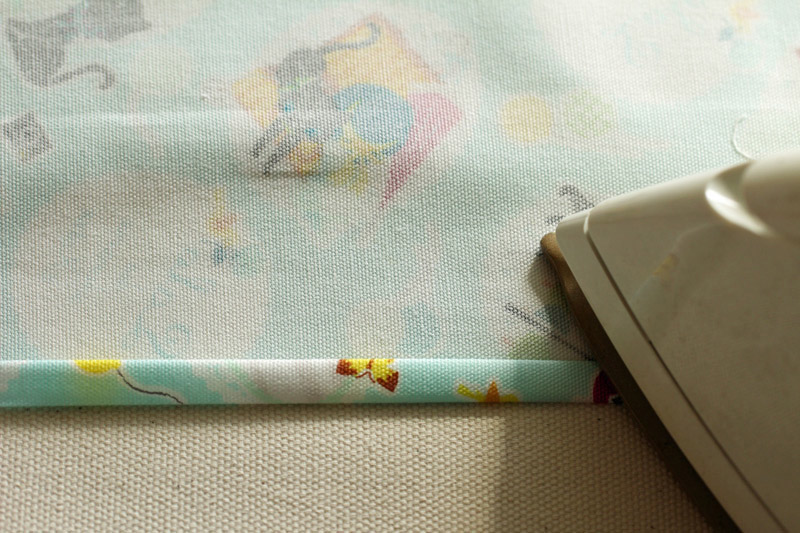
Fold it again to create a double fold and press with an iron.
5.
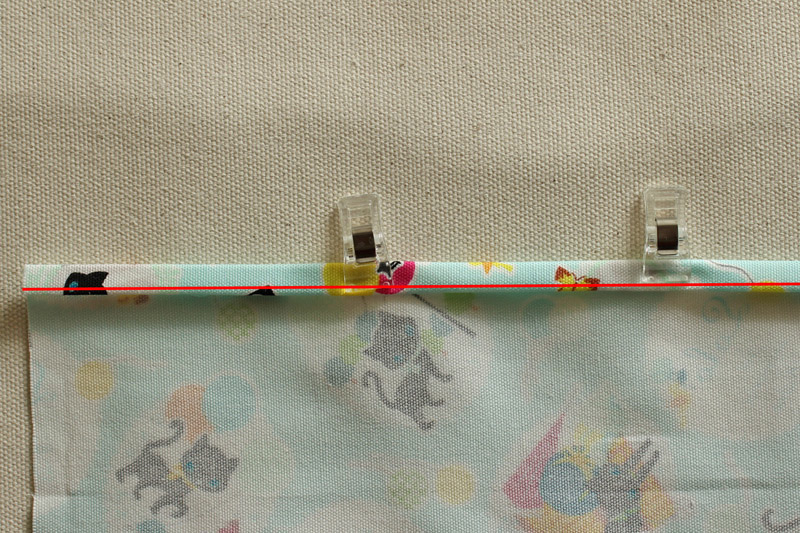
To secure, run stitches (along the line shown in red above.)
Repeat the process (double fold, iron and sew) on both right and left openings.
6.

Fold the sides of the back fabric and back pocket for 1cm inward and press with an iron.
7.
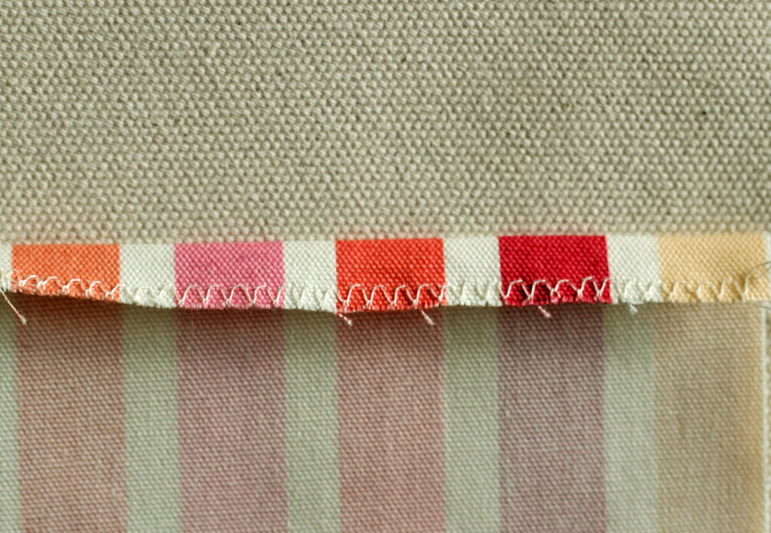
Run zigzag stiches on the pocket opening. Fold inward for 1cm and run stitches.
8.

On top of the outer fabric, place the back fabric first, then pocket fabric, aligning the center.
9.

Fold the seam inward and pin it. Sew the edge using a sewing machine.
10.

Repeat the process on the other side. Run stitches vertically in the center to divide the pocket. (shown as a yellow line)
11.
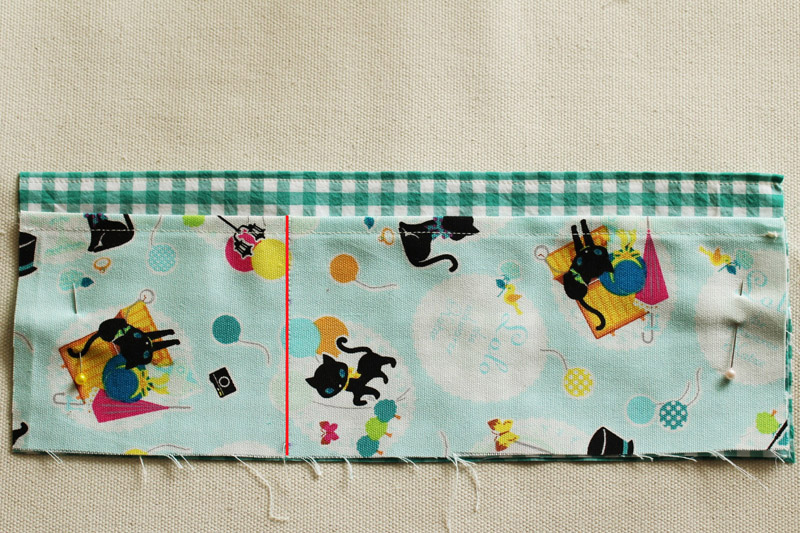
Layer the pocket fabric over the left flap. Stitch the dividing line. (shown as a red line)
12.
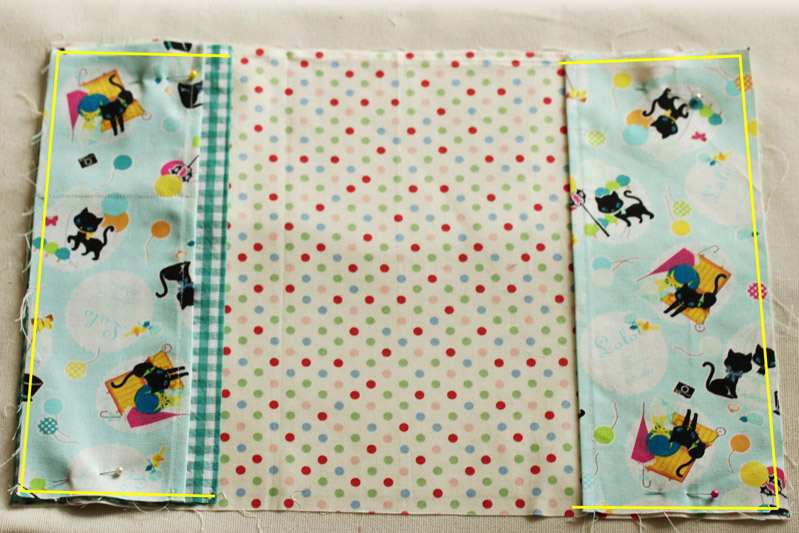
Layer the flap fabrics on top of the interior side (with interfacing adhered on the back) of the main cover. Run basting stitches by machine at 5mm from the edge. (shown as a yellow line)
With the front sides facing each other, place the main outer fabric on top and sew all the way around leaving an opening for turning.

 A4 Size File Cover
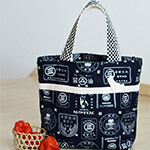 Apron Tote
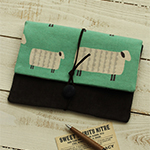 Sheep Shaped Pouch