
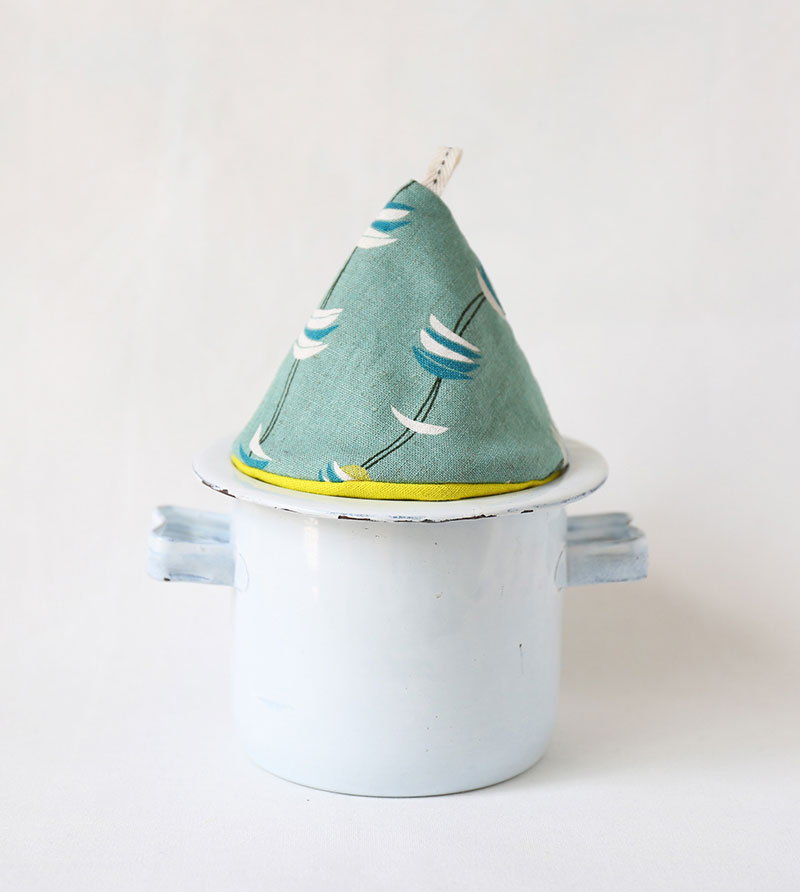
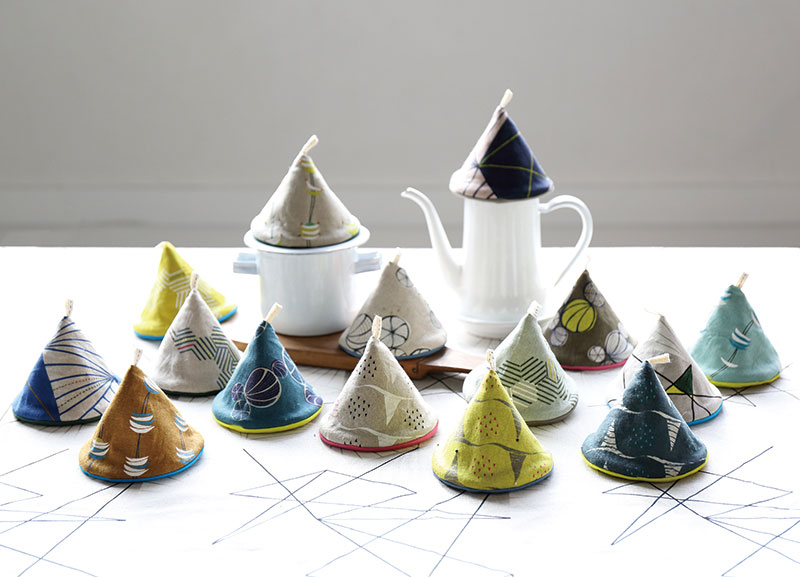
The featured project is a practical yet lovely cone shaped pot holder. By combining different patterns and colors, you can create many variations, making it perfect for a kitchen. Everyday cooking will be fun by choosing a variety of pot holders depending on your mood and the dishes you are making.
Fabric shown for this sample: (Outer fabric) tayutou JG50900-901B
(Lining fabric) tayutou JG50810-10I
Materials:
□ Fabric (Outer fabric): 30cm×15cm
(Lining fabric):30cm×15cm
□ Quilt batting: 30cm×15cm
□ Tape: 6cm (width 0.6~0.7cm)
*All Rights Reserved.
We interviewed Ayumi about her creation:
Kokka Fabric (KF)What did you think of the fabric you used for this project?
While it is a kitchen item, this cone shaped pot holder is so lovely and looks comforting.
For the fabric, I used pasta, a design that reminds you of stacked pasta plates.
KF:Can you tell us any special elements or ideas that you incorporated into this creation?
This pot holder made with a solid texture half linen canvas can be used for everyday cooking.
Since it is not a fire-retardant fabric, please be careful when using it near the fire or with a high temperature oven.
KF:What are some tips for making this pot holder?
When turning the fabrics over, you may find it a little difficult with the batting in-between. Do it slowly and it should not be a problem.
KF:How should we use this pot holder in everyday situations?
Why not make several pieces in various patterns, as it will look cute stacked. You will find it convenient to have a pair for holding pots and tabletop earthen pots. Besides using it as a pot holder, it can be used as a cover like a hat on top of a small individual tea pot and served on the table.
KF:Thank you very much, Ayumi! Here are sewing instructions along with step by step photos from her. Enjoy crafting!
Sewing Instructions
1.
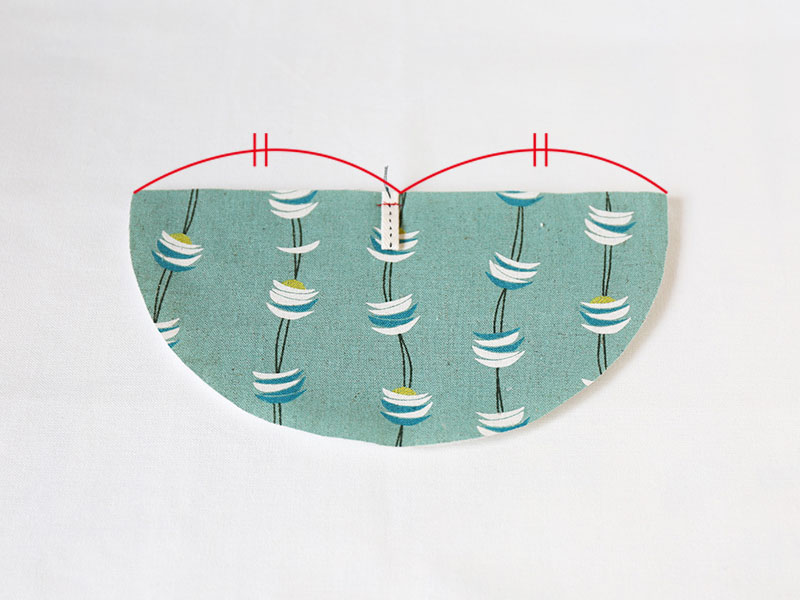
Place the fabric at the top and quilt batting underneath. Fold the tape in half. Place it in the center with the loop facing down. Attach it with the top extending out for 5mm from the finish stitch line.
2.
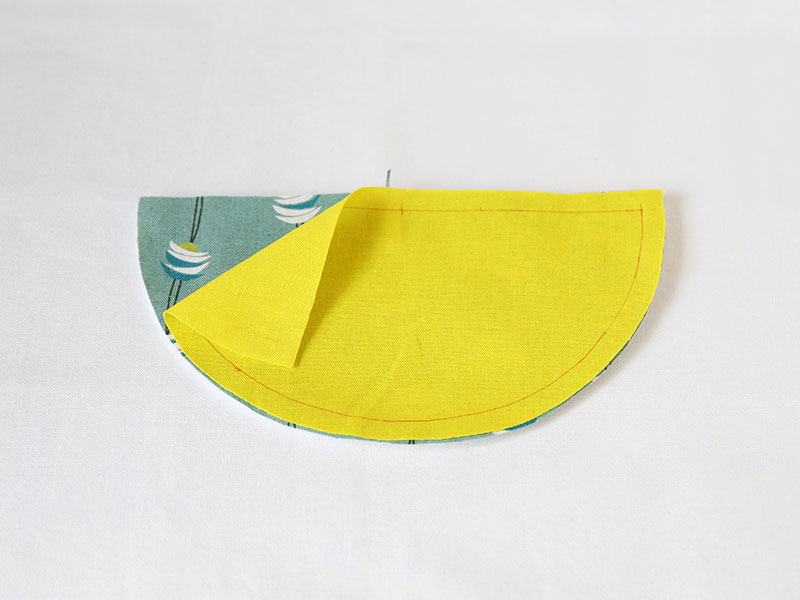
With the front sides facing each other, place the solid fabric over the piece from Step 1.
3.
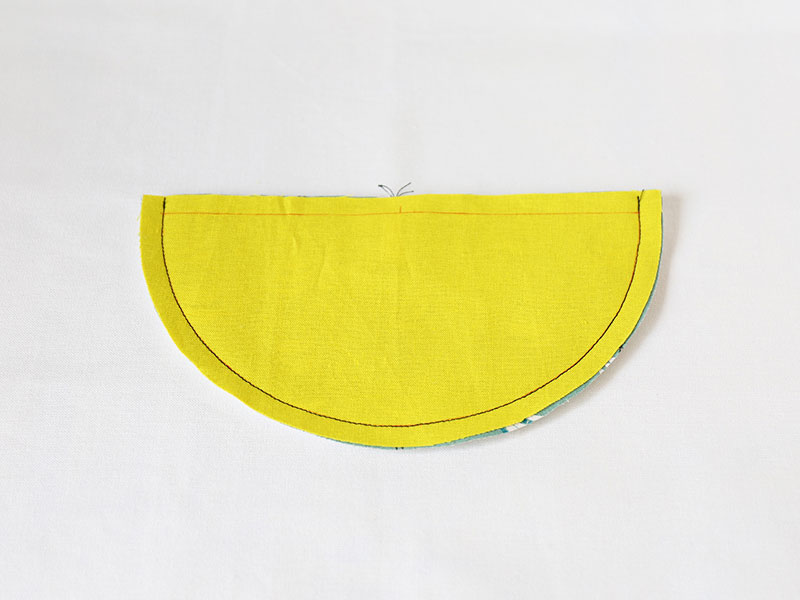
Sew together the pieces at the finish stitch line along the arc.
4.

Sew together the patterned fabric and solid fabric respectively. On the solid fabric, leave an opening for turning for 5-6cm.
5.
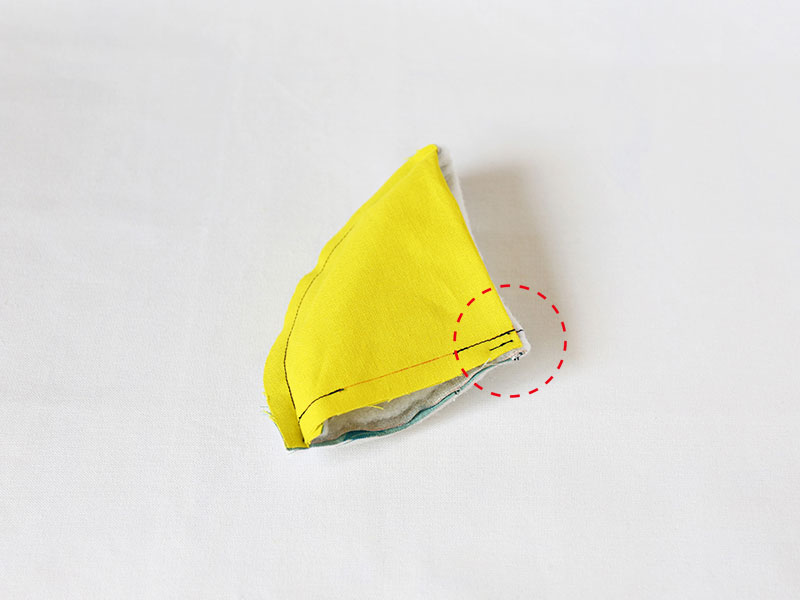
Apply four to five stitches at 5mm outside of the finish stitch line on both patterned fabric and solid fabric at the tip of the cone.
6.
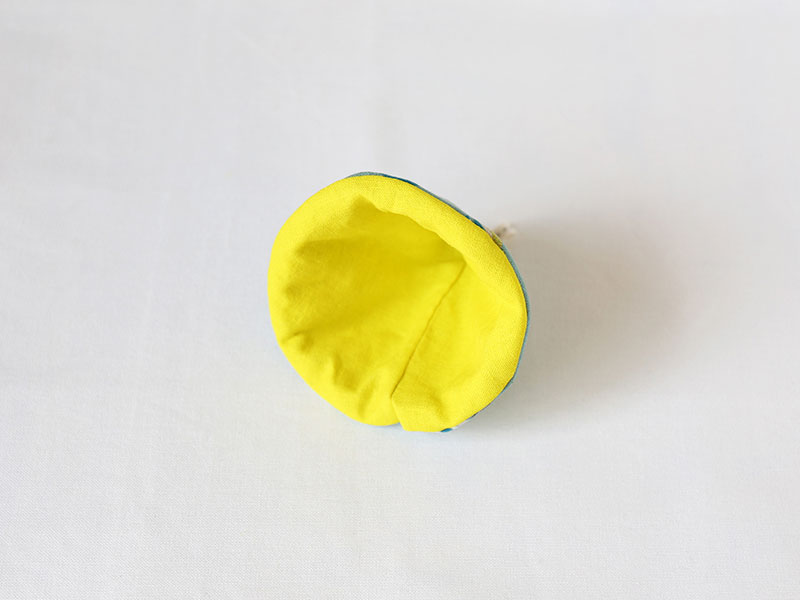
Turn it inside out using the opening. Close the opening using ladder stitch.

 Cutlery Holder
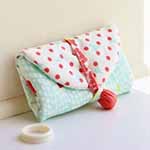 Accessory Case
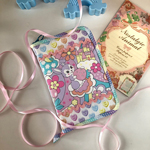 Multi-Purpose Case – Sewing Instructions