
Shoe Bag 25.5cm (l) 18cm (w) 6cm (d)
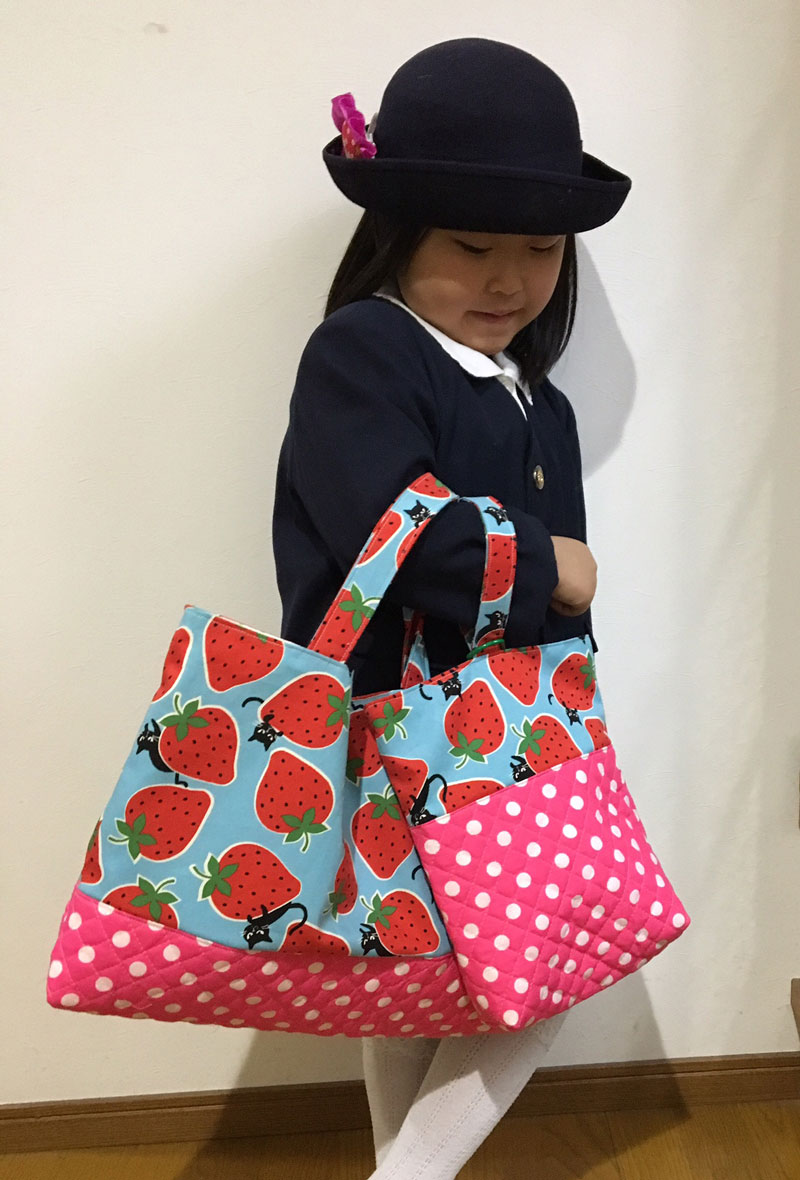
Today’s project is a school bag and indoor shoe bag, must-have items for a new school year. A quilted dot fabric is combined with a fabric filled with girls’ favorite lovely motifs, strawberry and cats. We highly recommend making both bags as a pair!
Fabric shown for this sample: (Outer Fabric a, Handle, Tab) P43400-401 (C)
Materials:
□ Fabric (Outer Fabric a・Handle・Tab): 110cm×50cm
(Outer Fabric b): 70cm×40cm
(Lining Fabric): 70cm×70cm
□ D Ring: One piece (2.5cm inner diameter)

We interviewed Masumi about her creation:
Kokka Fabric (KF): What did you think of the fabric you used for this project?
Since it has such cute illustrations of girls’ favorite motifs, strawberries and cats, I created something that emphasizes these lovely elements.
KF: Can you tell us any special elements or ideas that you incorporated into this creation?
For the handle, I used the same fabric instead of a nylon tape to create more softness. The bottom is reinforced with quilted fabric in case a small child drags the bag.
KF: What are some tips for making these bags?
The motifs are facing in all directions, so this fabric is easy to use for sewing beginners without worrying about aligning the designs.
KF: How should we use these bags in everyday situations?
To make everyday commuting with this bag more fun, why not adding a lace embellishment along the transition or attaching a patch of the child’s favorite character.
KF: Thank you very much, Masumi! Here are sewing instructions along with step by step photos from her. Enjoy crafting!
Instructions
1.
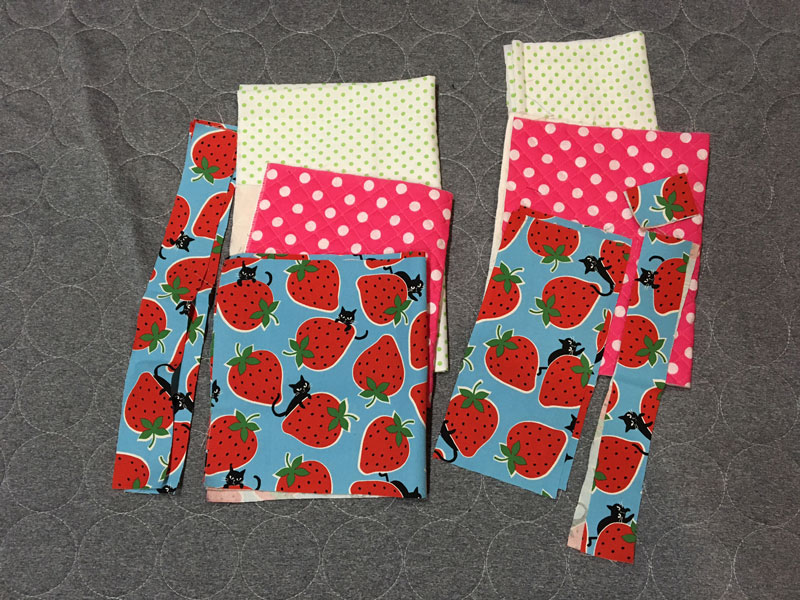
Prepare the materials.
2.

Fold the ends of the handle toward the center and iron to score.
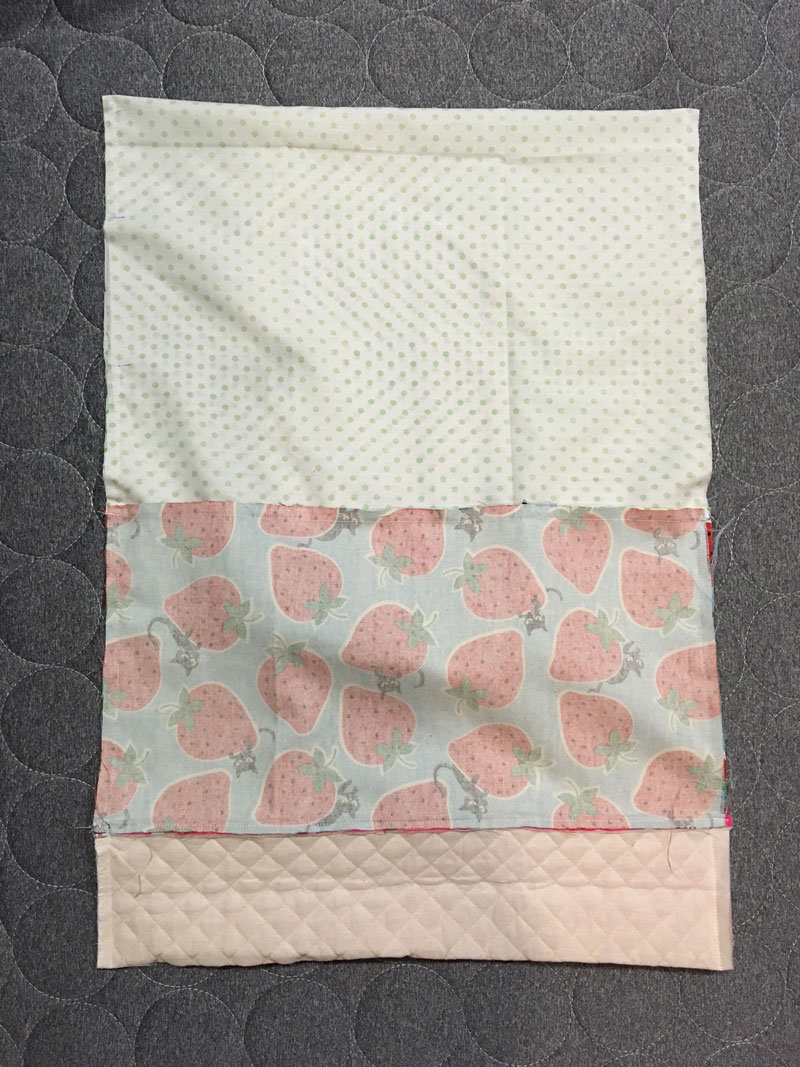
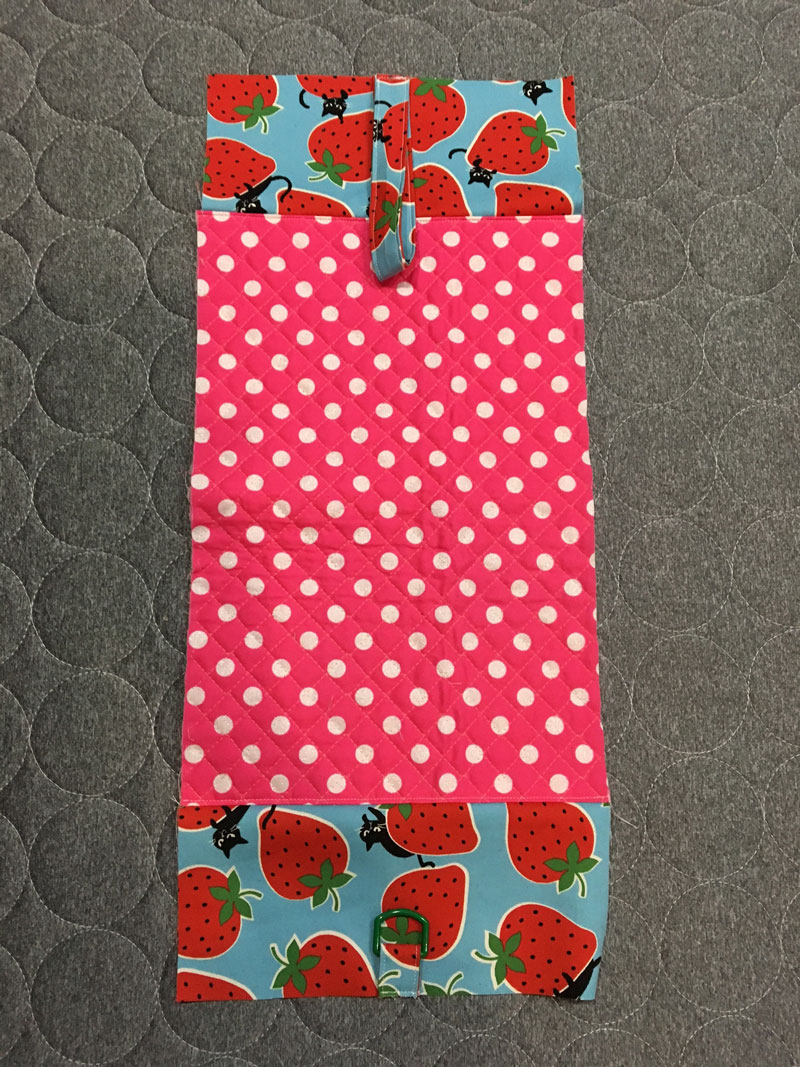
3.
With the front sides facing each other sew together the top outer fabric and bottom fabric (Top fabric → Bottom fabric → Top fabric)
4.

Baste the handle to the outer fabric pieced together in Step 3. (Place it at 8cm to the right and left from the center of the top opening.)
5.
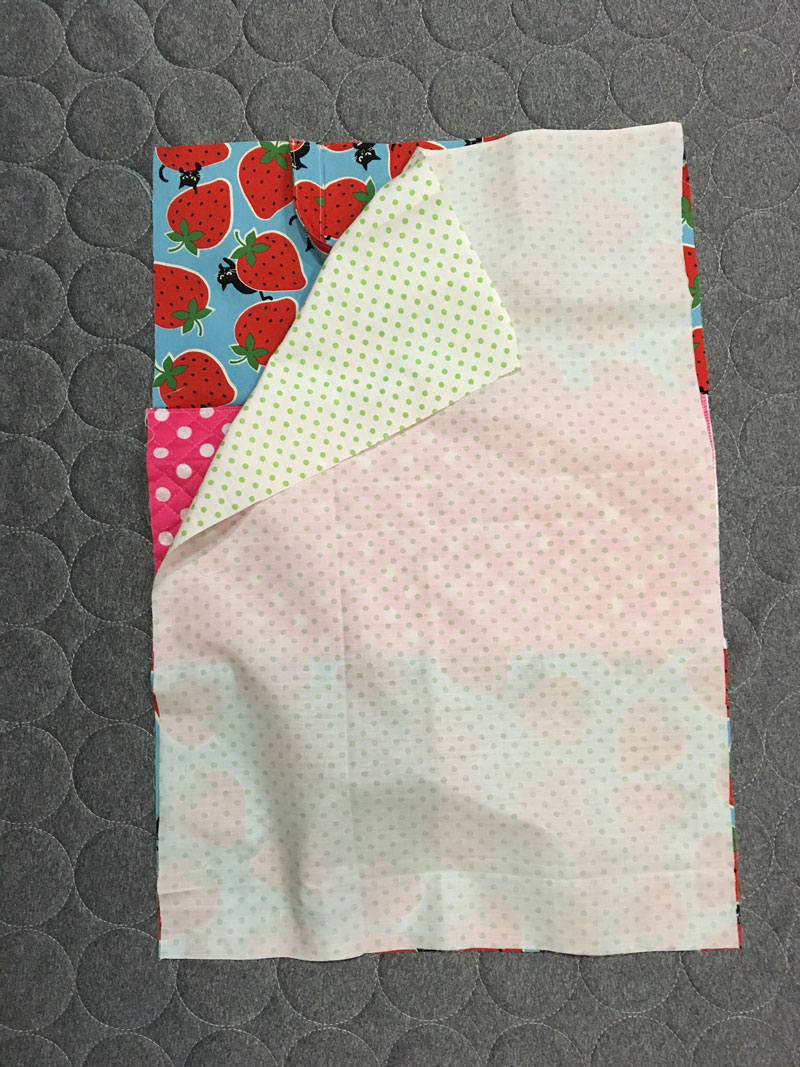
With the front sides facing each other, sew together the outer fabric and lining fabric at the bag opening.
6.
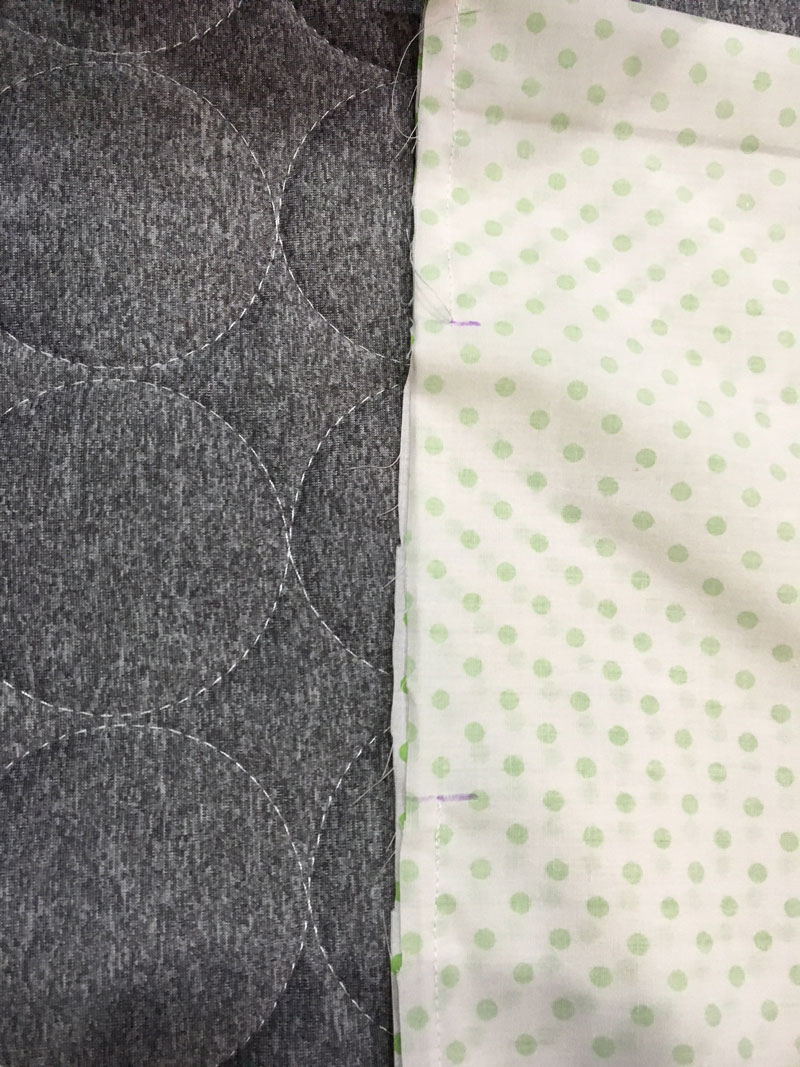
With the front sides of the pieced fabrics from Step 5 facing each other, sew together both sides. (Leave an opening for turning for 8cm on the lining fabric side.)
7.
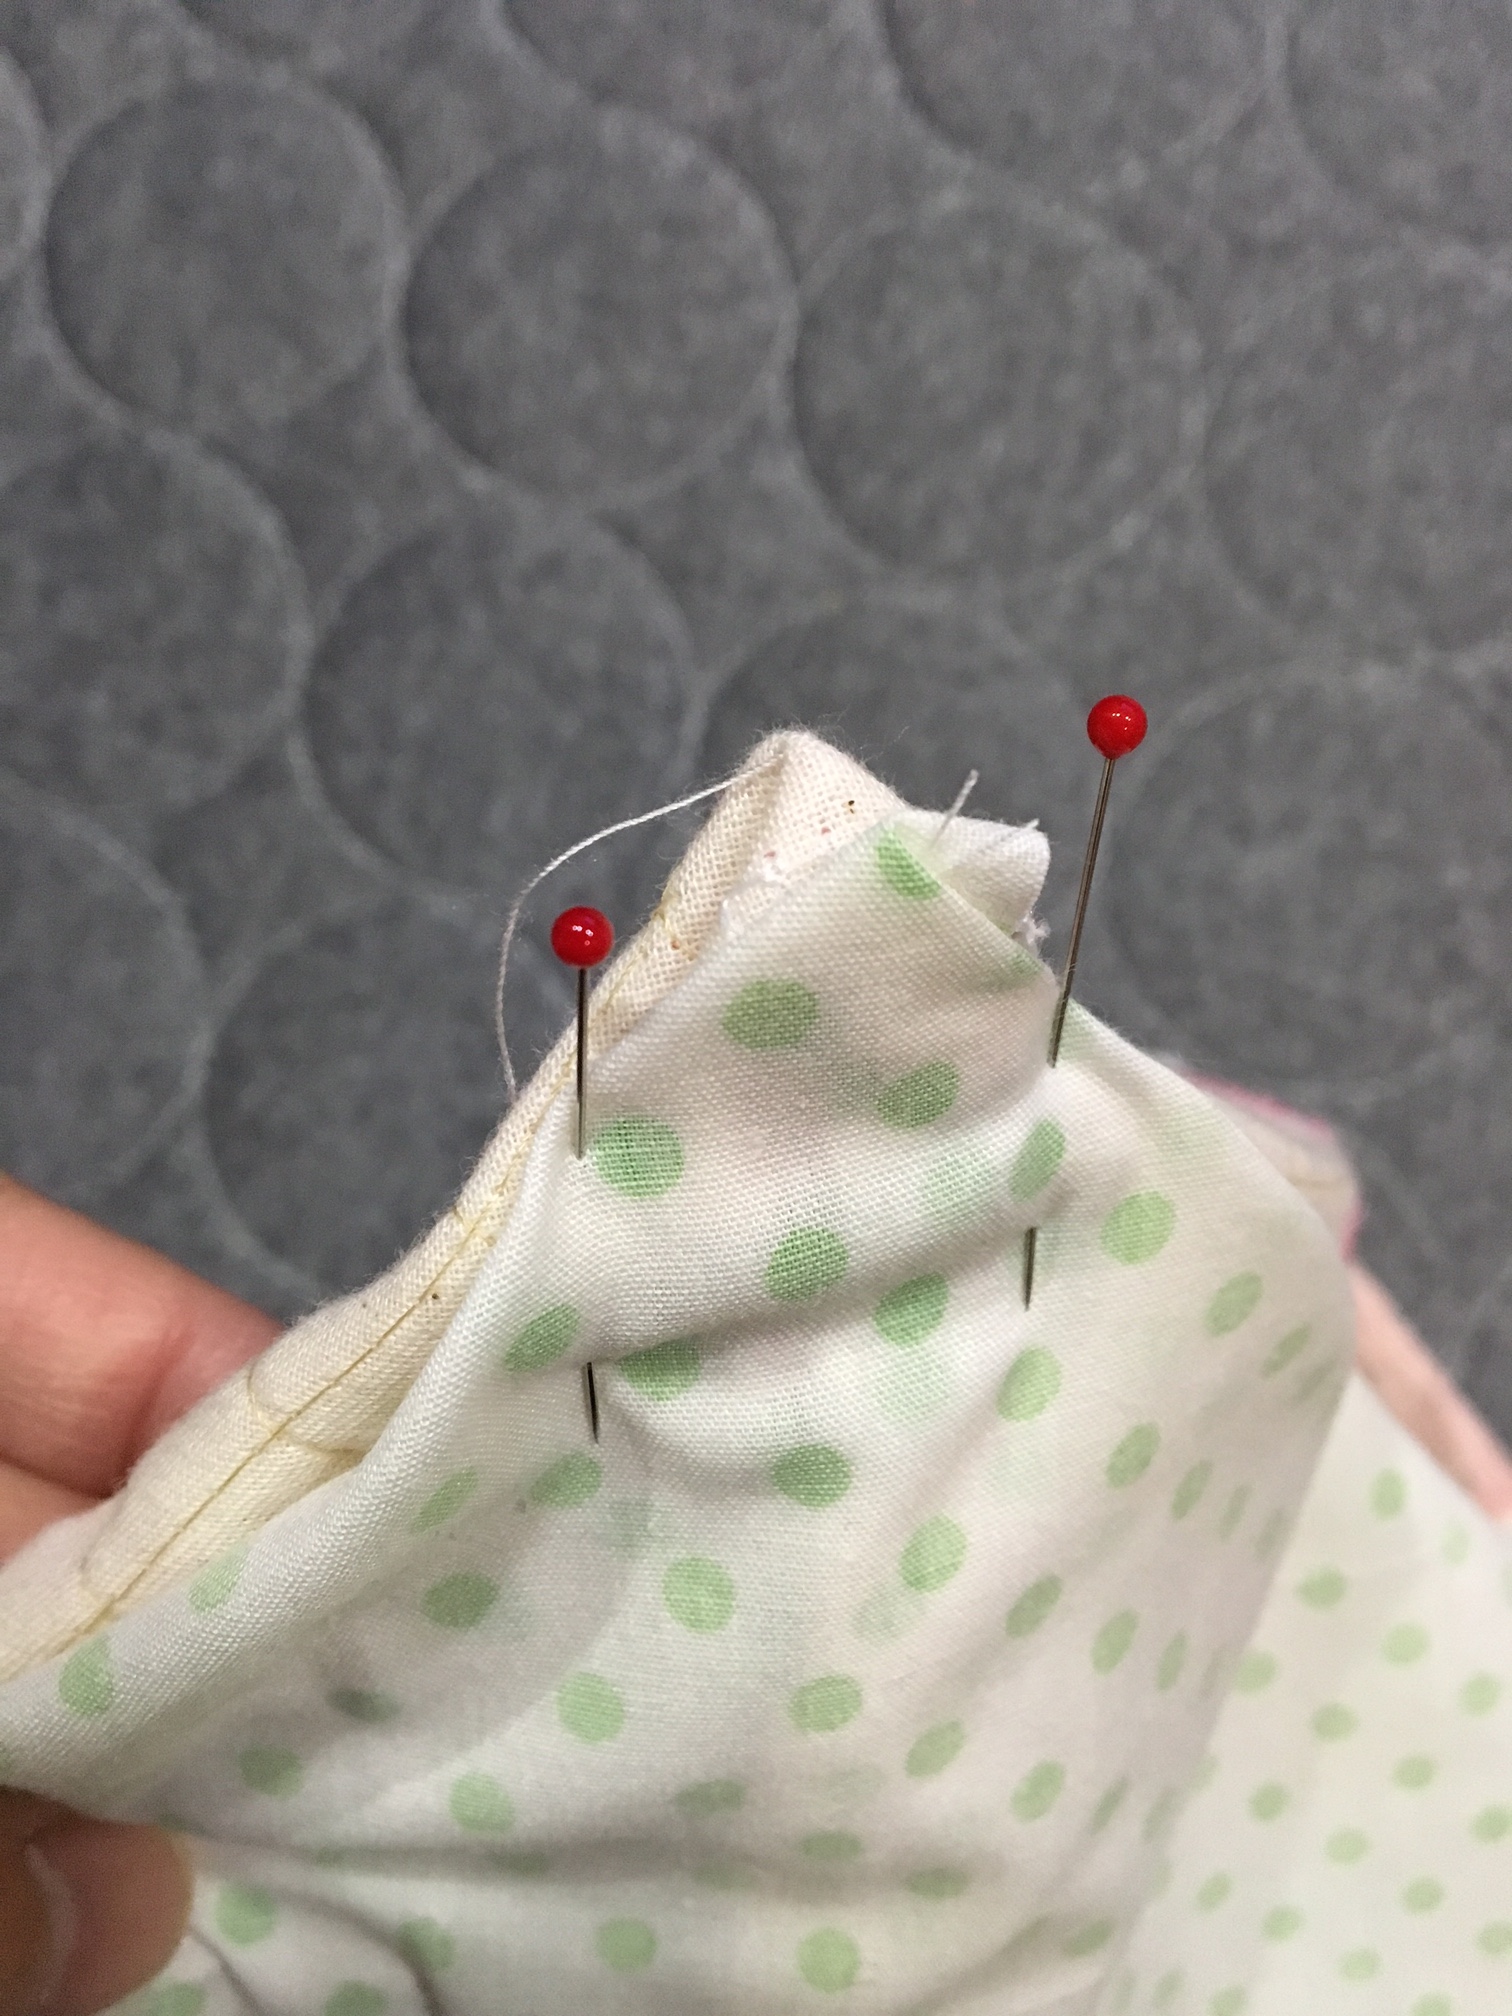
Put together the gusset of the outer fabric and lining fabric and sew.
8.
Turn the bag inside out using the opening from Step 6. Align the shape and sew all the way around the top opening to finish.
9.
Place the handle for the shoe bag in the center.

 Miniature Basket-Style Bag
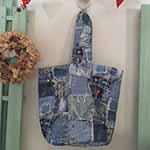 Bucket Tote
 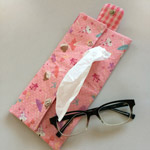 Portable Box Tissue Case