
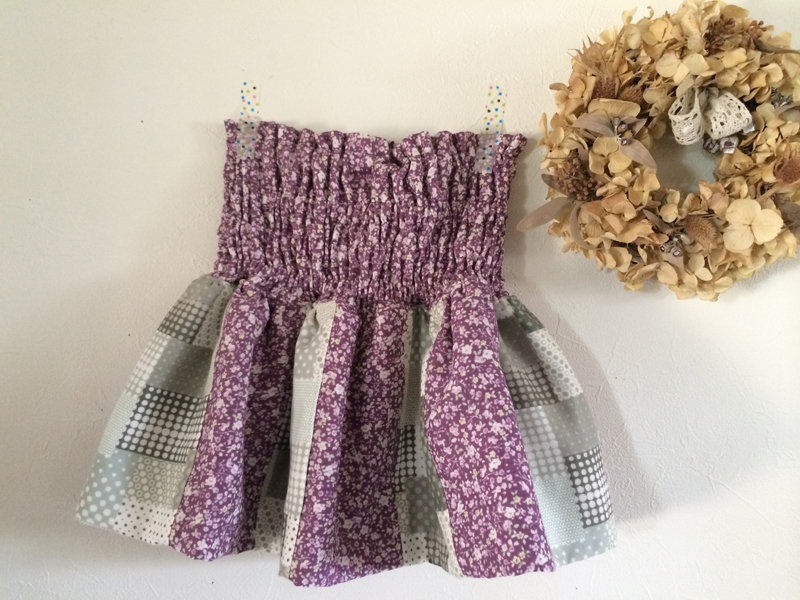
Today’s project is a kid’s skirt made with a small flower print fabric from soft breeze, a soft and fully double gauze fabric series. For little kids, it can be worn like a tunic with an exposed top portion, and for older kids, it will look cute as a skirt. Masumi Saito, aka sinafuku, who is popular with her idea-filled kids clothing, is introducing her creative two-way style skirt.
Fabric shown for this sample:P31300-300 (E)、P31300-301(D)
Materials:
□ Fabric (Top chest portion, Skirt a): 90cm×80cm
(Skirt b): 80cm×50cm
□ Elastic Tape (1cm wide): (Waist measurement + 1cm) x Four pieces

We interviewed Masumi about her creation:
Kokka Fabric (KF): What did you think of the fabric you used for this project?
By incorporating the European feel of this small purple floral print, I came up with a mature yet girly skirt.
KF: Can you tell us any special elements or ideas that you incorporated into this creation?
With an extended waist length, it is a two-way skirt that can be worn as a skirt for an older kids and as a tunic for smaller children. To make the process easy for finishing the hem, I incorporated a folded style.
KF: What are some tips for making this skirt?
I think it can be made easily as it only requires straight cutting and stitching. Using an erasable marker or water soluble pen could help you sew straight lines for a clean finish.
KF: How should we wear this skirt in everyday situations?
If you make the skirt length longer, you can make it into a tunic dress. With a bolero top, why not enjoy it as a party dress!?
KF:Thank you very much, Masumi! Here are sewing instructions along with step by step photos from her. Enjoy crafting!
How to make Two-Way Skirt
1.
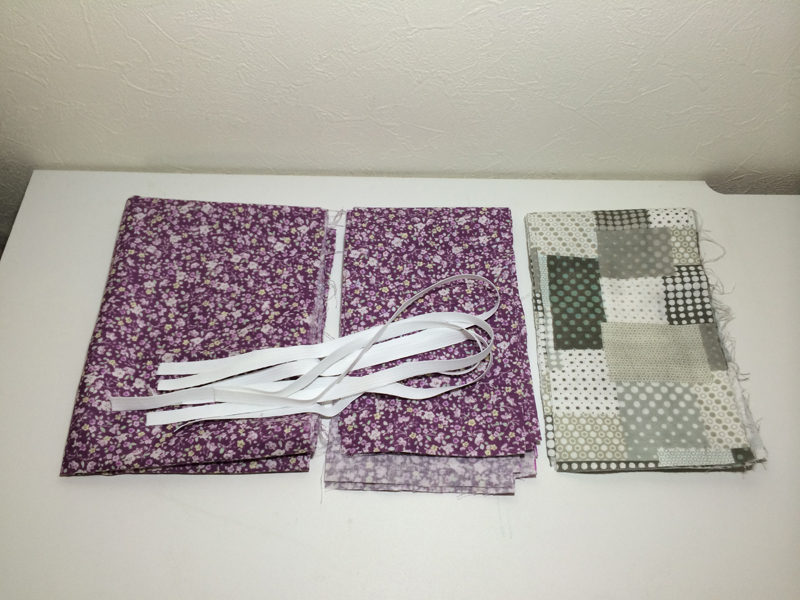
Prepare the materials.
2.
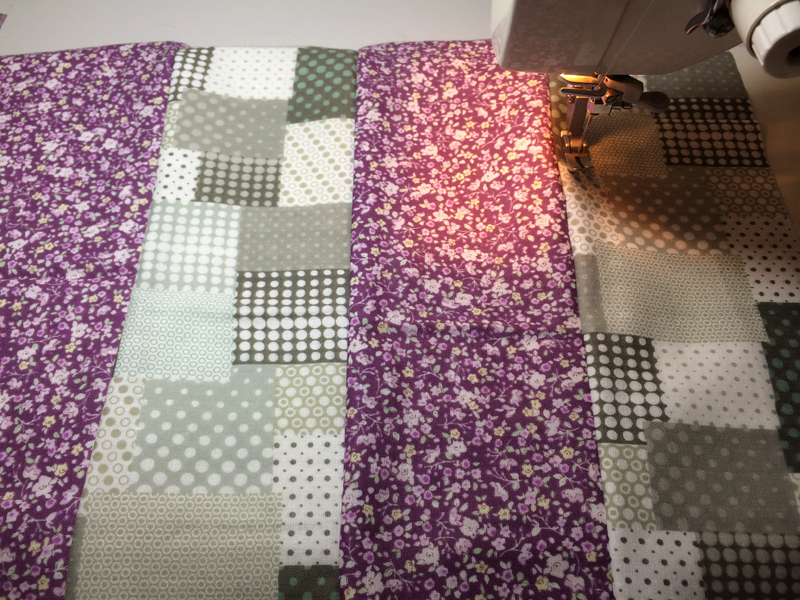
Piece together the skirt fabrics (12cm x 41cm with 1cm seam allowance) sideways.
3.
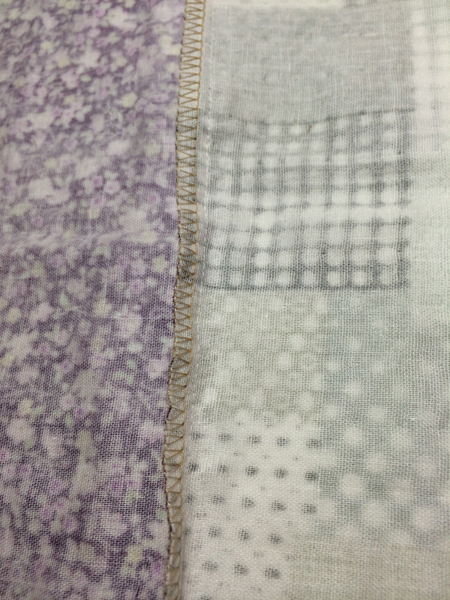
After all the pieces are sewn together, serge or run zigzag stitches on the seam.
4.
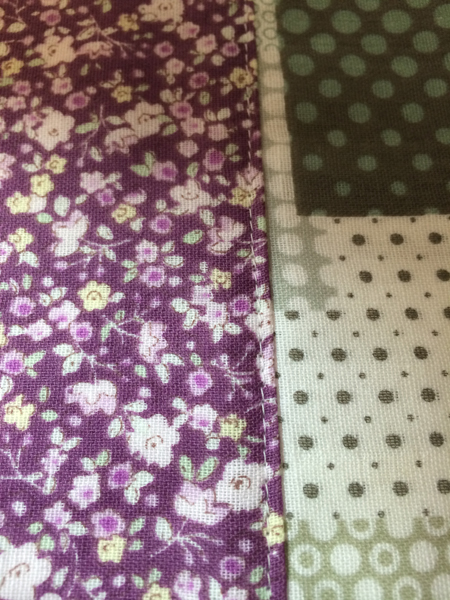
Press all seam allowance to either right or left in a uniform manner and run top stitches from the front. With front/outer sides facing each other, fold the skirt fabric from Step 3 in half and sew to make a tube. (Apply same finish treatment as in Step 3 on the hem.)
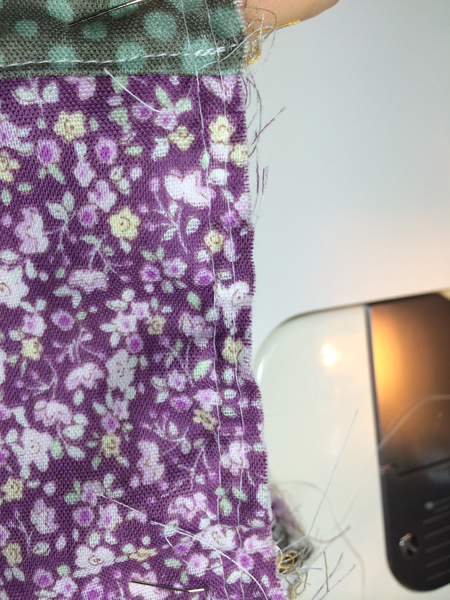
5.

With front/outer sides facing each other, fold the top (chest) portion fabric in half. Sew the end in the next interval, alternatively leaving an opening for elastic tape – 2cm (stitch) → 1.5cm (opening) → 2cm (stitch) → 1.5cm (opening) → 2cm (stitch) → 1.5cm (opening) → 2cm (stitch) → 1.5cm (opening) → stitch all the rest. It will create a tube, with multiple openings for elastic tapes.
6.

With front/outer sides facing each other, place the skirt inside the tube-top (chest) portion fabric. Sew together with 1cm seam. Serge or run zigzag stitches on the seam.
7.
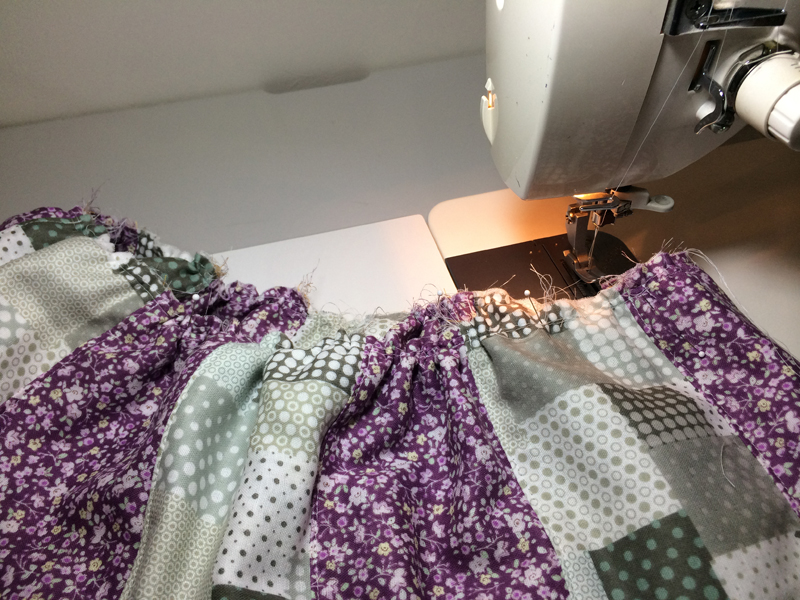
With front/outer sides facing outside, fold the skirt in half. On the other side of the fold line, run rough stitches to make a gathering. ※Make it the same length as the top portion fabric.
8.
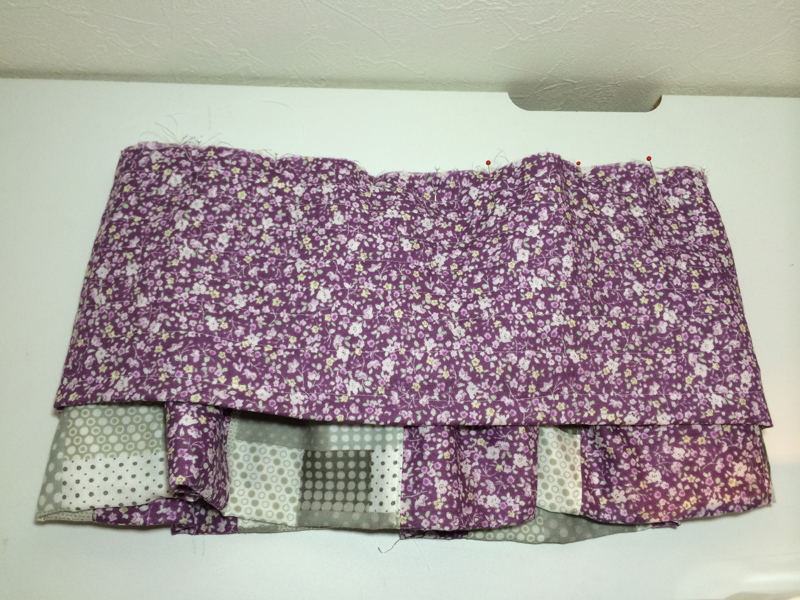
With front/outer sides facing each other, place the skirt inside the tube-top (chest) portion fabric. Sew together with 1cm seam. Serge or run zigzag stitches on the seam.
9.
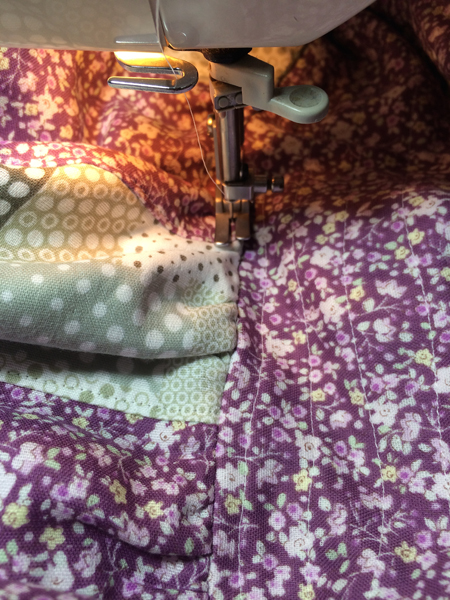
Press down the seam to the skirt side. Run top stitches from the front to settle the gathering.
10.

After the top portion and bottom skirt are sewn together, it looks like this.
11.

Put the elastic tape through four openings created in Step 6.
12.
Finished!

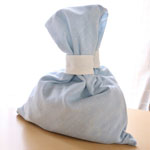 Tube Stopper Bag
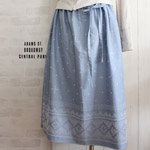 Gathered Skirt with a Ribbon Accent
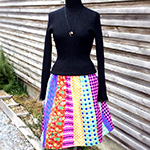 Gathered skirt made only with straight stitches