
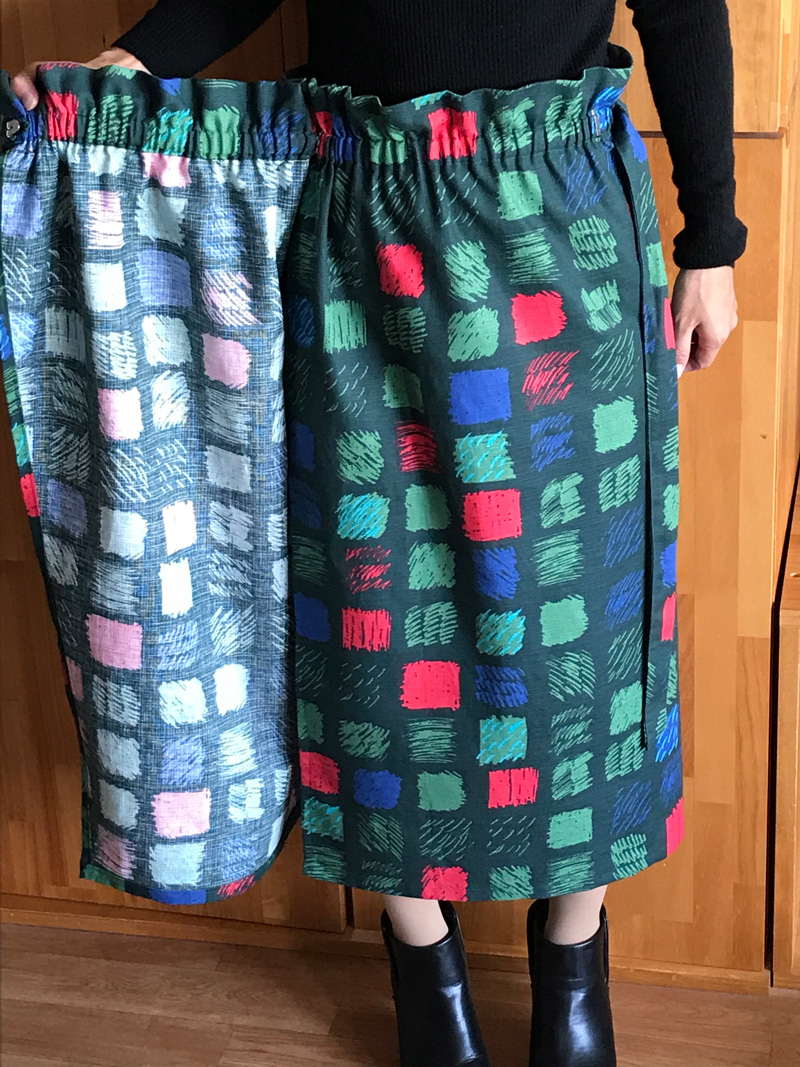
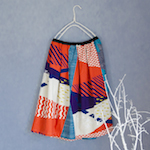
Tightly tied at the waist, this cute wrap skirt is made with KESHIKI’s new design, denen. The cotton linen basket weave is a light fabric with rough texture, making it perfect for apparels.
Fabric shown for this sample: KESHIKI JG30003-1ABasket weave
Materials:
□ Fabric: 110cm wide x 2m
□ Elastic tape: 1.5cm wide x 90cm
□ Coat hook & Eye: Two pairs – Loop-1.7cm wide, Eye–2.8cm wide

*All Rights Reserved.
We interviewed Aiko about her creation:
Kokka Fabric (KF): What did you think of the fabric you used for this project?
A cool looking design also conveys a feel of nostalgia and cuteness. I took these impressions and expressed it as a skirt.
KF: Can you tell us any special elements or ideas that you incorporated into this creation?
I endeavored to be creative with a simple and easy-to-follow pattern so that it can motivate sewing beginners to try this project. With an elastic band inserted in the higher portion above the waistline, it creates a cute puffy design. The belt and skirt have an angled cut, incorporating a cool stylish element.
KF: What are some tips for making this skirt?
It is relatively easy to sew as there are no tricky curve stitches. Don’t get too comfortable with simple straight stitching, otherwise the fabric starts to misalign little by little. Stop being too lazy and use lots of pins. This way the fabric stays aligned and you will have a nice clean finish.
KF:How should we use this skirt in everyday situations?
The waist, being the key design element of this skirt, I would like you to enjoy the style coordination by tucking in the tops inside. Changing the colors of your shirt gives a different impression. I recommend wearing a petticoat underneath as the skirt is not lined.
KF:Thank you very much, Aiko! Here are sewing instructions along with step by step photos from her. Enjoy crafting!
Instructions
1.
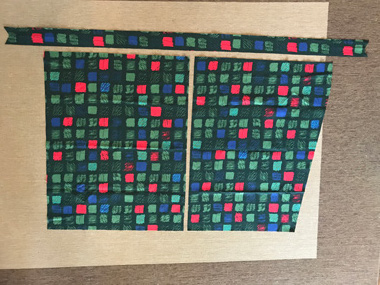
Select the patterns you want for the back pieces that are sewn together. Cut the fabric based on the pattern (including the seam). Cut the belt using the fabric vertically.
2.
Fold the belt in half and sew. Don’t sew it all the way to the edge. Stop the stitches at 1cm from the edge.
3.
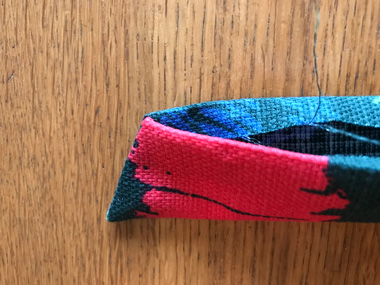
Turn it over and put the seam inward. Sew the short and long ends at 2-3mm from the edge.
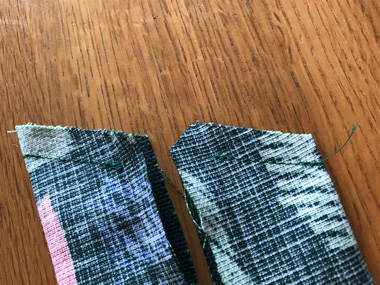
4.

The sewn pieces look unsymmetrical.
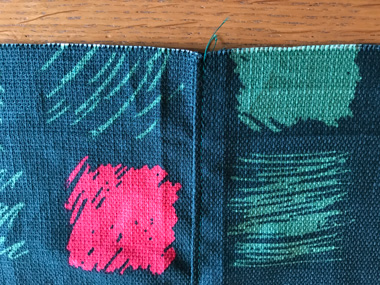
5.

Sew the back pieces at the center, paying attention to the alignment of the patterns. Sew at 1cm from the edge. Finish the ends.
6.
Press the seam down to one side and run stitches from the front side. This is an extra step, but it makes the skirt more durable.
7.
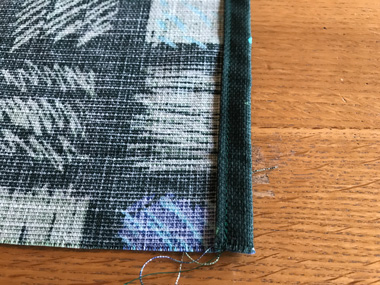
Double fold both ends for 1cm and sew.
8.
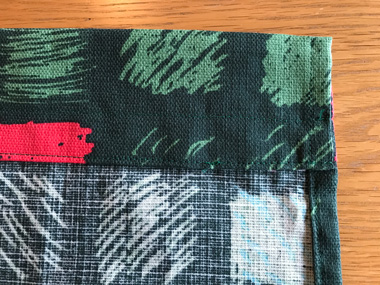
Fold the end at 6.5cm from the waist. Fold inward for 1cm more and sew. Apply stitch at 2cm above this stitch line (where elastic tape is put through).
9.
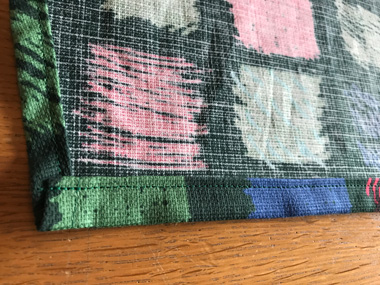
Double fold the hem for 1.5cm and sew.
10.

Put through 1.5cm wide elastic tape, making sure it goes straight, not twisted. Put a clothespin at the end, so that the tape won’t accidentally get inside.
11.
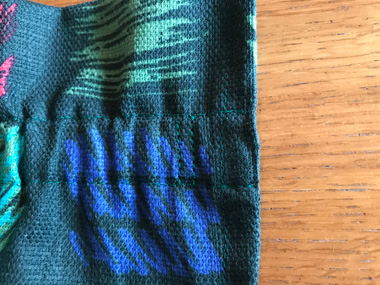
After the tape goes through, secure it with two stitch lines.
12.
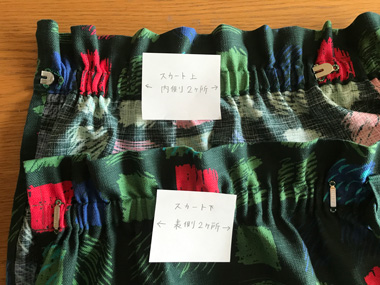
Attach a coat hook and eye on the right and left of the waist. Try it on around your waist first and adjust the location based on your size.
13.
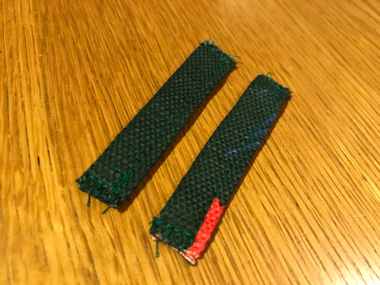
Make the belt hoops. Fold the piece in half and close the seam inward and run stitches. Finish the ends.
14.
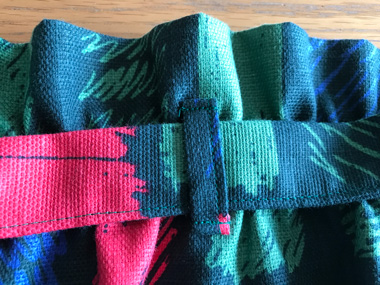
Attach the belt hoops on the right and left to finish!

 Tuck Skirt
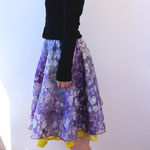 Reversible Skirt
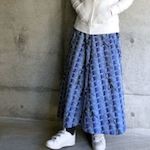 Long Flair Skirt