
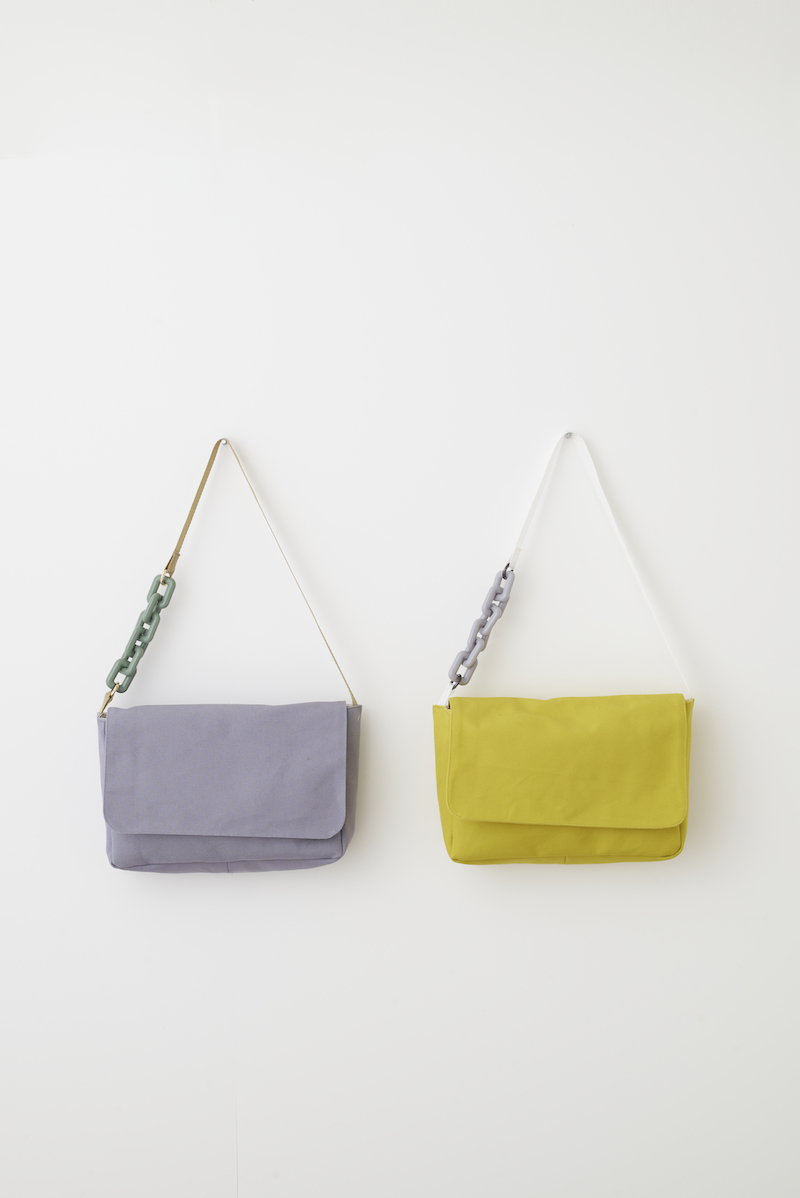
This shoulder bag is small but has a lot of room, making it perfect for a quick outing. The featured fabric is #9.5 canvas from the “NUNO TO MONO” series. The chain and ring pieces for a shoulder strap are from the “LINK LINK” series.
Design & Work:Kokka Fabric
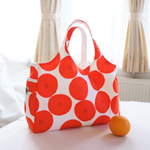
Fabric and notion shown for this sample: (Right)
Fabric: YK-530-1C (Mustard)
Chain: LGLK-1G, Ring: LGLK-4A
(Left)
Fabric: YK-530-1G (Gray)
Chain: LGLK-1E, Ring: LGLK-4C
Materials:
□ Outer Fabric: about 110cm wide x 50cm
□ Lining Fabric: about 110cm wide x 40cm
□ Fusible Interfacing (medium weight): about 110cm wide x 40cm
□ Magnetic Hook: about 15mm wide x One pair
□ Tape: about 20mm wide x 70cm
□ Ring: about 15mm inner diameter x Two pieces
□ Chain: about 32mm x about 42mm Six pieces
Size:about 20cm (l)
about 30cm (w)
about 8cm (d)
(Excludes shoulder strap)
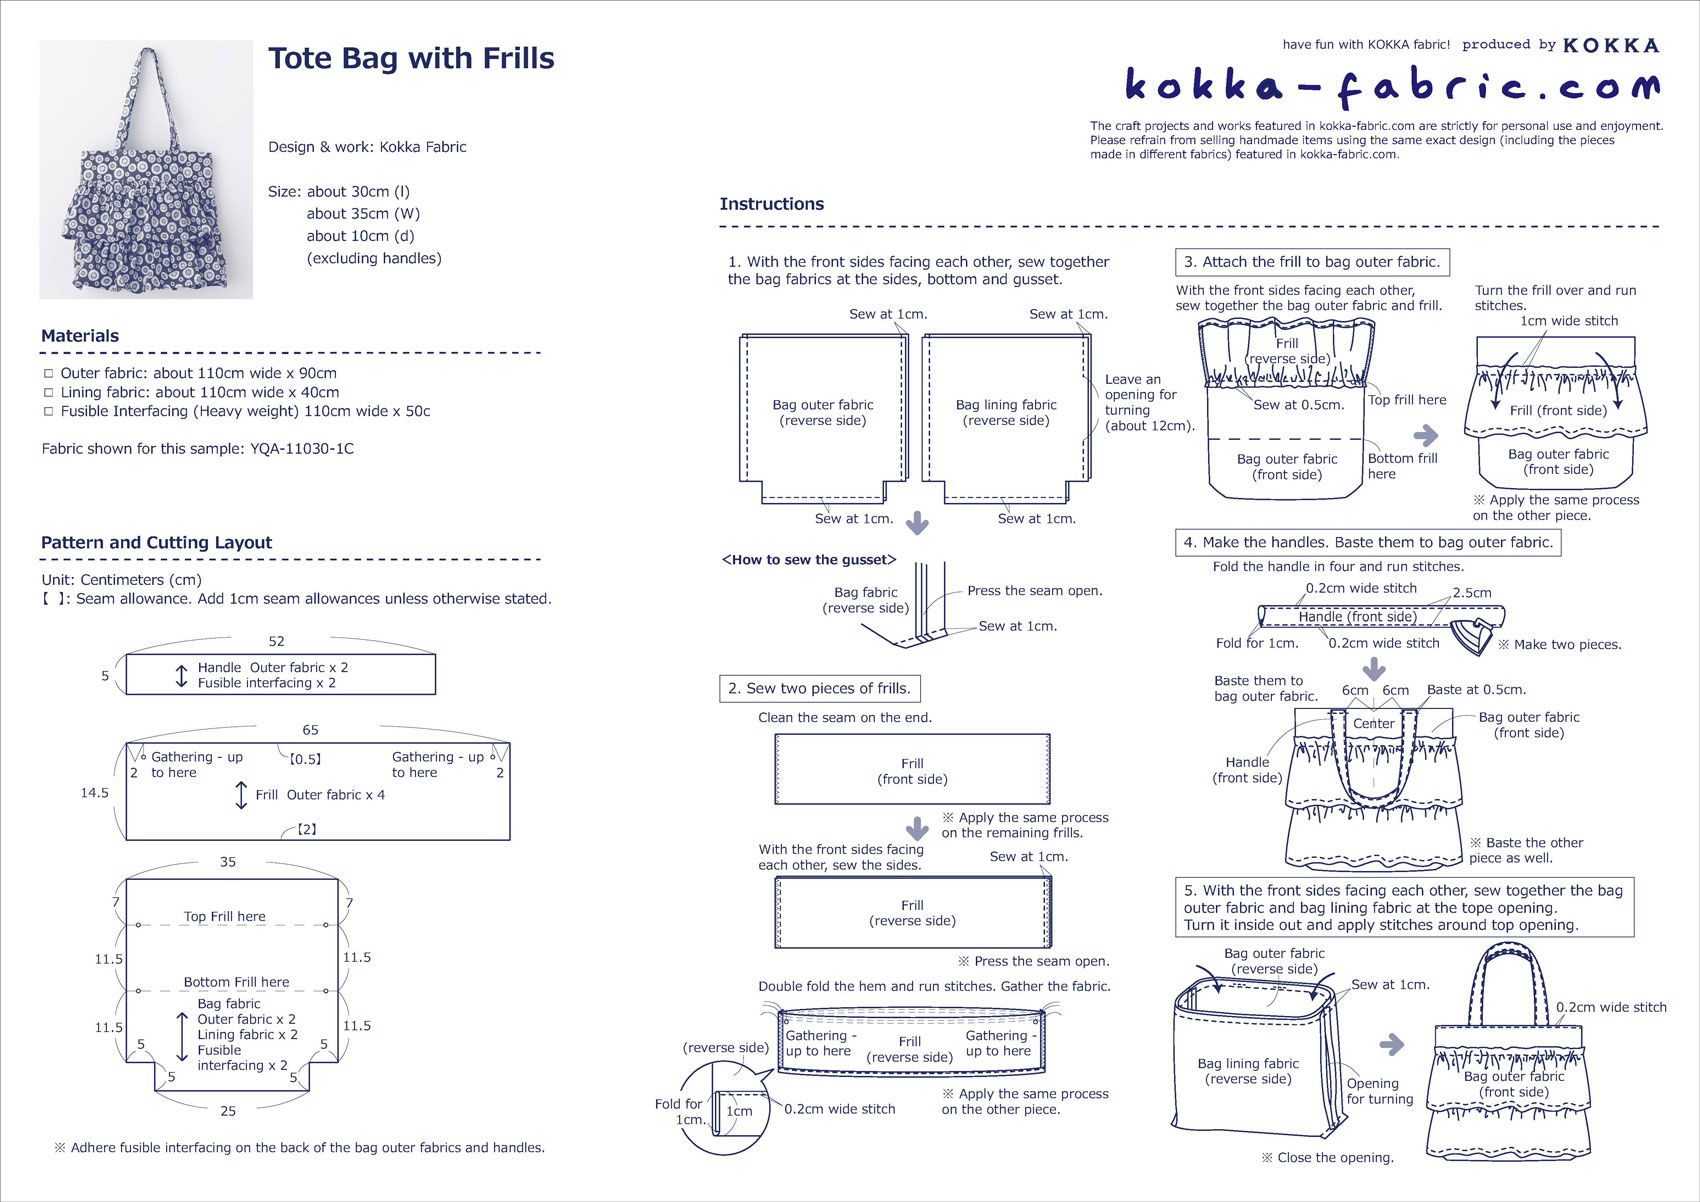
◎Sewing Instructions

◎Sewing Instructions (PDF format / A4 size)

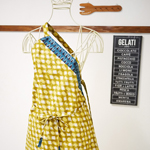 Single Shoulder Strap Apron – Sewing Instructions
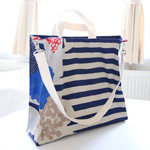 Convenient Shopping Bag with Shoulder Strap – Sewing Instructions
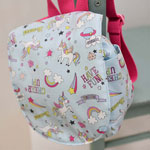 Flap Backpack – Sewing Instructions
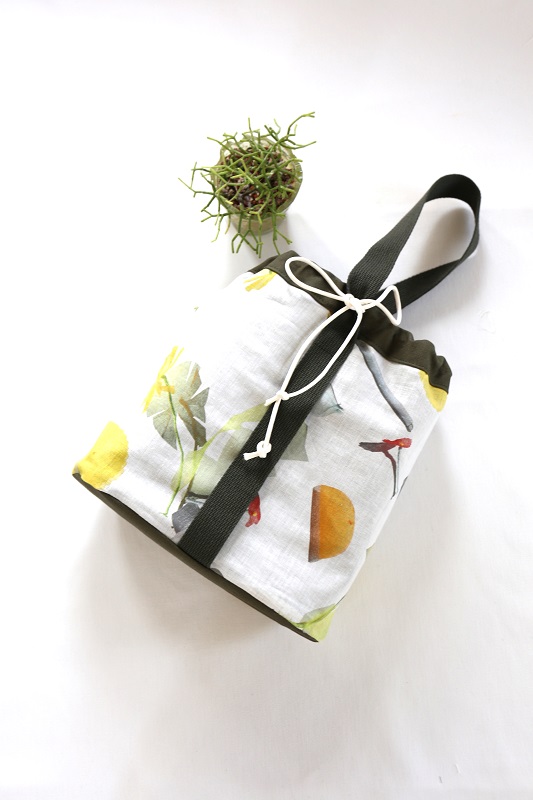

 Boxy and Structured Shape Is Stylish – Hand Tote Bag – Sewing Instructions
 Box Tissue Case – Sewing Instructions
 Versatile As A Bag and A Spreadable Mat- Drawstring Tote – Sewing Instructions
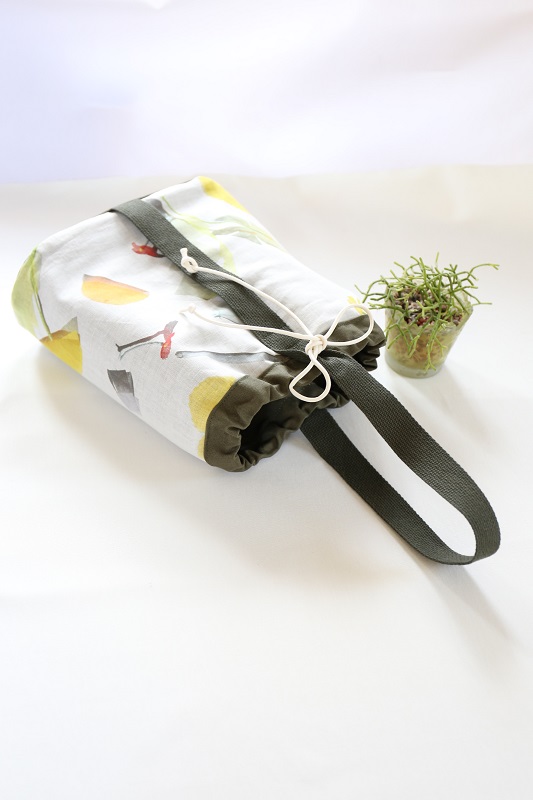
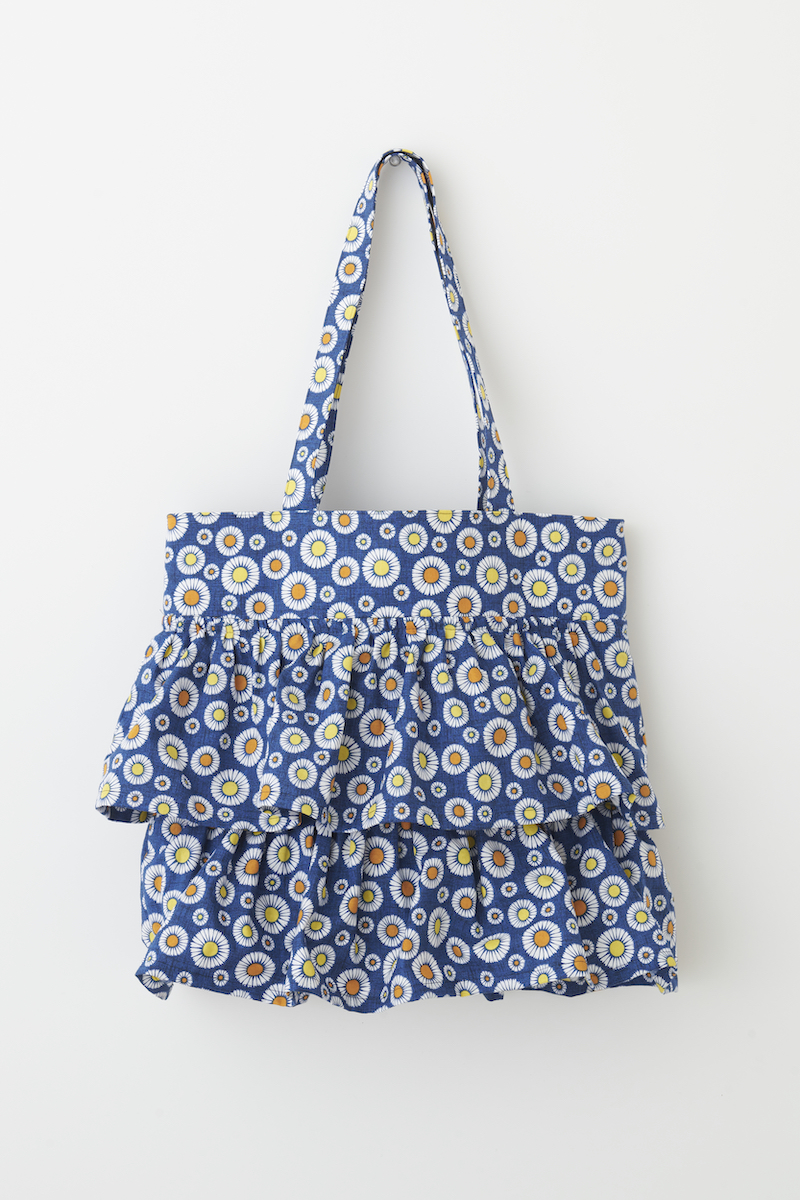
 Two-Tone Tote Bag – Sewing Instructions
 Market Bag in Plaid Pattern with Cute Round Bottom – Sewing Instructions
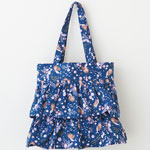 Double Frills, Double Cuteness – Tote Bag with Frills – Sewing Instructions
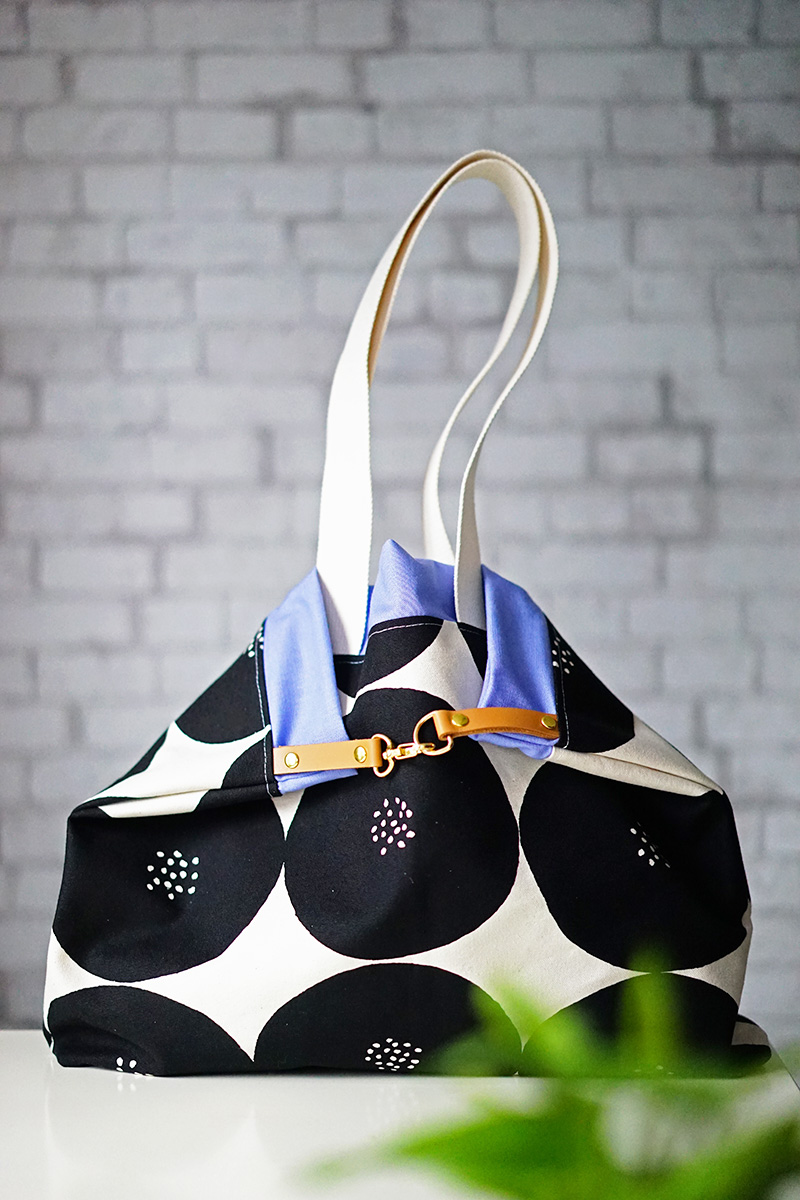

 Tote Bag with Side Pockets -Sewing Instructions
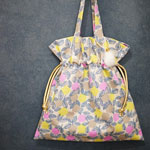 Drawstring Bag with Lining – Sewing Instructions
 Small Shoulder Pouch with a Gathered Accent
 Three-Piece Set for School – Lesson Bag, Shoe Case and Gym Clothes Bag – Sewing Instructions
 Lesson Bag, Shoe Case, Gym Clothes Bag – Three-Piece Set for School – Sewing Instructions
 School Bag Sewing Instructions