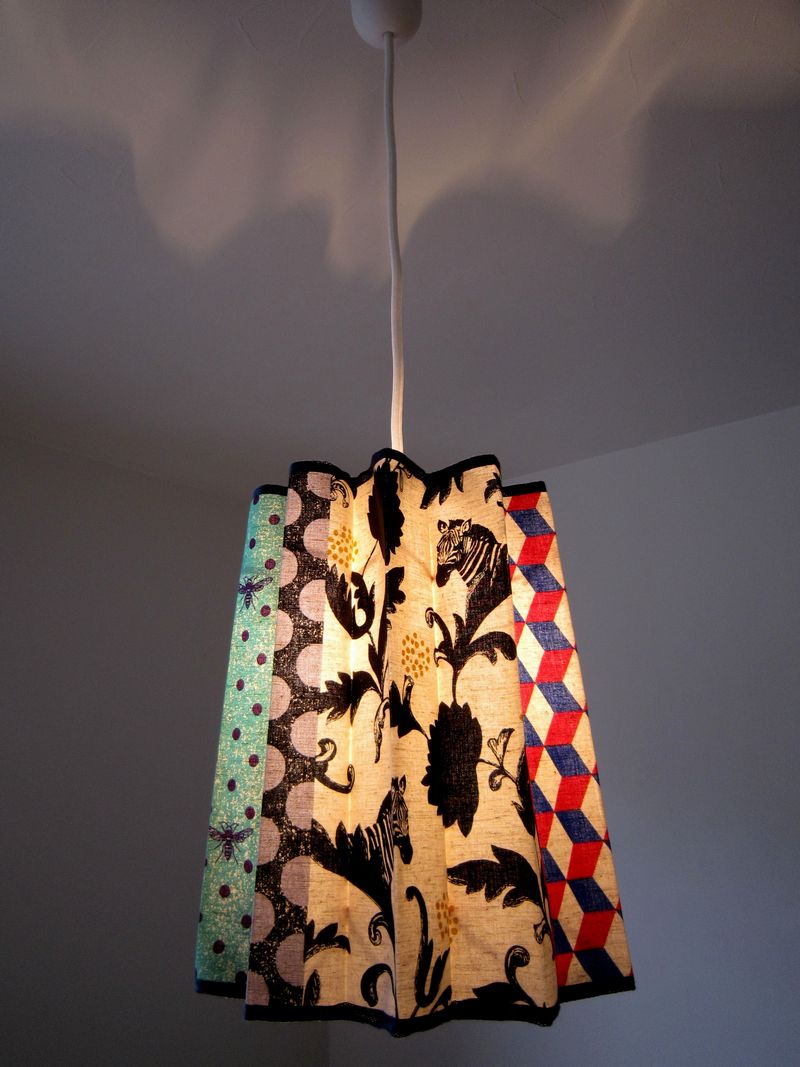
Size: 25cm (base diameter), 30cm (height)
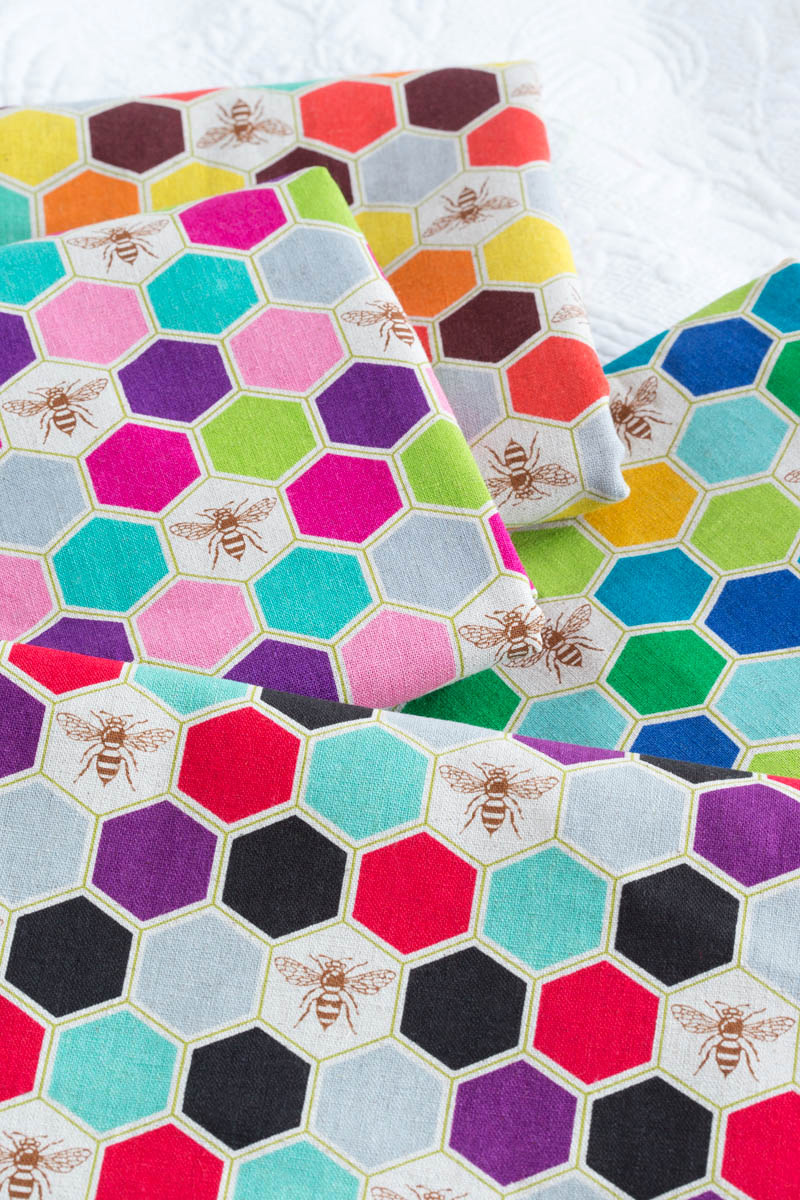
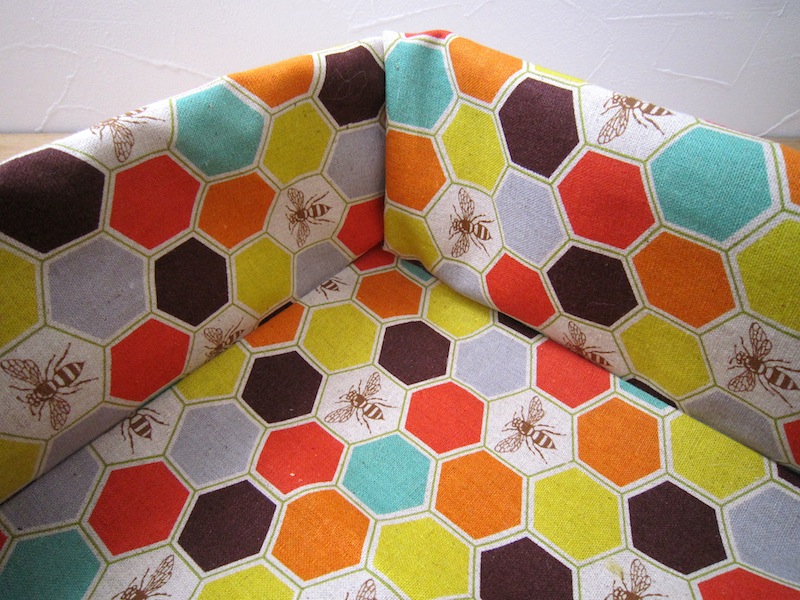
Following last week’s project, today’s project again features echino’s latest collection, decoro. It is a perfect fabric for a room décor project. The artist Anri selected the twin for her creation. This twin’s design is filled with a pair of zebras and bees in stripes. Taking advantage of the fabric’s unique design, Anri came up with a lovely lampshade.
Design & work created byAnri(
http://ananrinrin.blog51.fc2.com/)
Fabric shown for this sample:echino decoro twin JG99550-51 (D)
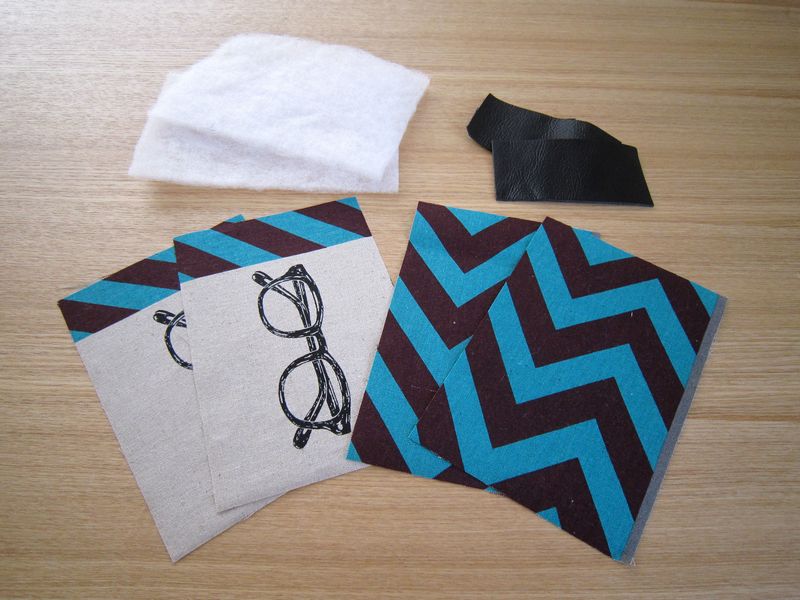
Materials:
□Fabric (Outer Fabric) : 110cm (W) × 30cm (L)
□Interfacing: 110cm (W) × 30cm (L)
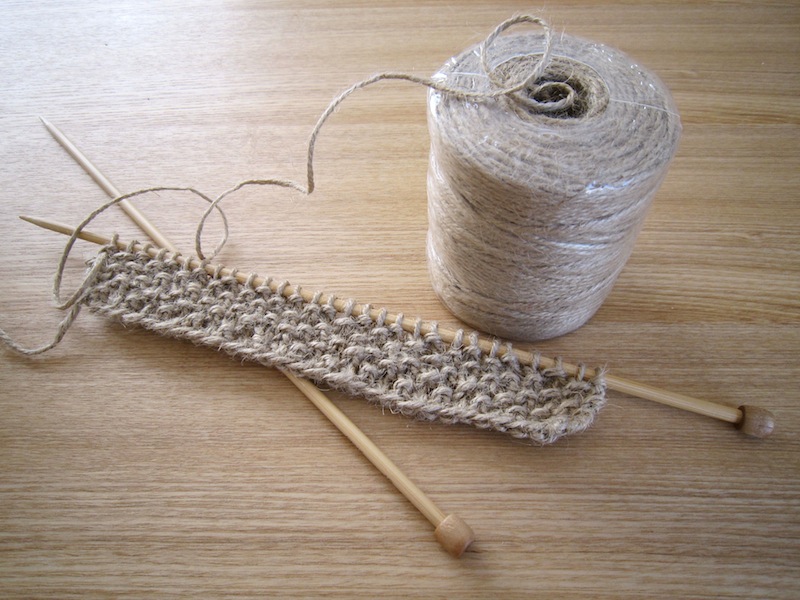
□Hand knitting cotton yarn (medium)
□Wire: 1.3m (1.5mm diameter)
□Thin linen tape: 2.2m (0.7cm-wide)
We interviewed Anri about her creation:
Kokka Fabric (KF): What did you think of the fabric you used for this project?
Anri: I decided to create an interior décor item to make good use of the fabric’s retro look. The cotton/linen broadcloth presses well and is easy to sew. While stitch lines are hardly noticeable on today’s project, choosing an interesting thread color could affect the look of the final work.
KF: Can you tell us any special elements or ideas that you incorporated into this creation?
Anri: The fabric consists of four different designs that are all so beautiful that it was hard to pick one particular design. I wanted to use and showcase them all! So I decided to use the technique of pleating, utilizing the entire width of the fabric. To keep the fabric tight and maintain its shape, a medium thick interfacing is affixed to the entire back of the fabric. This helps to hold the pleated shape, makes your work easier, and builds a solid looking lampshade.
KF: What are some tips for making this lampshade?
Anri: You can be very creative by adjusting the height of the shade, the width of the pleat and the size of the ring to your taste. For today’s project, I used a lamp fixture that is easily-available at DIY stores for a few dollars. You may also select an LED ready socket or antique looking fixture for different purposes and ambience.
KF: How should we use this lampshade in everyday settings?
Anri: It will look cute with ribbons and linen tapes passed through the holes around the shade. Since the fabric has such a design impact, it adds fun in a space that is normally bare, such as in staircases, hallways or bathrooms.
KF: Thank you very much, Anri! Here are the instructions and step by step photos taken by Anri. Enjoy crafting!
Instructions How to make lampshade
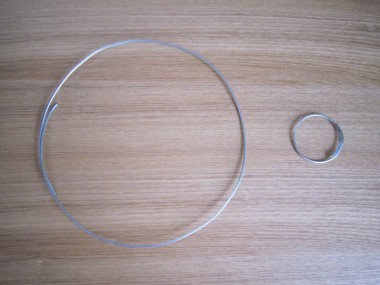
1. Cut the wire roughly to the measurement with ends overlapping. Don’t worry about being too precise as it will be secured at the exact length in the next step.
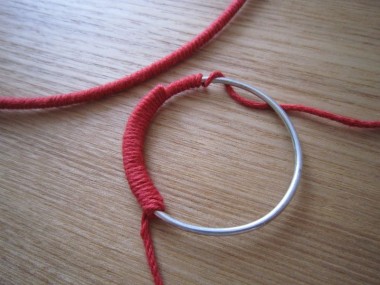
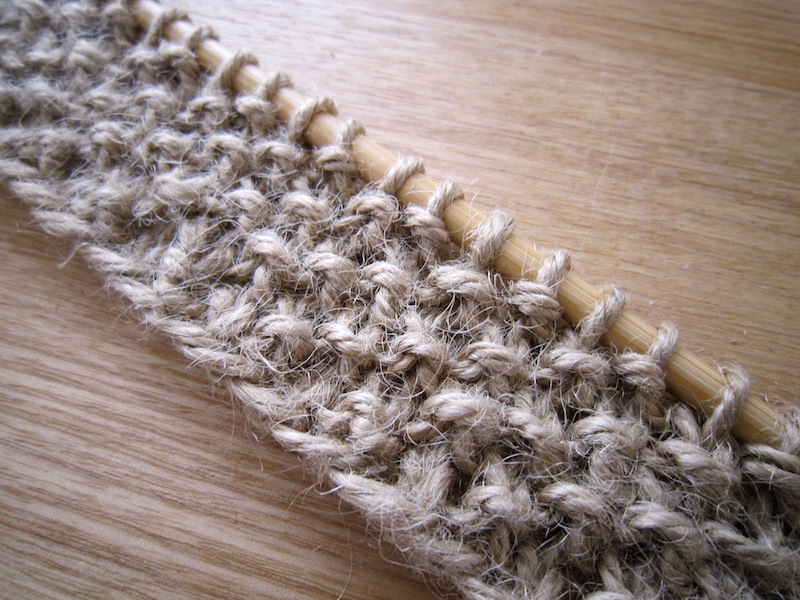
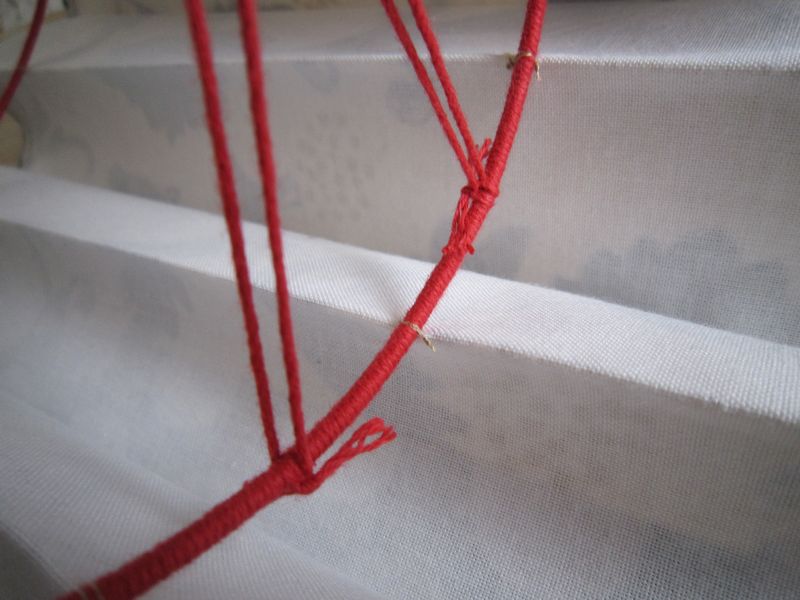
2. Wrap the cotton yarn around the wire ring to be the exact diameter. The yarn will prevent the shade from slipping and make it stable. Besides cotton yarn used for this project, any type of solid and non-slippery yarn is recommended.
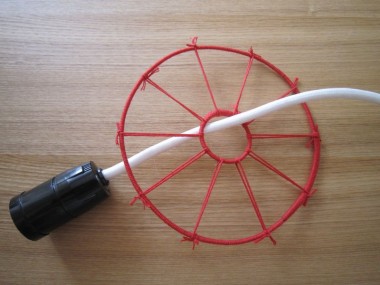
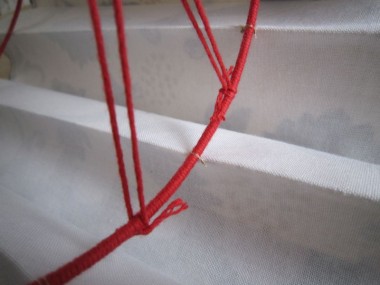
3. To catch the socket, secure the small wire ring in the middle of the middle wire ring. These ten strings will act as a guide when the shade is attached in the subsequent step and will make the job easier with ten yarns for ten accordion-folds of the shade.
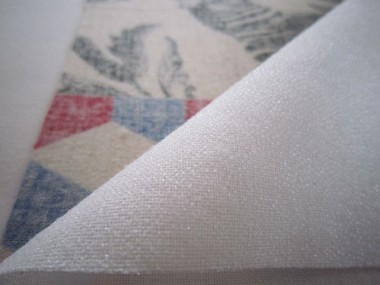
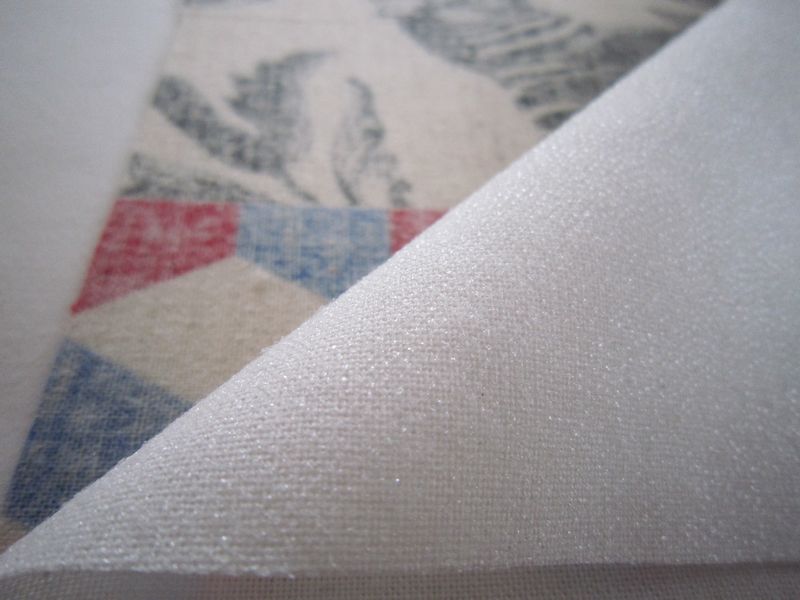
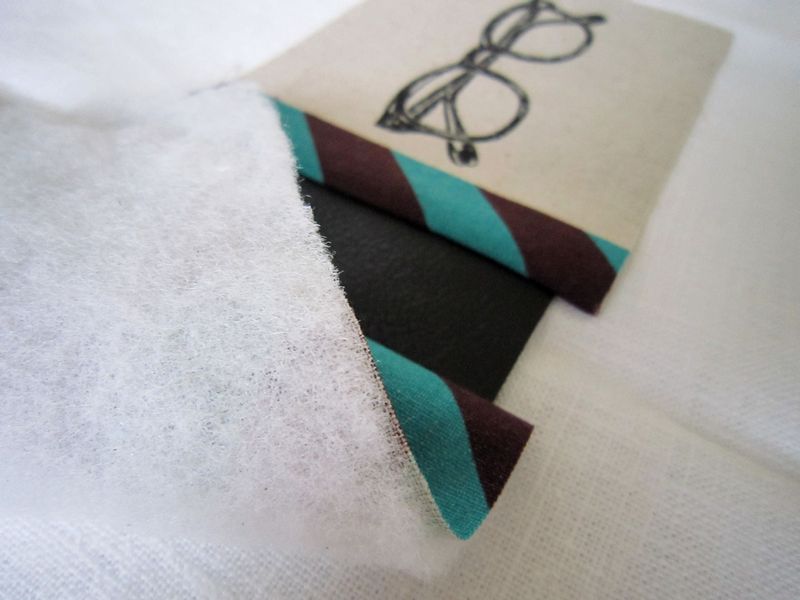
4. Iron the interfacing on the entire back of the cut fabric (30cm length). Try to press it slowly and carefully without stretching the fabric. Make sure that the iron is set at the right temperature. When it is set too high, it could sag the fabric. Set the temperature in the middle at first and adjust it as you go along to achieve a clean finish.
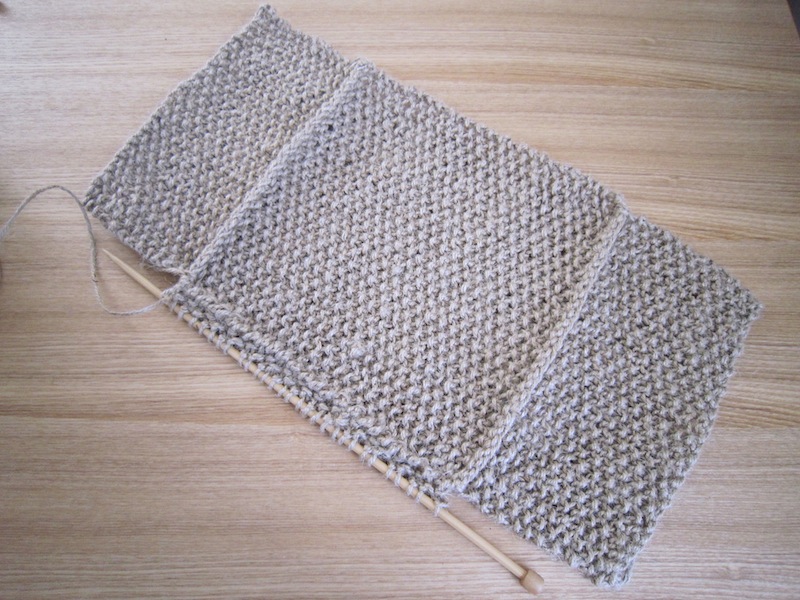
5. Iron in a zig-zag manner at every 5cm to create a pleat. To fold easy and evenly, iron it before the edges are treated. This way, the edges are not bulky when folding. Manually doing this step is not as accurate as doing it by machine. So when you first prepare the fabric, leave the side (vertical) edge uncut, and make the edge of the folded pleat be the width. This way, you won’t make mistakes.

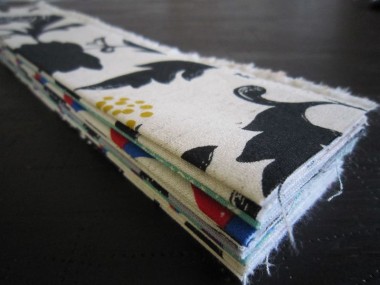
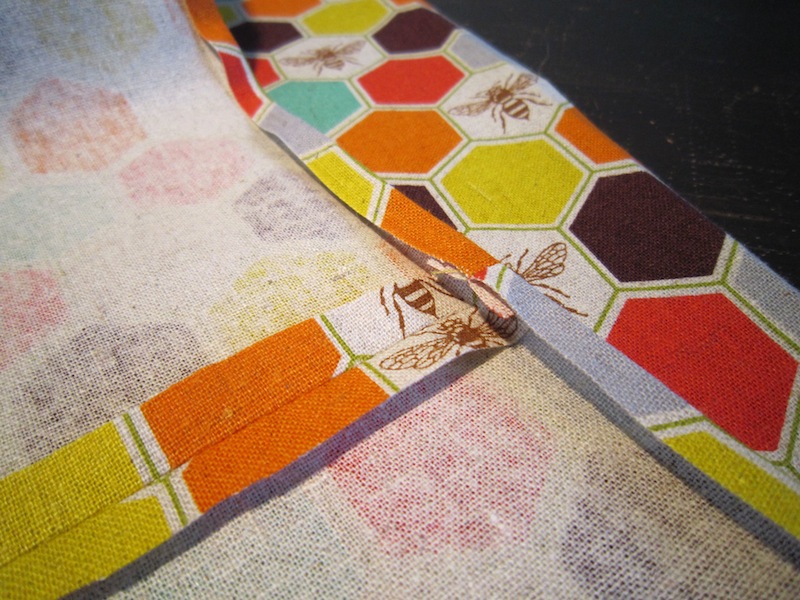
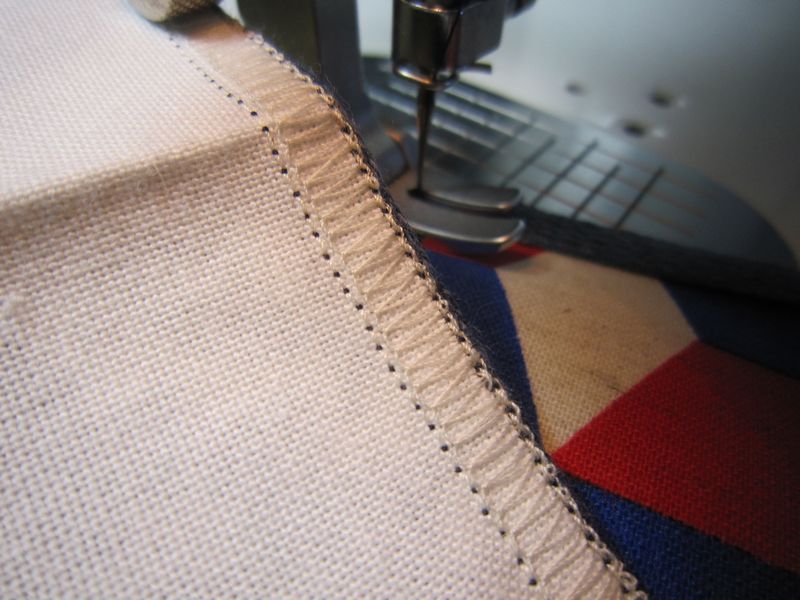
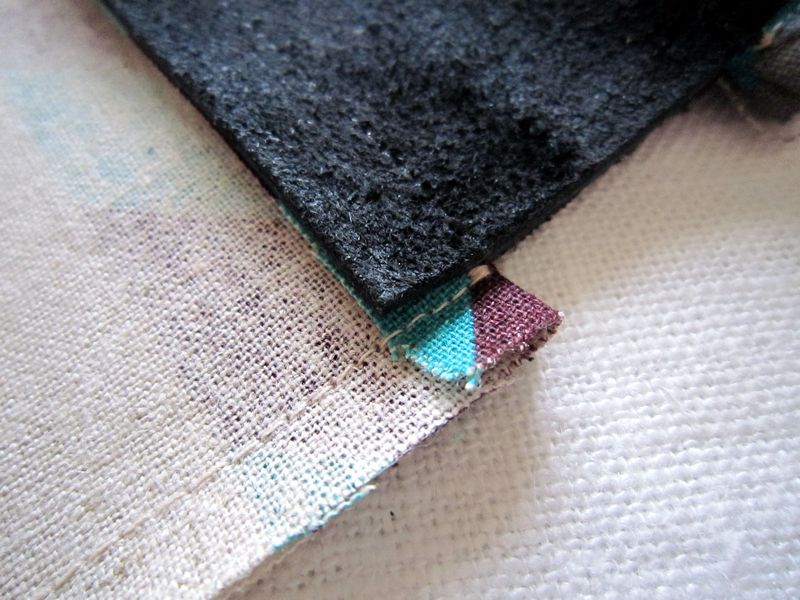
6.Serge the horizontal edge of the fabric at the top and the bottom. Interfacing normally keeps it from fraying, however the finish looks nicer if treated. Next, sew the tape to the outer side of the fabric. When doing this, make sure to match the colors of the thread to the colors of the fabric and interfacing to keep stich lines from standing out. For this project, dark blue for upper thread and ecru beige for bobbin thread are used. In the picture, you may notice upper thread appearing as dark blue dots.

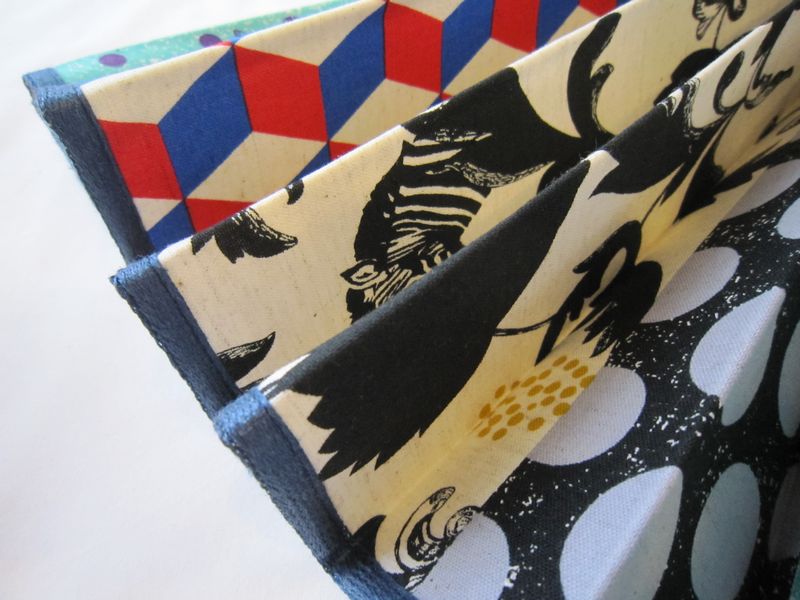
7. The edge is complete with tapes securely sewn. In order to keep it pleated, thinner tape is recommended. For this project, loosely woven linen tape was selected.
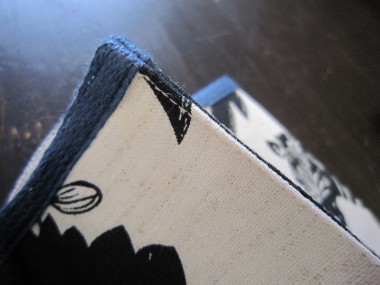
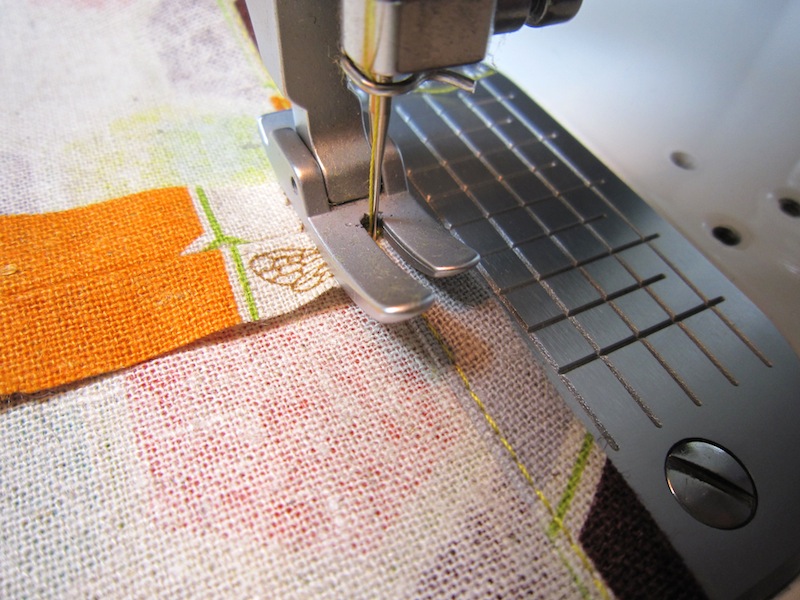
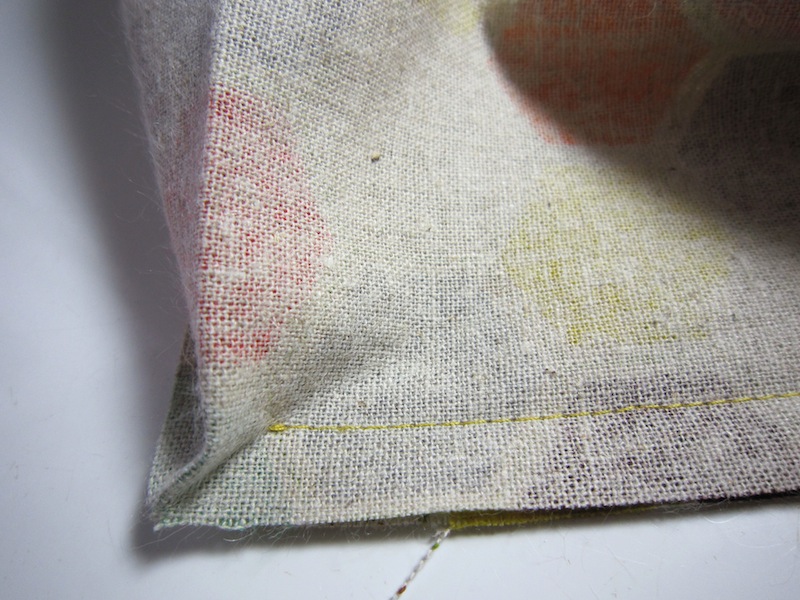
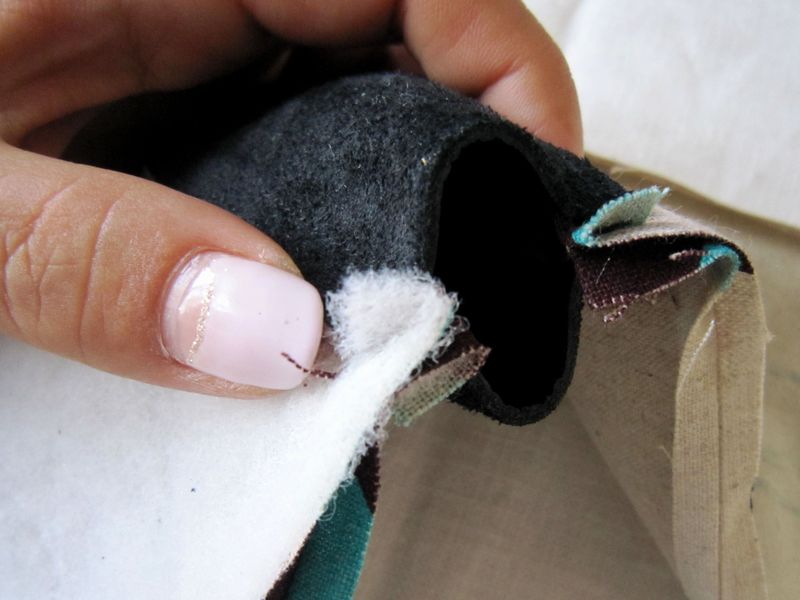
8.With the right sides facing each other, sew together the edge of the pleated shade to make a tube. The edge of the tape is also sewn together. Leave some seam allowance, cut off the excess and serge the edge. Top stitch on the outer side of the fabric to press it down.
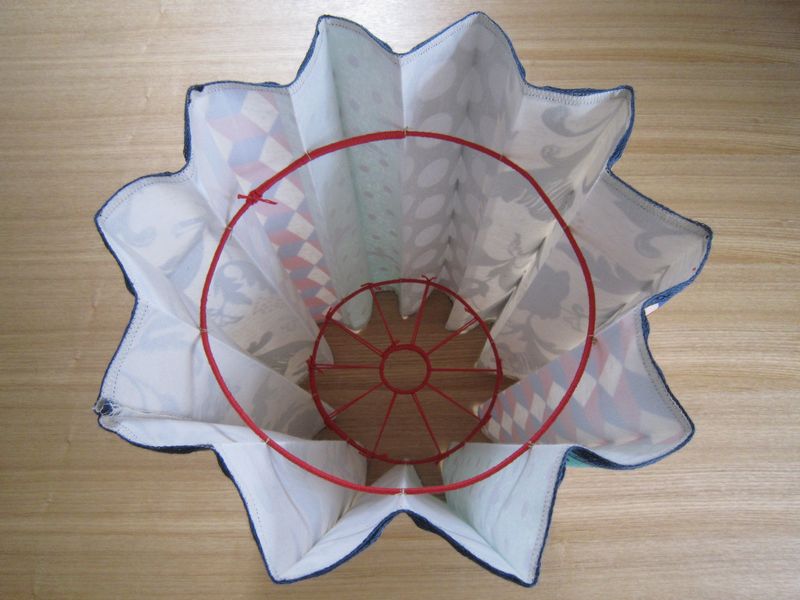
9. Attach the tubular fabric shade by sewing it to the wire ring (from step 3) at 7cm from the top of the shade. You need 7cm so that the bulb is placed as close to the center as possible and the black socket can be hidden. This may be a little tricky, but the radial yarn helps to identify the sewing position.
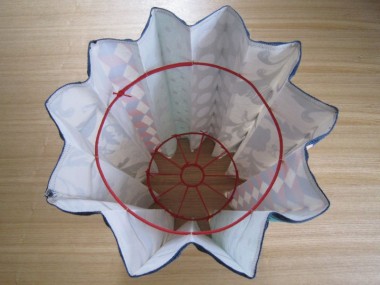
10.As in step 9, sew together the tubular fabric shade and the large wire ring at 5cm from the bottom of the shade. The size of the bottom ring could be the same as the top, if you would like to make a cylindrical lampshade that is also nice. You may omit the bottom wire ring, but it helps to keep the nice shape.
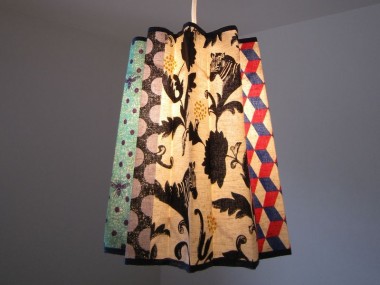
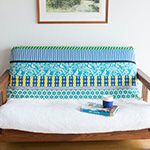
11.When it is lit up, the design motifs appear through a soft ray of light. You can spot a star silhouette up on the ceiling which is the shape of this lampshade.
Click here for Sewing Instructions (PDF format / A4 size)


 echino’s Dress with Pockets
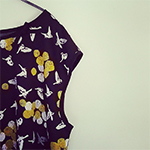 Cotton Sateen One-Piece Dress
 Camisole Dress- Sewing Instructions
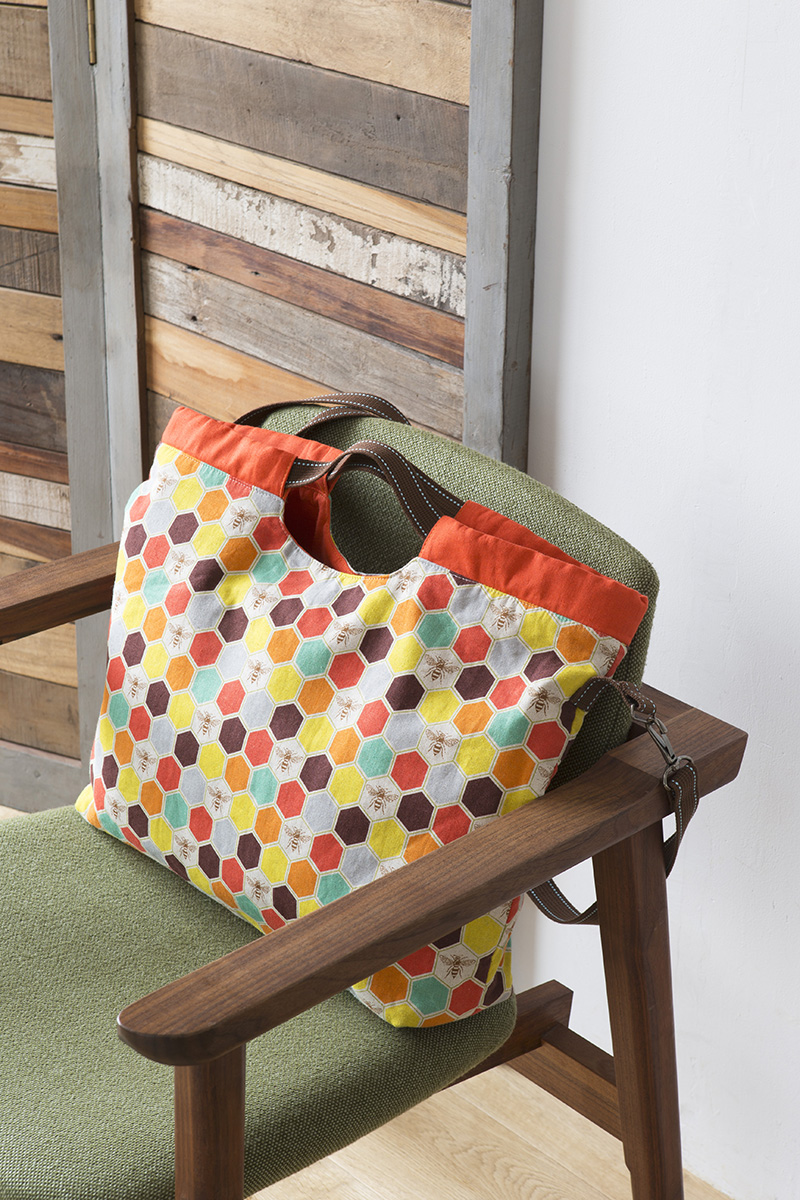
 2014 echino Collection Part 3
 10th Anniversary / 2015 echino fabric collection 2
 2014 echino Collection
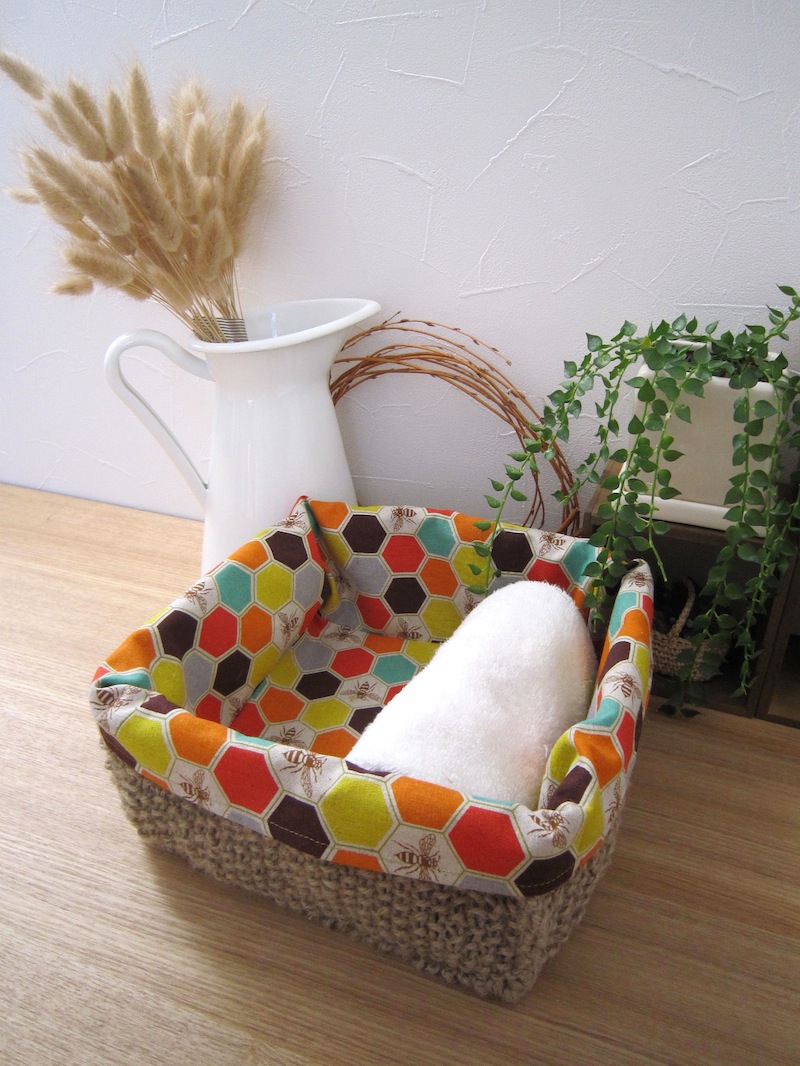

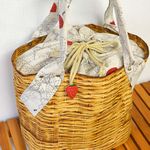 Tote bag with basket print fabric & strawberry print lining
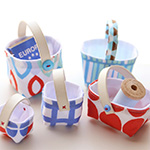 Miniature Basket-Style Bag
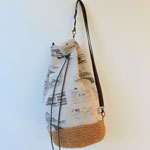 Drawstring Bag


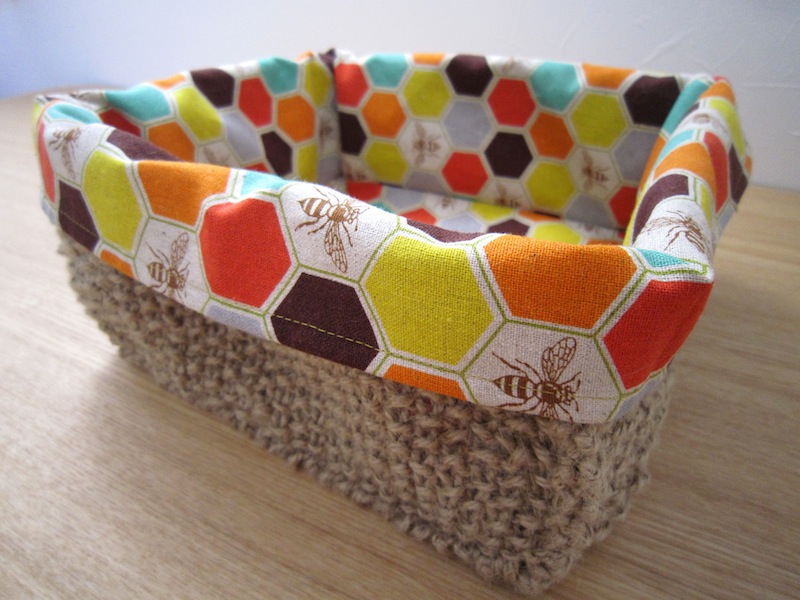
 A natural basket in honey color
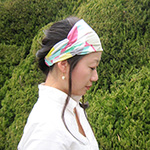 Headdress
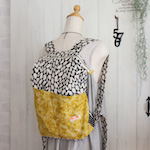 Backpack
 Small Bag in Parakeet Fabric
 Lesson bag in kitten design fabric
  Patchwork Style Lovely Vanity Case – Sewing Instructions