
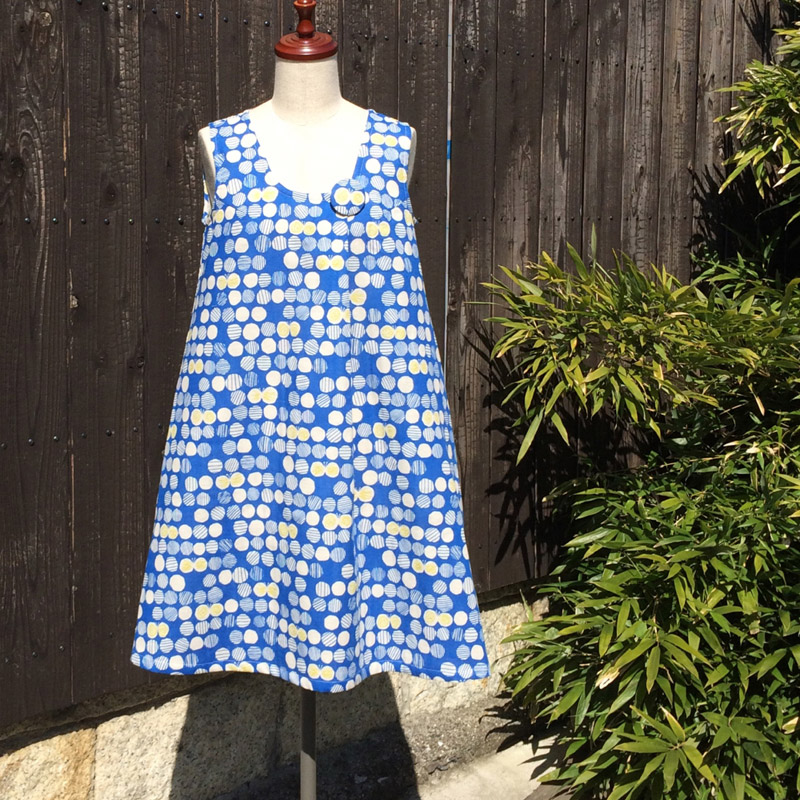
The featured project is a one-piece dress using Trefle Cucito, a chic design double gauze fabric made for grown-ups. The brooch on the chest is added as an accent so that the design of rhythmically lined up polka dot with butterflies hidden here and there can stand out. It can be worn as a dress or a tunic combined with a T-shirt.
Fabric shown for this sample: H11200-200 (B)
Materials:
□ Fabric: 110cm widex2.1m
□ Thick Interfacing; 10cmx5cm
□ Quilt Batting: 5x5cm
□ Brooch Pin (Locking Bar Pin) One piece (2.5cm)
We interviewed KaOrico about her creation:
Kokka Fabric (KF): What did you think of the fabric you used for this project?
This gauze material feels soft and is highly absorbent. The broach is added so that the butterfly design will stand out.

Can you tell us any special elements or ideas that you incorporated into this creation?
It is simple with a tucked transition design in the front.
KF: What are some tips for making this dress?
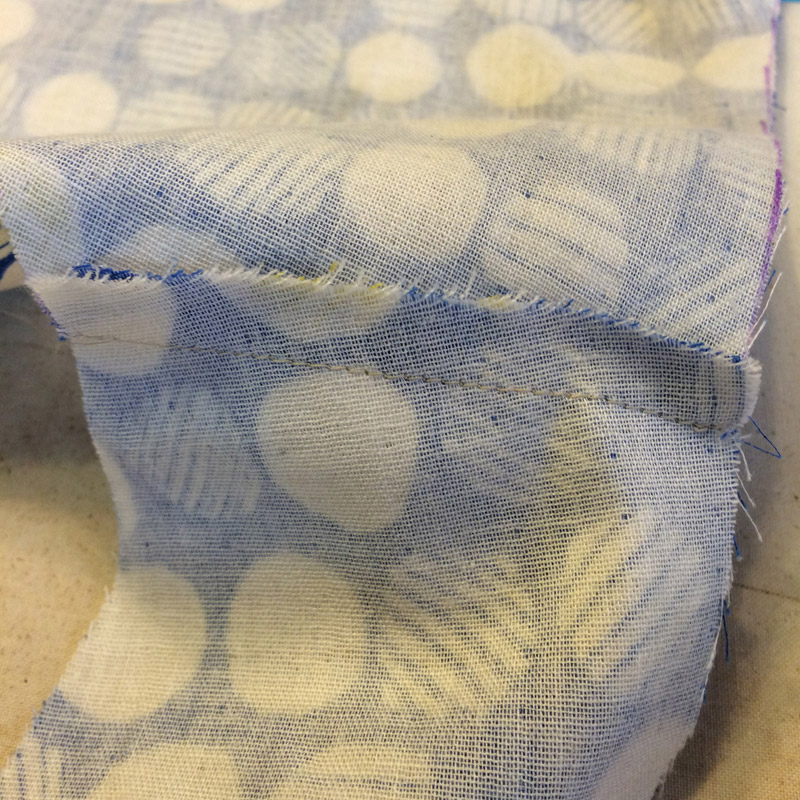
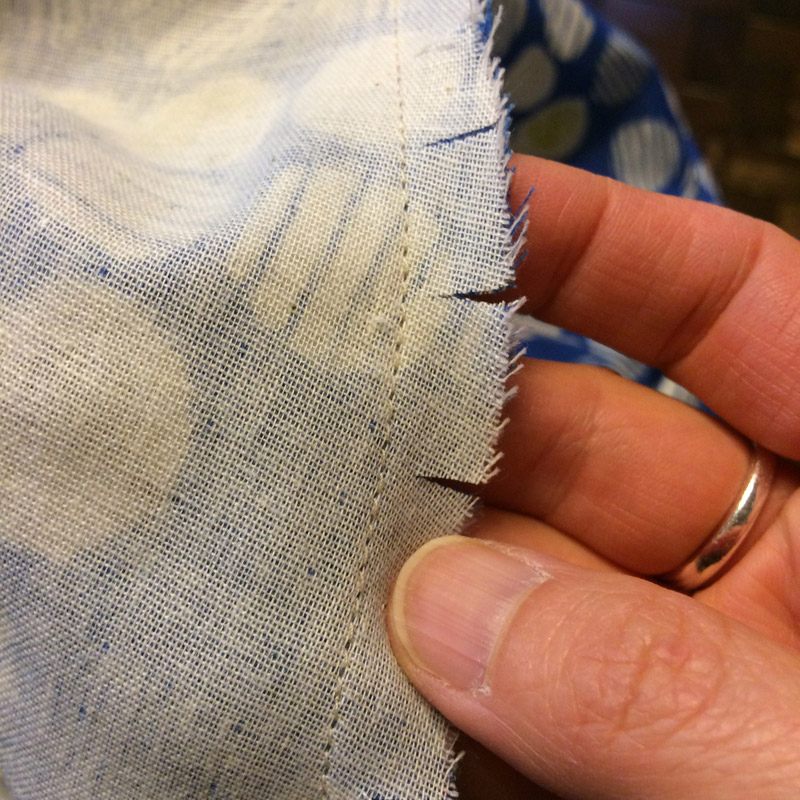
The gauze fabric tends to fray, so the edges are double folded to prevent the fraying. You may substitute this process with serging or zigzag stitches.
KF: How should we use this dress in everyday situations?
It can be worn as a one-piece dress or it will also look stylish if worn as a tunic with a T-shirt and with a pair of pants.
KF: Thank you very much, KaOrico! Here are sewing instructions along with step by step photos from her. Enjoy crafting!
Instructions
1.

Cut the fabrics with the seam.
2.
Sew the darts of the front body.
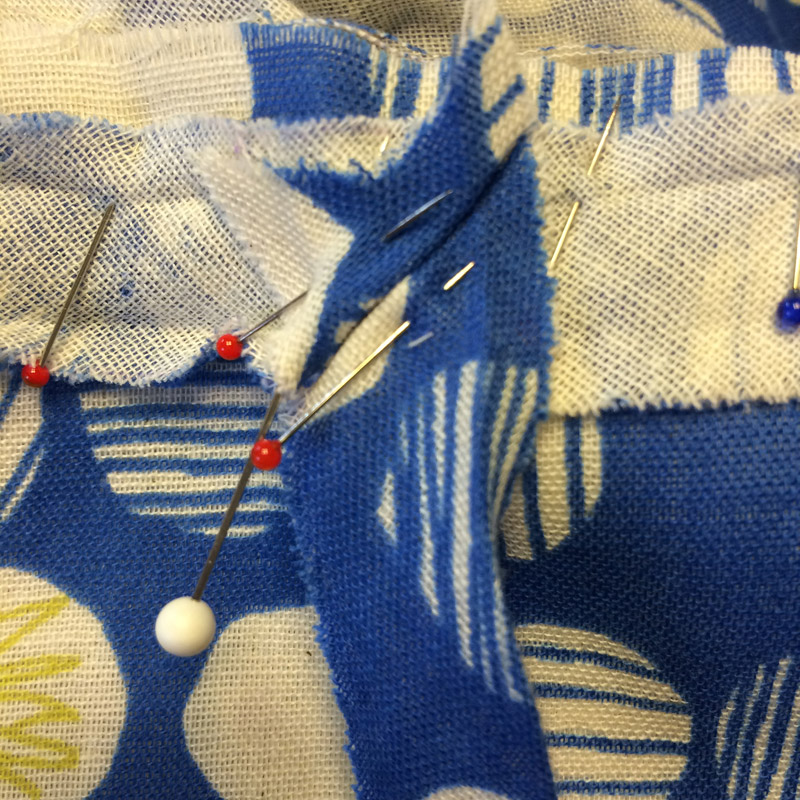
3.
Baste the front tuck.
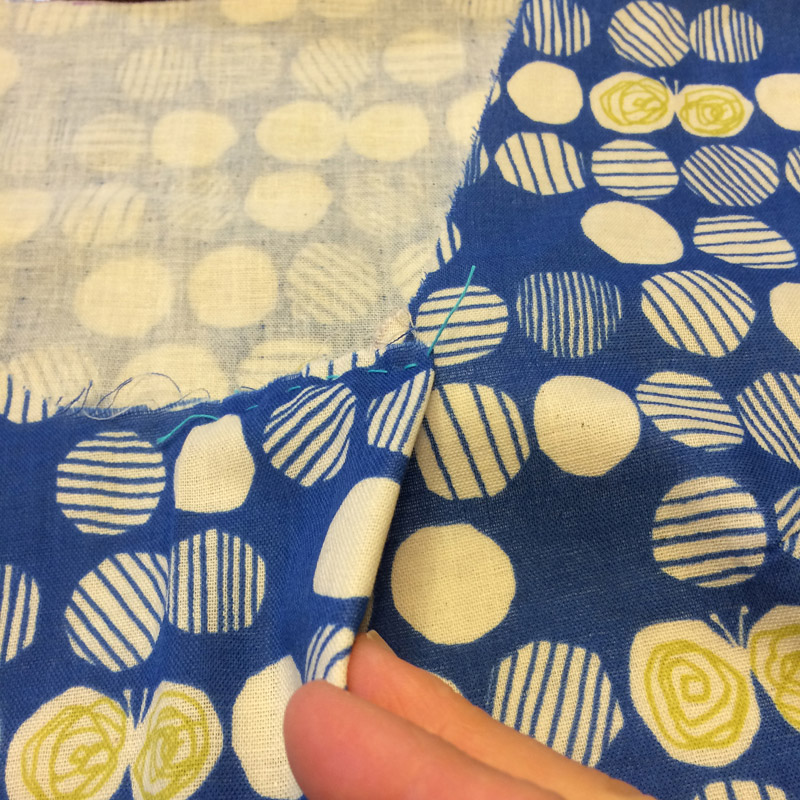
4.
Sew together the shoulder and sides.
5.
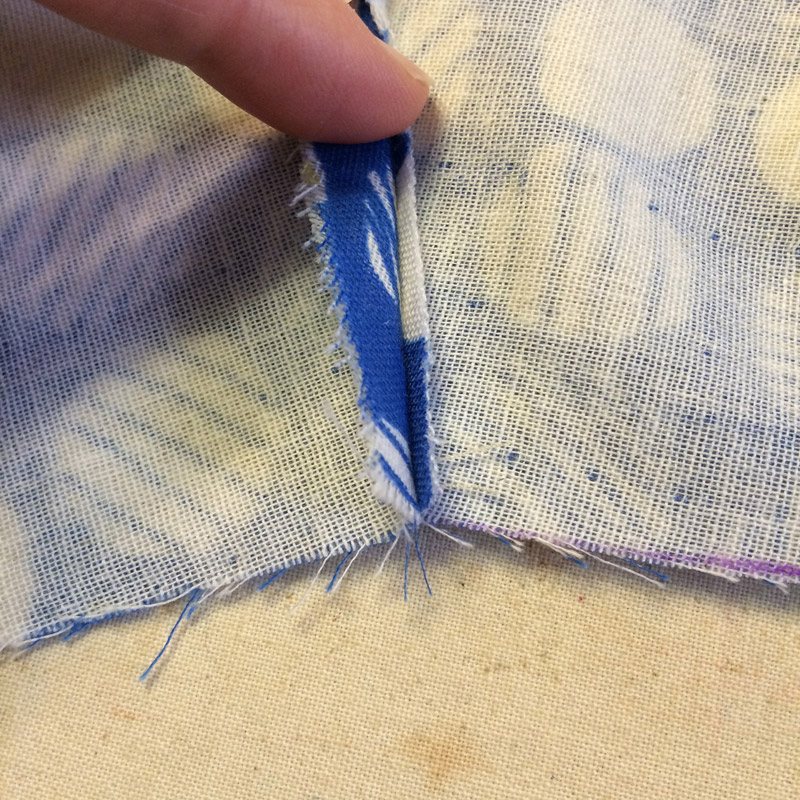
Cut one side of the seam to 5mm.
6.
Fold the uncut seam in half.
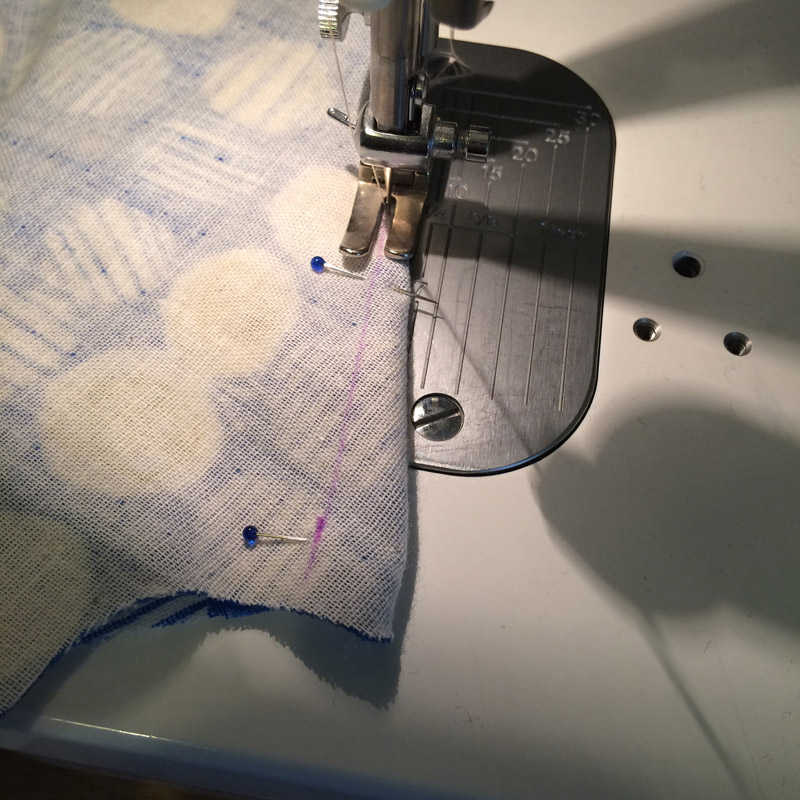
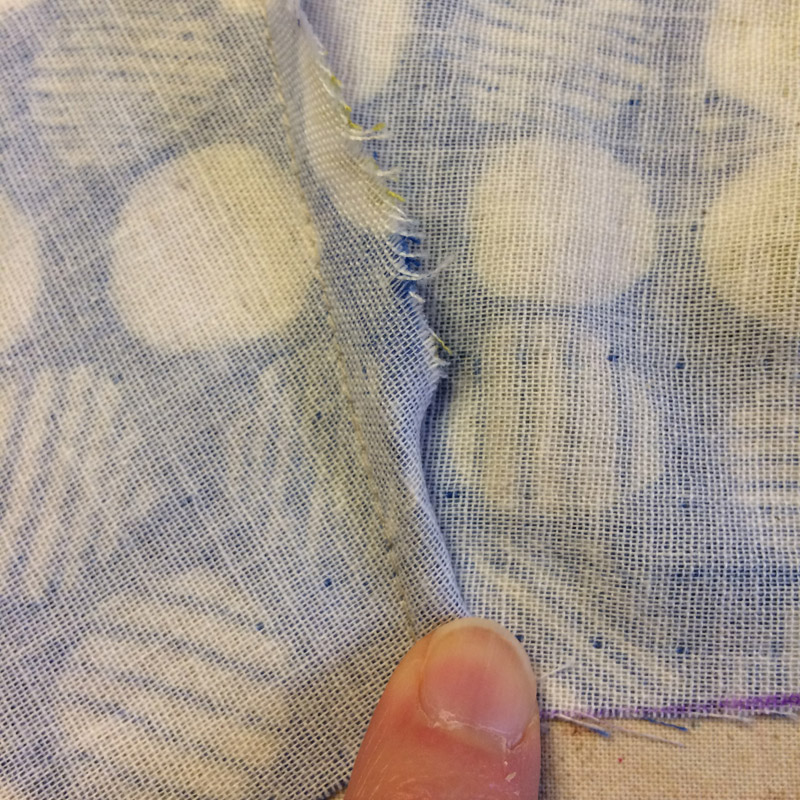
7.

Run topstitches.
8.

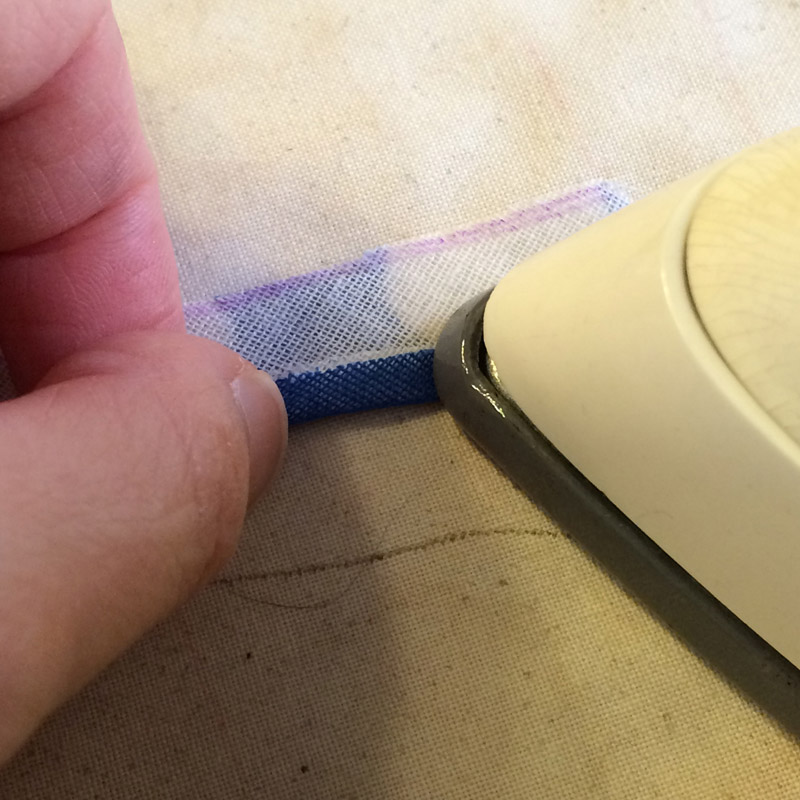
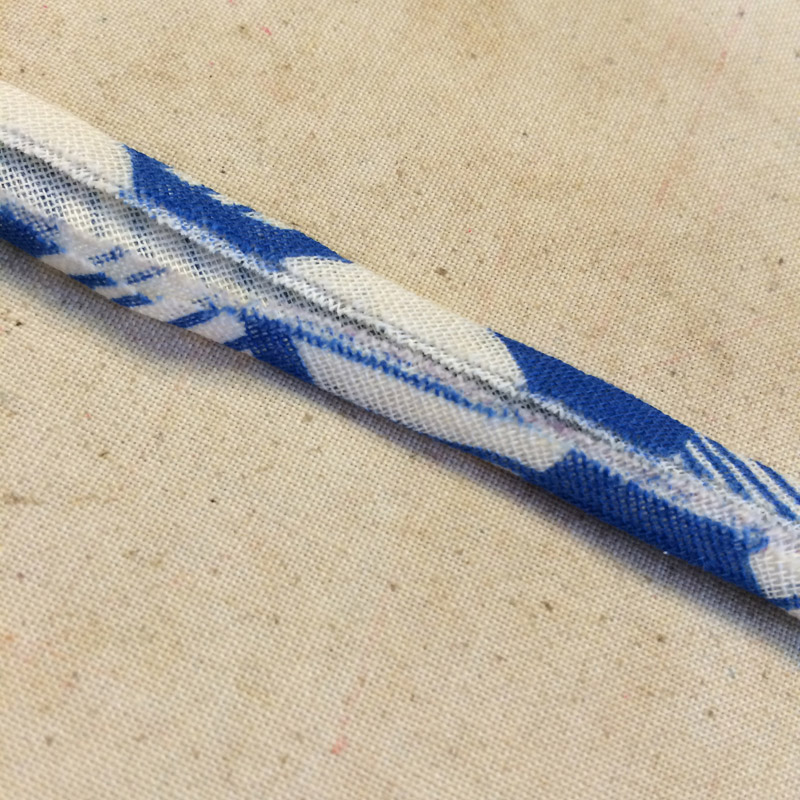

Make the bias binding strip.
9.
Attach the bias binding strip around the neck and armhole. Sew with the tape and cut a slit along the curve.
10.
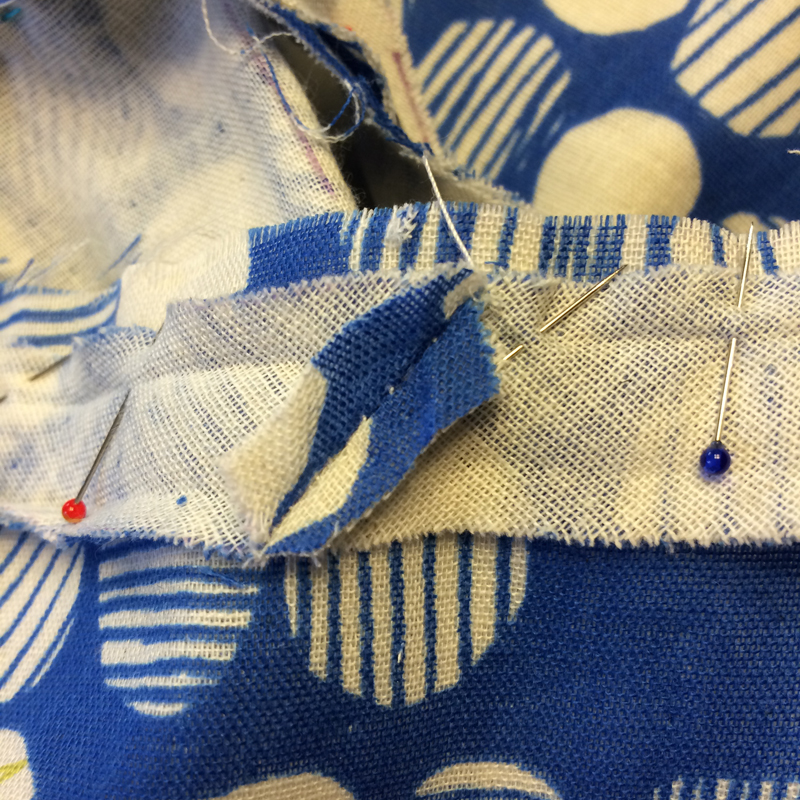
As shown, to finish the edges, wrap around the bias binding strip and sew. This way, it won’t be shown in the front. Fold the hem for 3cm, then fold in half (double fold. Press with iron then apply stitches.
How to make a brooch using the same fabric
1.

Cut two pieces of thick interfacing into a 5cm circle. Align it with the fabric’s design and adhere it using an iron. Allow 1cm seam and then cut the fabric.
2.
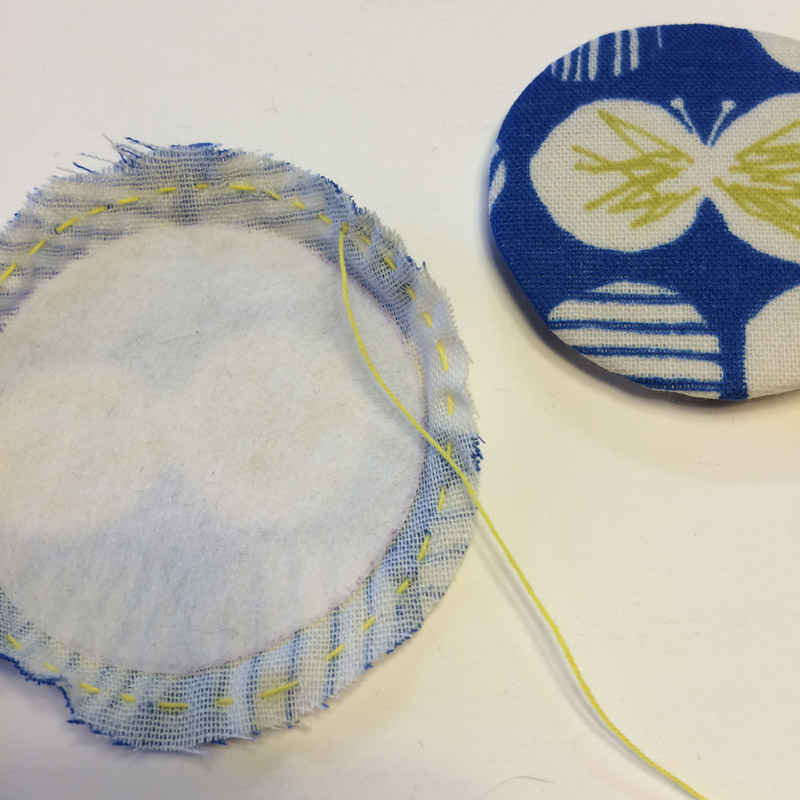
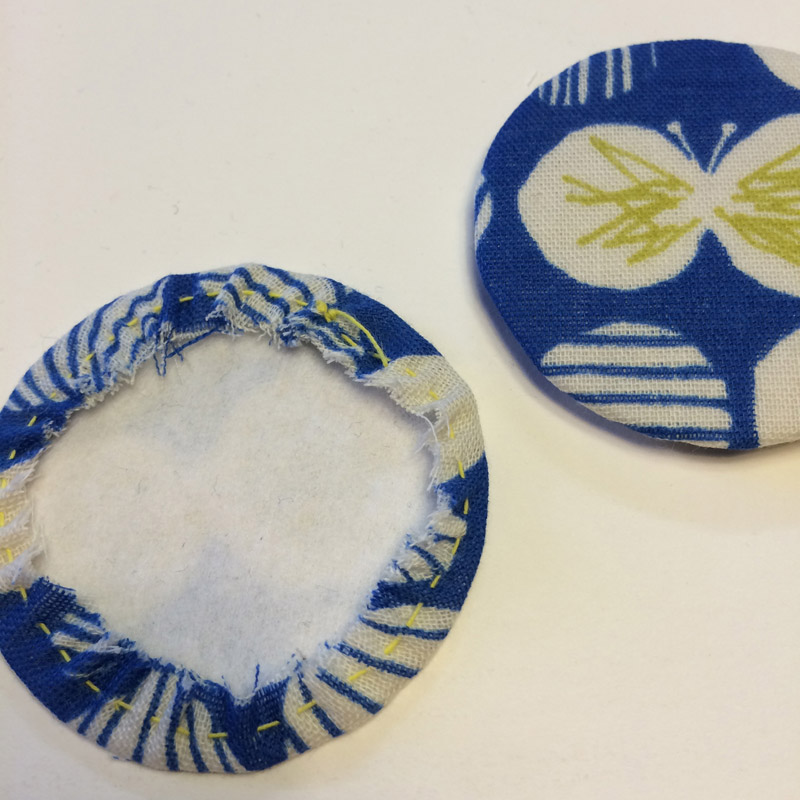
Apply rough stitches along the seam. Pull the thread to shrink the fabric. Align the shape with an iron.
3.
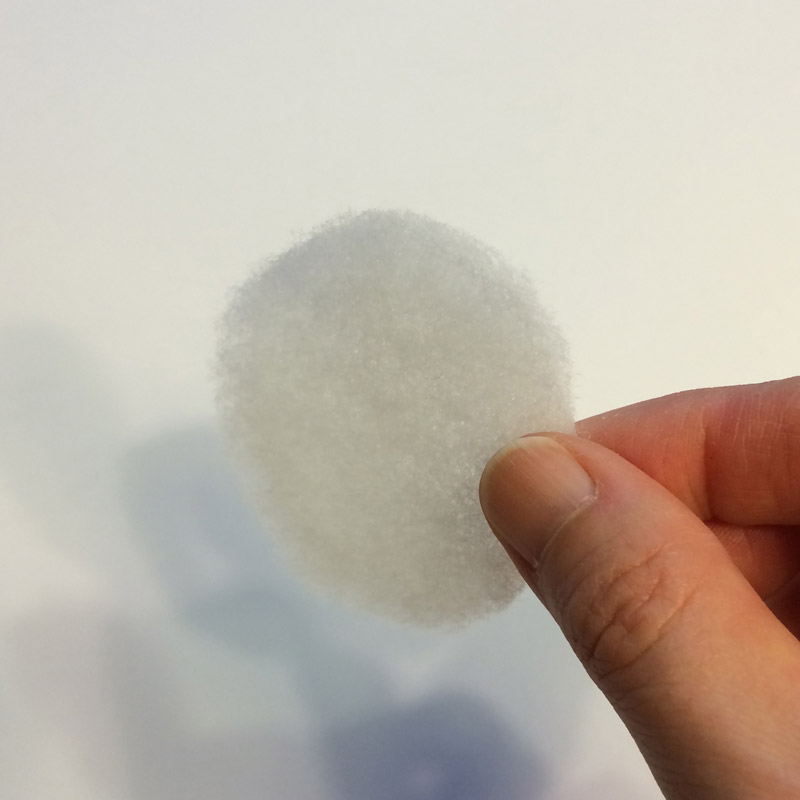

Align the design and piece together the circles with a quilt batting in-between.
4.
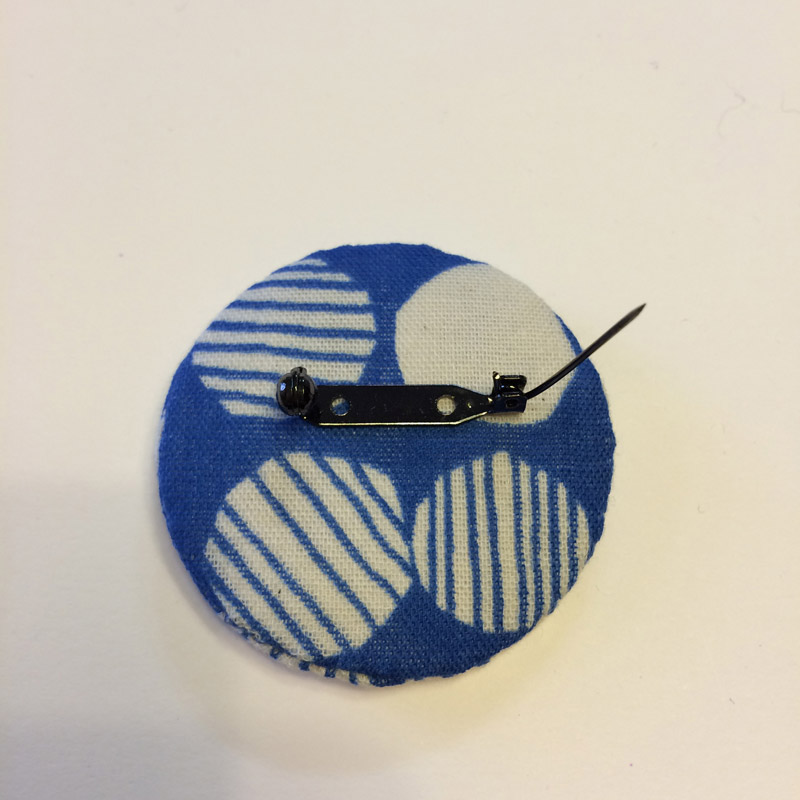
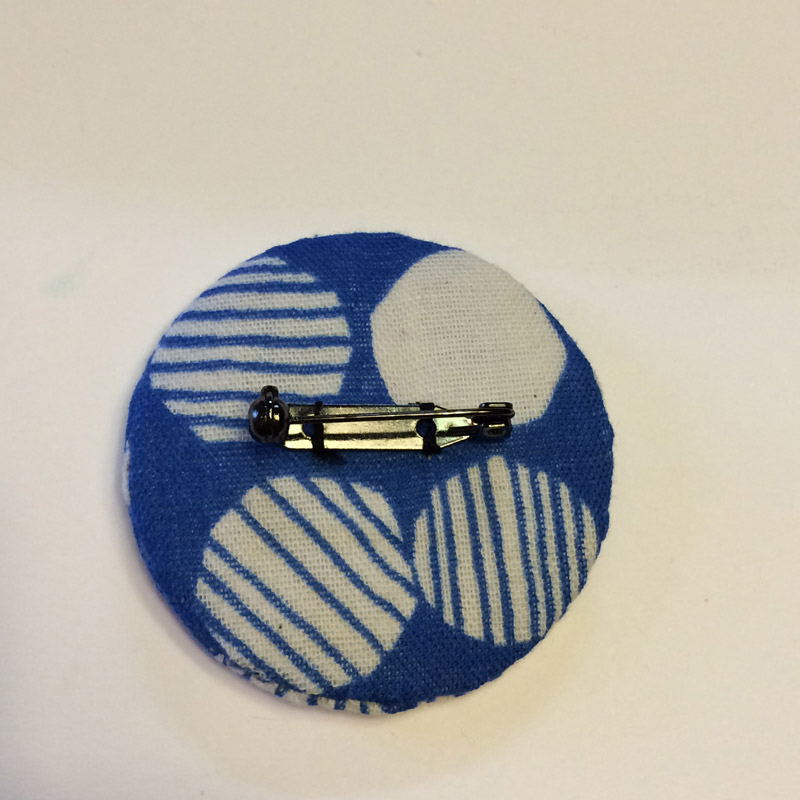
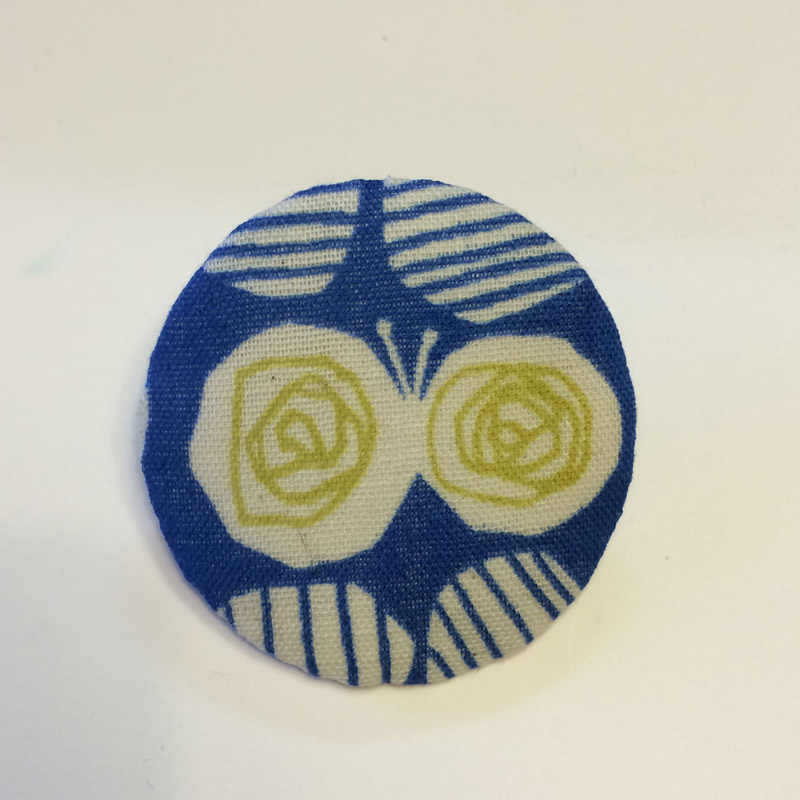
Attach a brooch locking bar pin (or a safety pin) to finish.

 V Neck Blouse with a Long Scarf
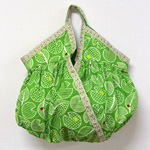 Gathered “Cashe coeur” Bag
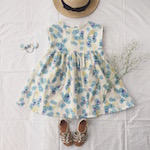 Dress with French Sleeves