
Bag for a Drink Cup 15cm (l) 13cm (w) 5cm (d)
Continued from the previous week, series #2 of the new school year item features the fabric, Ganbare! Lulu Lolo (Hooray for Lulu Lolo). Ganbare Lulu Lolo are twin girl bears appearing in the Jackie’s Sister story, the 7th episode from a very popular picture story book, The School of Bears. From this cute fabric of two lovely bears, why not make a set of place mat and a bag for a drink cup?
Fabric shown for this sample: Ganbare! Lulu Lolo G5021-1 (A)
Materials:
□ Fabric: 90cm×40cm
□ Pom-pom embellishment: 70cm (1cm width)
□ Cord: 1.6m (0.5cm diameter)


We interviewed Masumi about her creation:
Kokka Fabric (KF): What did you think of the fabric you used for this project?
It features my daughter’s favorite characters, Lulu Lolo, and I created something with a soft look in a pastel tone.
KF: Can you tell us any special elements or ideas that you incorporated into this creation?
To take advantage of such cute designs, only this fabric is used without adding transition fabrics. Also, the four edges of the placemat are finished by folding the fabric, rather than using a bias binding tape. Once you get used to this process, it is not that difficult. Please don’t be afraid and try it.
KF: What are some tips for making these items?
To make the place mats’ corners cleanly, the process of ironing is quite important.
One extra step will make your sewing process so much easier.
KF: How should we use these items in everyday situations?
For frills and embellishments, matching a color with one of the colors of the fabric’s design will make it look natural and cute. If you cannot decide the color for the lace, how about trying this idea.
KF: Thank you very much, Masumi! Here are sewing instructions along with step by step photos from her. Enjoy crafting!
Instructions
1.
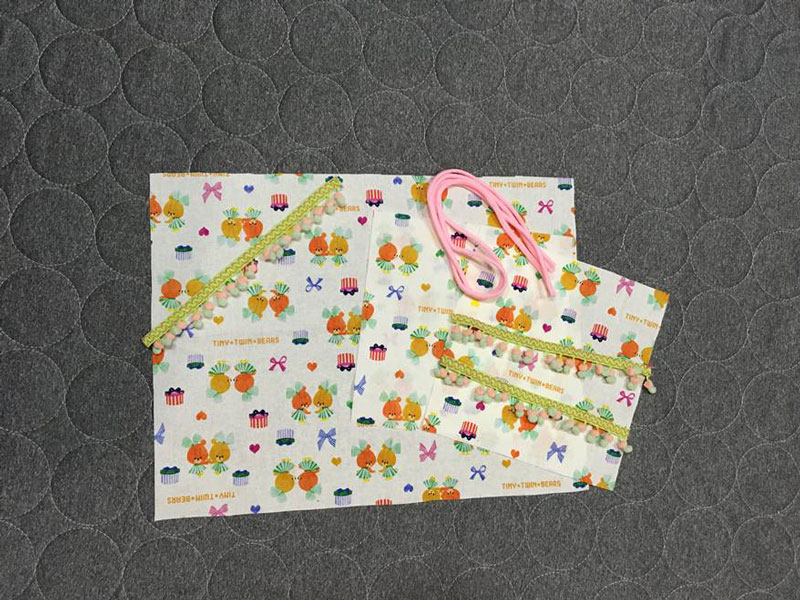
Prepare the materials.
2.

Crease the four edges of the place mat by folding it for 1cm first and then another 1cm. Cut off the corner edge.
3.
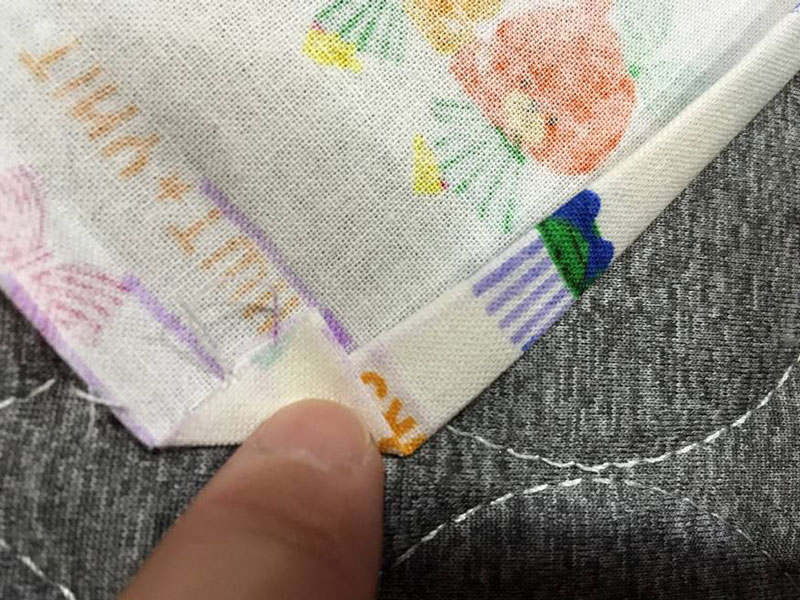
Place the corner (where it’s cut) toward you and fold the right-hand side as creased. Fold the left-hand side as shown. Fold for 1cm and then another 1cm and secure it with a pin.
4.

Sew all the way around and it is complete.
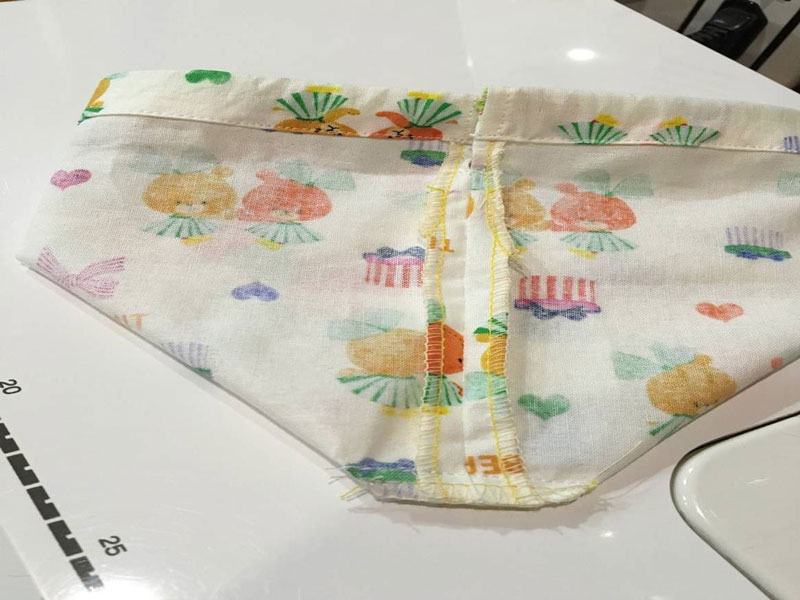
5. Create the opening for the cord for the bag

Press the seam open (unsewn part of 7cm) and run stitches in a u-shape at 5mm from the edge. Fold the top along the crease line at 1cm, 2cm and sew the edge.
6.
Apply 6cm gusset and turn it inside out. Put through the cord through the opening to finish.

 Pants Shaped Pochette
 Six-patch hat for kids
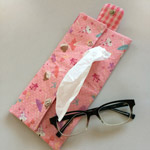 Portable Box Tissue Case