
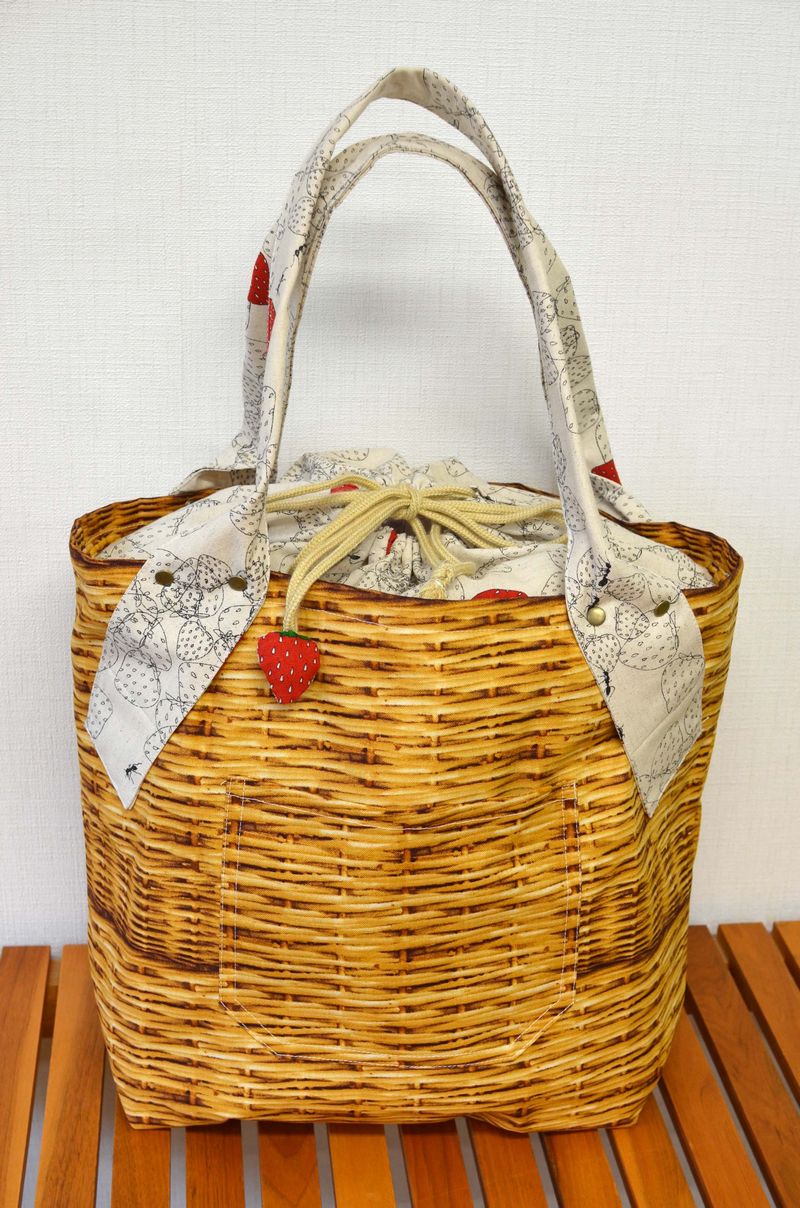
Handle 54cm
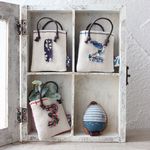
This time we introduce the tote bag with a basket print fabric. For a moment it looks like a real basket, doesn’t it? For more realistic, we add rivets on handles. The drawstring top is so convenient to cover a lot of stuff inside of the bag.
Having a strawberry print fabric as the lining, the bag looks as if the basket is full of strawberries. It was staged to look like a picnic with stuffed strawberries at the edge of drawstring. You can create this appearance by cutting out a colored strawberry motif, stuffing it with cotton, and attaching it to the drawstring. If you put the stuffed strawberry in the bag’s outer pocket, it may seem as if the real fruit spilled out of the real basket. Such a creative bag will make you smile.
The canvas used for this bag is a manageable fabric to sew because it is neither too firm nor too soft. However you shall press the seam of bottom darts in a different way per outer and lining body. You can use this bag without constraint since it is washable. This may be a help as a diaper bag, too. It is good as the drawstring shut out inside of the bag.
□ Outer fabric (canvas): 110cm(L) x 70cm(W)
□ Lining (cotton/linen canvas): 110cm(L) x 100cm(W)
□ 2 cords of 100cm for as drawstring
□ 8 rivets of 8mm diameter
□ A bit of cotton
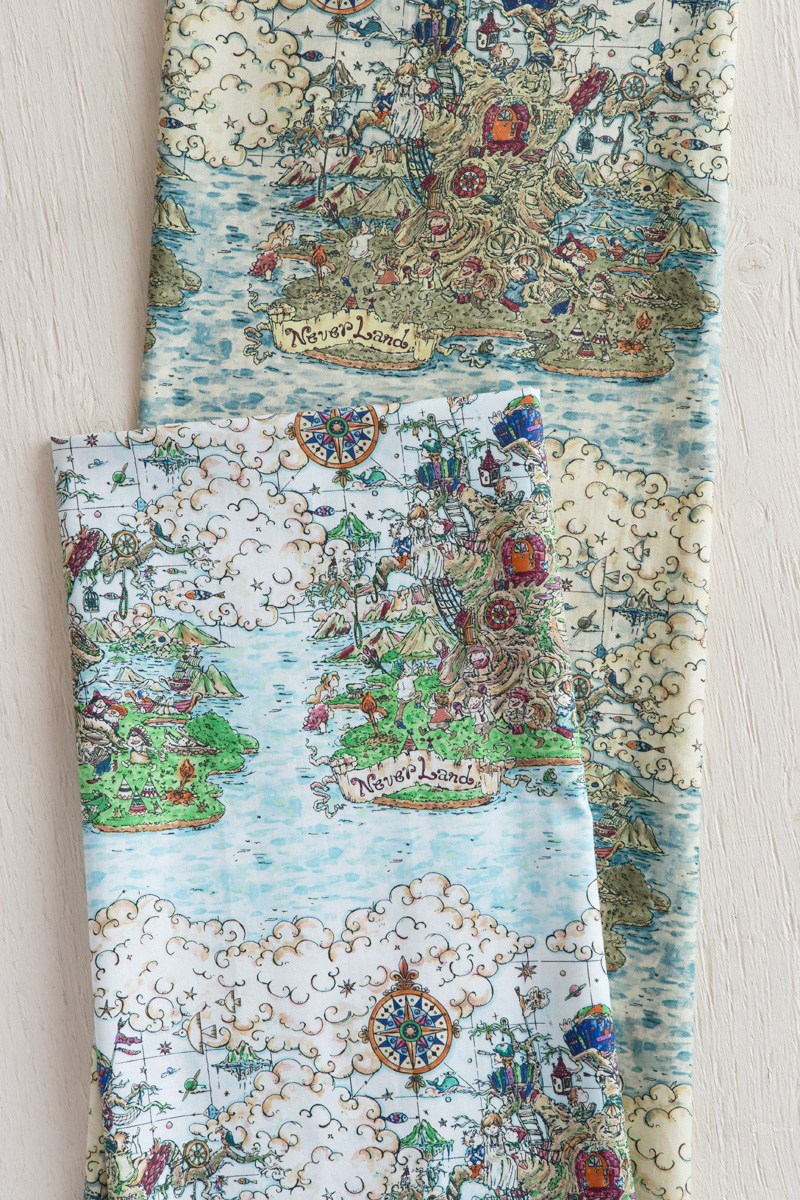
Fabric shown for this sample:
Outer body: Candy Party / Caramel Crunch Trick Basket H3020 (1A)
Lining body: ueda college collection x KOKKA ICHIGO TO ARI H1620-20 (A)

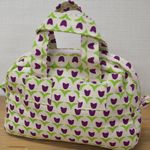 Tulip print mini Boston bag
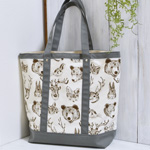 Fluffy Tote in Animal Print Fabric
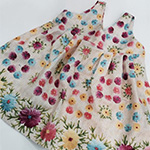
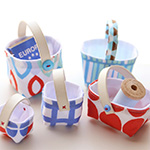 Miniature Basket-Style Bag
 Inspiration file20
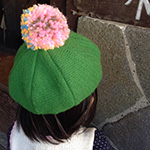 Inspiration file 27
 Inspiration file60
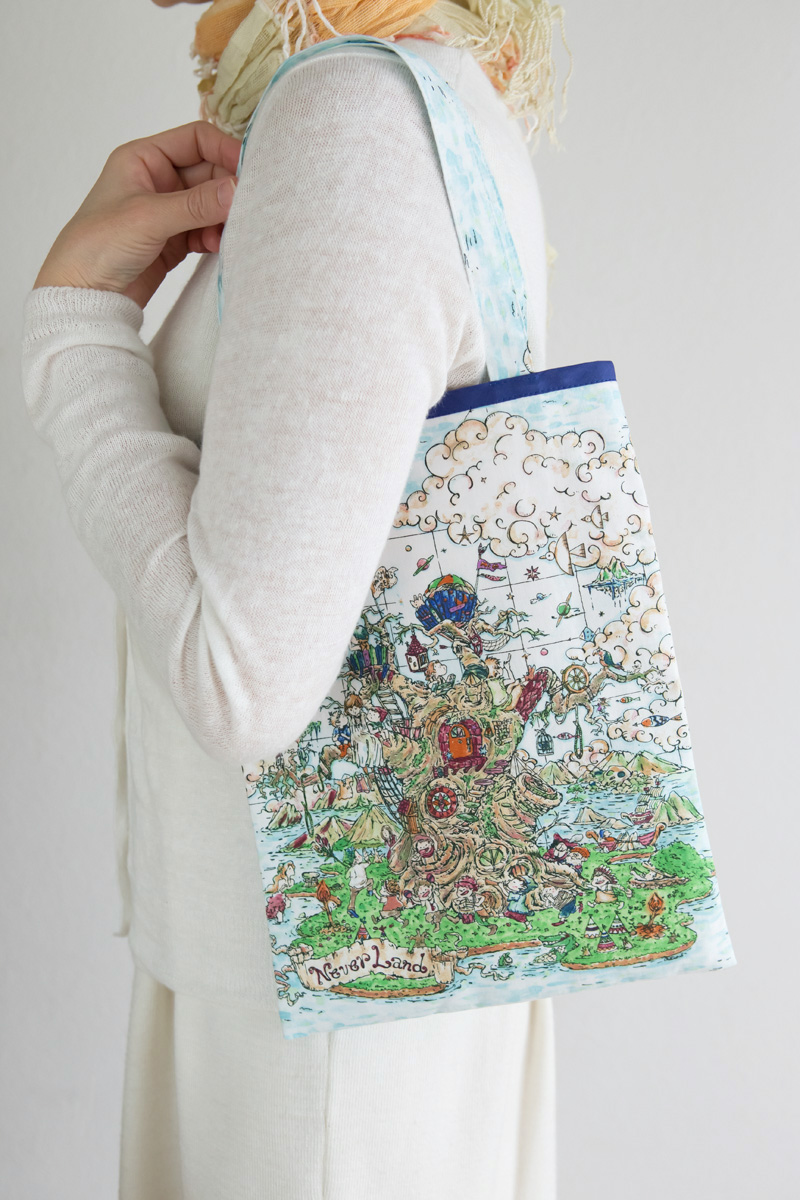


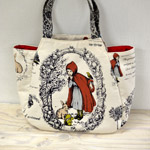 nunokara series #3 Rotkappchen (Little Red Riding-Hood)
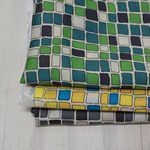 cocca
cocca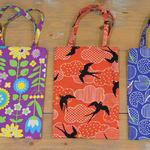 nunokara
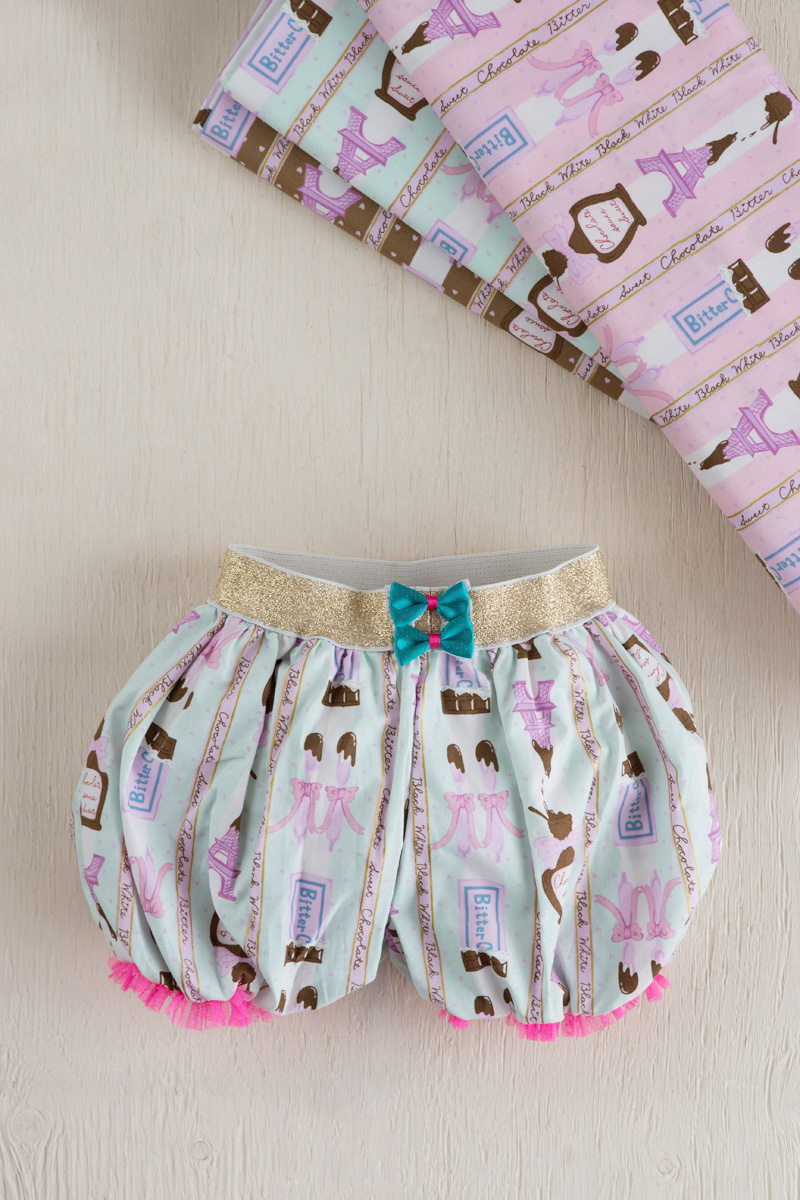
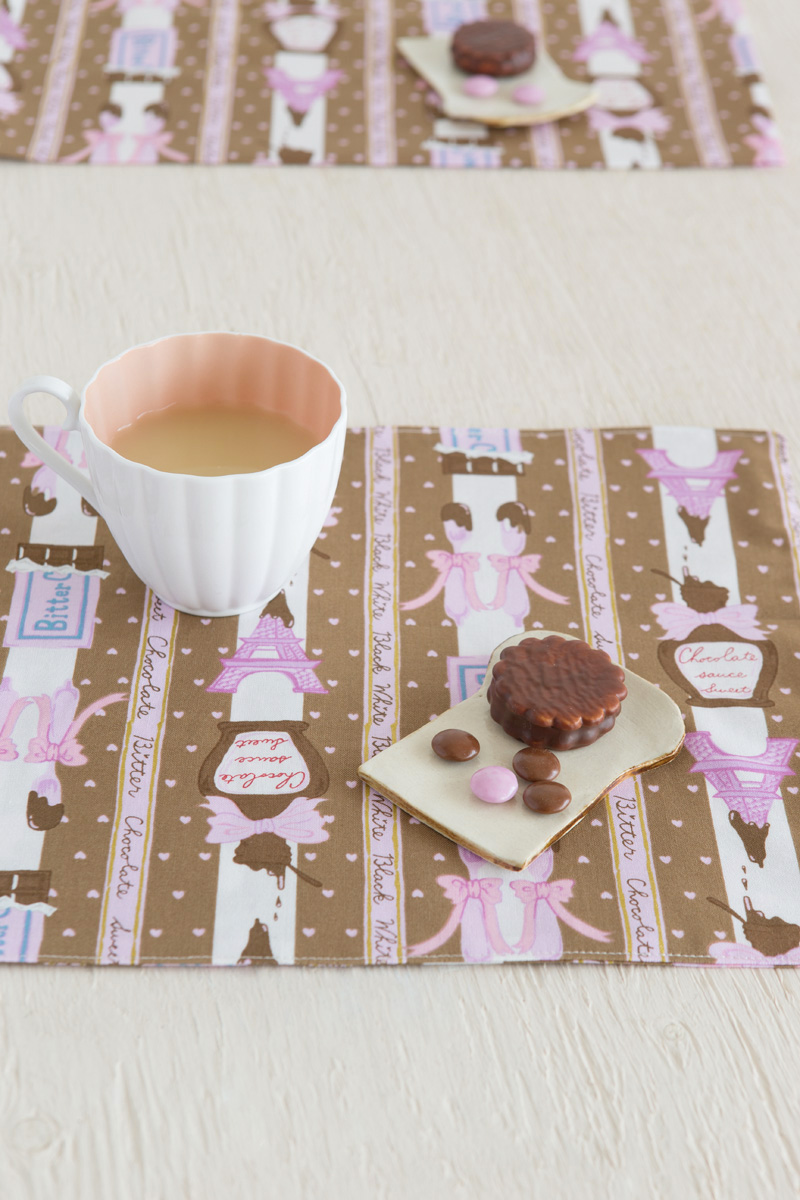

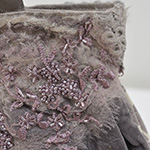
 plump cheeks
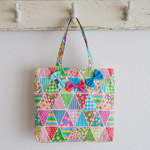 Plump Cheeks ‘70s Retro
 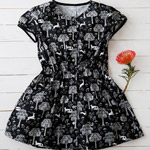 Monochrome
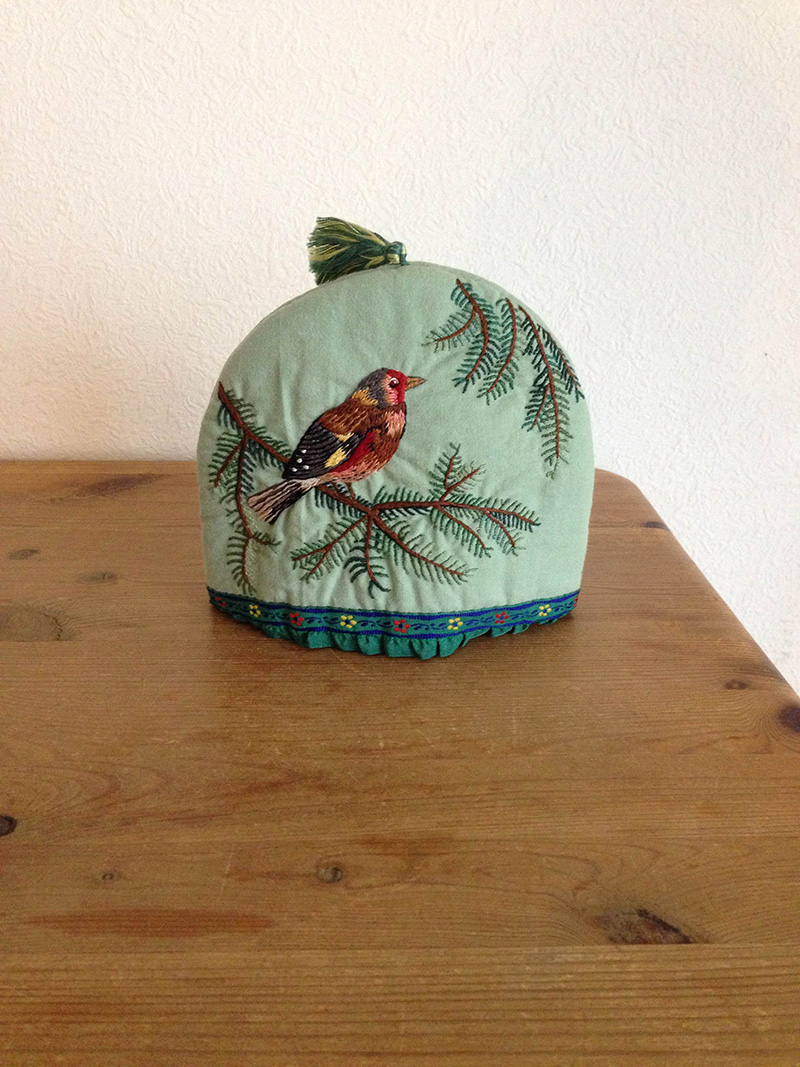
 Inspiration 22
 Inspiration file48
 Inspiration file21