
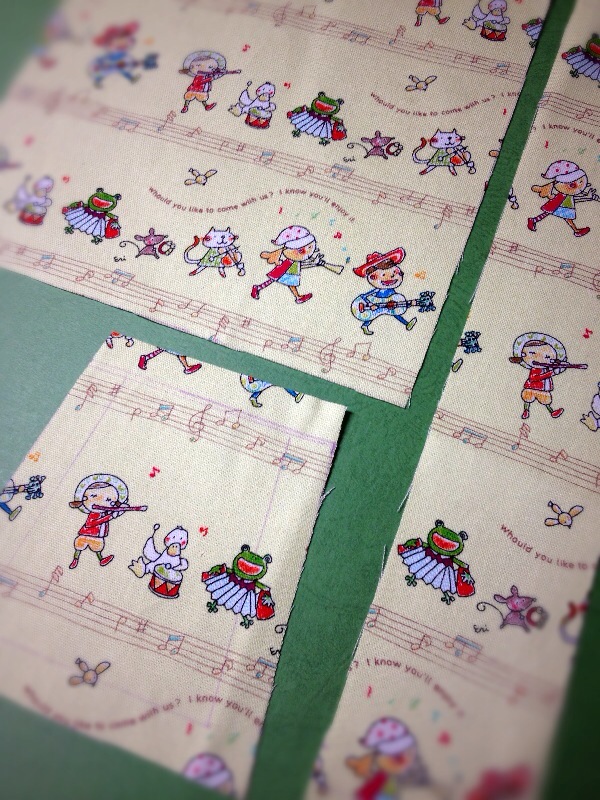
The first project in 2014 from Craft & Sewing is a mini purse with a drawstring bag. This project uses A toy chest, a fabric that is filled with cute and fun things from a toy box. Today’s artist is Ms. Kaori Sawa.
Fabric shown for this sample: :A toy chest JG36500-502 (C)
Materials:
□ Fabric: 110cm×50cm
□ Interfacing: 70cm×20cm
□ Zipper: 15.5cm – one piece
□ Snaps: One set (0.7cm diameter)
□ Drawstring: 80cm (0.1cm diameter)

We interviewed Ms. Sawa about her creation:
Kokka Fabric (KF): What did you think about the fabric you used for this project?
KS(Ms.Kaori Sawa): It is a lovely fabric that can be enjoyed by both adults and children. Since it has an appropriate thickness, I thought it would be nice to make a small bag.
KF: Can you tell us about any special elements or ideas that you incorporated into this creation?
KS: Though the bag may seem small, it can hold many things like a smart phone, small wallet and a handkerchief. Inside, there is a card holder pocket and a little hook for a drawstring bag for accessories.
KF:What are some tips for making this bag?
KS: There are two tips: 1. Make sure to mark the seam lines first 2. Iron the fabrics first otherwise it will be challenging to iron later in the process when the bag is being constructed.
KF:How should we use this bag in everyday settings?
KS: It is perfect for a quick running around or for kids to carry when going out. It can also work as a bag-in-bag organizer.
KF:Thank you very much, Ms. Sawa! Here are sewing instructions along with step by step photos from her. Enjoy crafting!
Instructions: How to make Mini purse with a drawstring bag
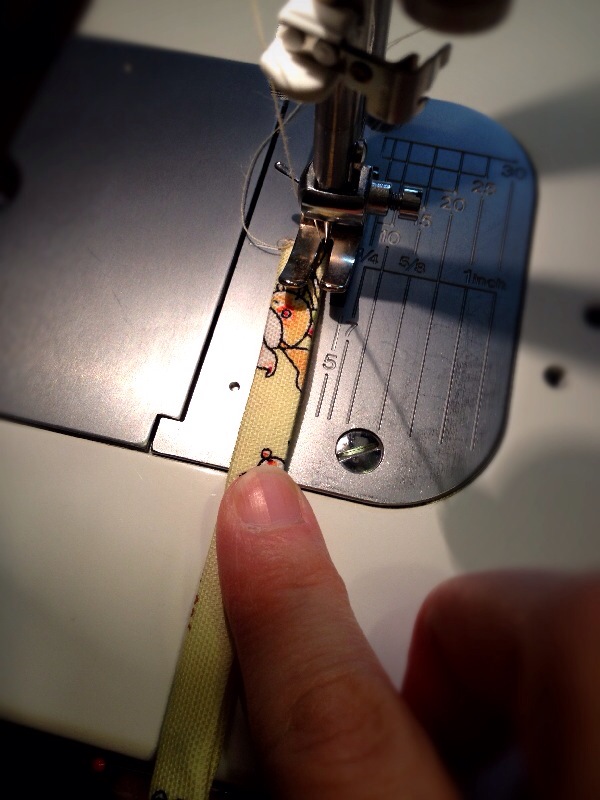
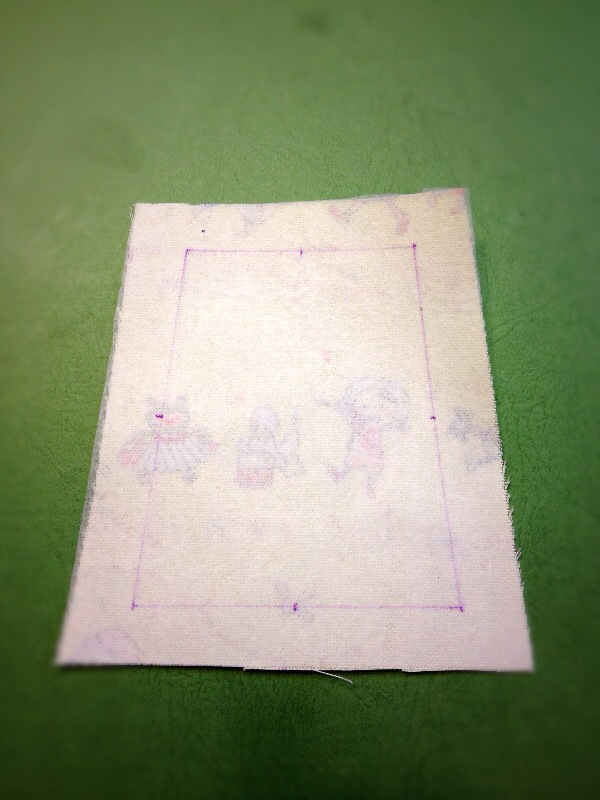
1.
Per specified measurements, mark the seam lines. Cut the fabric including seam allowances.
2.
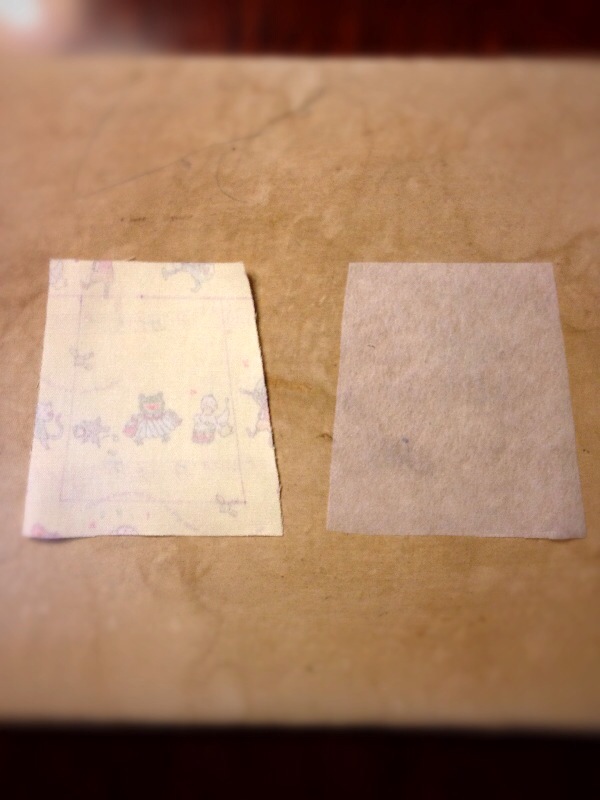
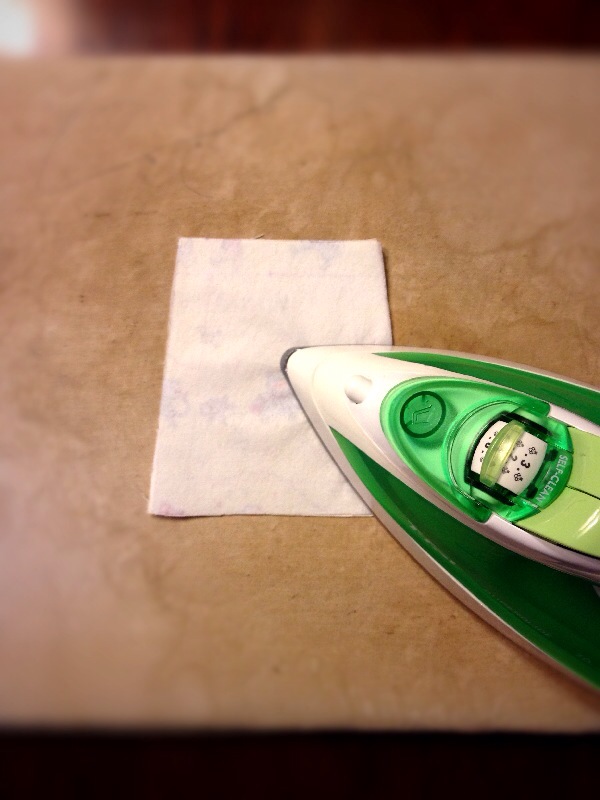
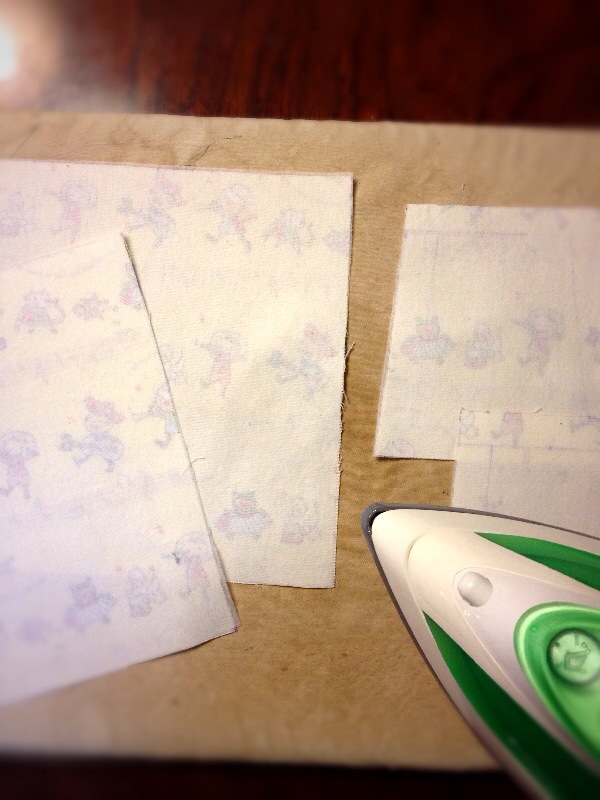
Using an iron, attach interfacing to front outer bag fabrics (two fronts and tow gussets).
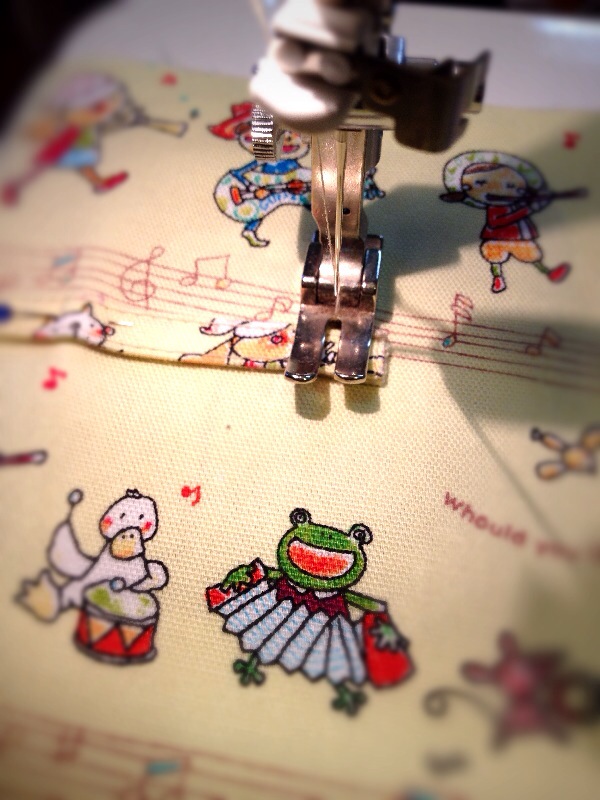
3.

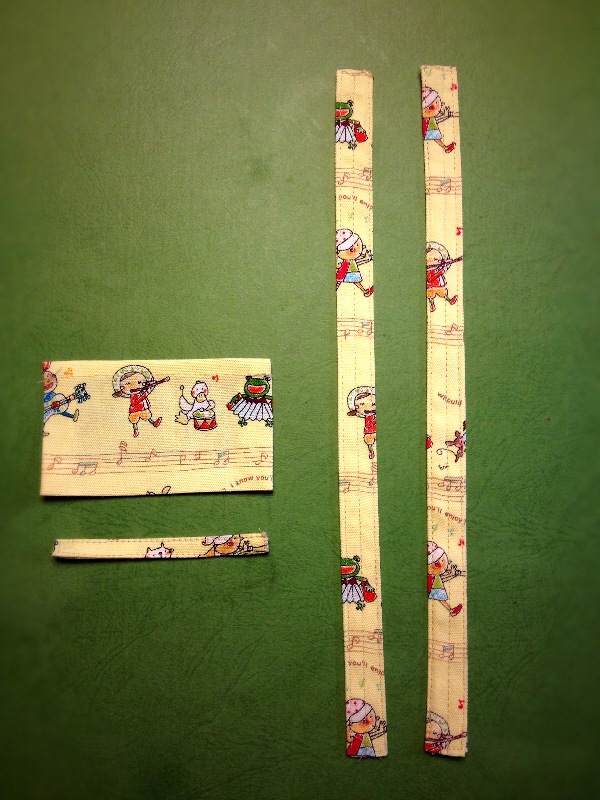
Sew and prepare a pocket, belt and handles.
4.
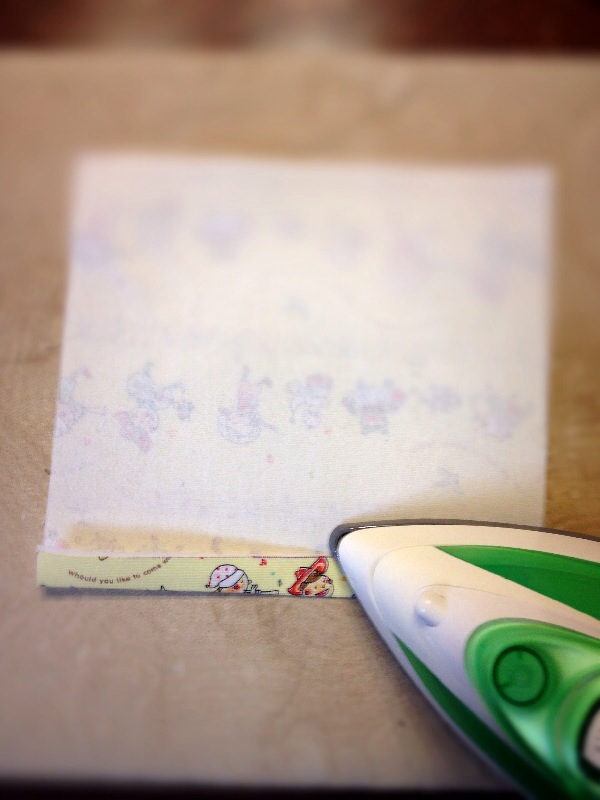
Fold the top seam allowance of the front fabric and iron.
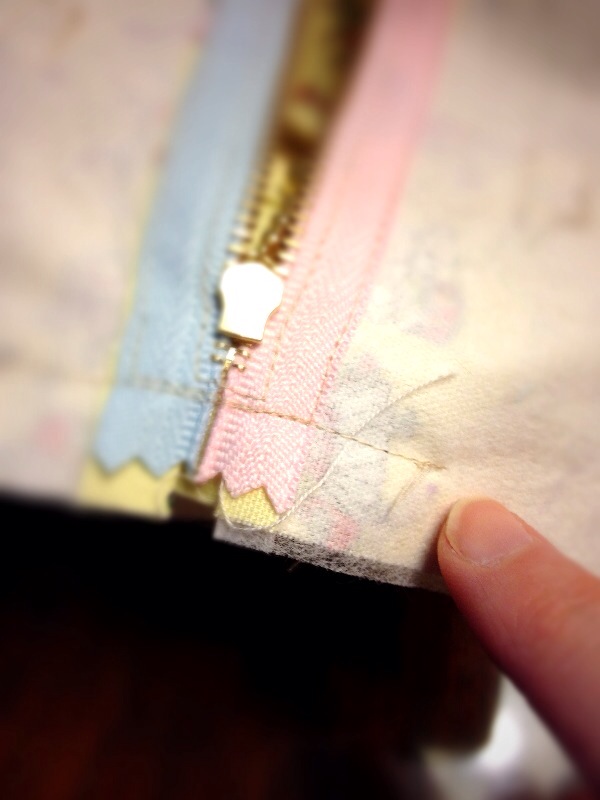
5.
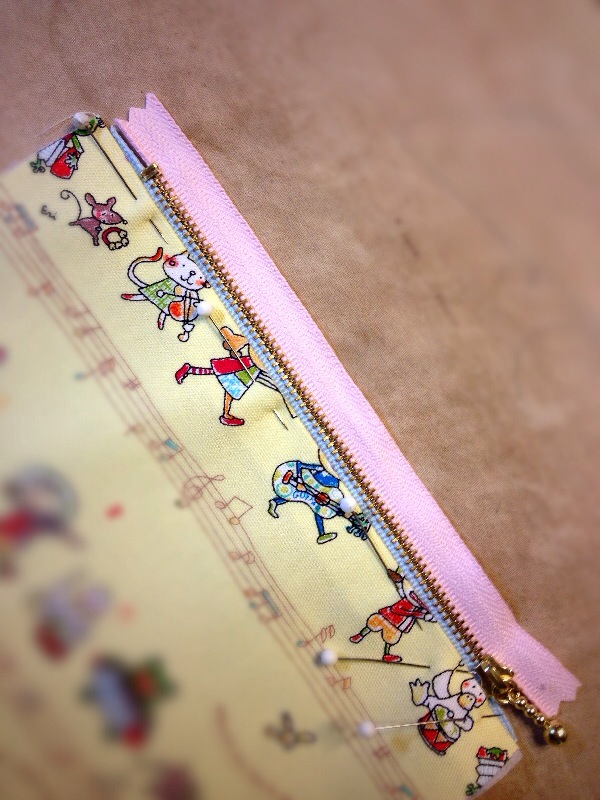
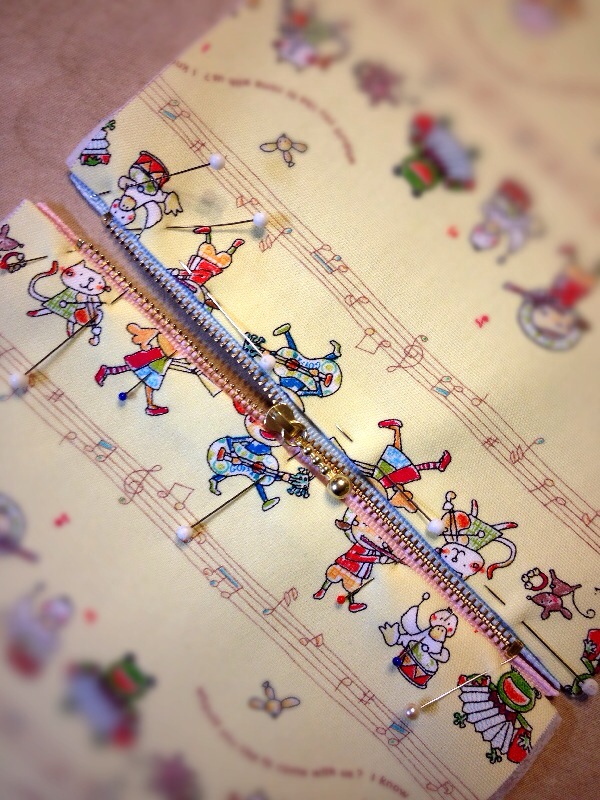
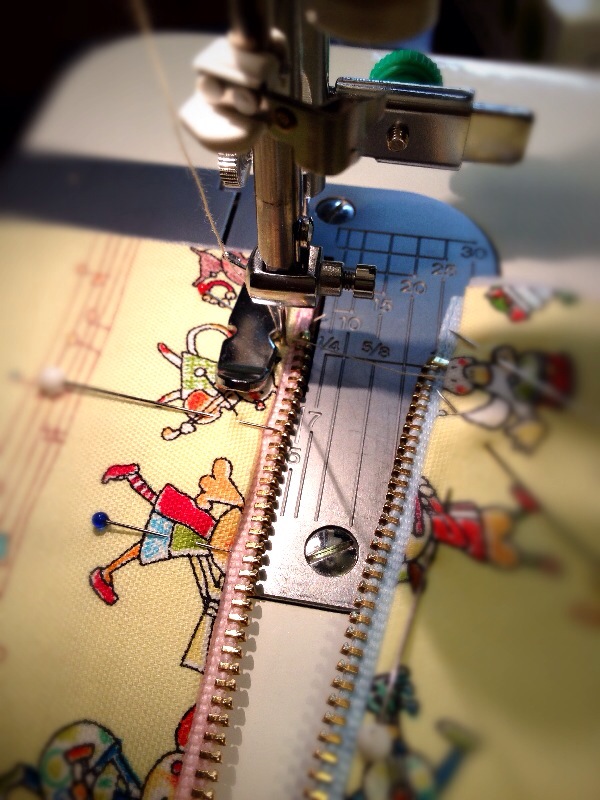

Attach a zipper. Stitch from the backside as well.
6.
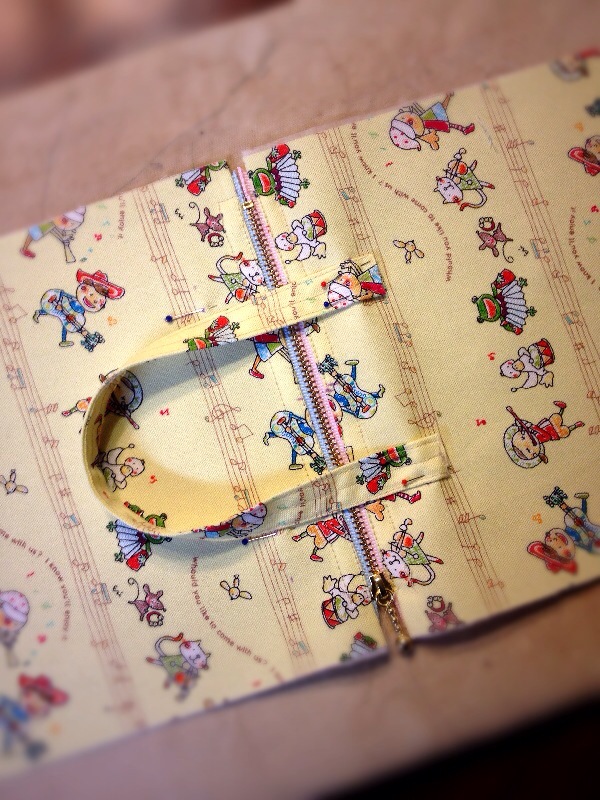
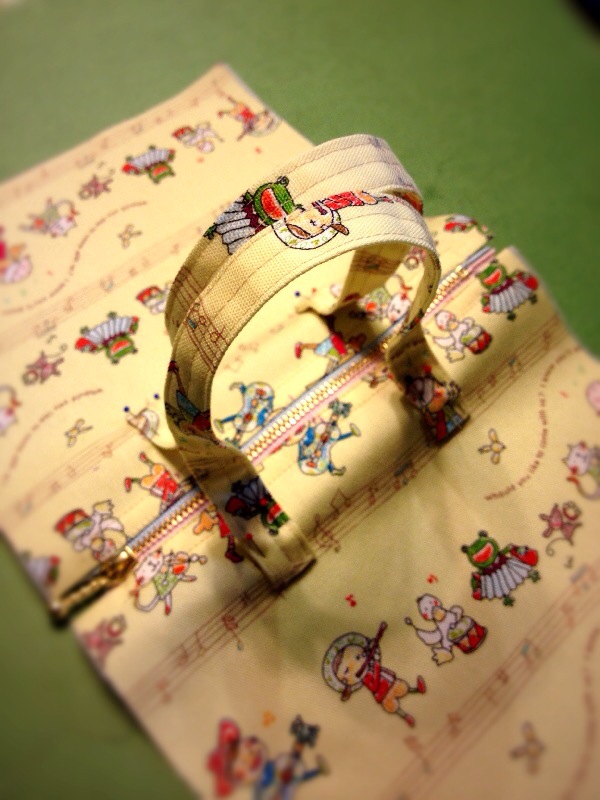
Attach handles.
7.
With front/outer sides facing each other, sew the bottom. Press down the seam allowance.
8.
With front/outer sides facing each other, sew top and bottom of the front fabric and gusset. Make a cut on four corners of the seam allowance of front facing fabrics as close as possible to the seam line.
9.
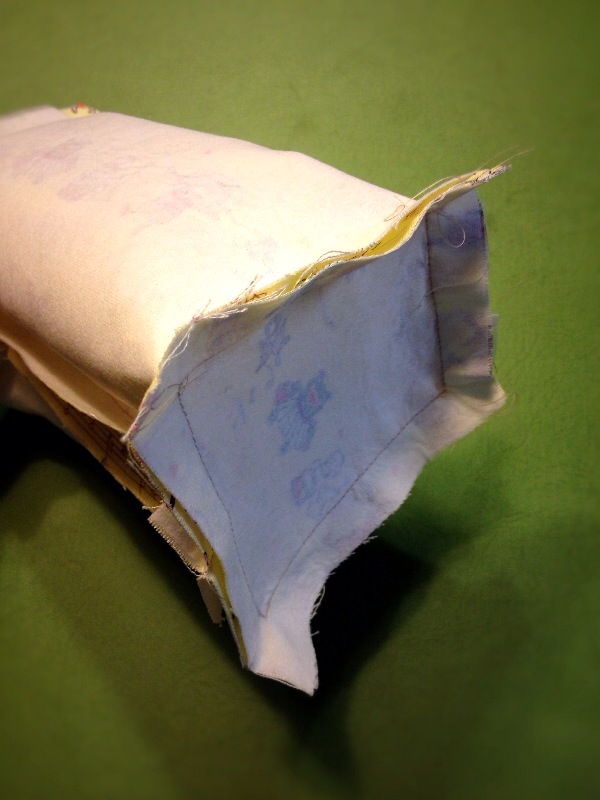
Sew together the front and side gusset.
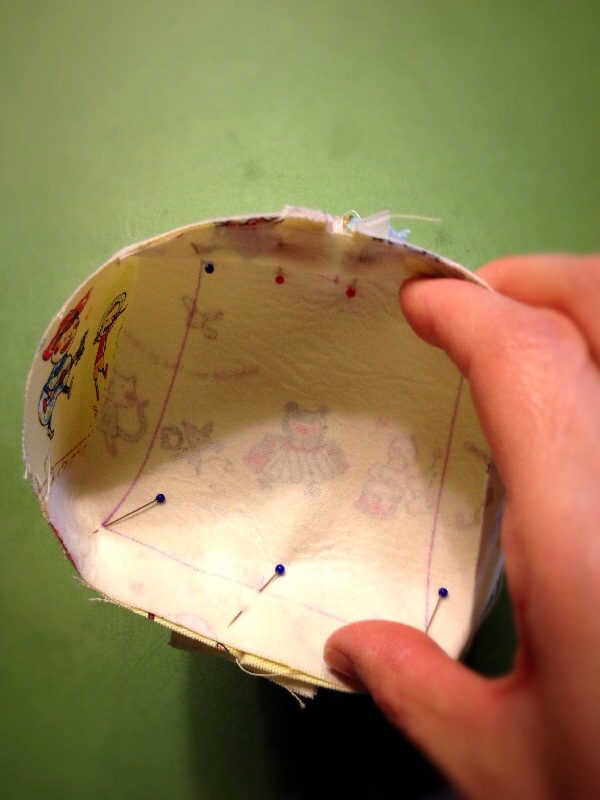
10.

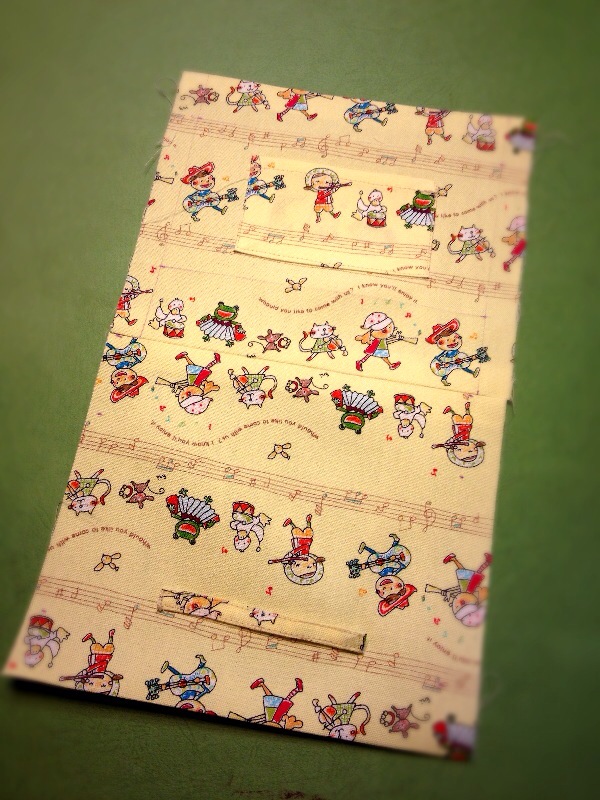
Attach the pocket and belt to the lining fabric.
11.
Fold the top seam allowance (zipper attached location) of the lining fabric and iron.
12.
With front/outer sides facing each other, sew the bottom. Press down the seam allowance.
13.

Repeat the process as in Steps 8 and 9.
14.


Cut the corners of the gusset (seam allowance) in the front and back.
15.
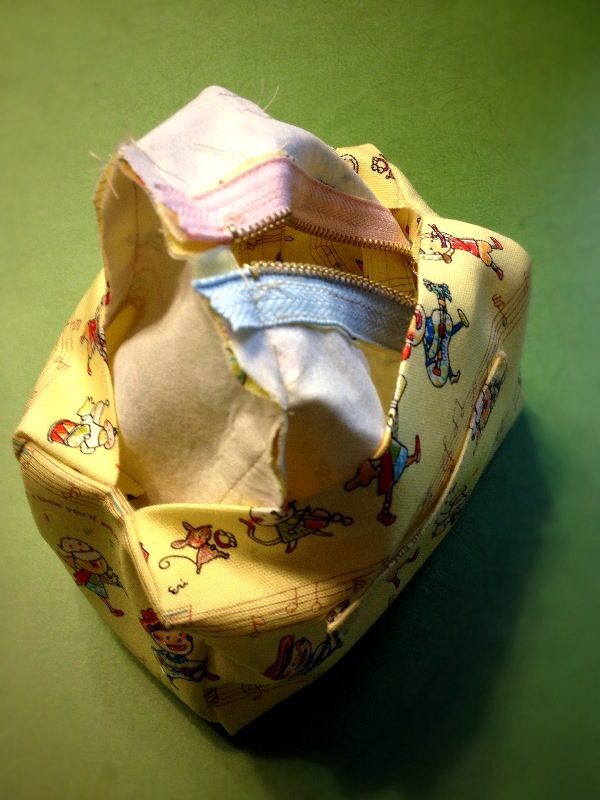
Turn the lining fabric inside out and place the outer bag inside.
16.
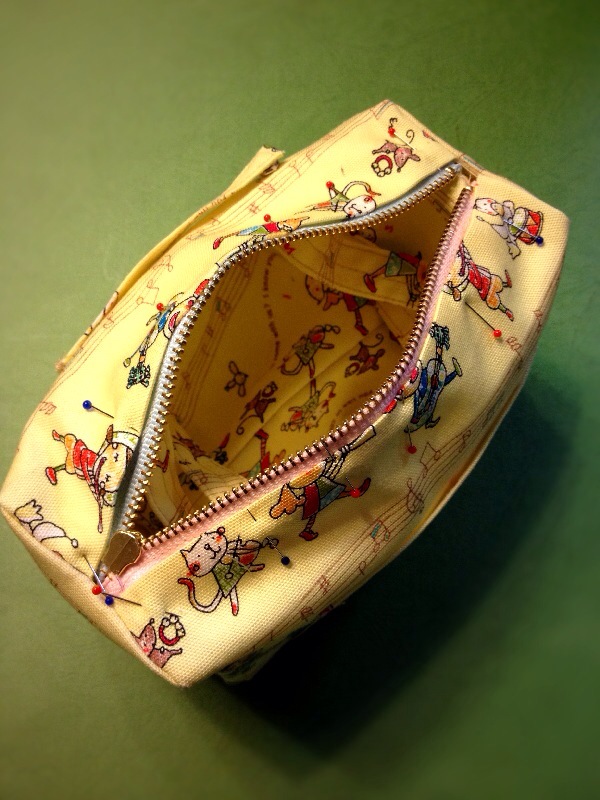
Align the shape, match the corners of the outer and lining side, place zipper (front side) with lining fabric and sew with blind stitches.
17.
Turn the back inside out and finish.
18.

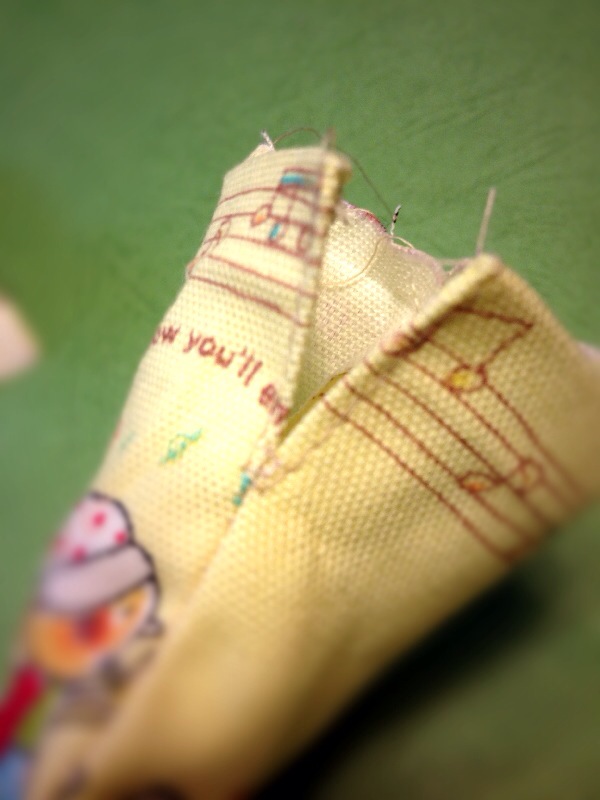
Make a drawstring bag.
With front/outer sides facing each other, place the fabric together.
Sew the sides, leaving the top opening portion. Double fold the seam allowance of the top opening side and sew the side from where the opening starts to the top.
Turn it inside out, put the drawstring through and finish.

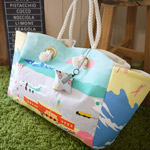 TOTE Bag with a Mini Pouch
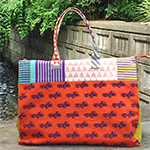 Boston Bag
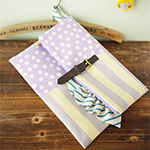 Clutch Bag