FREE SEWING TUTORIALS
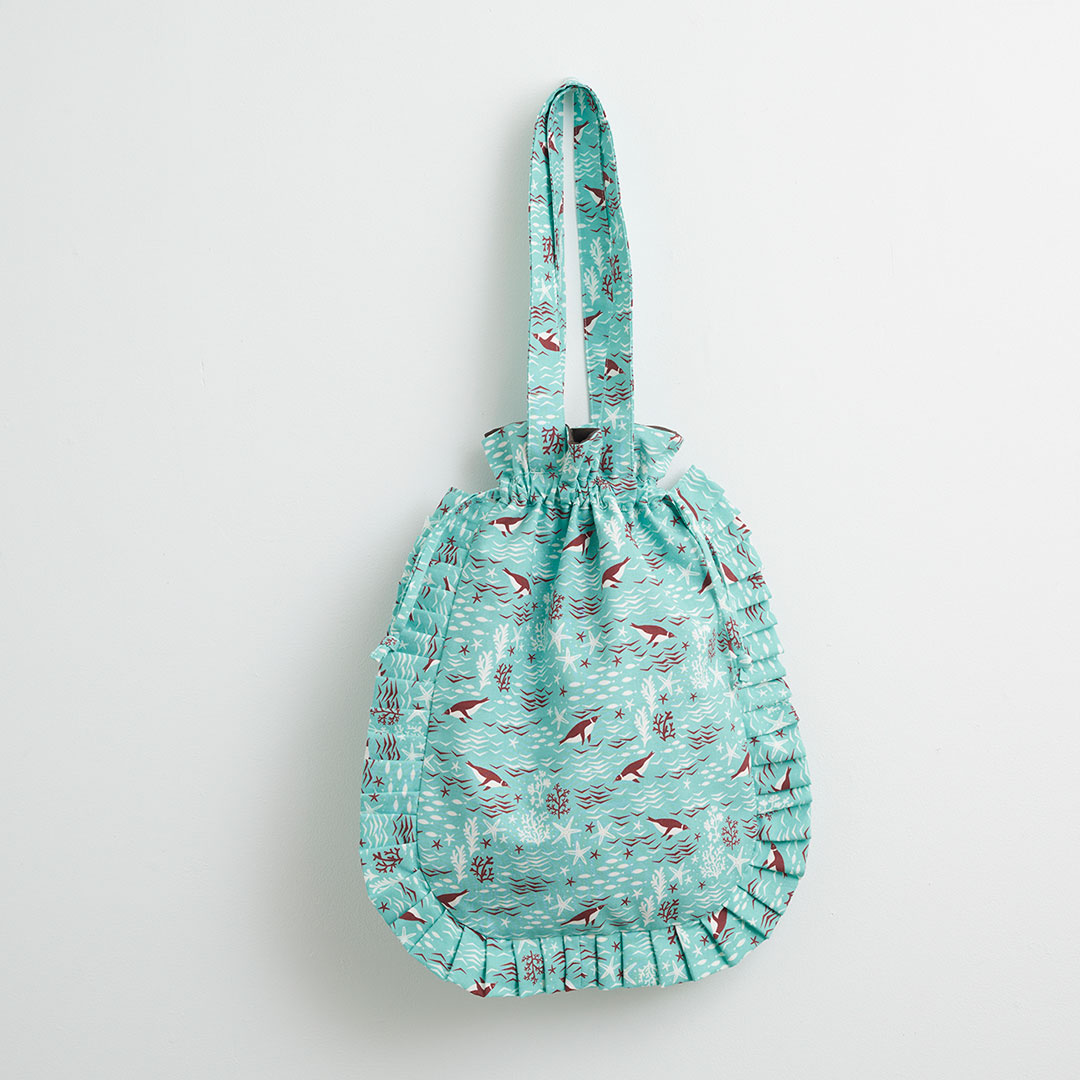
Drawstring Bag – Free Sewing Tutorial
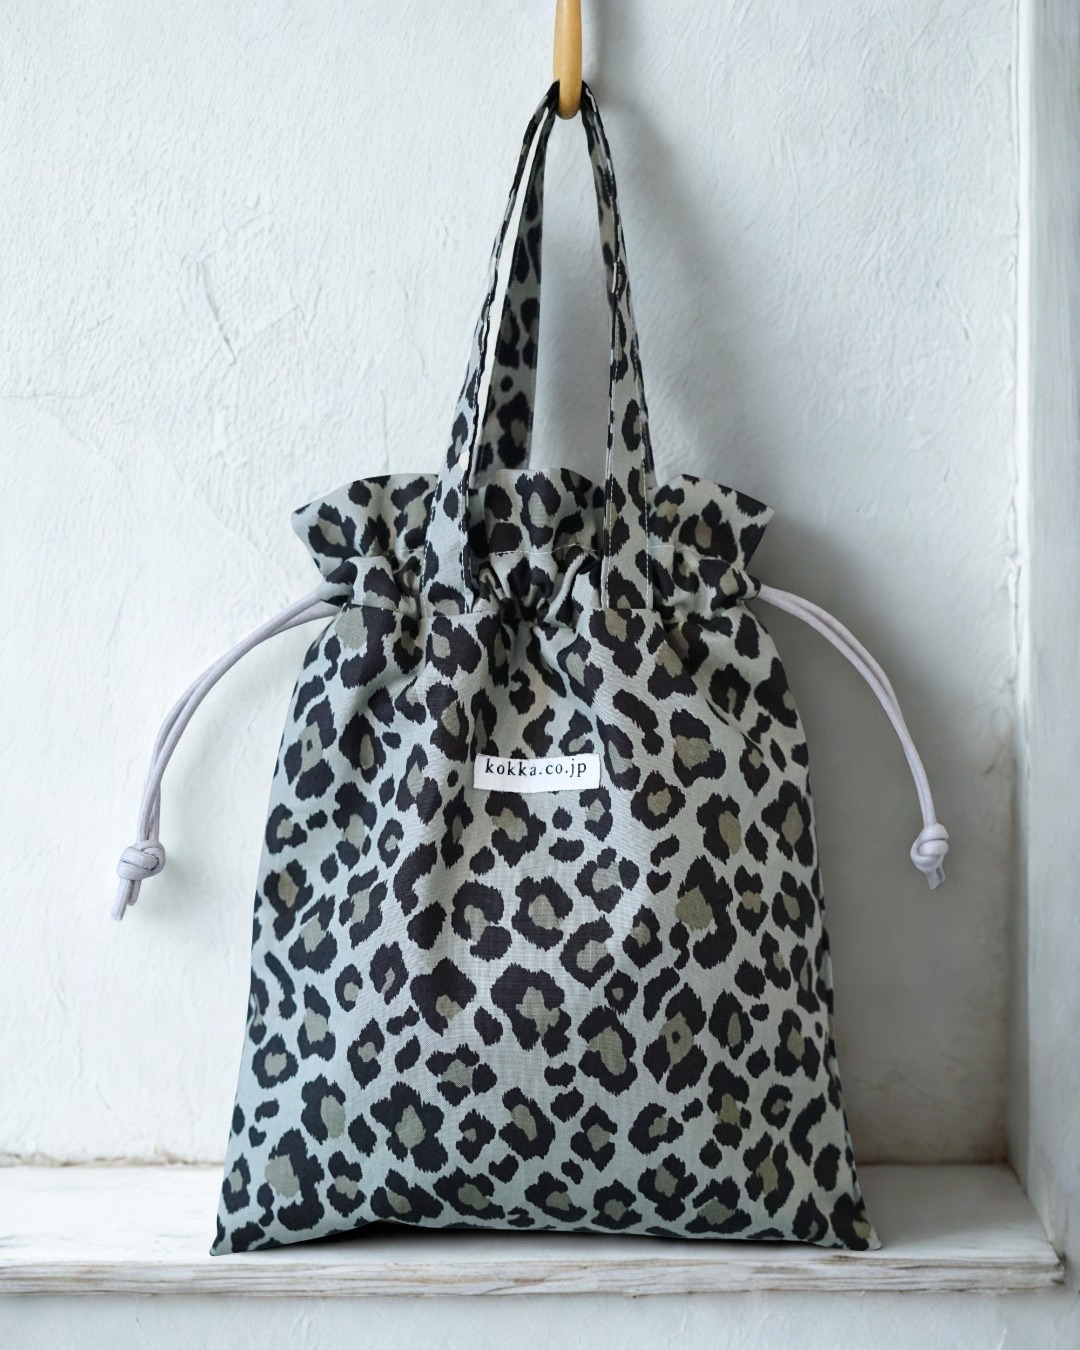
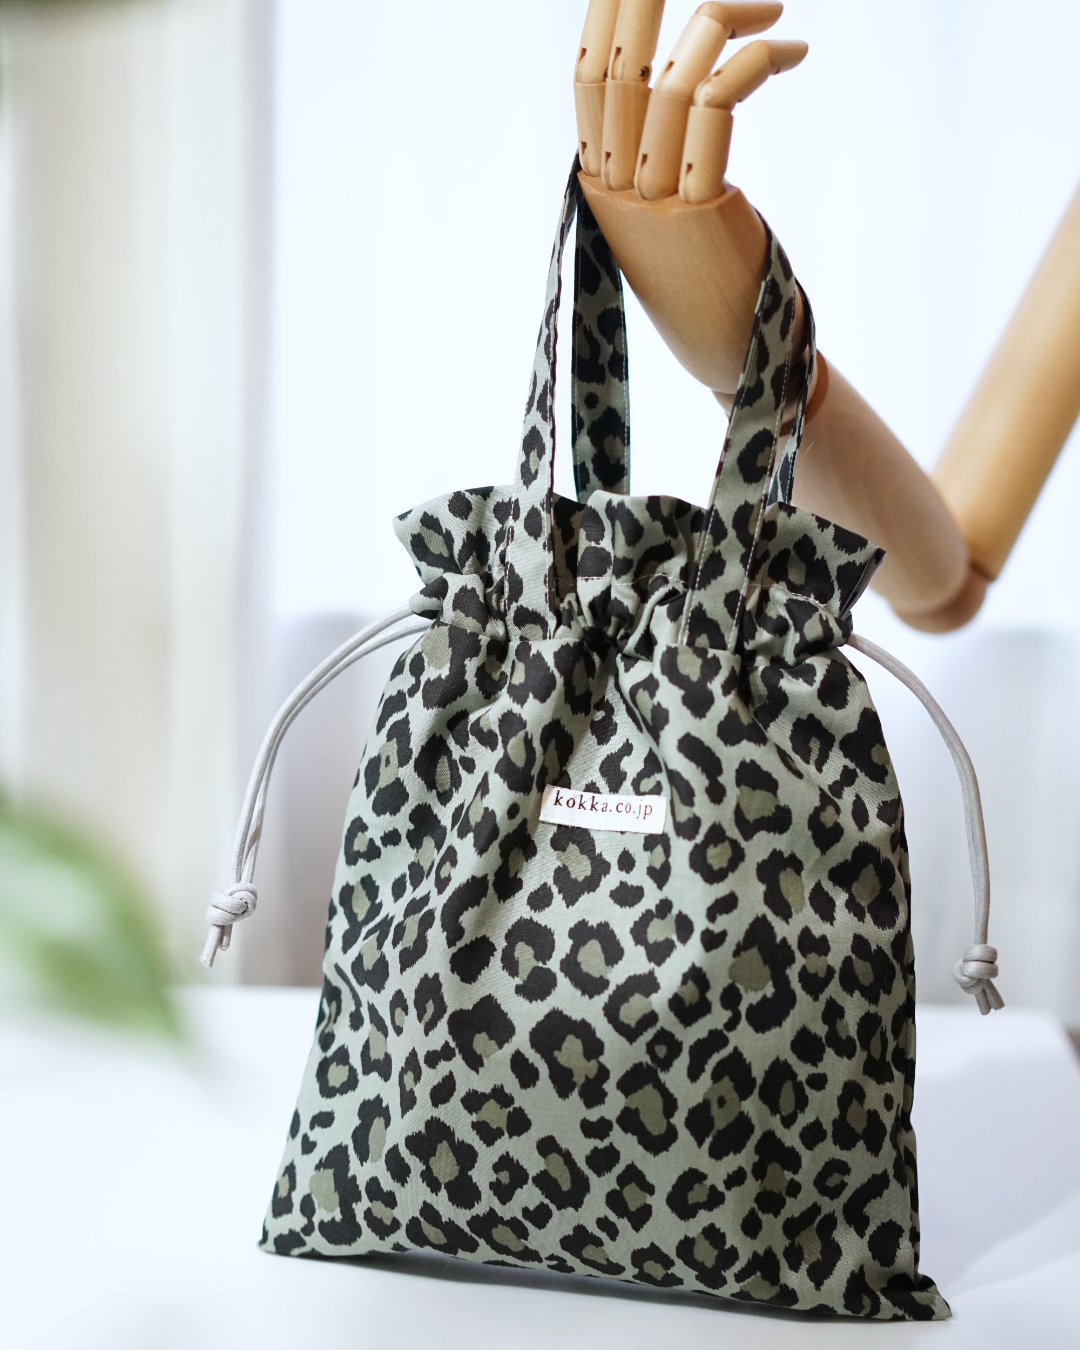
New to sewing and using a sewing machine? Aimed at beginners, this original segment teaches you the joy of creating handmade pieces while learning the basics of sewing! It is a lesson of sewing fundamentals. In this tenth issue, we will show you how to make a drawstring bag.
In this lesson, you'll learn to do these!
In every “Sewing Basics Lesson,” essential sewing tips and techniques to remember are included. This time, let’s master these three together!
- Master the art of creating beautifully finished bags with lining!
- Learn the trick to sewing straight stitches along cord openings!
- Discover the perfect balance between handle length and widths!
Fabric and materials for this project
| Design & Work | Yui Tamaki |
|---|---|
| Fabric shown for this sample |
YP-71030-1D |
| Materials |
|
| Size |
31cm (l) 25cm (w) |
Video tutorial! “How to Make a Drawstring Bag”
This video clearly explains the points that first-time sewers often struggle with, such as how to cut fabric, machine sewing tips, and how to align the fabric. A must-see for beginners!
Step-by-step photos! “How to Make a Drawstring Bag”
-
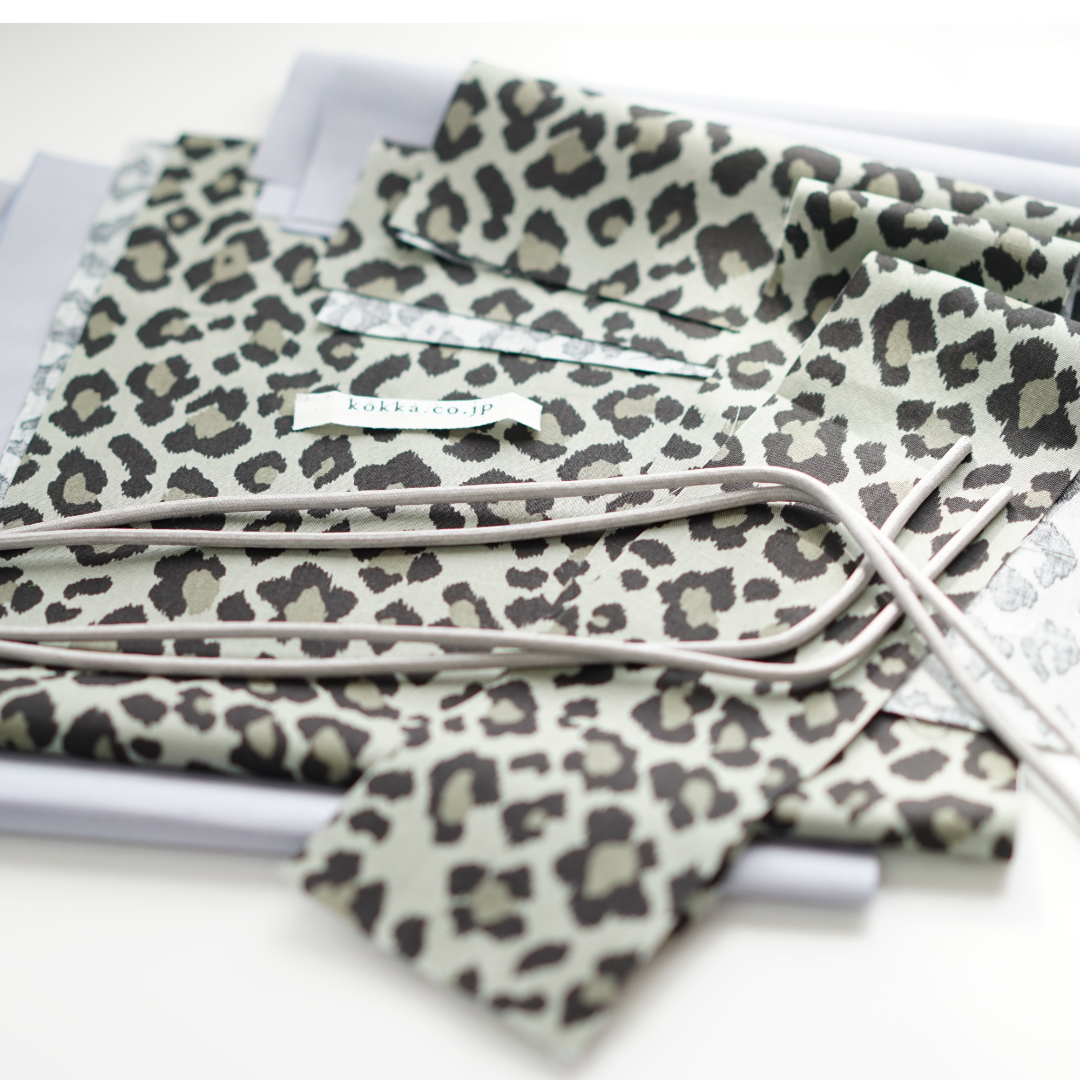
Cut the materials.
-
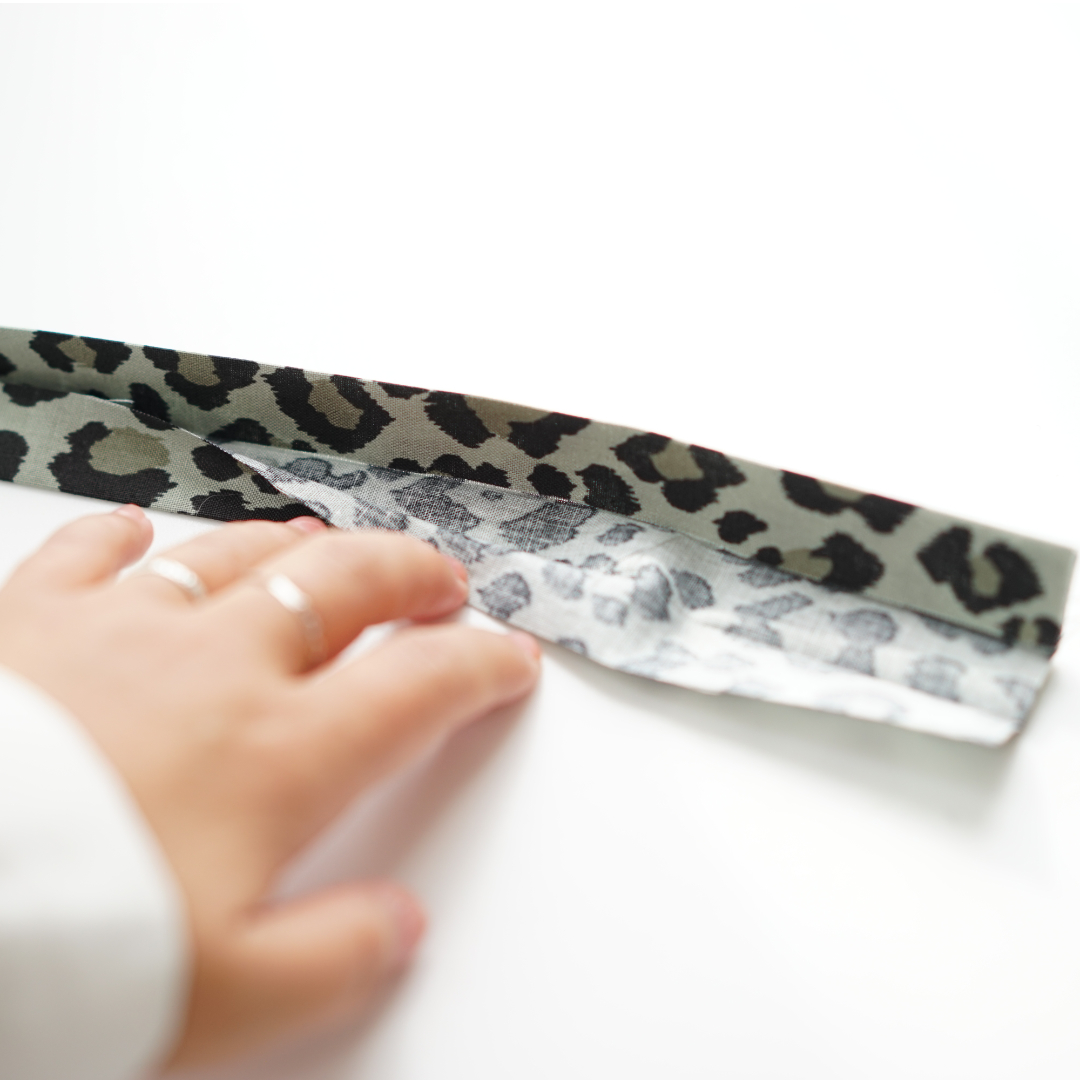
Make the handles. Crease the center, then fold both ends of the long sides toward the crease.
-
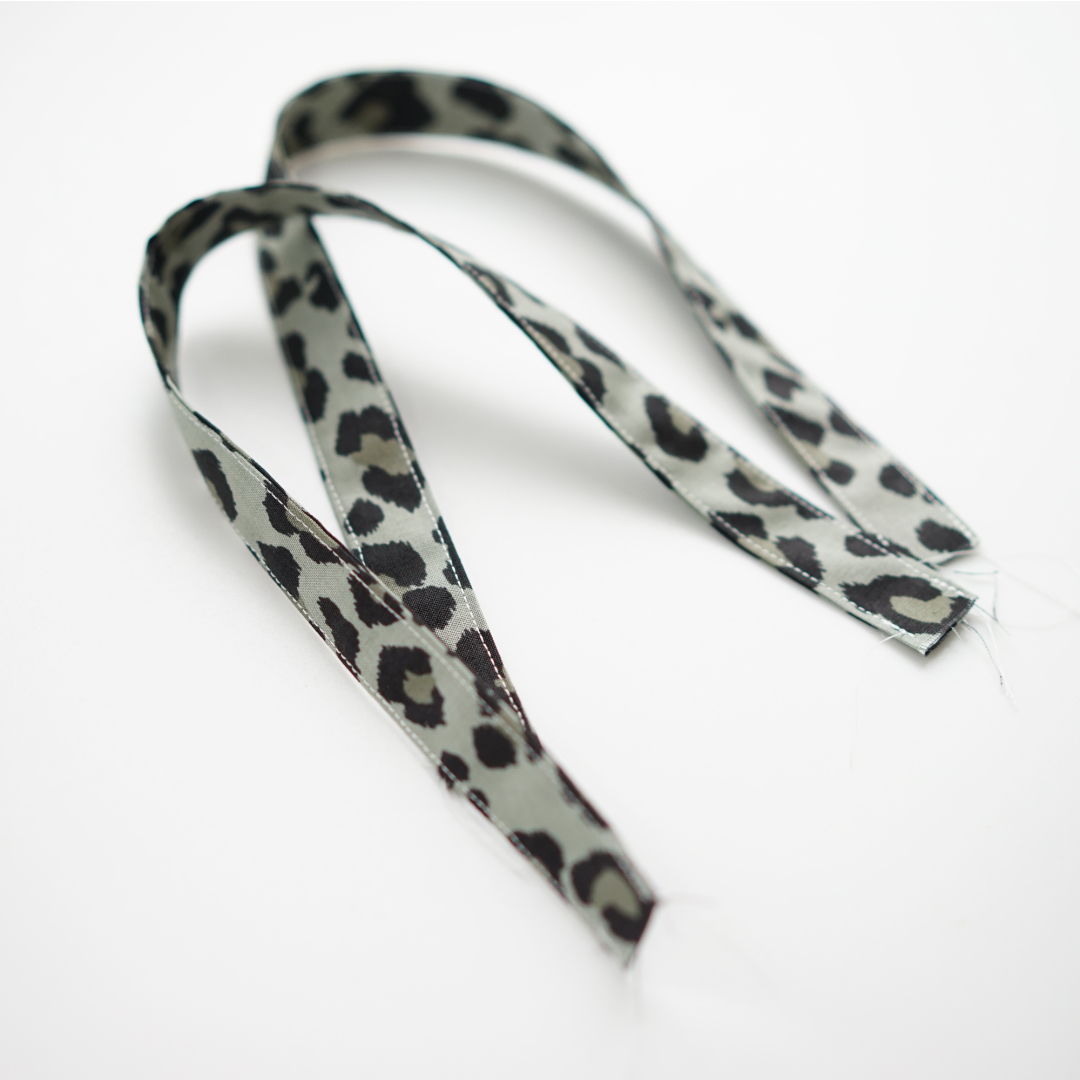
Fold it in half again in the center, then stitch along the edges of both long sides. Make two of these.
-
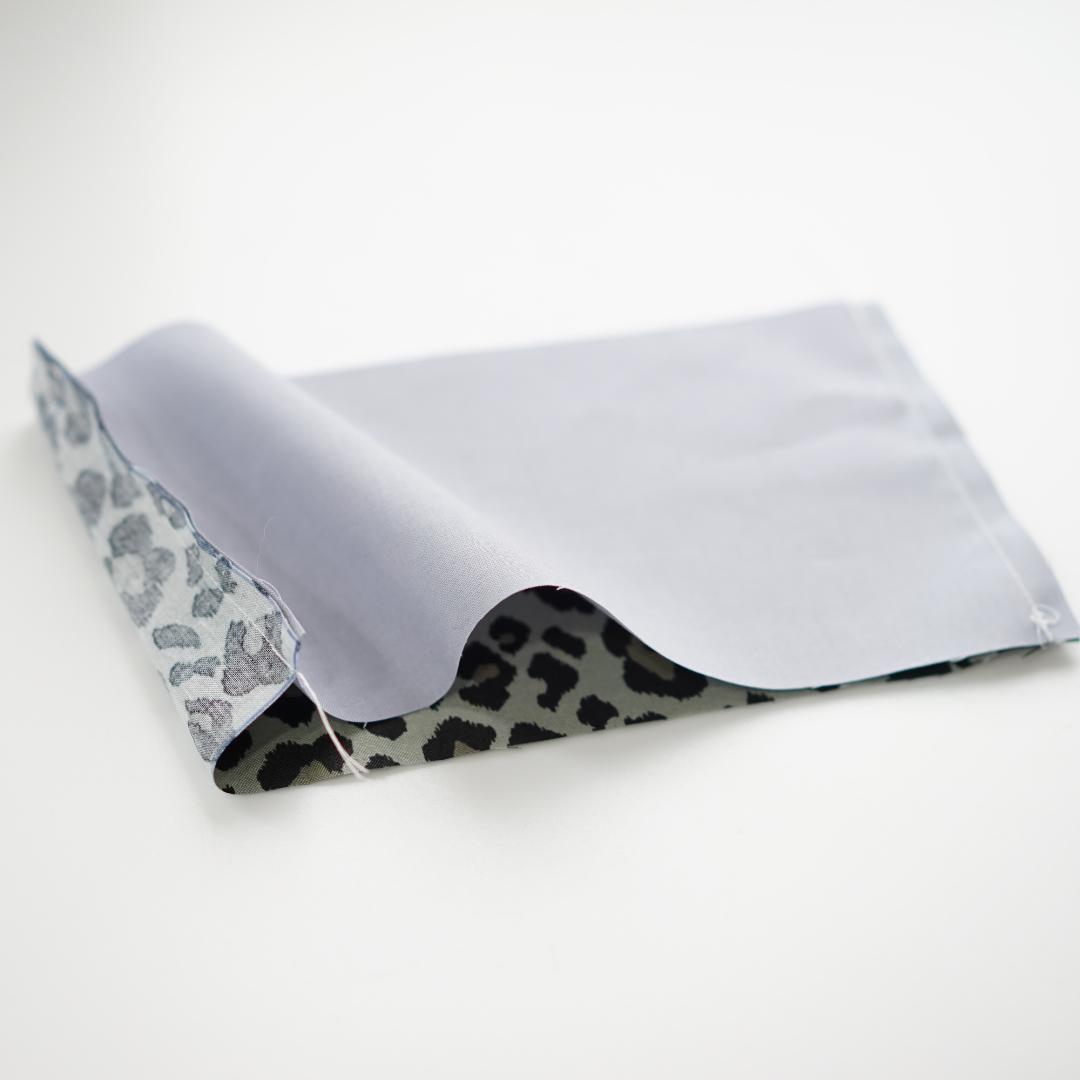
Make the opening fabric. With the front sides facing each other, place the outer fabric and lining fabric together, and sew the two ends. Use a 1 cm seam allowance.
-
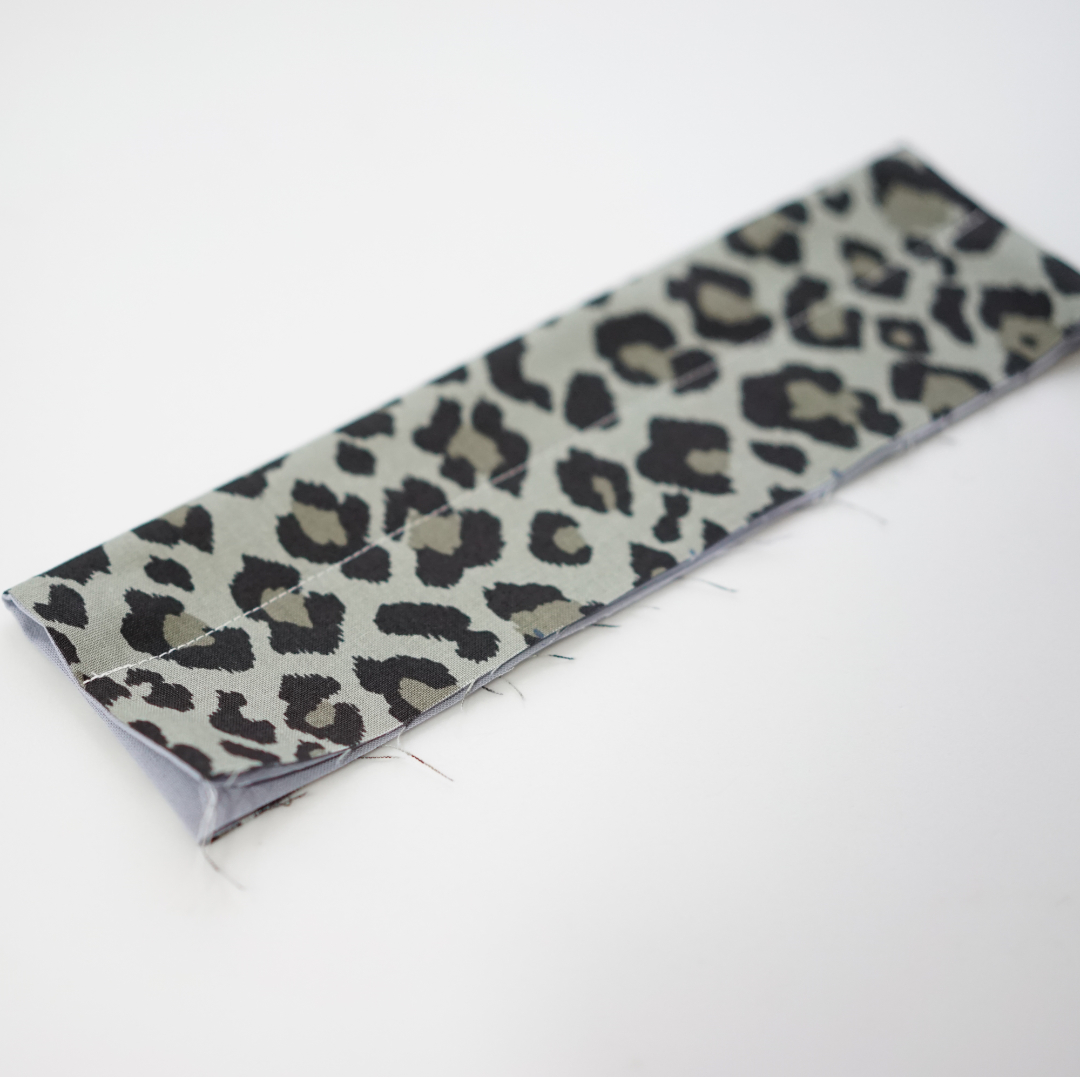
Turn over the piece, press it flat with an iron, then fold it in half with the lining facing inward. Stitch 3 cm from the center fold.
-
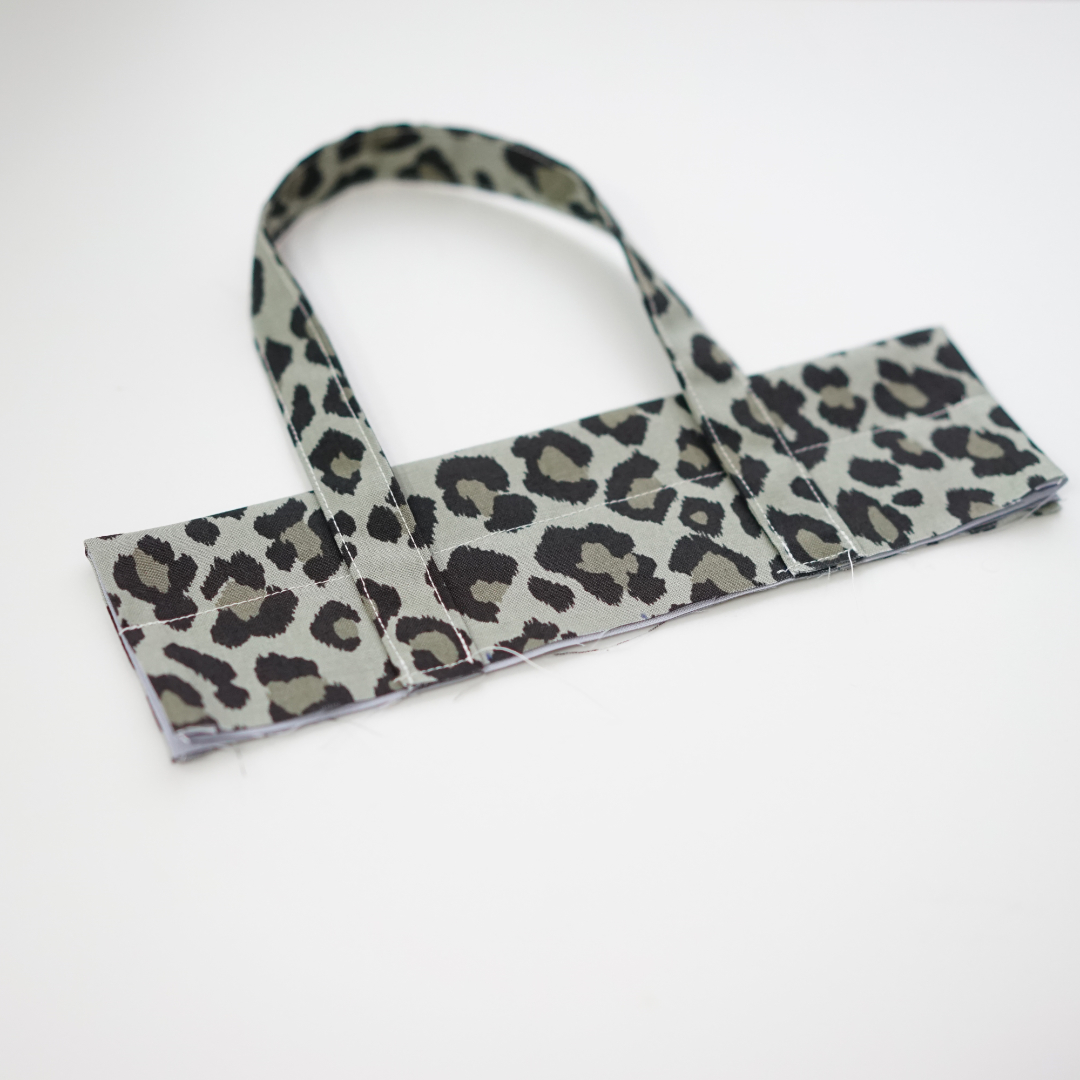
Baste the handles to the fabric piece from step ⑤. Make two of these.
-
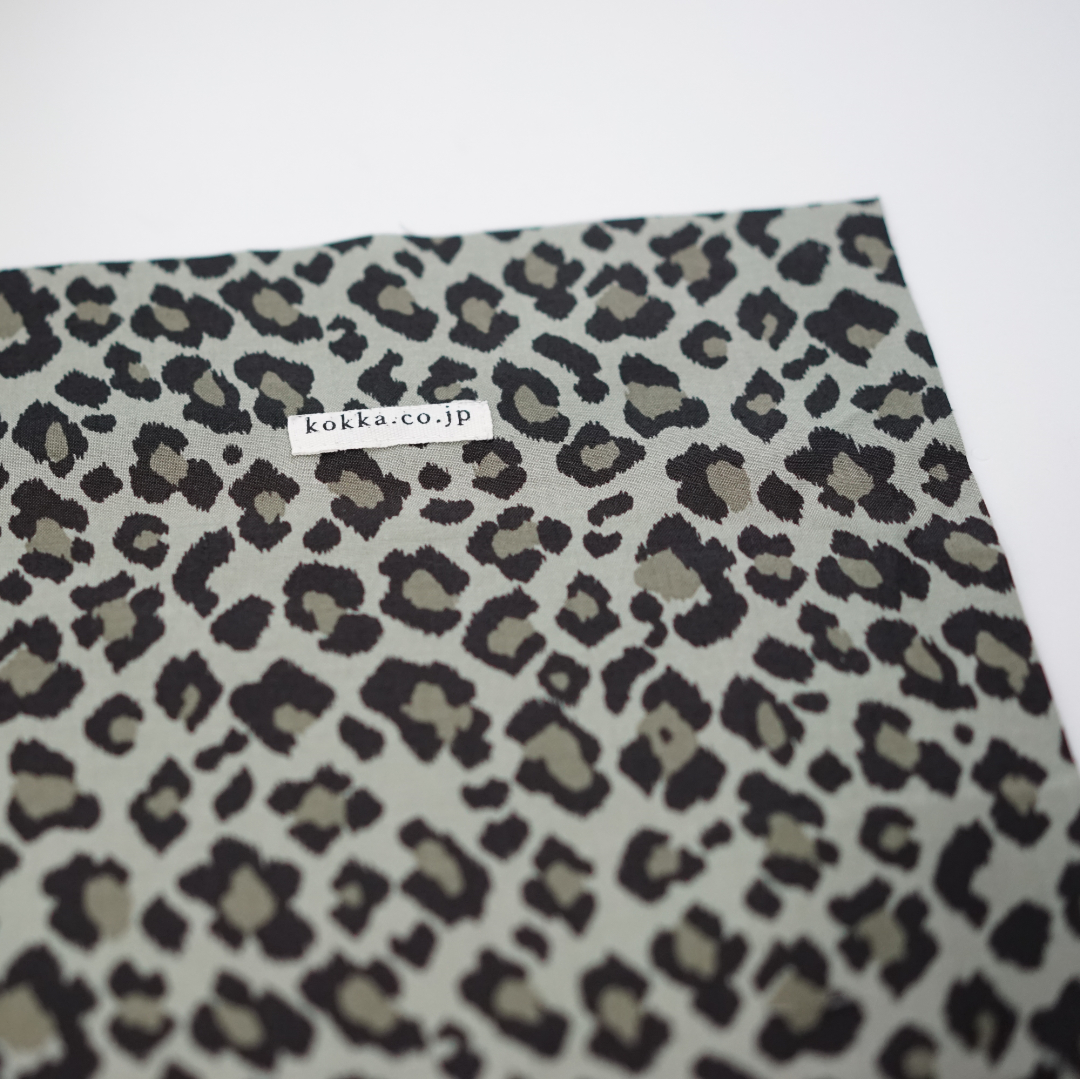
Sew the decorative tag onto the side of the main body.
-
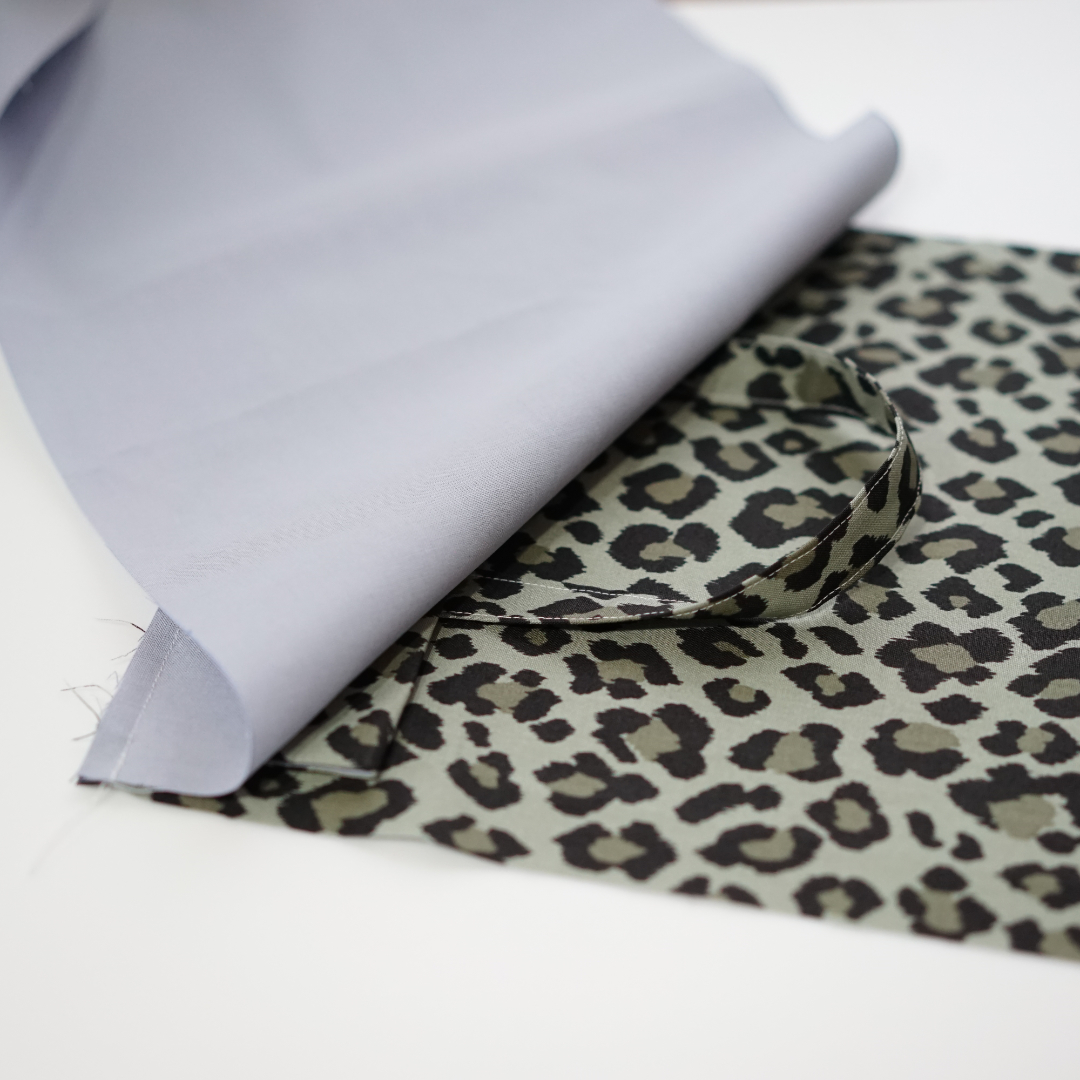
With the front sides facing each other, align the outer fabric with the opening and lining fabrics, and sew them together. Repeat on the other side.
-
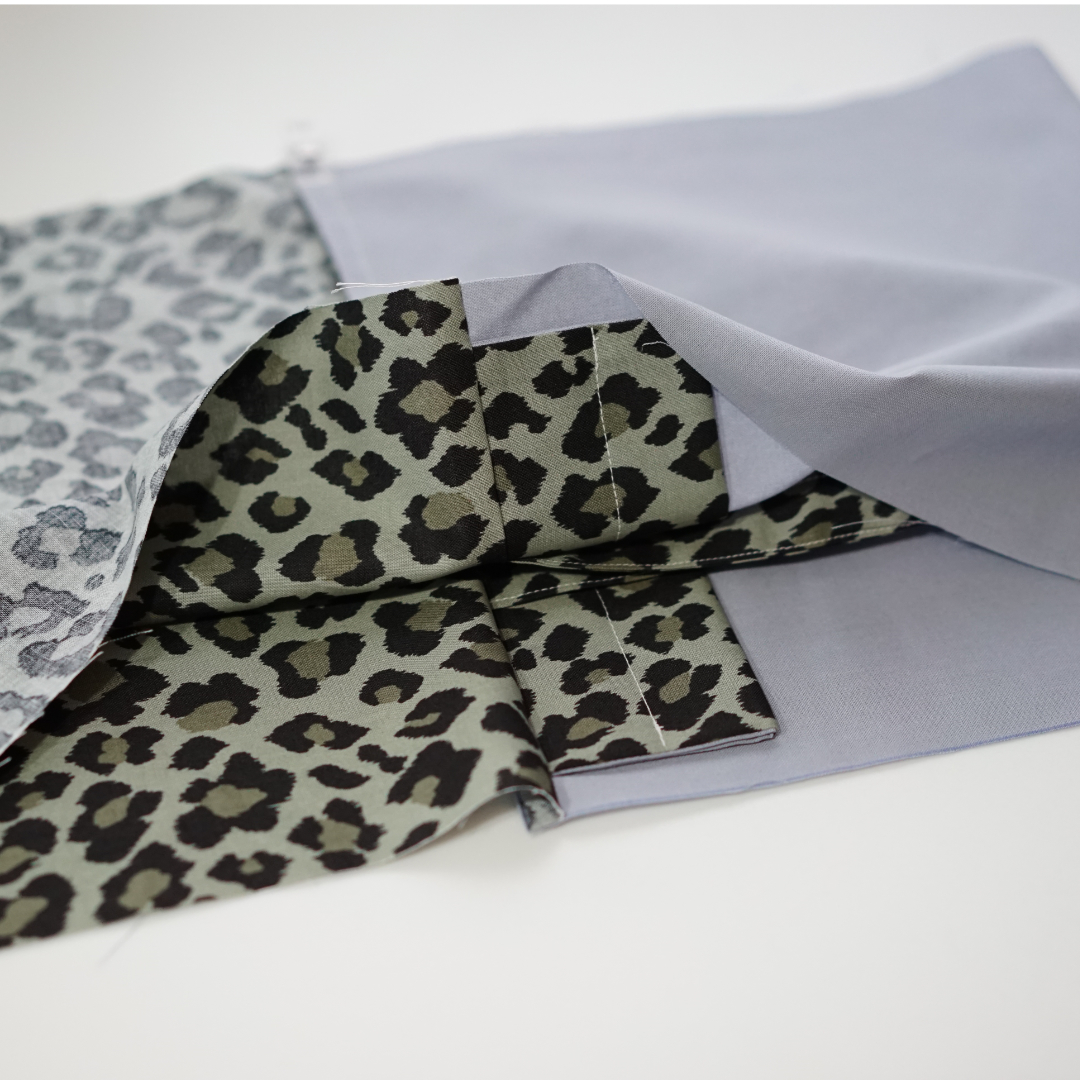
With the front sides facing each other, place the outer fabric pieces and the lining fabric pieces together respectively, then sew them together, leaving an opening on the lining side for turning.
-
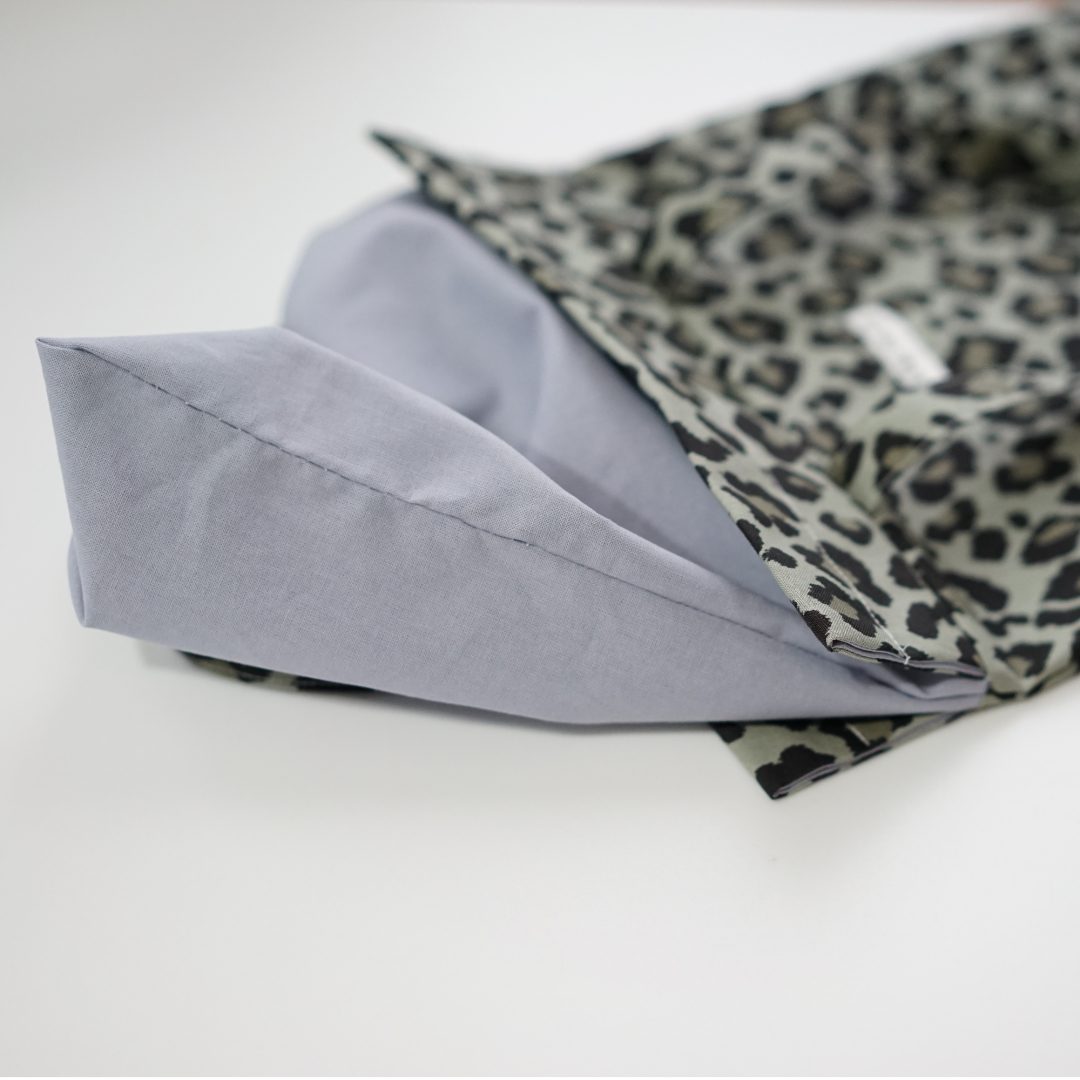
Turn the piece inside out through the opening, then sew the opening closed. Shape the piece, insert the cord through the opening, tie a knot, and you're done.
◎ Sewing Instructions
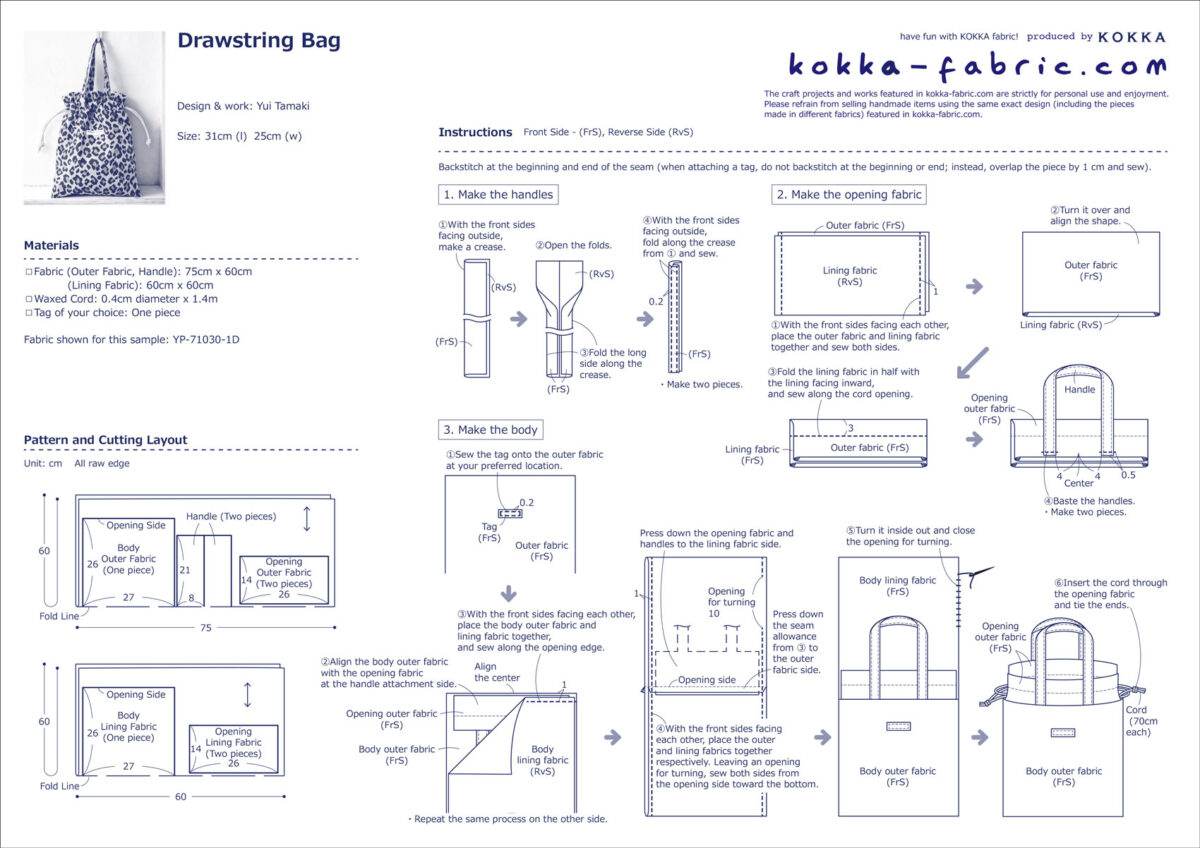
◎ PDF Instructions for a download(A4 size)
Purchasing KOKKA fabrics
-

This online store launched in July 2022 and is operated by Kokka USA, Inc. Shipping from Kokka Fabrics is currently available to the US and Canada.
-

Visit our site for the official wholesale distributor of KOKKA fabrics in North America. (US & Canada)