
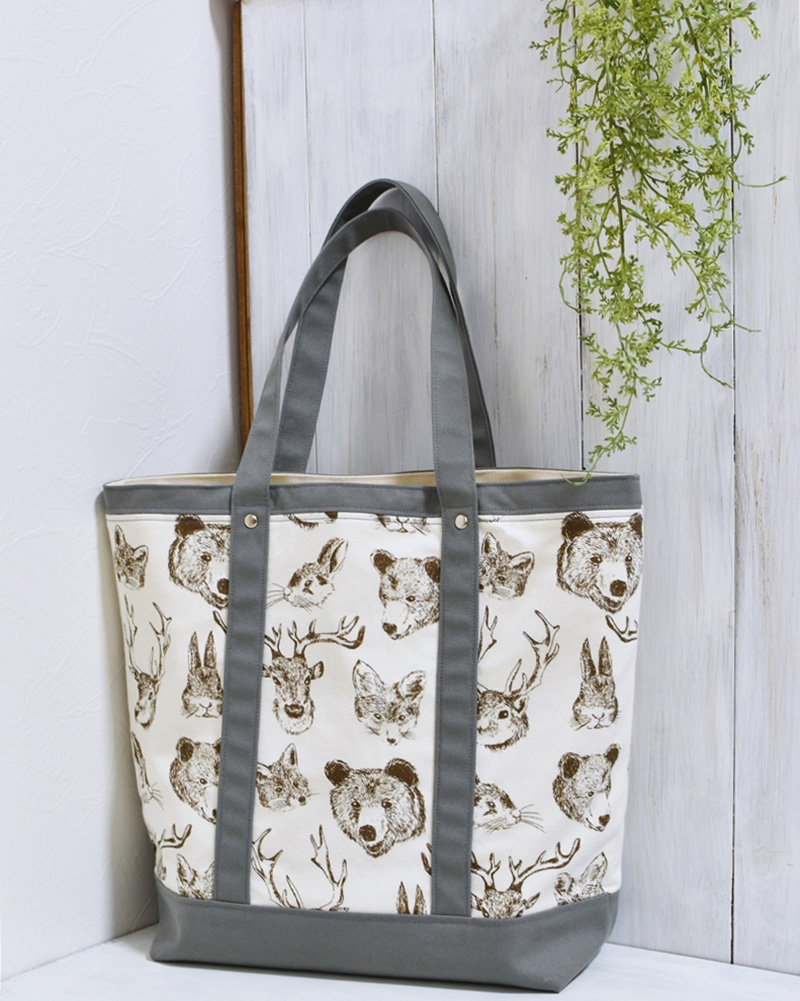
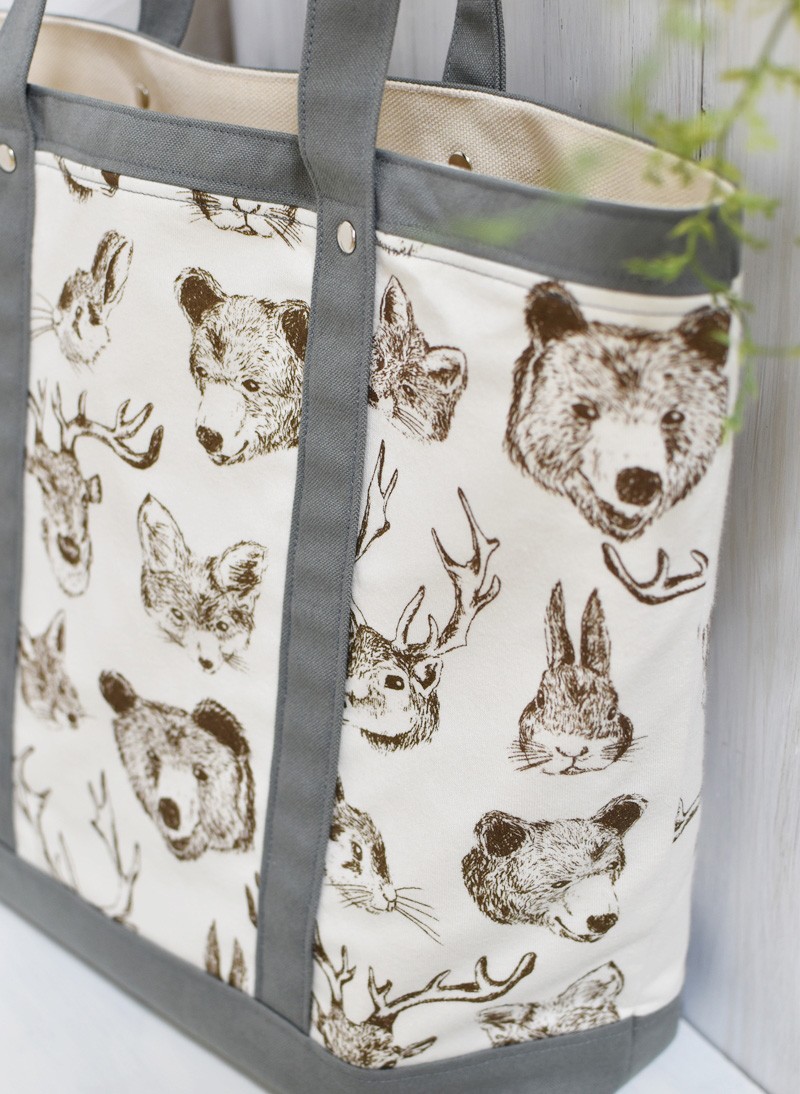
This tote has a realistic yet cute design of lined-up animal heads, and it comes in soft textured interlock knit fabric. A thick #11 canvas is used for the bottom and handles. Additionally, the lining fabric in #8 canvas helps retain the smooth look of the interlock knit while making the bag solid and practical.
Fabric shown for this sample:(Panel) knit P48400-400A
Materials:
□ Fabric (Panel): 90cm×30cm
(Bottom, Opening, Handle (#11 Canvas)): 70cm×110cm
(Lining fabric (#8 Canvas)): 50cm×80cm
□ Fusible interfacing (Light weight): 90cm x 30cm
□ Rivet: Four pairs (0.9cm diameter)
*All Rights Reserved.
We interviewed Satomi about her creation:
Kokka Fabric (KF): What did you think of the fabric you used for this project?
The soft and smooth texture of the interlock knit fabric and a simple pencil touch drawing design works so well together. It was soothing to make a piece using this fabric. I chose a tote back as I best wanted to feature the kind and gentle look of the animal designs.
KF: Can you tell us any special elements or ideas that you incorporated into this creation?
To keep the stretchable interlock knit fabric steady, I used a light weight fusible interfacing on the back. Adding the opening fabric, bottom and handles also helps keep the fabric stable.
KF: What are some tips for making this bag?
When adhering the fusible interfacing, pay attention to the fabric’s elasticity as you iron for a clean finish. Using a thick canvas (#8 for this project) for the lining helps keep the solid shape.
KF: How should we use this bag in everyday situations?
If you prefer, you may add a pocket or rivets on the handle to dress it up.
Whether for everyday use, family outings, camping or BBQ in an outdoor setting, using this bag can definitely cheer you up.
KF:Thank you very much, Satomi! Here are sewing instructions along with step by step photos from her. Enjoy crafting!
Instructions
1.
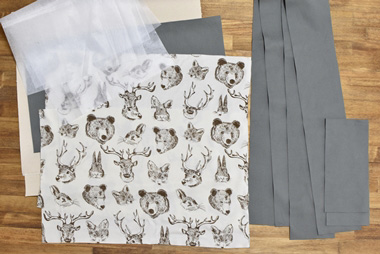
Prepare the materials.
2.
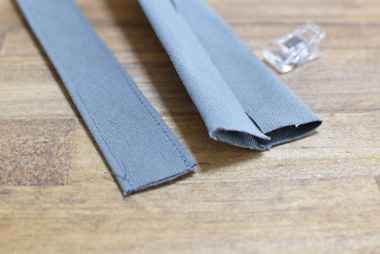
As shown, fold the handle fabrics in four. Hold it with clips. Run stitches on the long ends.
3.
Using an iron, adhere light weight fusible interfacing on the back of the interlock knit fabric.
4.
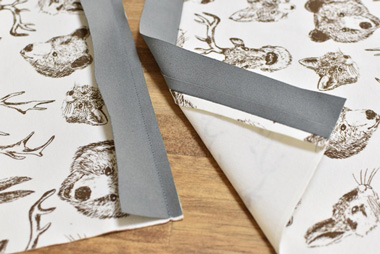
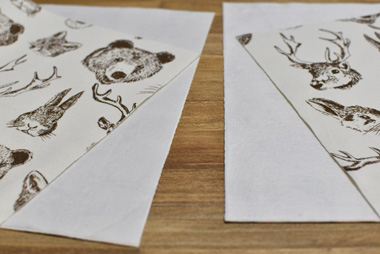
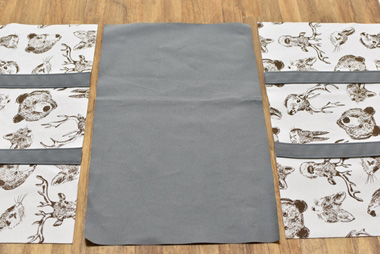
With the front sides facing each other, sew together the opening fabric and knit fabric. Press the seam open with an iron.
5.
After pressing the seam open, run stitches over the seam to hold the fabrics.
6.
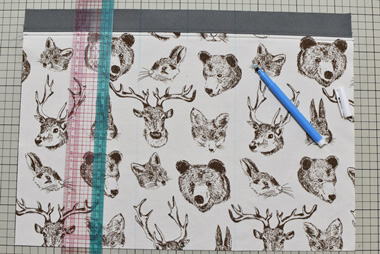
Mark the location of the handle with an erasable pen.
7.
Attach the handles.
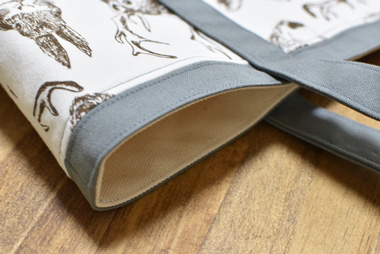
8.
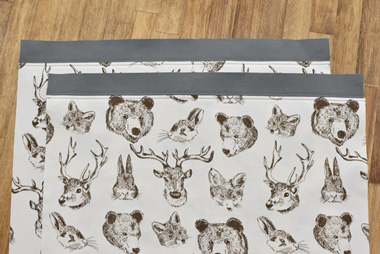
Sew together the bottom fabric.
9.
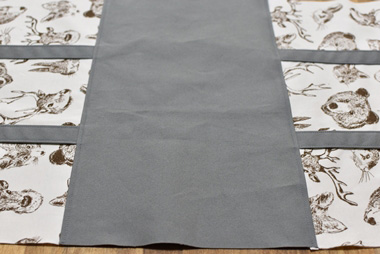
Press the seam down to the bottom fabric side. Run stitches over the seam to hold the fabrics.
10.
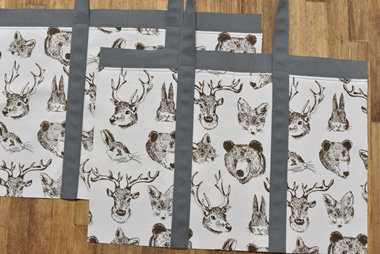
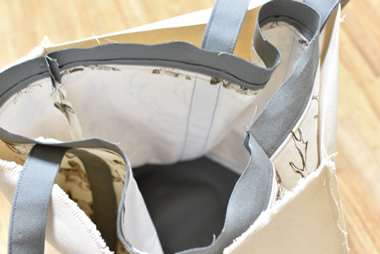
With the front sides facing each other, fold in half and sew both sides and gusset.
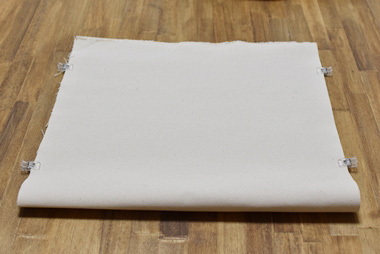
11.
Also fold the lining fabric in half and sew the sides and gusset. Leave an opening for turning for 15cm.
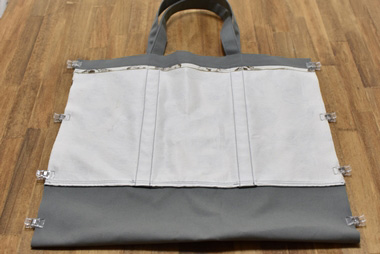
12.
With the front sides facing each other, put together the outer and lining bags. Sew all the way around the top opening.
13.
Turn it inside out using an opening for turning. Close the opening using blind stitches. Apply stitches from the front all the way around the top opening.
If you prefer, attach a pocket or rivets on the handle.

 Fluffy Drawstring Bag in Double Gauze Fabric
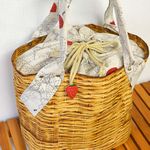 Tote bag with basket print fabric & strawberry print lining
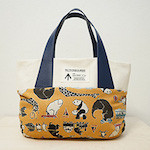 Animal Tote