
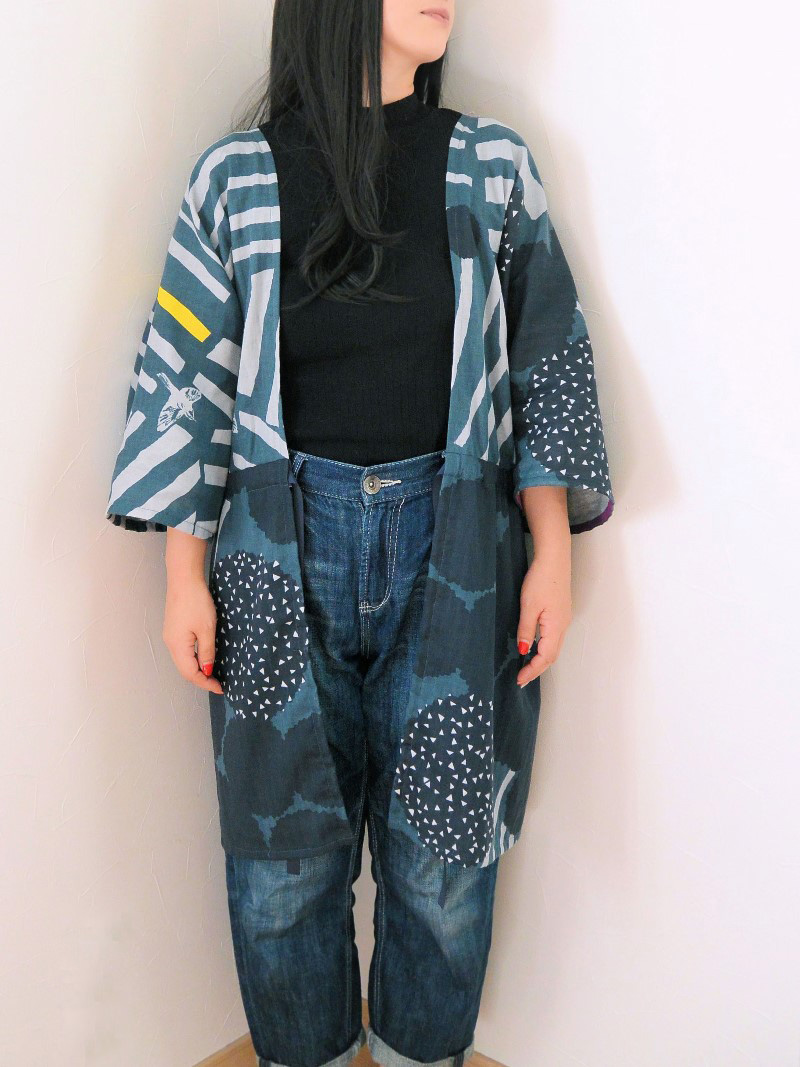
ray from the echino series is popular for its echino-like bold pattern. This cardigan features the double gauze from this lineup. The ribbon for gathering around the waist allows it to create a different look, depending on how tight or loose you pull the ribbon. You can also enjoy the soft and relaxed feel of the double gauze fabric.
Fabric shown for this sample: echino ray JG96800-800D Double Gauze
Materials:
□ Fabric: 108cm widex2m
□ Grosgrain Ribbon: 1.6cm widex1.6m
*All Rights Reserved.
We interviewed Anriko about her creation:
Kokka Fabric (KF): What did you think of the fabric you used for this project?
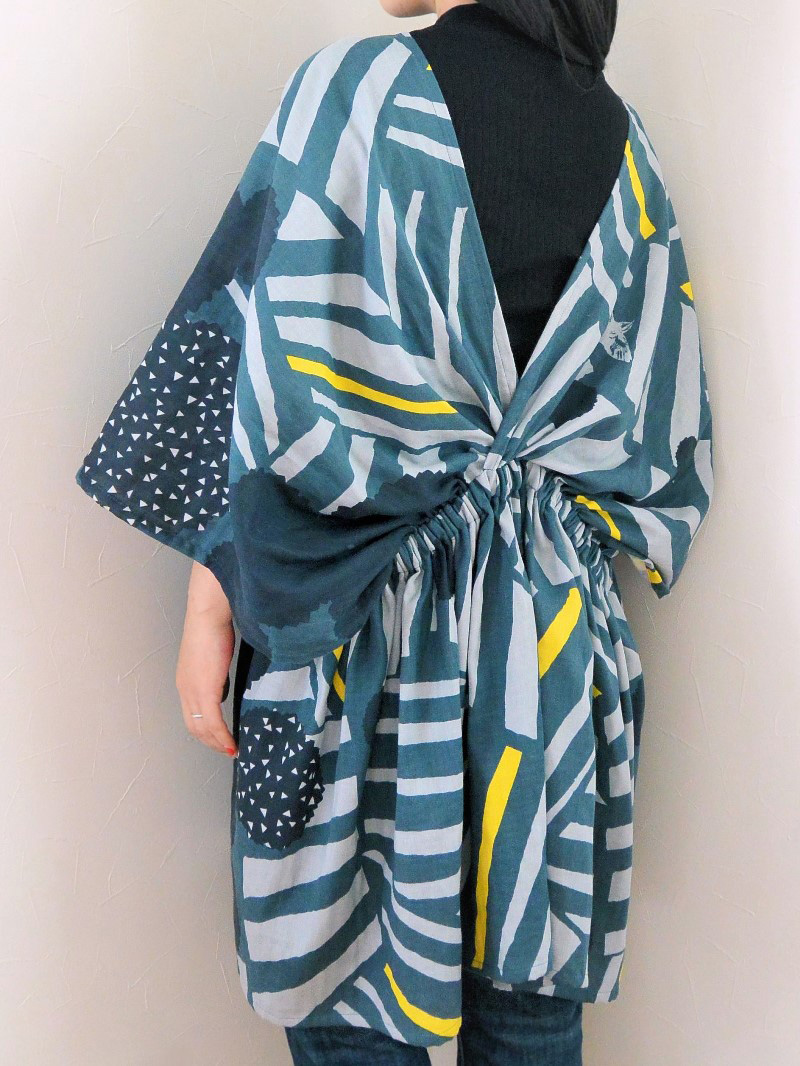
Taking advantage of the asymmetrical bold design layout, I tried to create an interesting look in the front, which appears simpler than the style in the back.
KF: Can you tell us any special elements or ideas that you incorporated into this creation?
As gauze fabric is not easy to sew smoothly, it is actually suitable for a design like this cardigan that does not have defined shoulders. The cotton 100% material does not accentuate the linear form of your body, but it will present a soft and cute impression.
KF:What are some tips for making this cardigan?
Double gauze is not a simple fabric to sew. So I recommend ironing prior to machine sewing and use plenty of pins to keep the fabric from misaligning.
KF: How should we wear this cardigan in everyday situations?
This cardigan’s very wide waistline is tightened with the ribbon. Depending on how you pull the ribbon – only in the back center, very tightly or loosely – it can create a different look. It will be fun trying to find your favorite style.
KF:: Thank you very much, Anriko! Here are sewing instructions along with step by step photos from her. Enjoy crafting!
Instructions
1.
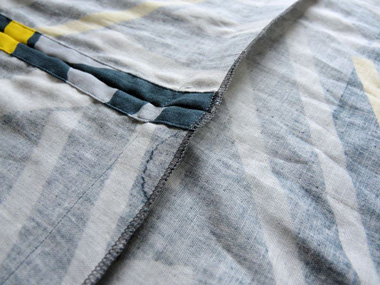
Clean the edges of the top and skirt. Piece them together. Conveniently, wide seam also works as an area to put through the ribbon. While this may not be a traditional sewing method, it is a creative way to cutting corners!
2.
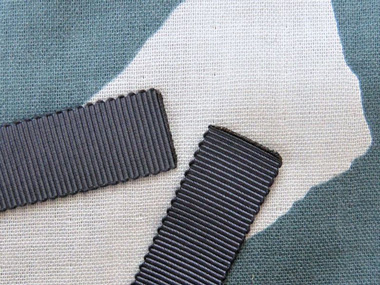
To prevent the polyester grosgrain ribbon from fraying, the end is lightly burned using a lighter. Apply an appropriate method for the end finish depending on the material.
3.
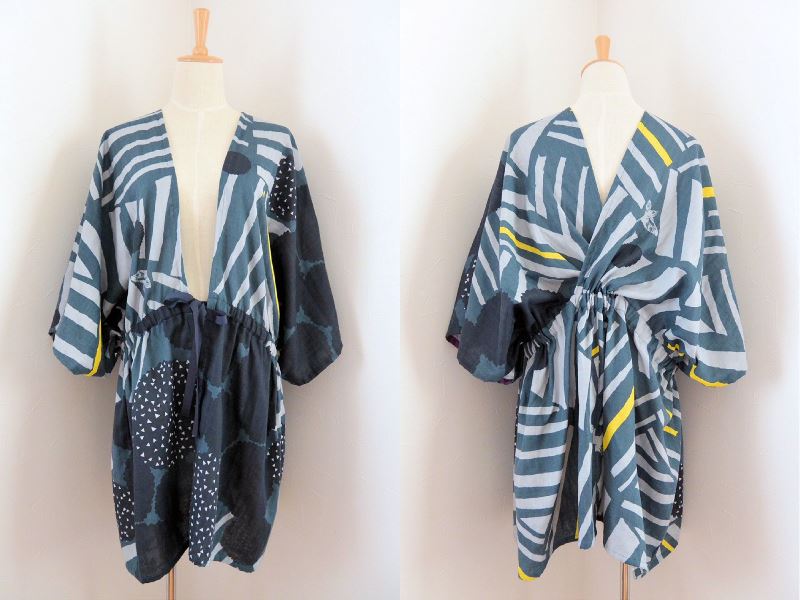
Picture shows the front and back of the finished cardigan. Be playful with the design by choosing the patterns you like.

 Sacoche
 Tote Bag with Frills
 Long Cardigan