
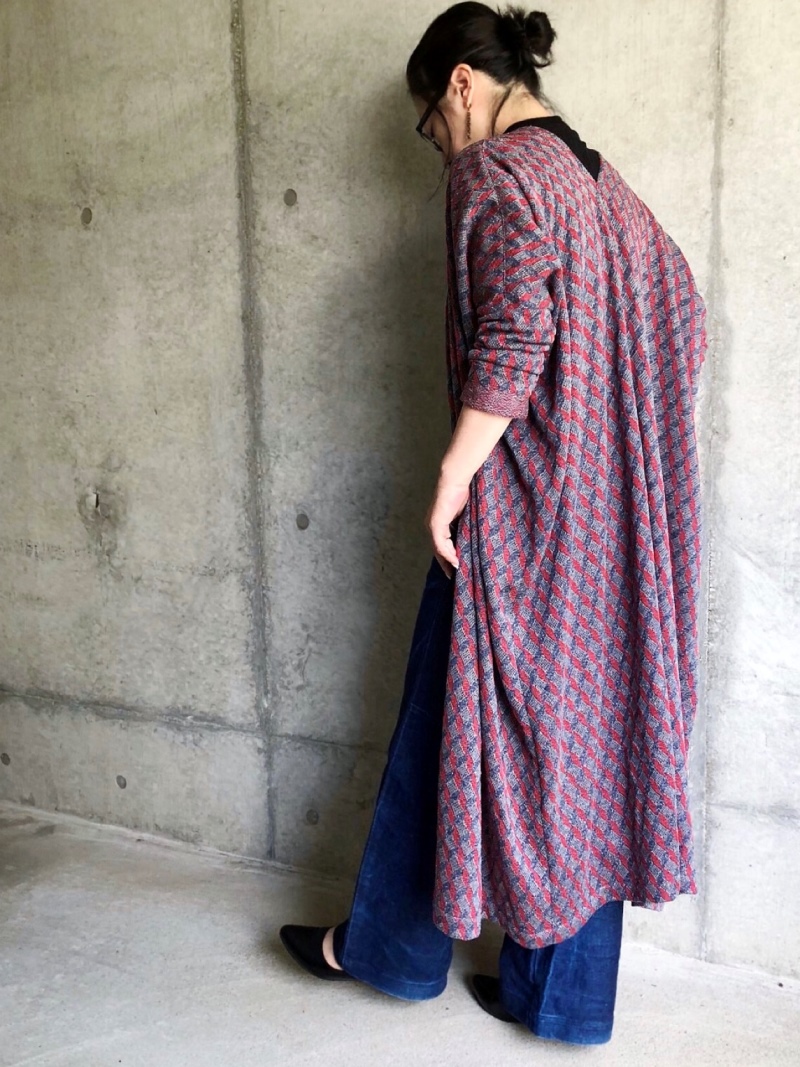
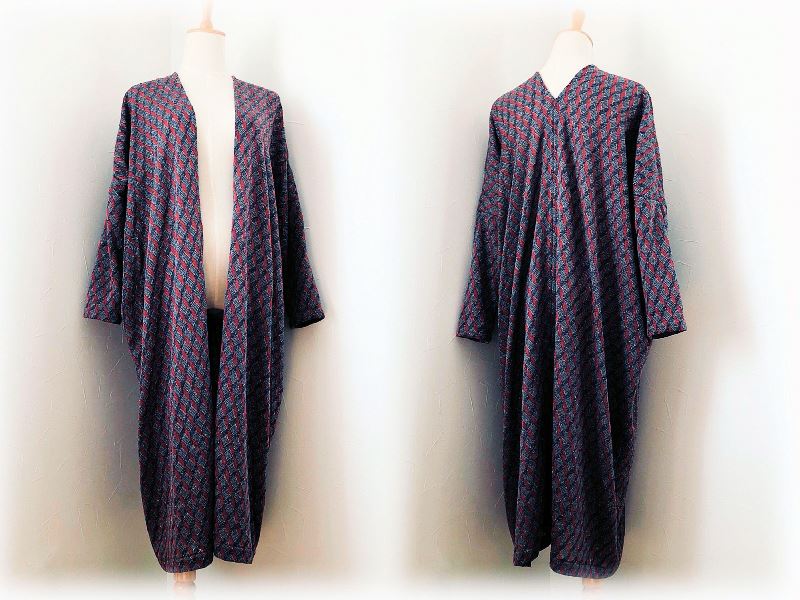
This long cardigan will allow you to be the first to enjoy the fall fashion! Until the weather gets cold for a thick outer jacket, this versatile piece is perfect for a casual or feminine style. The jazznep knit JQ from the Knit JQ series is an easy fabric to handle. Without any patterns and requiring only straight stitching, this will be an ideal project.
Fabric shown for this sample: LG16110-1A
Materials:
□ Fabric: 85cm x 2.8m
□ Fusible interfacing: 5.6cm x 4cm
*All Rights Reserved. Please refrain from the unauthorized use of project photos.
We interviewed Anriko about her creation:
Kokka Fabric (KF): What did you think of the fabric you used for this project?
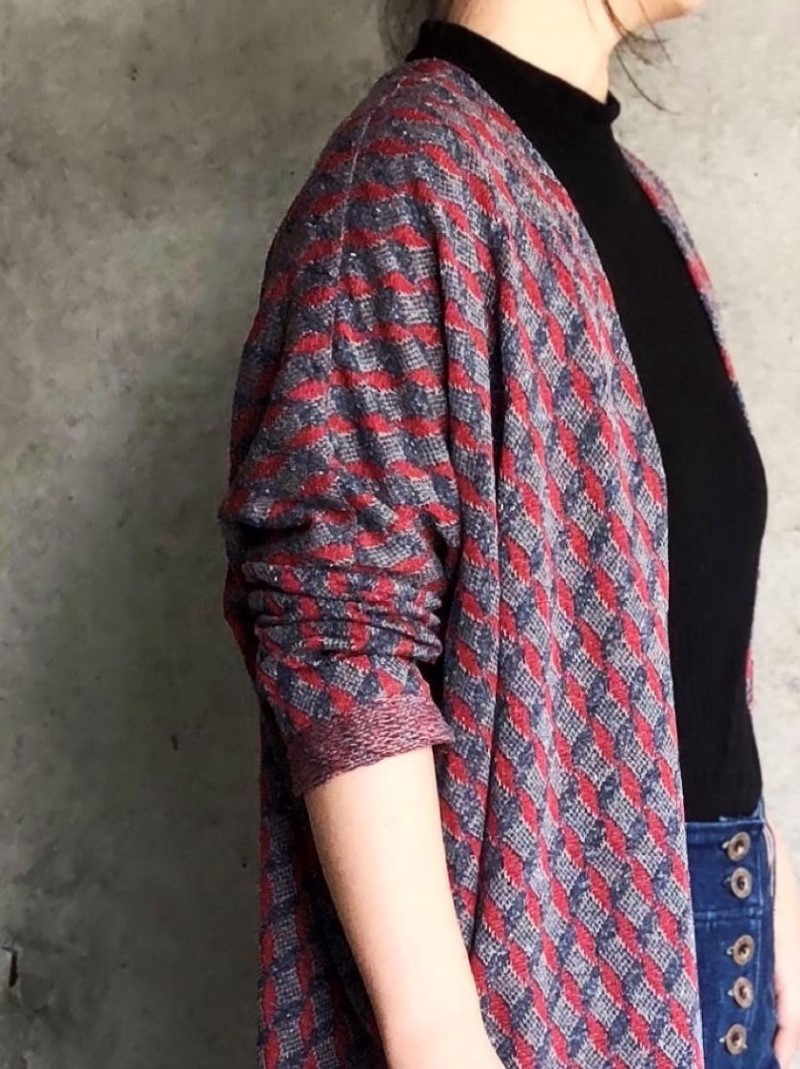
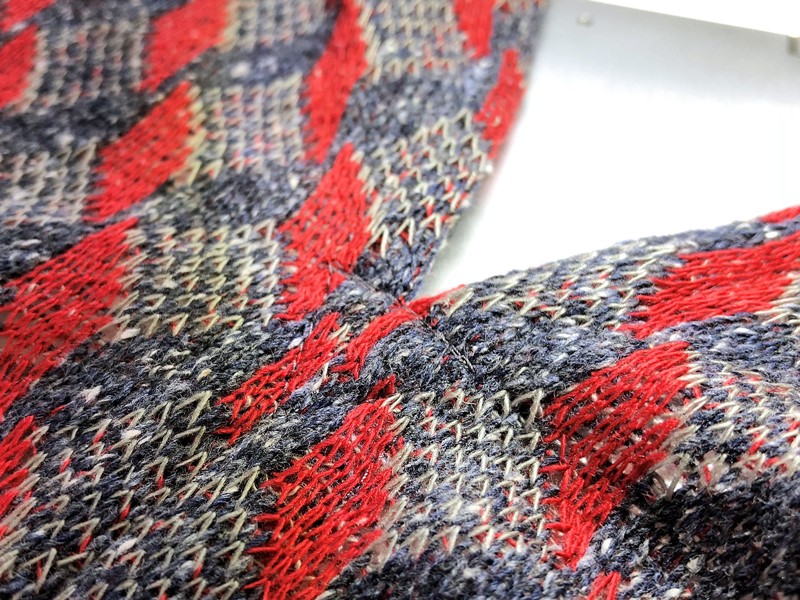
Very delicate and beautiful fabric with nicely knitted stitches. This fabric transforms a simple design into something stylish. Though the knitted stitches are rough, with low tension, it is easier to handle for somebody who is not used to treating a knit material.
KF: Can you tell us any special elements or ideas that you incorporated into this creation?
A long cardigan comes in very handy in early fall before you start wearing a thick heavy outer wear. The long length sometimes adds extra work when creating a pattern, cutting and sewing. So, I came up with something that is easy to make without any patterns and requiring only straight stitching.
KF: What are some tips for making this cardigan?
The sewing process is not that difficult, but cutting may be a little challenging. As this fabric is a Jacquard knit and not a print, it is easy to identify the alignment. Check the pattern on the fabric for an easy cutting.
KF: How should we incorporate this cardigan into one’s styling?
The model’s size is 158cm/9AR. I also made a sample cardigan with a shorter length, and it looks nice and attractive, too. To change the length, just cut the fabric shorter, parallel to the hem. Choose the length that looks good with the bottoms you like to wear.
KF: Thank you very much, Anriko! Here are sewing instructions along with step by step photos from her. Enjoy crafting!
Instructions
1.

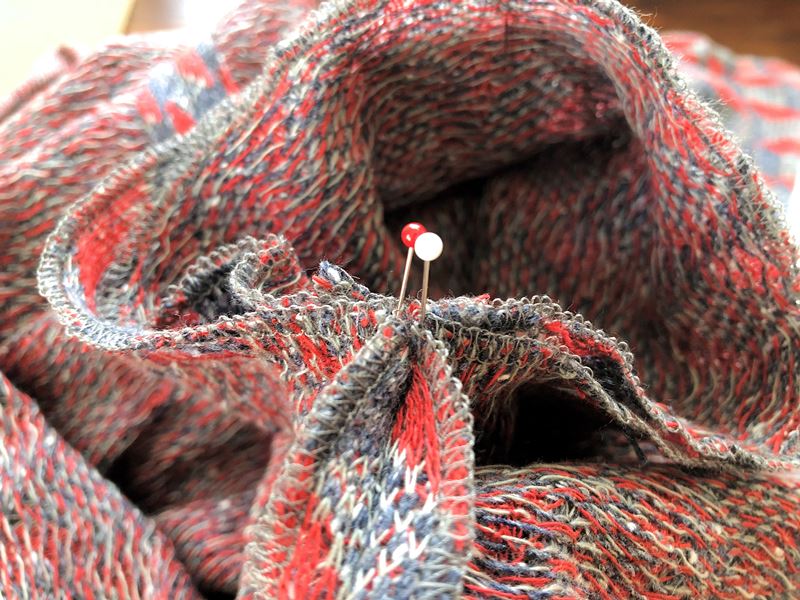
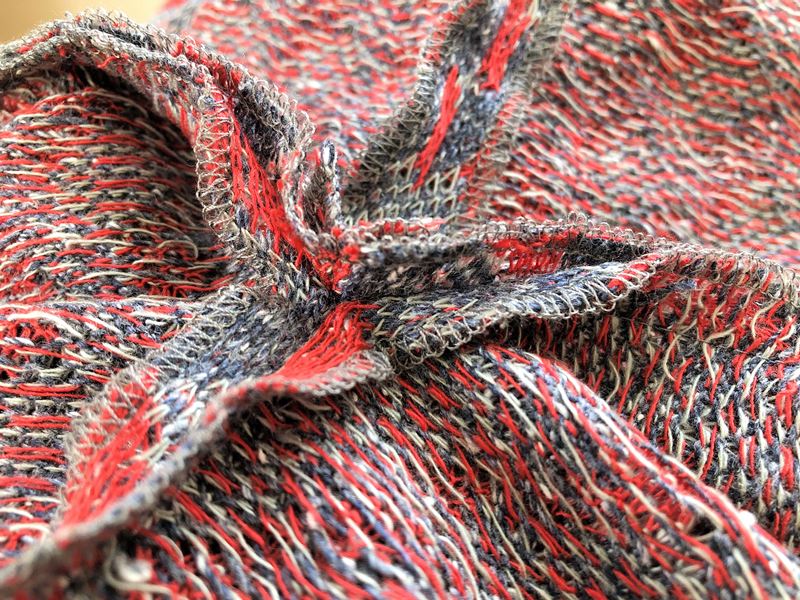
Shown here is the finish treatment for the front opening through the back seam. It requires about 2.4m of stitching. With this much length, there is some weight added. In order to create a clean finish and prevent stretching, move up the fabric little by little with your left hand rather than relying on the feed dog of the sewing machine.
2.
Picture shows the end of opening on the back neckline. As it bears some weight, please make sure to reinforce the seam.
3.
Sleeves are now added. When attaching a straight sleeve that is almost perpendicular to the body, the seam of the body and sleeve doesn’t press down to the same direction. So, align the underside of the sleeve and sides, and place pins right at the side edge of the front body and back body.
4.
Starting from the corner where the underside of the sleeve and side meets, sew all the way around. The sides are not sewn together with the sleeves. As shown, it can be pieced together without adding tension to the seam of the body.
5.
Finished.

 Gown Style Cardigan
 Dolman Sleeve Dress
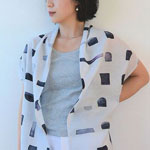 Long Gilet (Vest)