
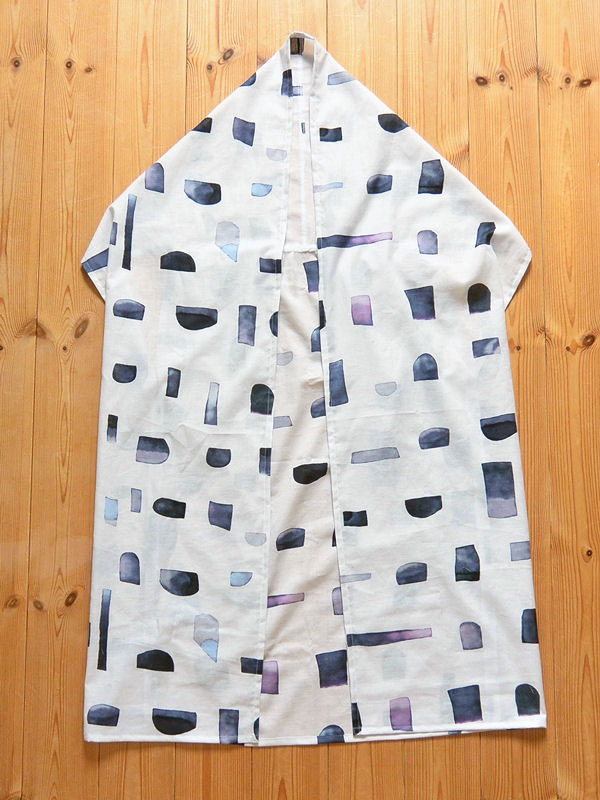
The featured project is a long gillet (vest) that comes in a new fabric from the 3min. series. The charm of this air tumbler treated cotton linen sheeting is its soft and fluffy texture. It is a simplistic style vest just like the concept of 3min., yet it allows you to create a mature look.
Fabric shown for this sample:3min. JGA20050-1A
Materials:
□ Fabric: 108cm widex1.9m

*All rights reserved. ©Kokka
We interviewed Anriko about her creation:
KF Kokka Fabric (KF): What did you think of the fabric you used for this project?
It is a lovely fabric with large motifs laid throughout on a dense gauze-like soft texture. Rather than making something with a solid shape, I wanted to create an item that looks silky and airy.
KF: Can you tell us any special elements or ideas that you incorporated into this creation?
Following the concept of 3min., the design is simple, consisting of only three rectangular pieces. While it is a plain vest, I tried to achieve a look that can go well with a mature styling.
KF: What are some tips for making this long vest?
I tried to keep the sewing process to a minimum. You may find the process slightly different from the conventional way of making a top outer garment. As a first step, please do read the instructions. I think you will find the sewing process easy as it only requires a straight stitching.
KF: How should we use this long vest in everyday situations?
As the shoulder can be flexibly set, how you put this on could dramatically change the look. Off shoulder style can make you look as if you were wearing a shawl (picture shown right). When you scrunch the collar and put it on over the shoulder, you can wear it as a long gilet (vest) (picture shown left).
KF: Thank you very much, Anriko! Here are sewing instructions along with step by step photos from her. Enjoy crafting!
Instructions
1.

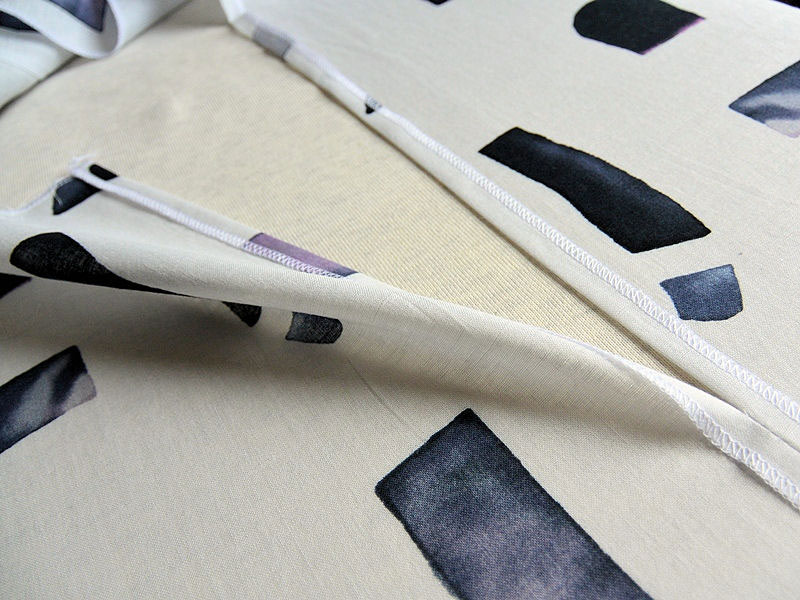
After cutting the fabric, first sew together the right and left front bodies (collar). This is the only part where zigzag stitches are applied on the seam with two pieces together. Next, apply zigzag stitches on all the pieces except for the perimeter.
2.
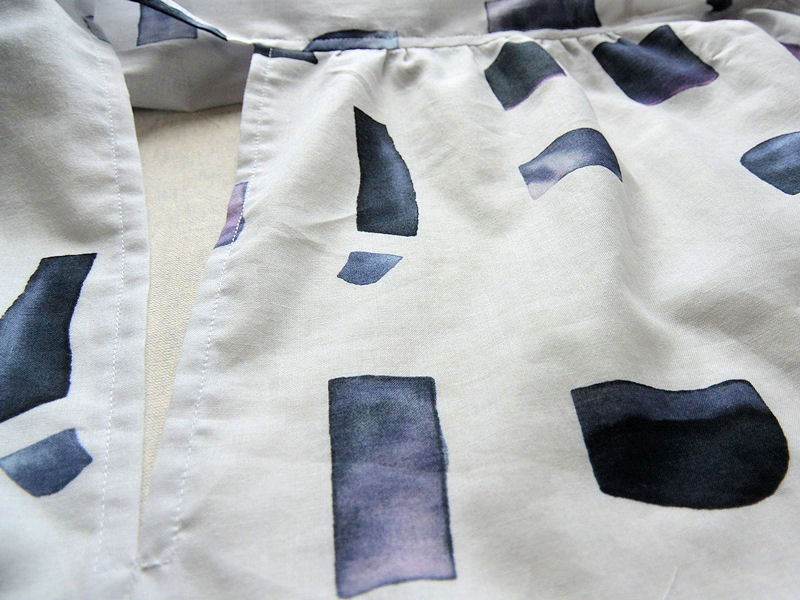
Pictured above shown from the back – Left – Back body Right – Left front body
Sew the side up to the opening and press the seam open, using an iron to score. After this process, finish the back body armhole with stitching.
3.
Create a gathering on the back body. Sew it together with the front body. From front body’s armhole to the back body, run stitches. Try to make it seamless by stitching along the stitch line on the back body.
4.
Double fold the perimeter, iron to hold and apply stitching to finish.

 A reversible vest in double gauze fabric
 Salopette Skirt
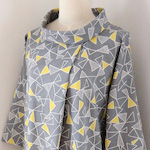 Off Turtle Neck Dress