
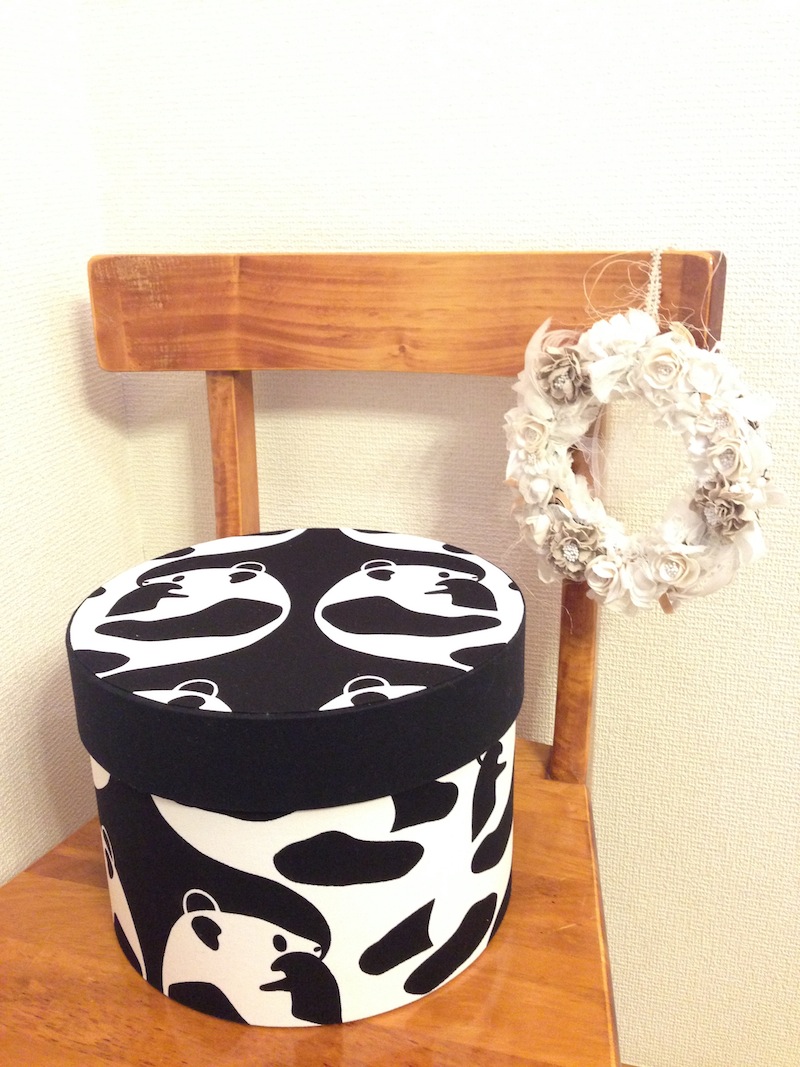
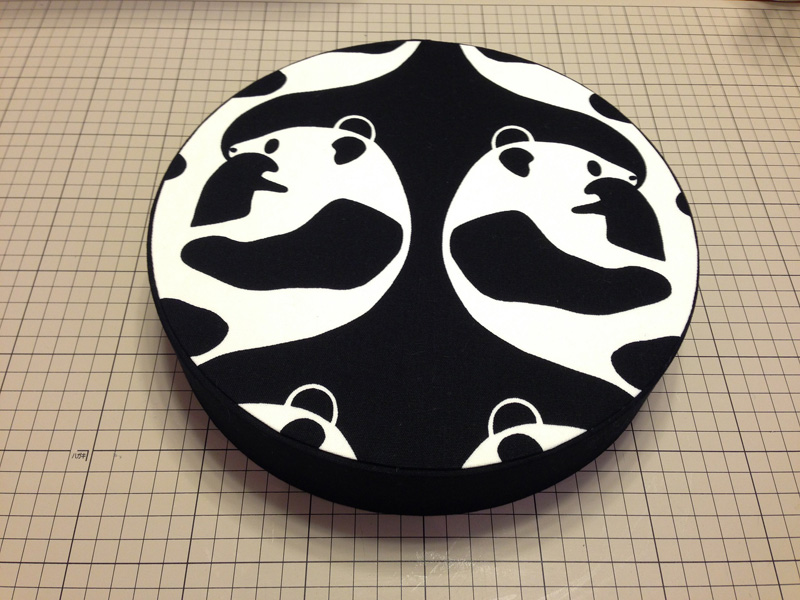
We are introducing a project using a Finnish textile. It is an interior décor item made with AJATUS. This fabric is covered with striking panda graphics. Familiar to this column, Mihoko Sugiyama has returned to share her new cartonnage project.
Fabric shown for this sample: (Main body – exterior, bottom inside, lid–top portion) Finlayson ”AJATUS” JG43100-1 (A)
Materials:
□Fabric (Main body – exterior, bottom inside, top lid exterior) : 90cm×50cm
(Main body – interior, lid-side portion, top inside):90cm×70cm
(Main bottom exterior):30cm×30cm
□Cardboard: 1.5mm thickness, One A1 sheet
2.5mm thickness Two A2 (42cm x 59.4cm) size sheets
□Kent Paper: A1 size and B4 size – One sheet each
![]()
We interviewed Mihoko about her creation:
Kokka Fabric (KF): What did you think of the fabric you used for this project?
Mihoko Sugiyama (MS): I have always liked the Finlayson fabric and was very happy when I learned that Kokka was going to carry their fabrics. I immediately thought of using it for a project. This fabric is all about pandas. Utilizing a large design, I created a piece with a presence.
Can you tell us any special elements or ideas that you incorporated into this creation?
MS: It has a lovely panda design, but I tried to make it less childish by combining colors simply. It is a relatively large box and can hold many items inside. It is a very visible interior décor piece.
KF: What are some tips for making this box?
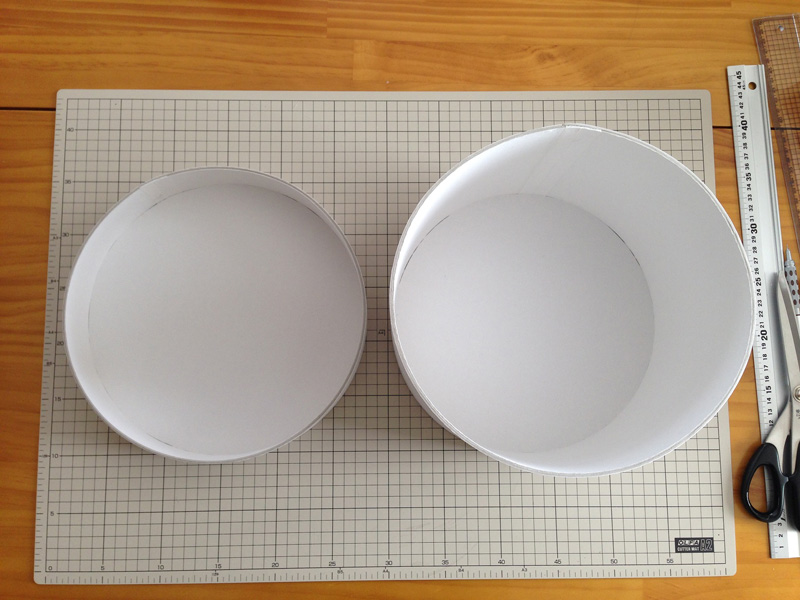
MS: The key is to shape the box cleanly. When curving the cardboard, please be careful not to fold it completely as it may result in an odd shape. You may want to leave it curved for a day or so to make it easier to handle. By modifying the radius of the circle, you can make various size boxes using the same process. (diameter x 3.14 = circumference. Use this formula to decide the size.)
KF: How should we use this box in everyday situations?
MS: It is a lovely box by itself or could be cute if you stack up a series of them. The inspiration came from a hat box. You may want to use it as a storage around your closet for seasonal items (gloves and scarfs). It can also be placed next to a sofa in the living room so that you can use it as a sewing box to put yarn and needles or embroidery supplies while watching TV and working on your project.
KF: Thank you very much, Mihoko! Here are sewing instructions along with step by step photos from her. Enjoy crafting!
How to make Cartonnage Round Box
1. Materials and Tools
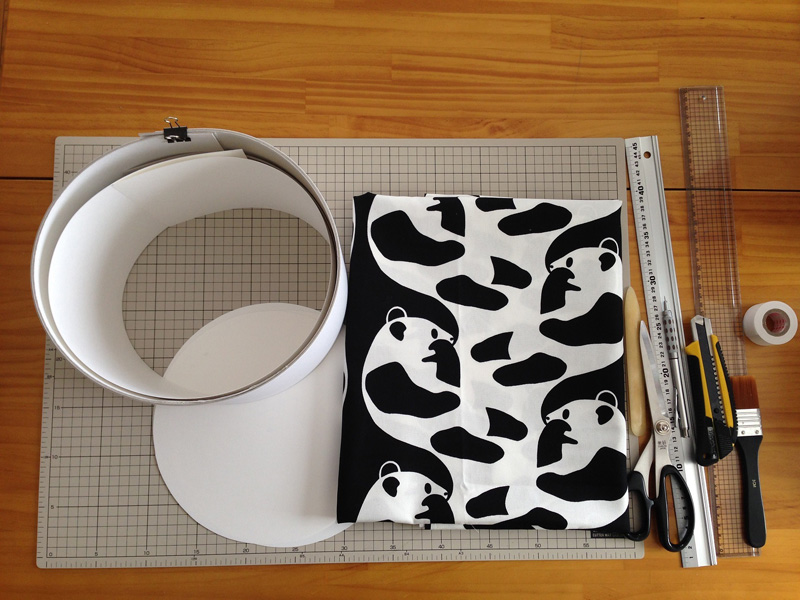
You may want the cardboard for the exterior curved for a day or so to make it easier to handle.
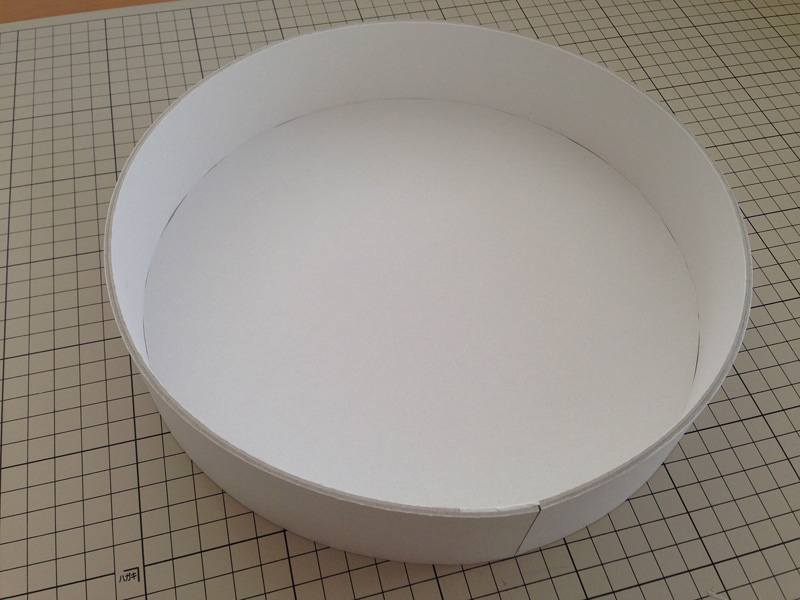
2. Make a box shape.
2-1
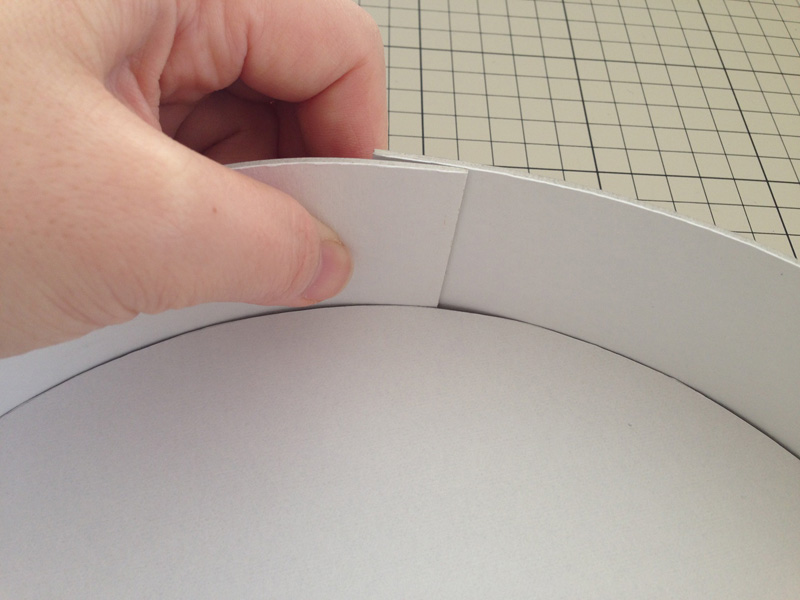
Apply lid b (1.5mm thickness cardboard) to the circumference of lid a (2.5mm thickness cardboard)and adjust the length.
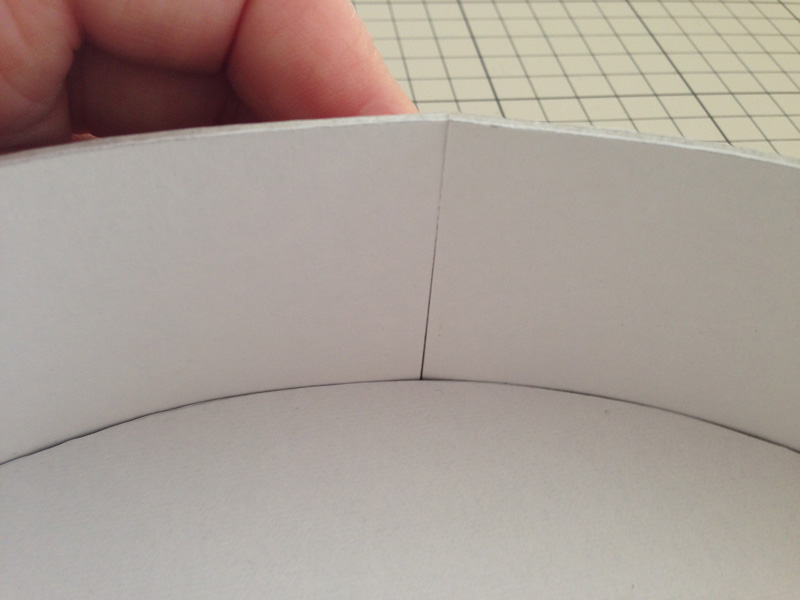
Cut off the excess portion.
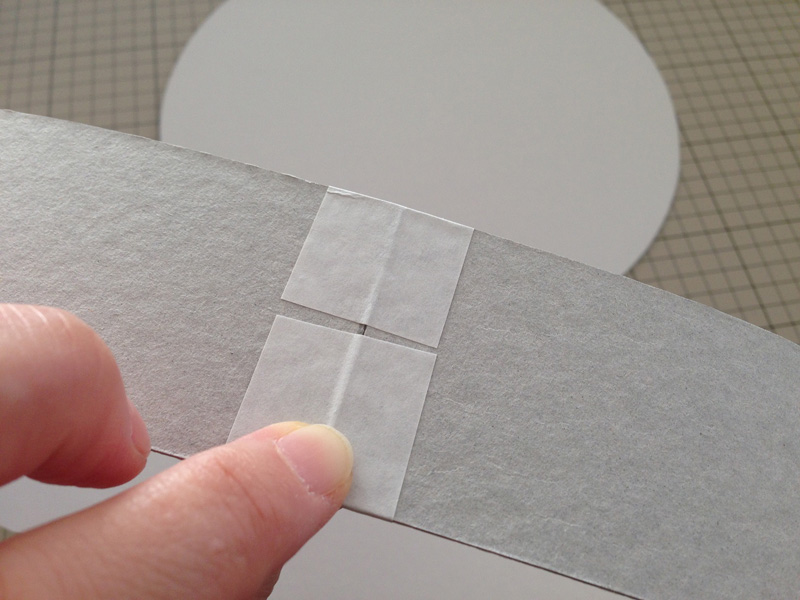
Put together both edges and secure with paper hinging tape and make a loop.

Put together lid a and b using adhesive. Apply another piece of b around the exterior and adjust the length.
Move the connecting point slightly to complete the shape of the lid.
2-2
As in step 1, construct the body using cardboard for main body a and main body b.
3. Put the fabric to the main body.
3-1
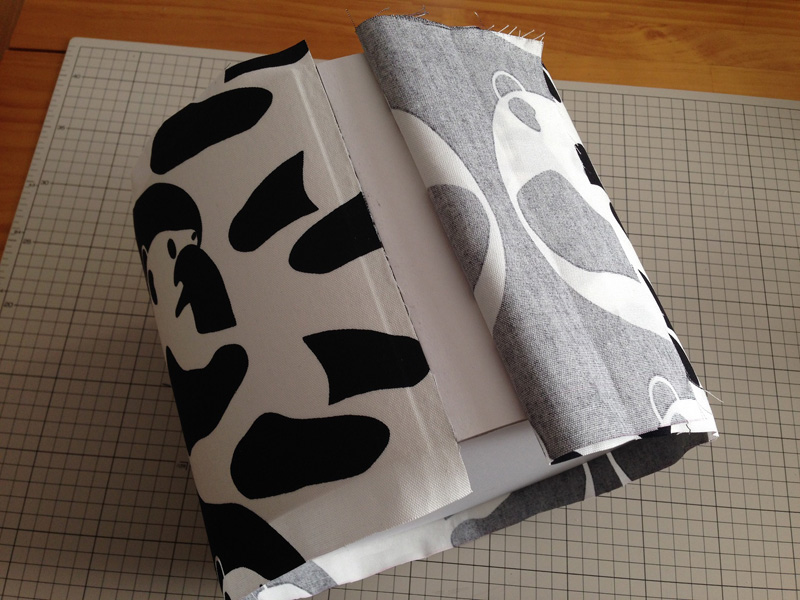
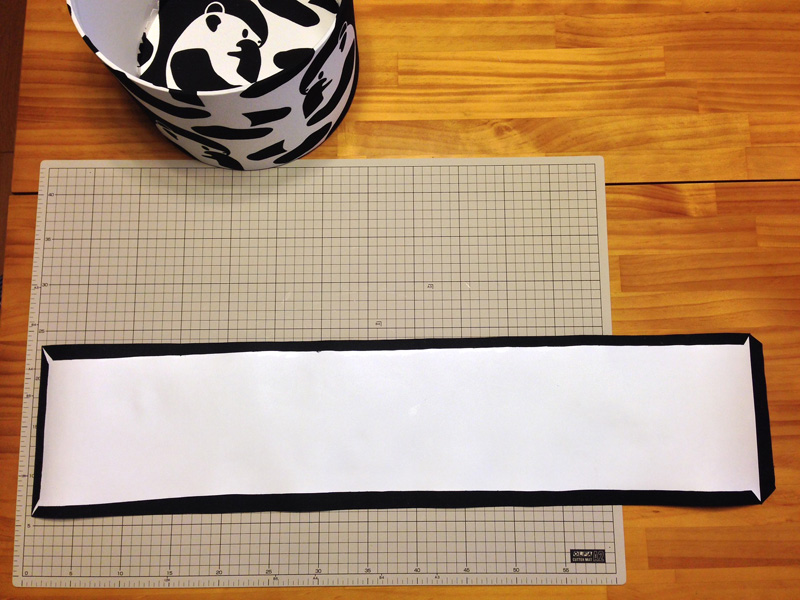
Apply glue to the exterior side portion of the body and place the fabric. Stop at about 3cm from the starting point and finish up the folding allowance.

Have the fabric overlap for about 2cm and cut the excess.
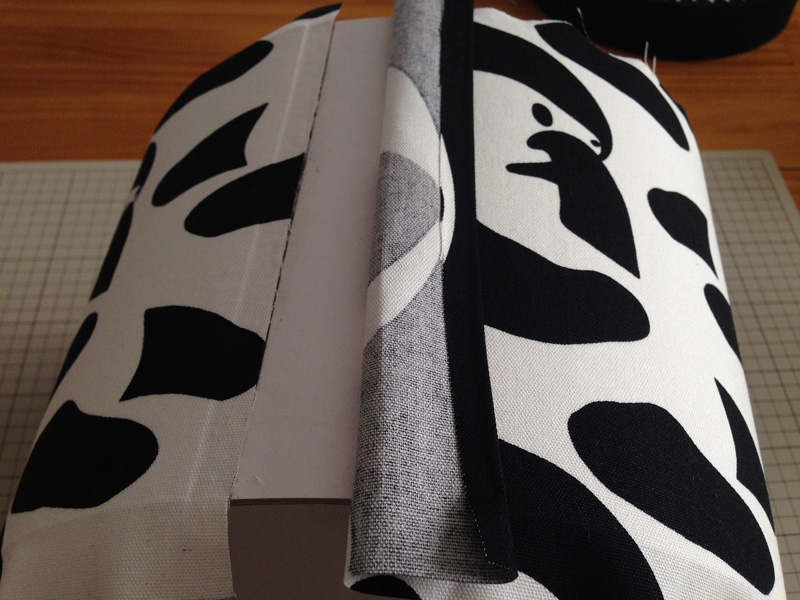
Fold back the fabric for 1cm and glue with adhesive (pictured). Put adhesive to the remaining part and glue the fabric to the body. (*Please refer to the same process in Craft & Sewing – Bear Print Box: Step 2 -2)
3-2
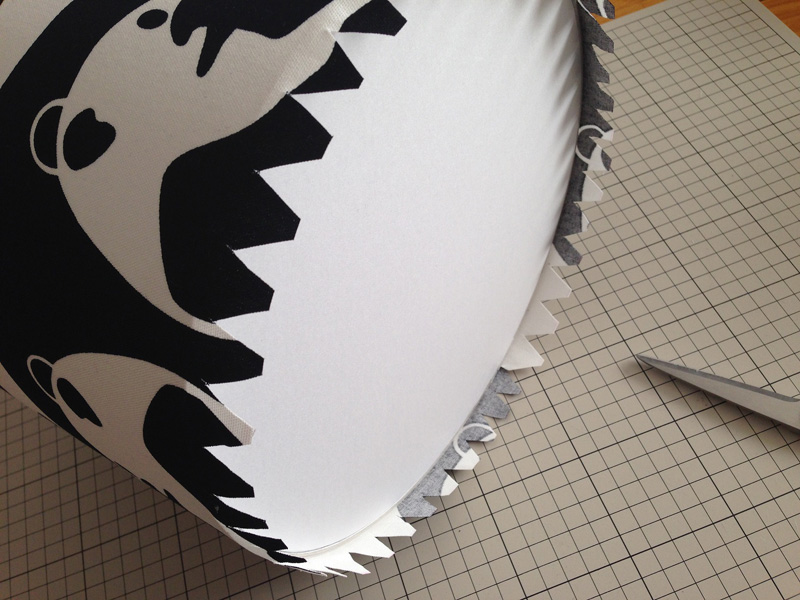
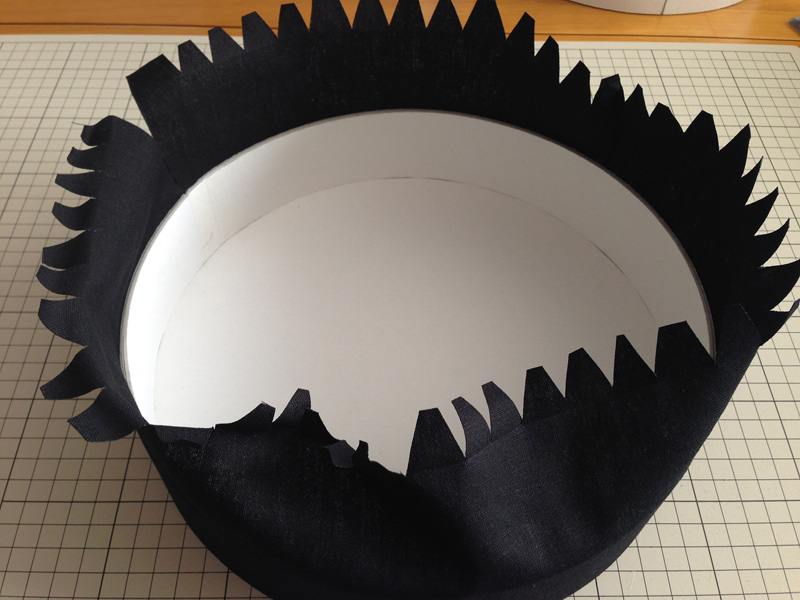
Cut a V on the bottom folding allowance.
Paste it to the bottom using adhesive.
Paste the folding allowance of the top opening onto the body.
3-3
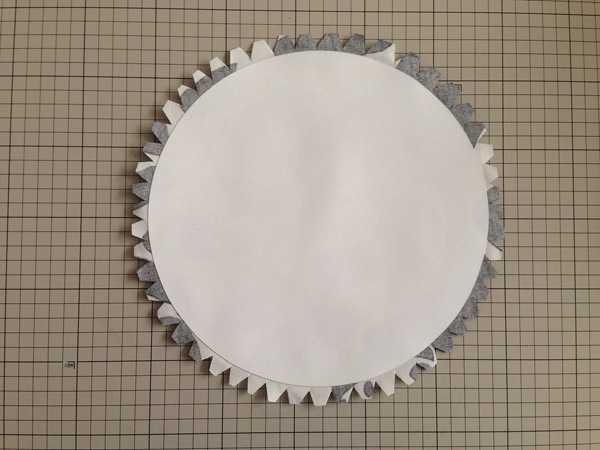
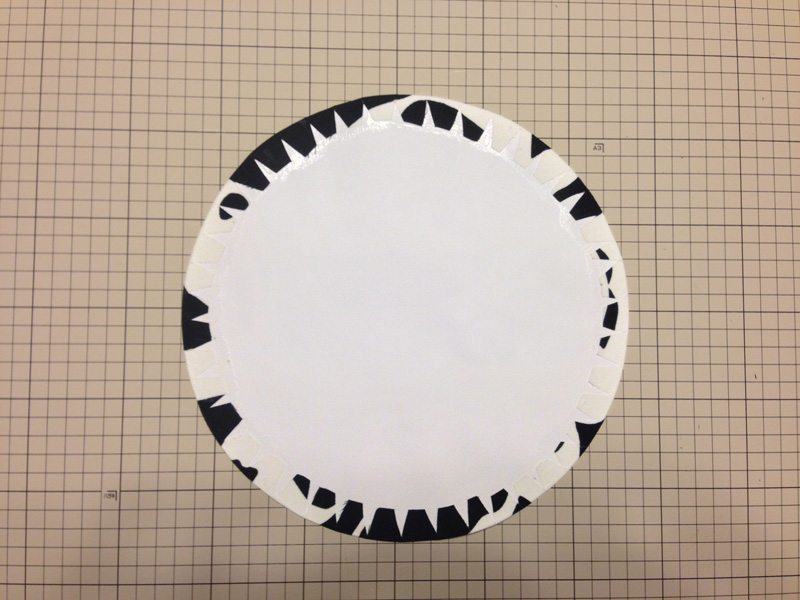
Paste one of the c kent paper cutouts to the main body bottom inside fabric using adhesive and cut the folding allowance to 1.5cm. Leaving some space in the folding allowance, cut a V around the circle. (pictured) Paste the bottom interior to the base using adhesive. Put the glue on the inside bottom and for about 1.5cm from the bottom of the inside wall, place the bottom and glue to the side wall. (*Please refer to the same process in Craft & Sewing – Bear Print Box: Step 3 -1)

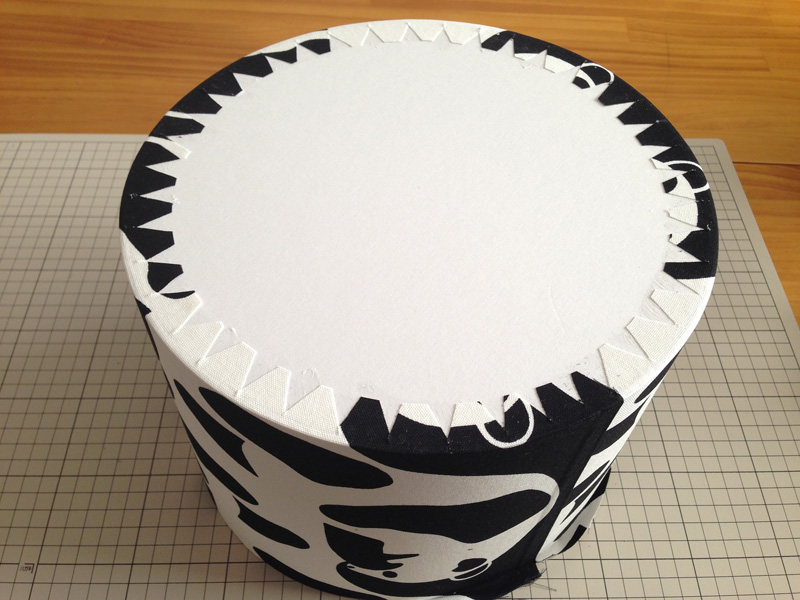
Paste the remaining piece of kent paper (main body c) to the gingham fabric (main body-bottom exterior), cut off the folding allowance and cut a V. Paste it inward to the board along the circumference (pictured). Glue the piece to the bottom of the main body.
3-4

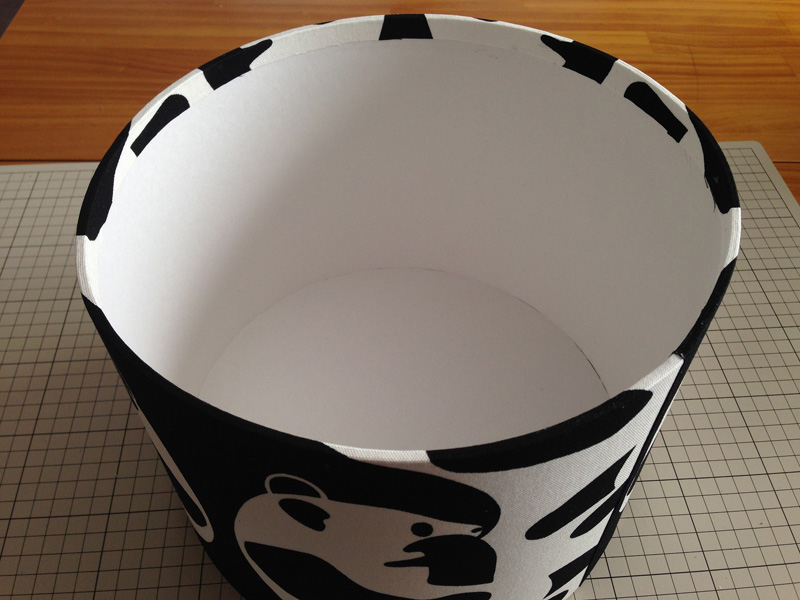
Place kent paper (Main body d) inside and adjust the length.

Paste kent paper (Main body d) to the fabric and cut off four corners.
Leaving one short side, paste the folding allowance using adhesive.

Put it to the inside of the body using adhesive (pictured). Start with the side where the folding allowance remained unglued. Make sure the wrapped side will be on top of the unglued folding allowance.
4 Put a fabric on the lid.
4-1

Apply fabric (black – main body, inside side portion) to the side portion (pictured). Leaving 1.5cm folding allowance at the top side of the lid, keep the longer portion of the fabric on the bottom side. As in step 3-1, cut off and fold the excess and paste using adhesive.

Cut a V on the top side and paste it using adhesive.
Cut a V on the bottom side.
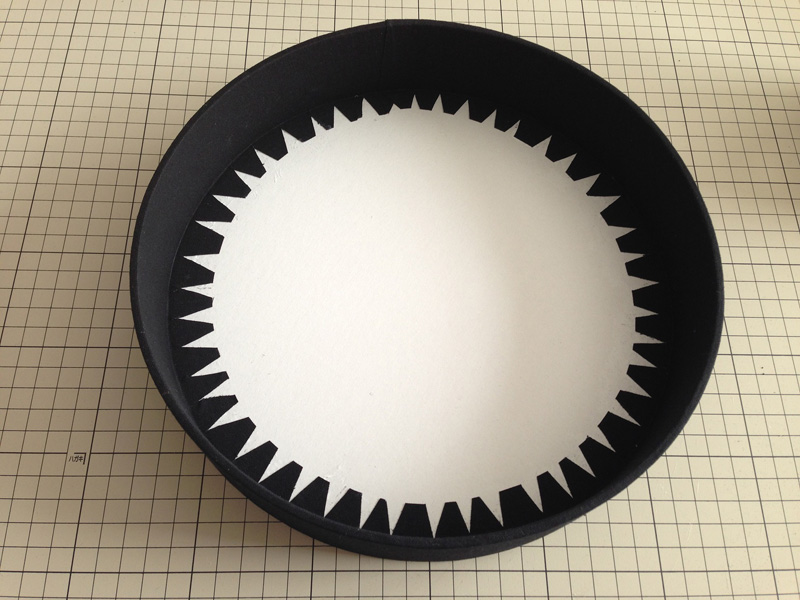
Glue the side portion and folding allowance.
4-2
Apply fabric (panda design–lid, top exterior) to the kent paper (lid c). Cut a V and paste folding allowance to the board along the circumference
Glue the piece to the top of the main body.

Apply fabric (panda design–lid, top inside) to the kent paper (lid c). Cut a V and paste folding allowance to the board along the circumference and glue it inside the lid to finish.

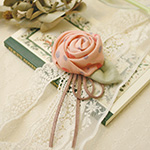 Rose corsage in a double gauze fabric
 Lesson bag in kitten design fabric
 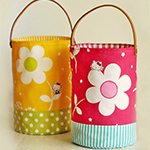 Kitty’s Bucket Shaped Organizer Bag