
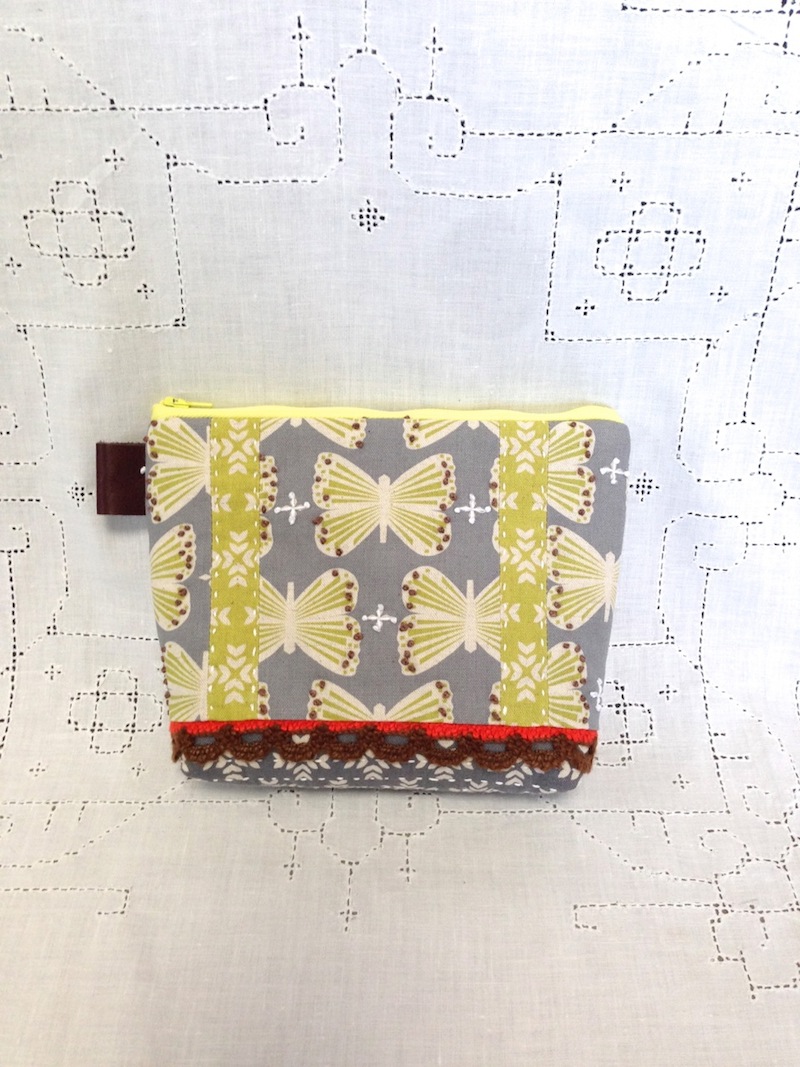
Today’s project, made with Ellen Baker’s GARDEN series fabric, is perfect for this time of the year, a time that we are eagerly awaiting the arrival of spring. From the series, a lovely butterfly design was chosen for a small case with a zipper top. Yumi Kanaya, the creator and an expert of embroidery, came up with a cute case of butterflies with stitch embellishment.
Fabric shown for this sample:
(Outer fabric A, C): GARDEN JG41700-6 (C)
(Outer fabric B, Lining fabric): GARDEN JG41700-5 (B)
(Bottom outer fabric): GARDEN JG41700-5 (C)( C)
Materials:
□ Fabric (Outer fabric A, C): 50cm×20cm
(Outer fabric B, Lining fabric): 30cm×40cm
(Bottom outer fabric): 30cm×20cm
□ Fusible quilt batting : 30cm×40cm
□ Torchon lace: 50cm (2.5cm width)
□ Leather tab: One piece – 6.5cm×3cm
□ Zipper: One 20cm zipper
□ Embroidery thread #25: White and Brown, One skein each
We interviewed Ms. Kanaya about her creation:
Kokka Fabric(KF): What did you think about the fabric you used for this project?
YK: It is a series called GARDEN by an American designer, Ellen Baker. It is very attractive with a natural and smoky color combination. Since the different designs come in the same color tones, I decided to pair them up to do a patchwork.
KF:Can you tell us about any special elements or ideas that you incorporated into this creation?
YK: Butterfly motifs are placed as a main design element with a gray and yellow color combination. The fabric is accented with patchwork and embroidery. Since the fabric has lots of embellishments, I intentionally kept the case’s design simple. It is a case with depth and a zipper opening.
KF:What are some tips for making this case?
YK: When cutting the fabric, I paid extra attention so that the butterfly motif will be centered in the design. Since the texture of the fabric itself is tight and solid, I added only fusible quilt batting to give it thickness and softness. The zipper is attached in between the outer and lining fabrics. This way it is easy to sew and keeps the blind stitches minimum.
KF:How should we use this case in everyday settings?
YK: While I made a little case this time, the fabric’s look is suitable for making kitchen items like coasters, placemats and tea pot covers. The ideas keep flowing.
KF:Thank you very much, Ms. Kanaya! Here are sewing instructions along with step by step photos from her. Enjoy crafting!
GARDEN Butterfly case
1.
Cut the outer fabrics.
2.

Cut the torchon lace matching the size of the fabric.
3.
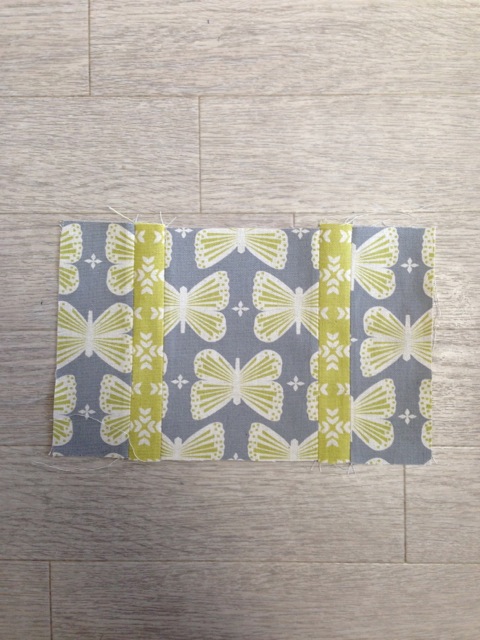
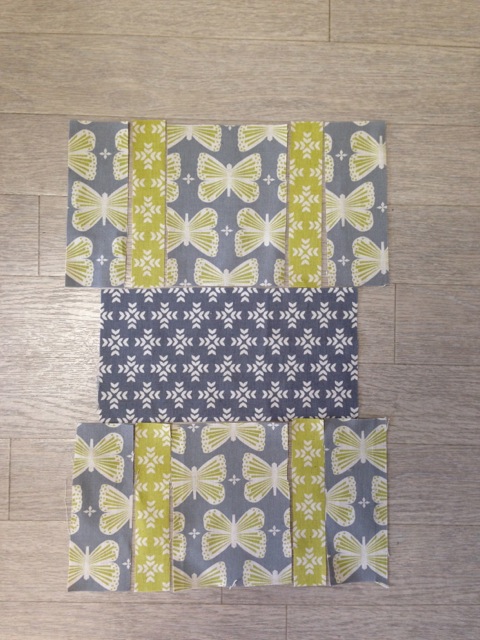
Piece together outer fabric A, C and B and press down the seam allowance using an iron. Make two pieces.
4.
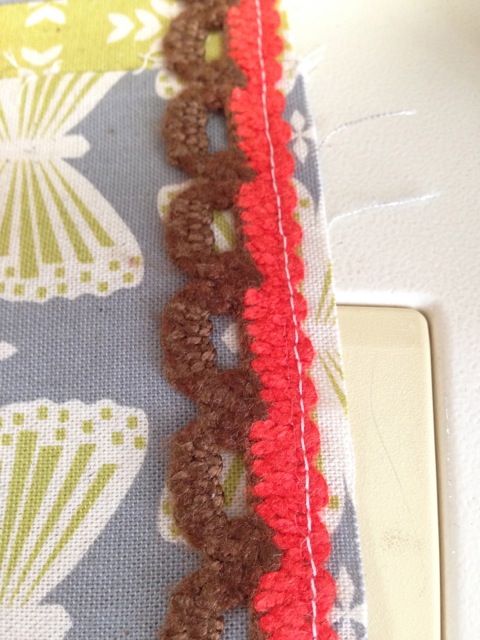
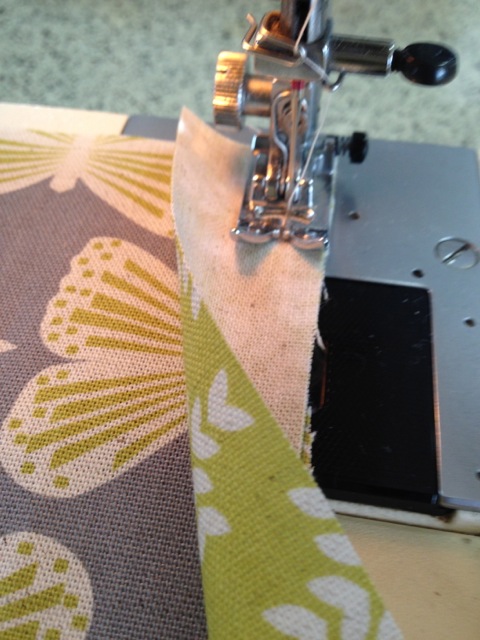
Attach lace to the fabric created in step 3, 5mm inside from the edge.
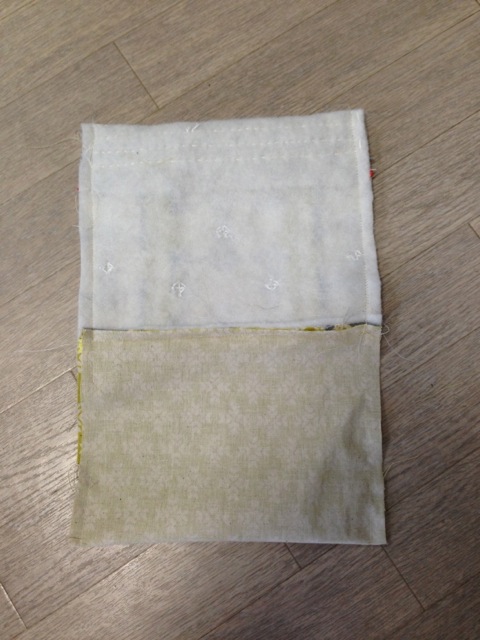
5.
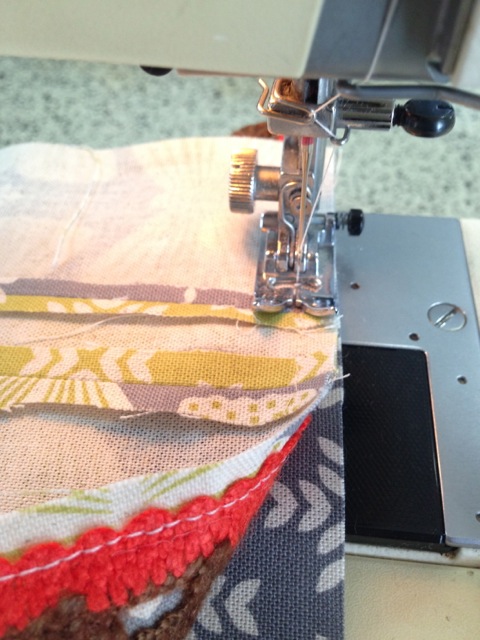
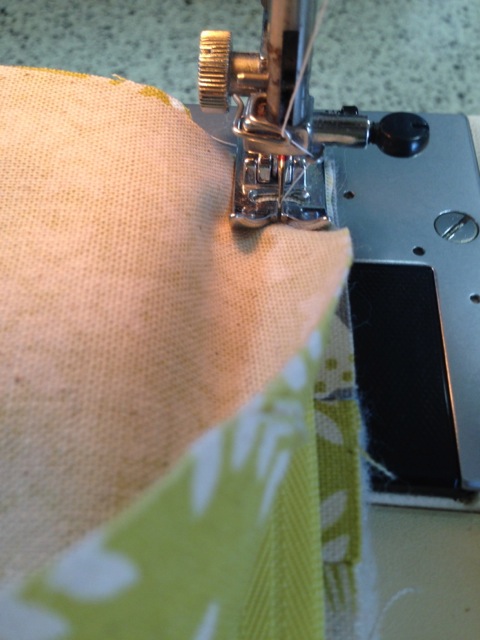
With front/outer side facing each other, sew together the pieced outer fabric (from Step 3) and bottom outer fabric. Stitch inside the stitch line created in Step 4. (This allows the lace to be exposed most and look consistent)
6.
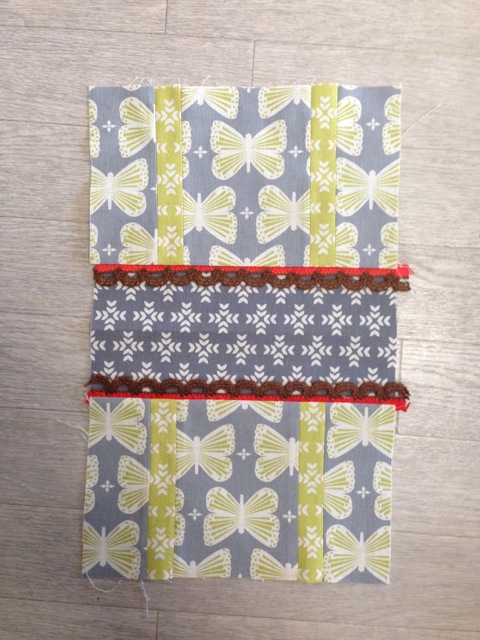
Attach torchon lace on both sides and press them down using an iron.
7.
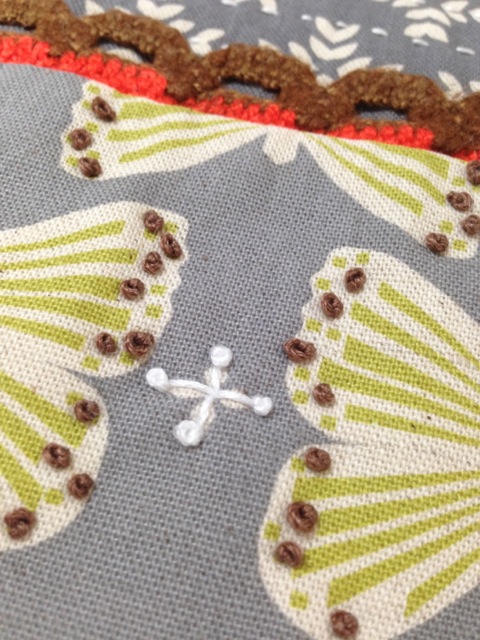
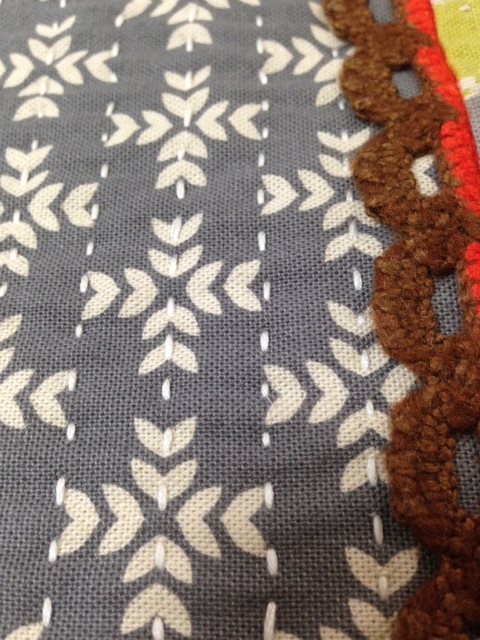
Adhere fusible quilt batting to the back of the outer fabric (from Step 6). Following the butterfly pattern, apply embroidery (using six strands of threads). For clews, use a French knot stitch. White cross uses a back stitch. A rough running stitch is applied to the outer bottom.
8.
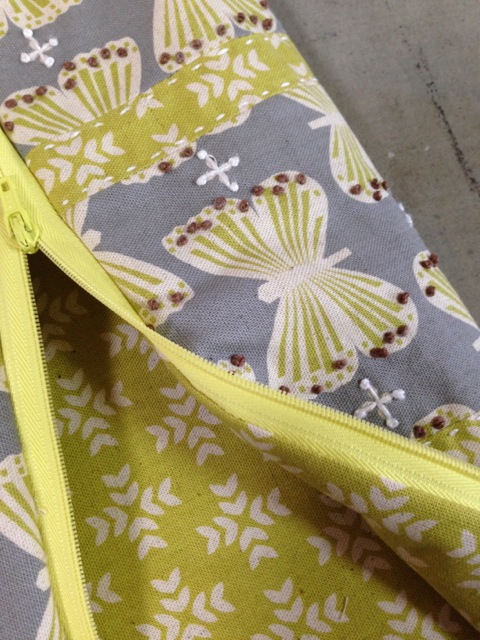
Cut the lining fabric. With front/outer side facing each other, piece together outer fabric and lining fabric, with a zipper in-between. After the zipper is attached, turn it over and press with iron.
9.
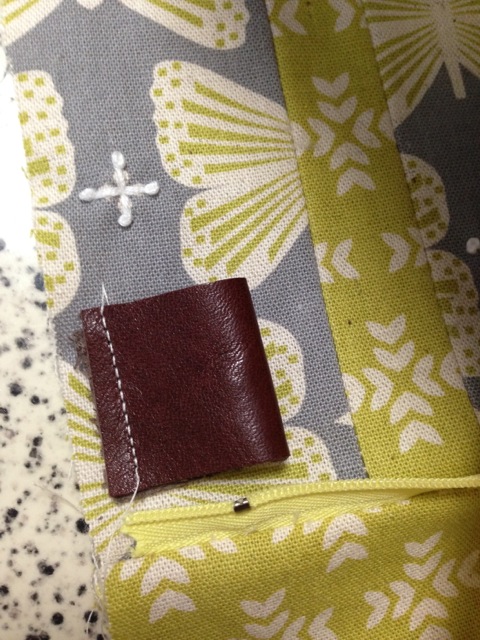
Fold a leather tab in half. Baste it 1cm below the zipper. (The tab should be placed to appear on the left side of the outer front fabric).
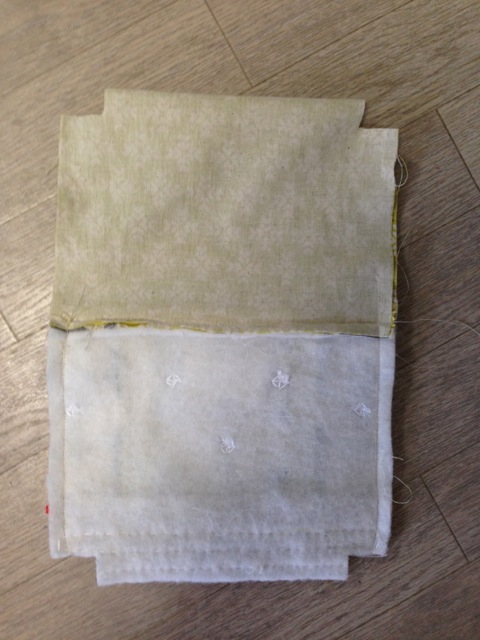
10.
With reverse side showing, open it so that the zipper is located in the center. Sew both sides, 1cm from the edge. On the lining fabric, leave an opening for about 5cm so that the case can be turned inside out later.
11.
Cut off the four corners (fold line of top and bottom) for 2cm (l) x 3cm (w). (This becomes the gusset).
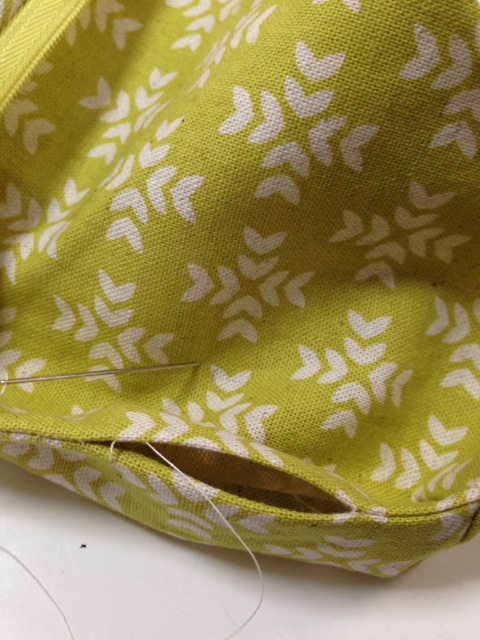
12.

Open the four corners so that it creates a triangle shape. Sew the gusset. Turn it inside out using the opening to look like the picture after turning.
13.
Close the opening on the lining fabric.
14.
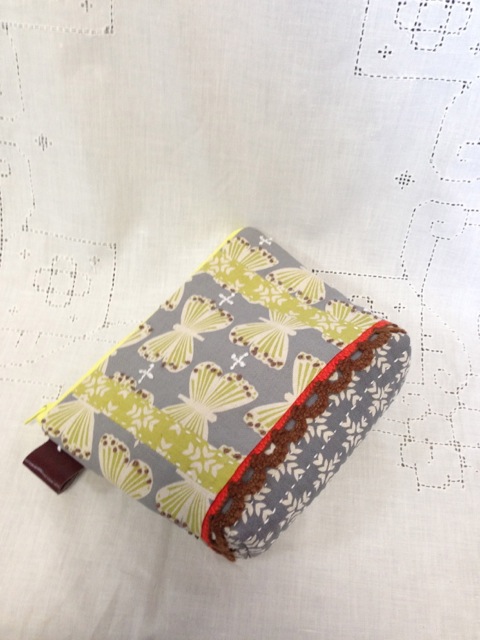
Voila!

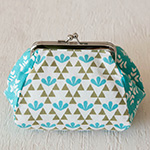 Small case with metal clasps in the GARDEN fabric
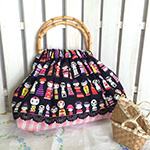 Puffy bag in Kokeshi fabric with bamboo handle
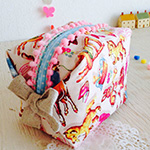 Caramel Pouch