
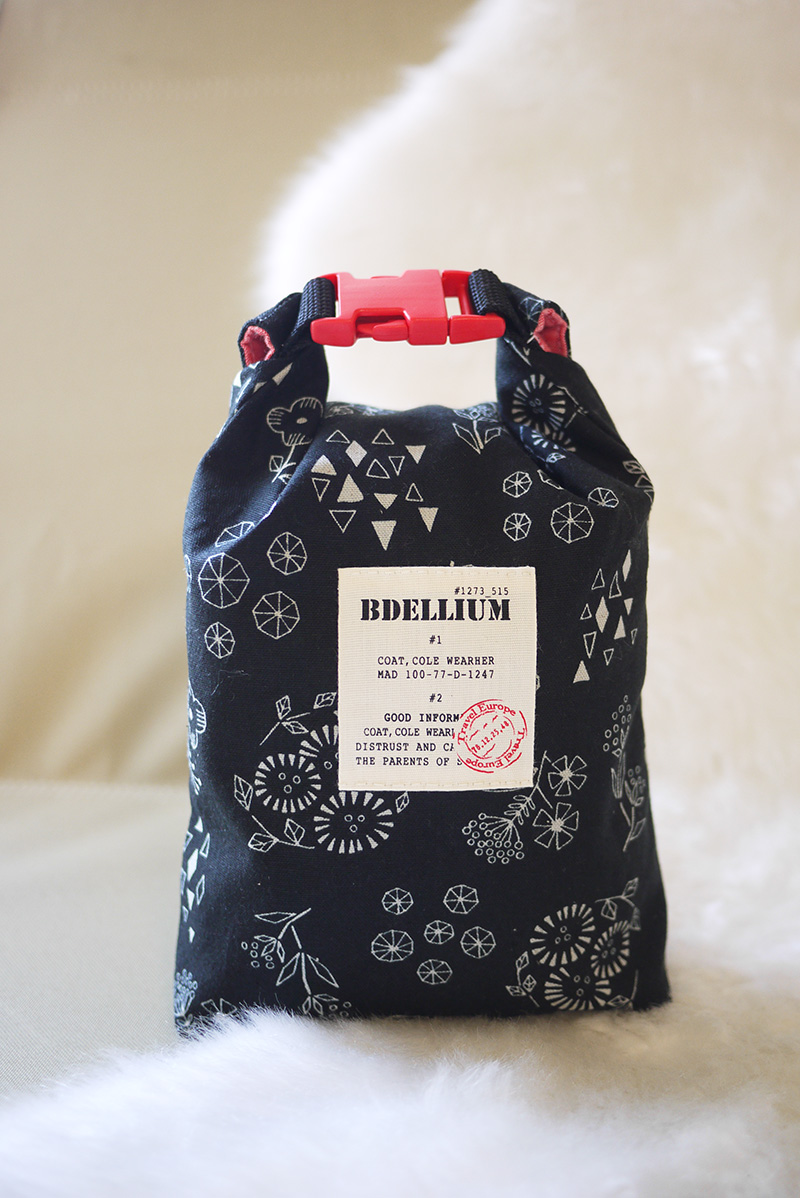
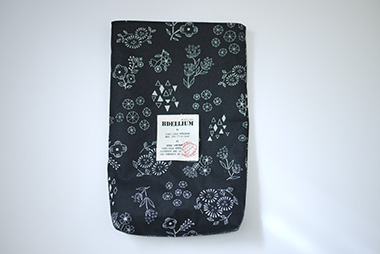
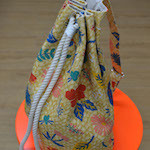
The plastic buckles are reasonable and come in many pretty colors. This unique pouch uses this type of buckle for its handle. From the botanical series, a single-color flower print fabric with a chic and stylish look is turned somewhat casual with a combination of red buckle and a tag and English letters. The red stamp on a tag adds a sharp accent.
Fabric shown for this sample:(Outer fabric)YK51130-1D
Materials:
□ Fabric (Outer fabric): 22cm×64cm
(Lining fabric): 22cm×64cm
□ PP (Polypropylene) Band: 30cm (2cm wide)
□ Buckle: One pair (for 2cm wide strap)
□ Tag: One piece (6cm x 6cm)
*All Rights Reserved. Please refrain from the unauthorized use of project photos.
We interviewed Yui about her creation:
Kokka Fabric (KF): What did you think of the fabric you used for this project?
The flower design is elegant and stylish without being too busy. A red buckle and a tag with English letters are matched to create a casual look.
KF: Can you tell us any special elements or ideas that you incorporated into this creation?
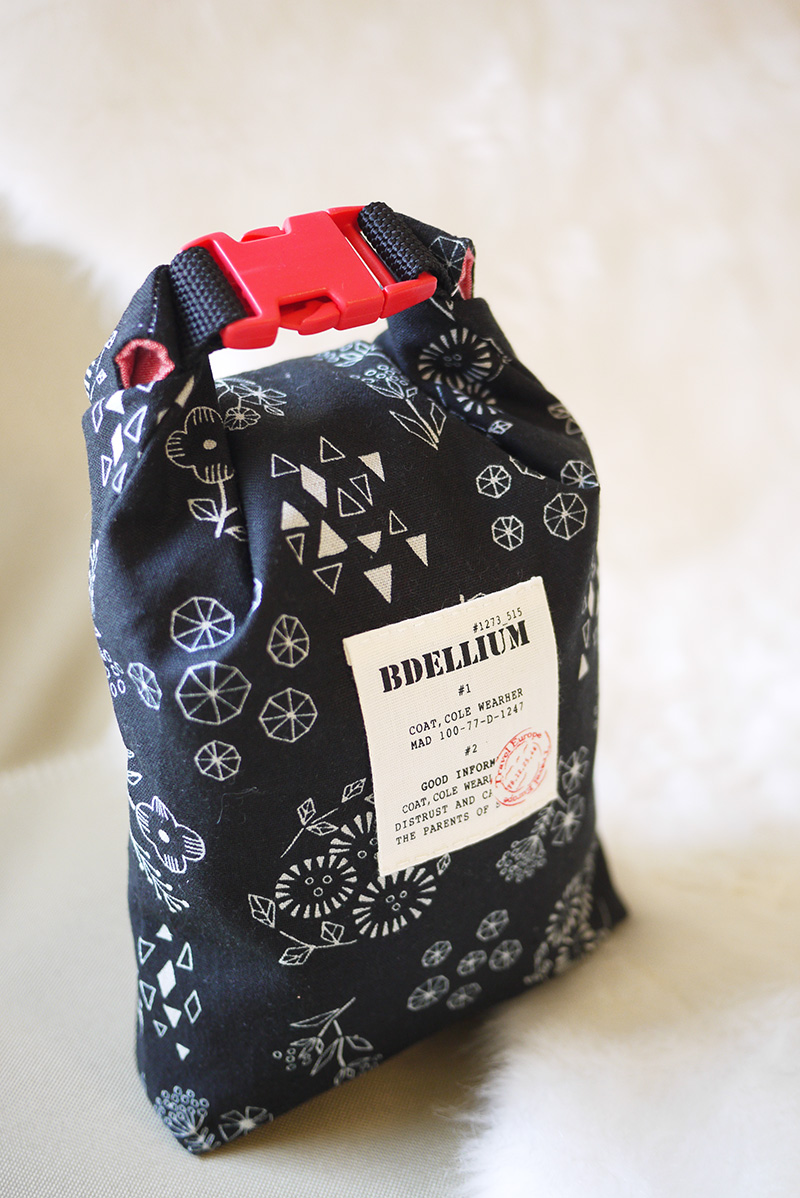
As you fold the top to close, it becomes a handle, so I came up with a size that is also suitable as a small bag to carry. I like this wraparound idea as you can adjust the size to be smaller by closing the buckle on the side or folding the top many times.
KF: What are some tips for making this pouch?
When you attach the band, you may find some areas hard to sew as the buckle gets in the way. If you use a zipper foot or reverse stitches, the process should get easier.
It is perfect for your lunch, like Onigiri rice balls, or use it to keep a camera or a phone/device charger.
KF: Thank you very much, Yui! Here are sewing instructions along with step by step photos from her. Enjoy crafting!
Instructions
1.

Cut the outer and lining fabrics with 1cm seam.
2.
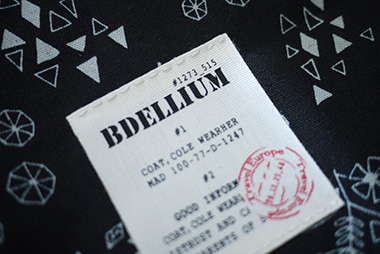
Attach the tag to the outer fabric.
3.
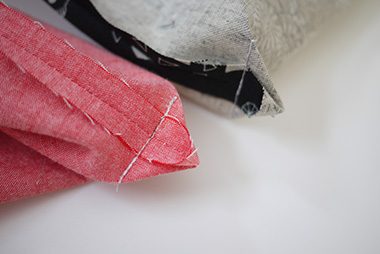
With the front sides facing each other, sew together each side of the outer and lining fabrics to make a bag respectively. Create a 4cm triangle gusset on bottom corners.
4.

With the front sides facing each other, sew together the outer and lining bags at the top opening, leaving an opening for turning.
5.
Turn it inside out. Fold the seam of the opening for turning and run stitches from the front.
6.
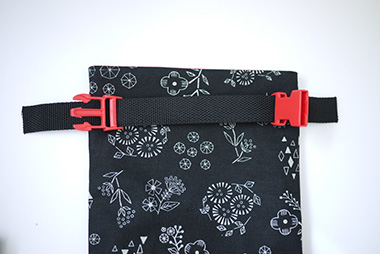
Put the PP band through the buckle. Fold it to match the width of the bag.
7.


Sew the PP band onto the side along the top opening (no-tag side).
How to close
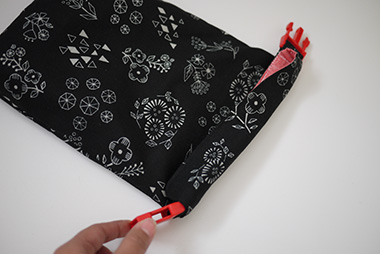
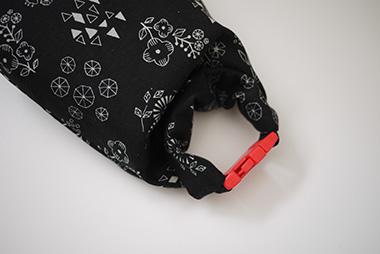
Fold the top twice and insert one side of the buckle to the other until it clicks.

 Rope Bag
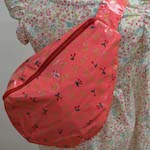 Body Bag
 Body Bag