
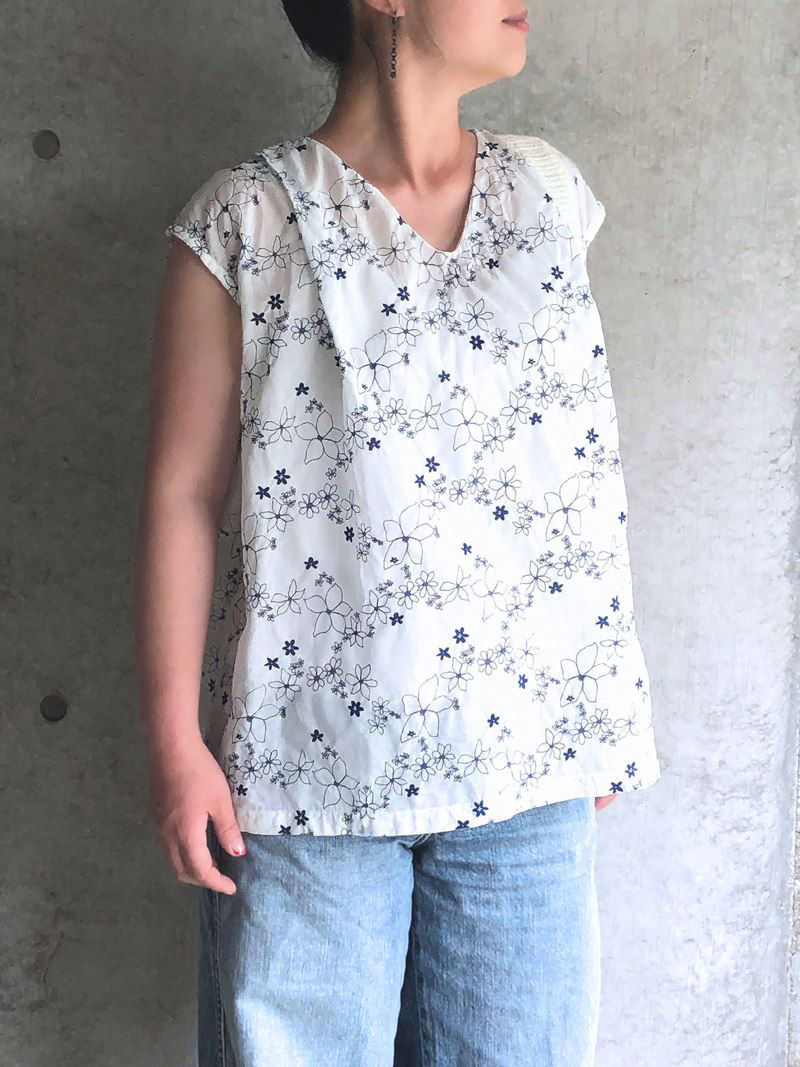
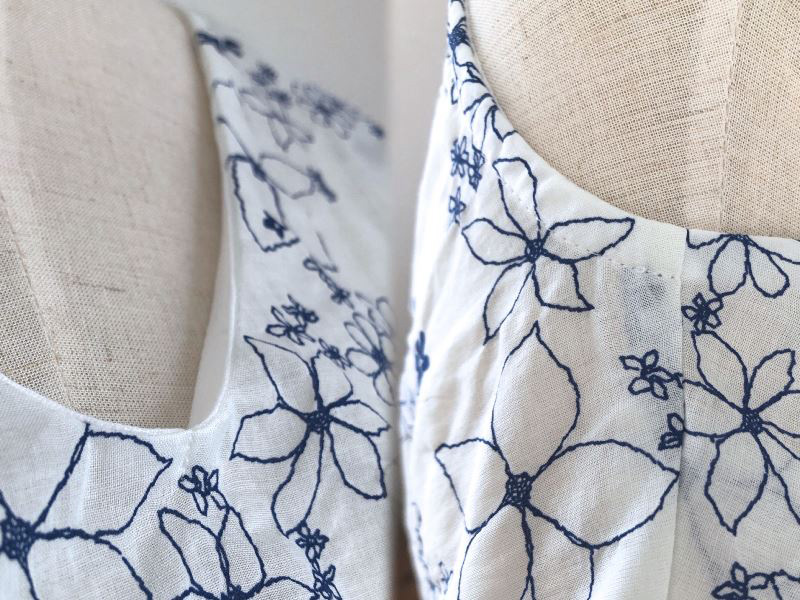
Featuring the salt shrunk cotton lawn fabric from the surfing waffle series,
this blouse, with a refreshing look and feel, is perfect for the upcoming
season. A line-drawing in single navy color keeps the floral print from being
too cutesy and creates a simple and light feel for a mature look.
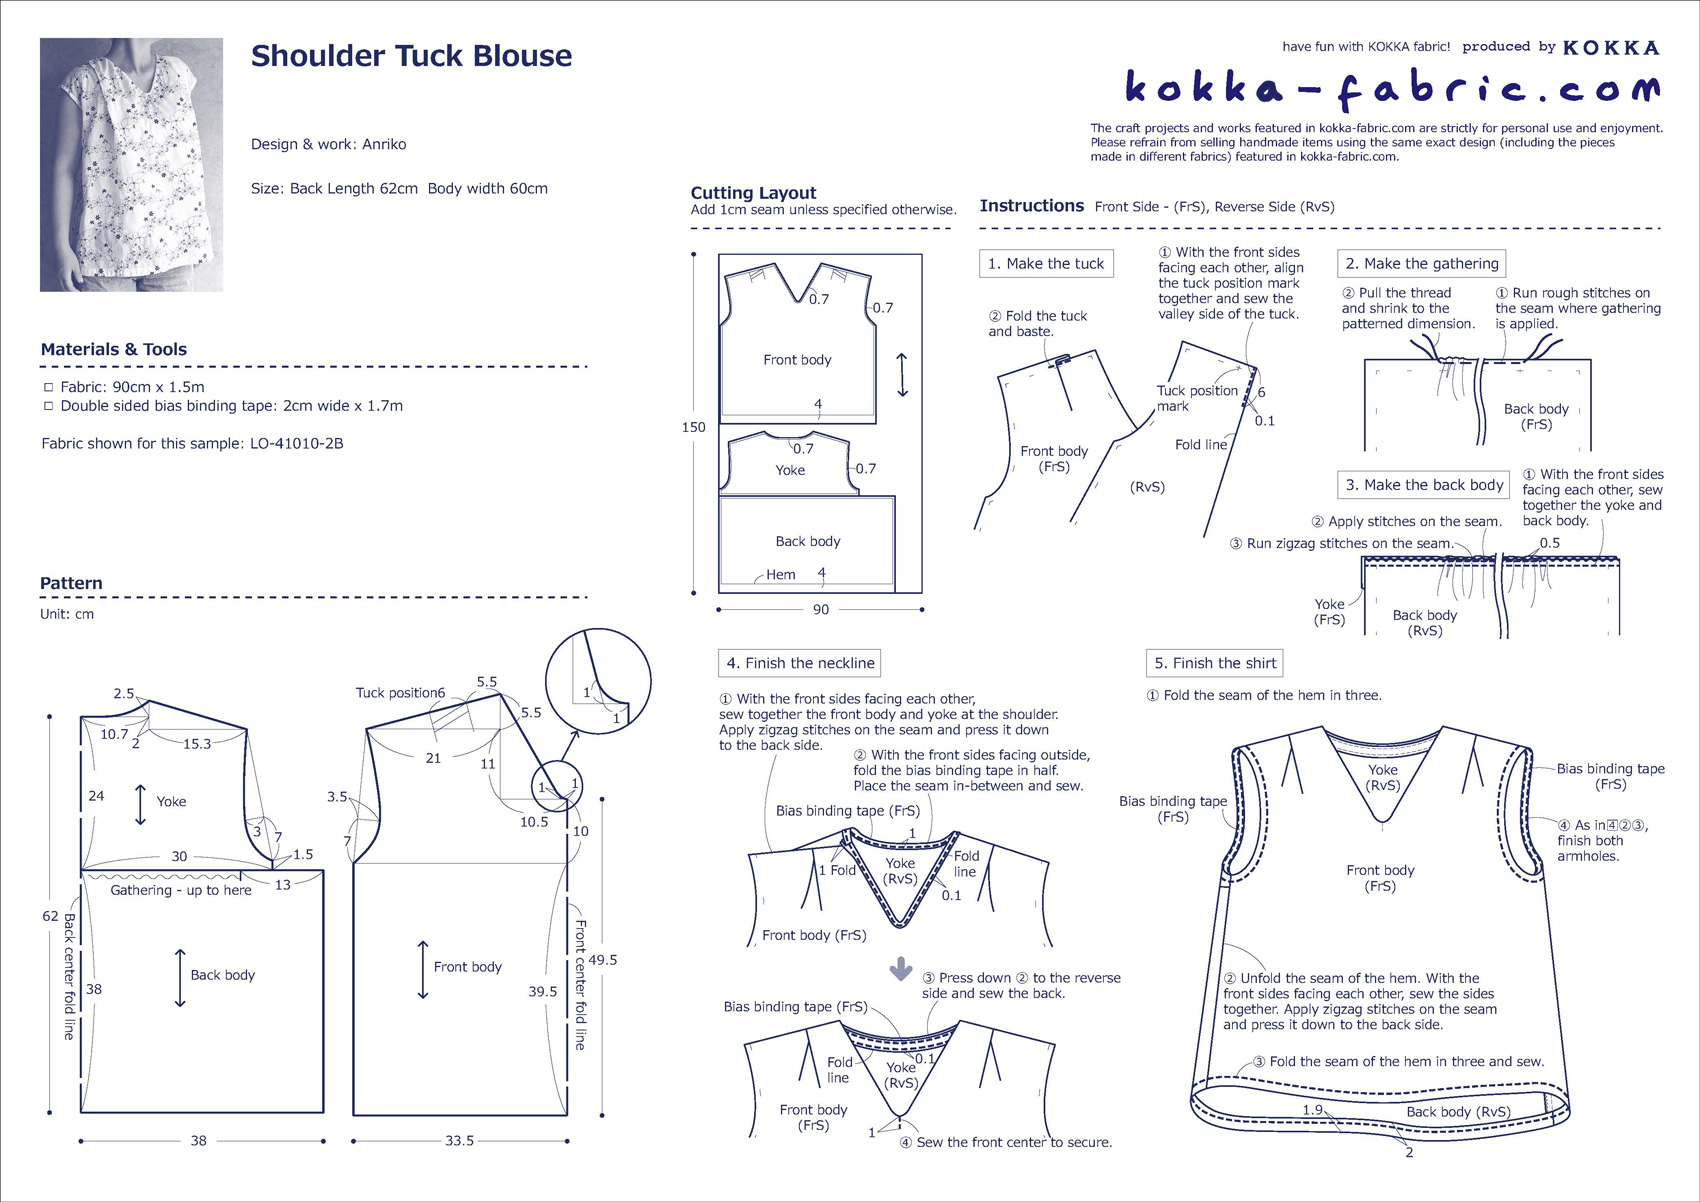
Fabric shown for this sample:LO-41010-2B
Materials:
□ Fabric: 90cm x 1.5m
□ Double sided bias binding tape: 2cm wide x 1.7m
*All Rights Reserved. Please refrain from the unauthorized use of project photos.
We interviewed Anriko about her creation:
Kokka Fabric (KF): What did you think of the fabric you used for this project?
When combined with the salt shrink process, the faux embroidery print looks like a real embroidered fabric. When I first saw it, I said, “Wow,” because it looks so real. I turned this airy cotton lawn fabric with its refreshing floral design into a cool summer blouse.
KF: Can you tell us any special elements or ideas that you incorporated into this creation
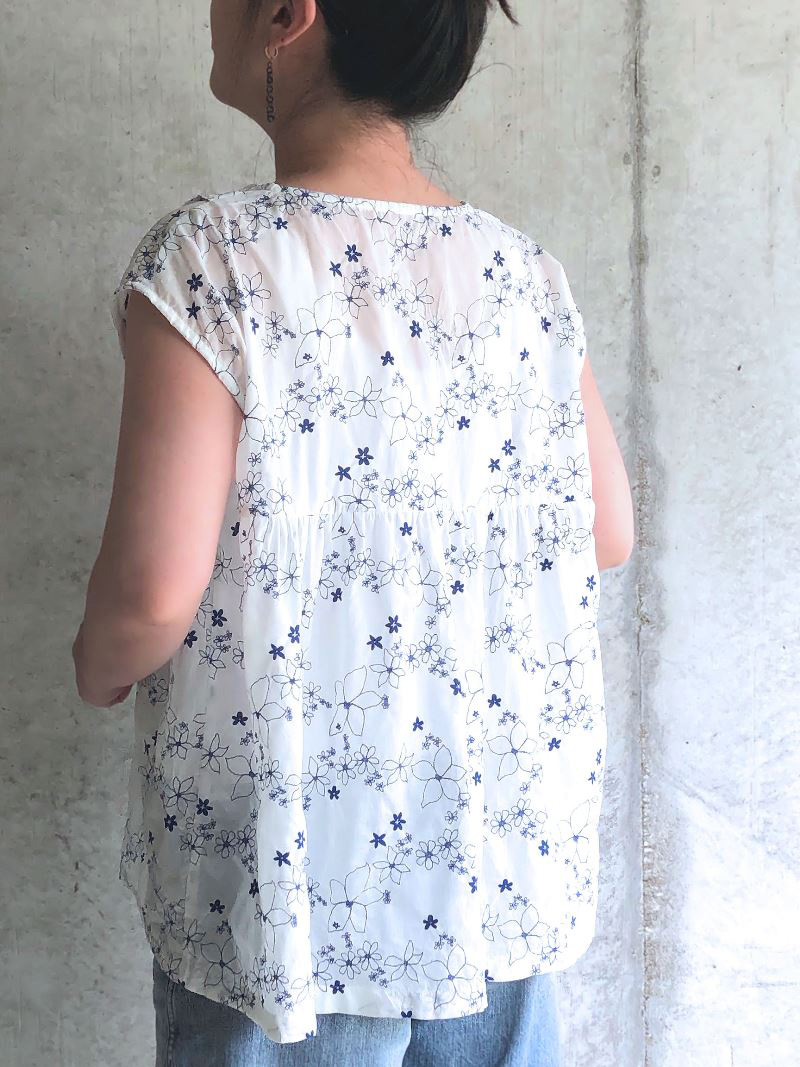
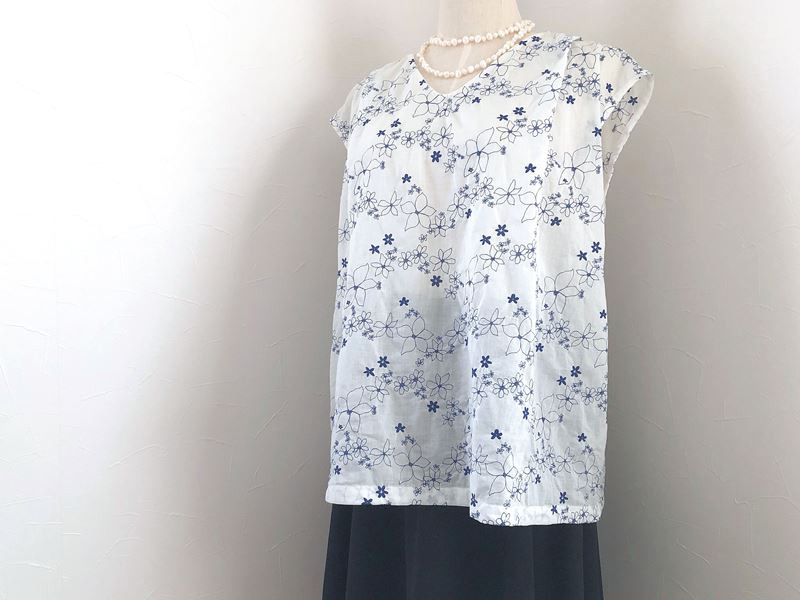
The simple shoulder tuck adds loveliness, yet it is not too cutesy, with a gathering only in the back. The V-neckline with a gentle curve beautifully accentuates the decollete (chestline), while it suits as everyday wear since the opening is not too wide.
KF: What are some tips for making this shirt?
You may find handling the bias binding tape made from the salt shrink processed fabric a little difficult. Here, a tape with different fabric is used. The bias binding process may not be everybody’s favorite, so it is simplified by showing only one side for both neckline and armhole.
KF: How should we incorporate this shirt into one’s styling?
Reflecting the trend of this season, it has a longer length. Pair it with skinny jeans for a simple style, or enjoy it with a pair of wide-leg pants or long skirt for a heavier yet cute look. Depending on your taste and height, you may make the front and back hem shorter or longer to a dress length.
KF: Thank you very much, Anriko! Here are sewing instructions along with step by step photos from her. Enjoy crafting!
◎Instructions
1.
The puffy shoulder tuck could be cute as is. In order to accentuate the tuck, and considering the care after washing, only the valley fold side of the tuck is secured with stitches.
2.
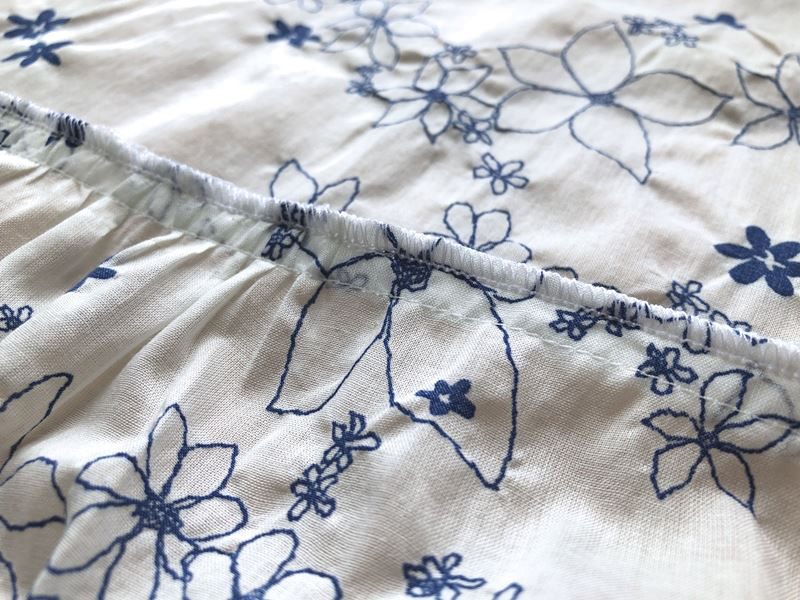
Here is a tip for serging the fabric for gathering. After taking out the thread from rough stitches, apply straight stitches about 5mm from the edge to keep the gathering stay for serging. It is hard to tell from the photo, isn’t it? It gets hidden with serged stitches, so this method is recommended when you sew thick fabrics.
3.
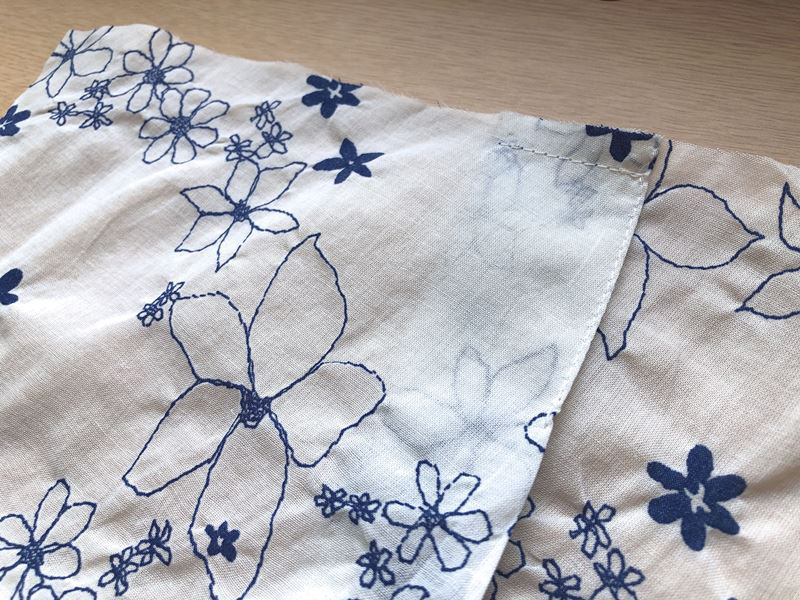
V-neckline is difficult to sew whether you finish it with bias binding tape or with facing. The tape in the front portion is not completely sewn onto the fabric. When you put the shirt on, this portion somehow stays inside and does not flip over.
4.
Finish the seam of the armhole with bias binding tape to complete.
Sewing Instructions (PDF format / A4 size)

 Ribbon Blouse
 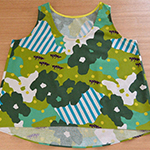 Tank Top in Camouflage
 Tunic Style Dress