
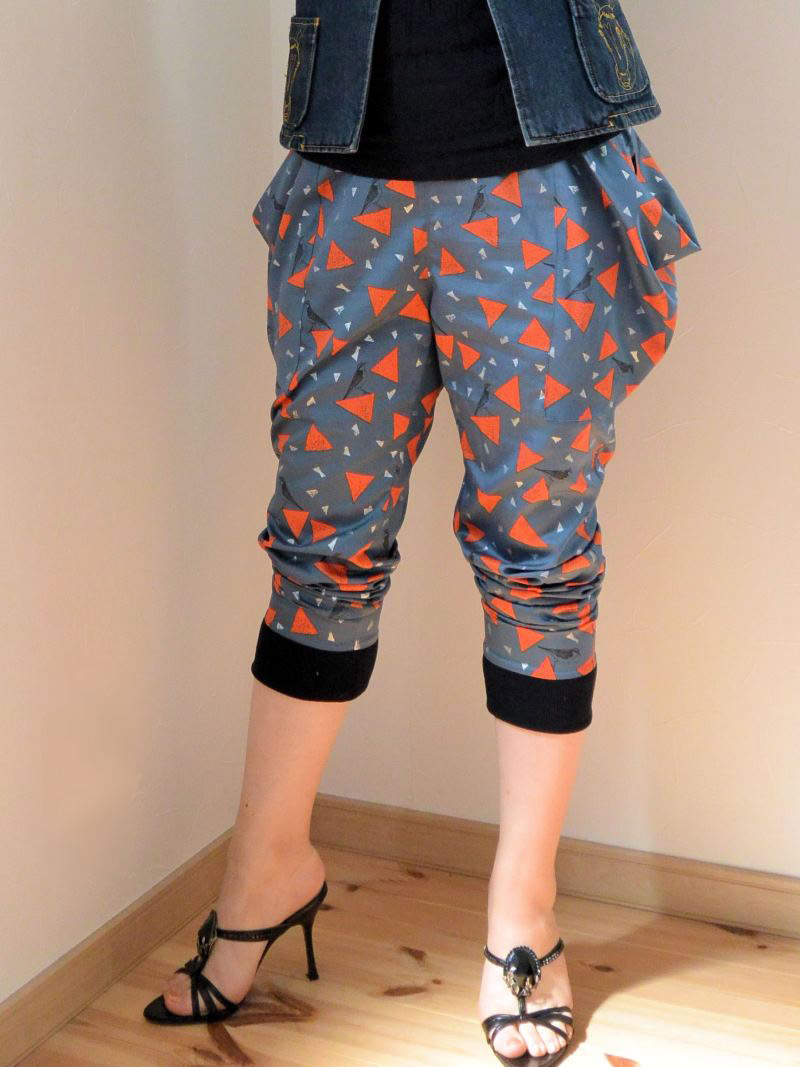
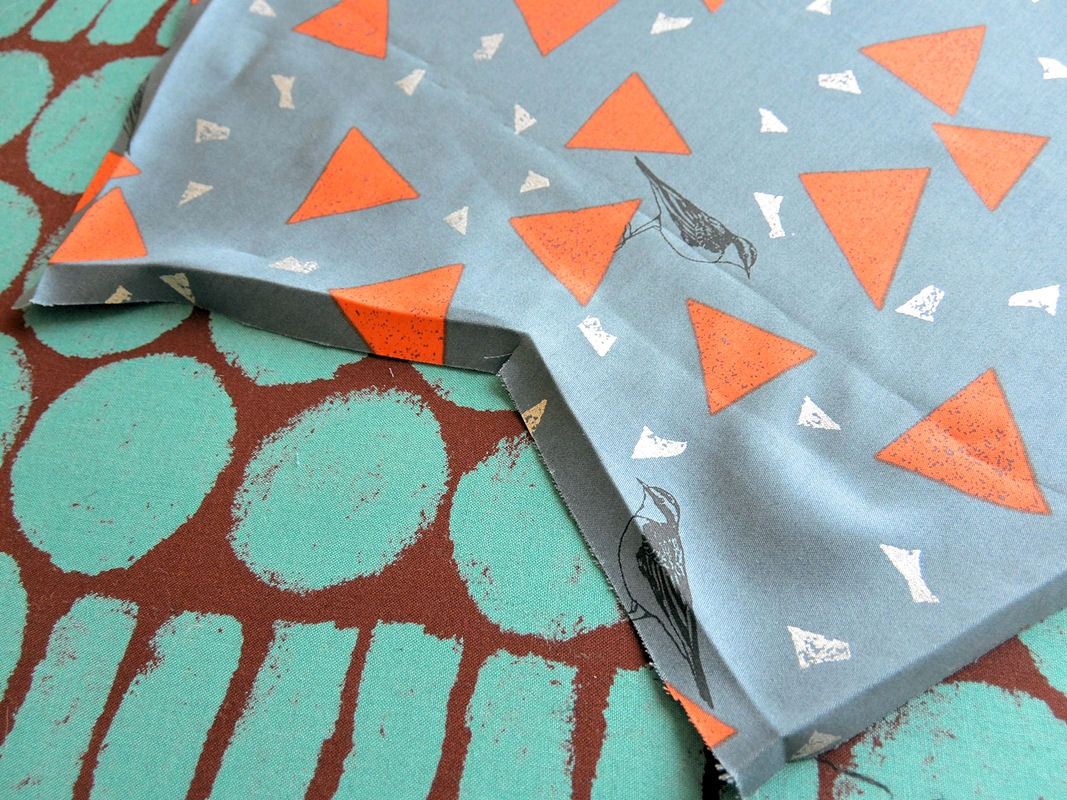
Silky cotton sateen from echino’s Huedrawer series is featured to create this pair of sarouel style pants. Small tiny sparkling pieces throughout the fabric will work as a beautiful accent. A regular of this column, Anriko has returned to introduce her creation. Flattering pockets on the hip produce the feel of a pair of sarouel style pants.
Fabric shown for this sample: echino Huedrawer fragment JG96300-302 (D)
Materials:
□ Fabric (front and back pants, waist belt, pocket) : 110cm wide x 2m
(Rib knit) (Rib for hem): 30cm x 30cm
□ Fusible interfacing 60cm x 20cm
□ Elastic tape: 2cm wide x 70cm
We interviewed Anriko about her creation:
Kokka Fabric (KF): What did you think of the fabric you used for this project?
Different from echino’s usual cotton linen fabric, the base color for this sateen is unique and the colors come out beautifully. As it is not thick, it may not necessarily be suitable for making a pair of pants, yet I took advantage of the thinner texture to add movement.
KF: Can you tell us any special elements or ideas that you incorporated into this creation?
The front and back pockets on the pants are useful and effective for disguising the shape of the body.
In order to make it easy to make, the pockets are attached outside of the pants. Though the pants have a soft sarouel design, with these pockets, they look more like proper sarouel pants.
KF: What are some tips for making these pants?
It is important to choose the correct color thread. If you fail to do so, you are going to end up with a cheap and handmade looking pair of pants. Please be mindful as this piece requires a lot of outside stitching.
KF: How should we coordinate these pants in everyday situations?
The design is casual yet you can achieve a stylish adult woman look by wearing a pair of heels and a jacket.
KF: Thank you very much, Anriko! Here are sewing instructions along with step by step photos from her. Enjoy crafting!
Instructions
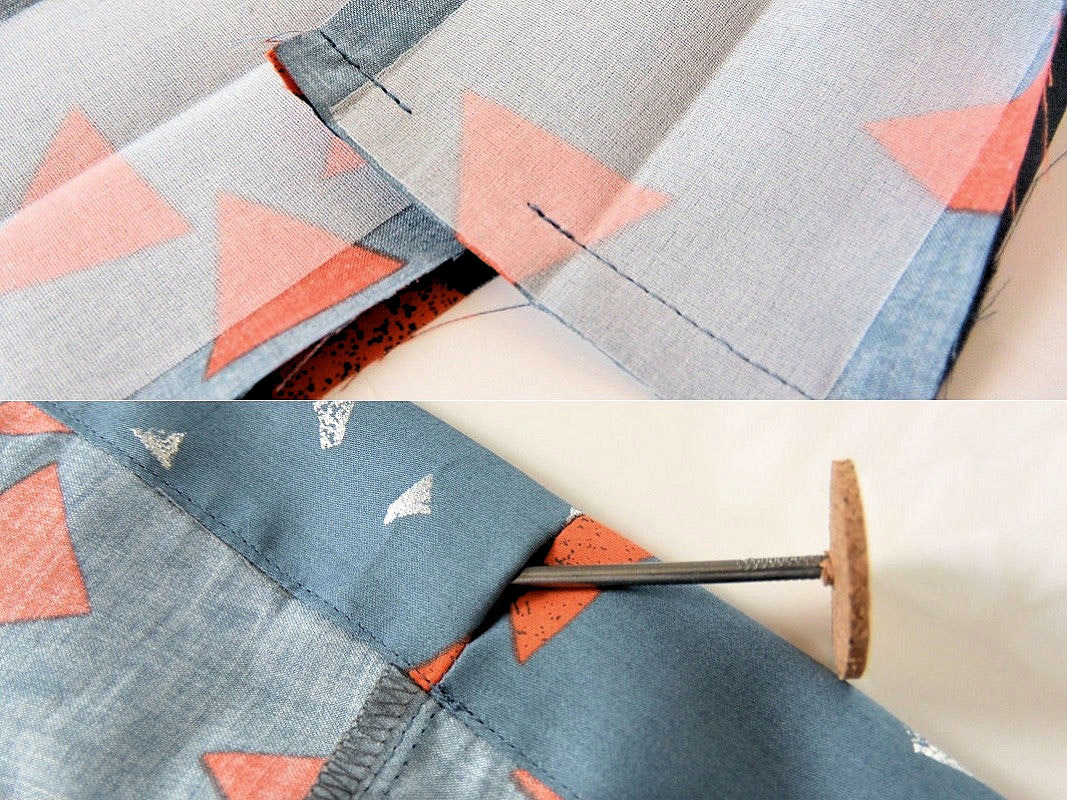
1.

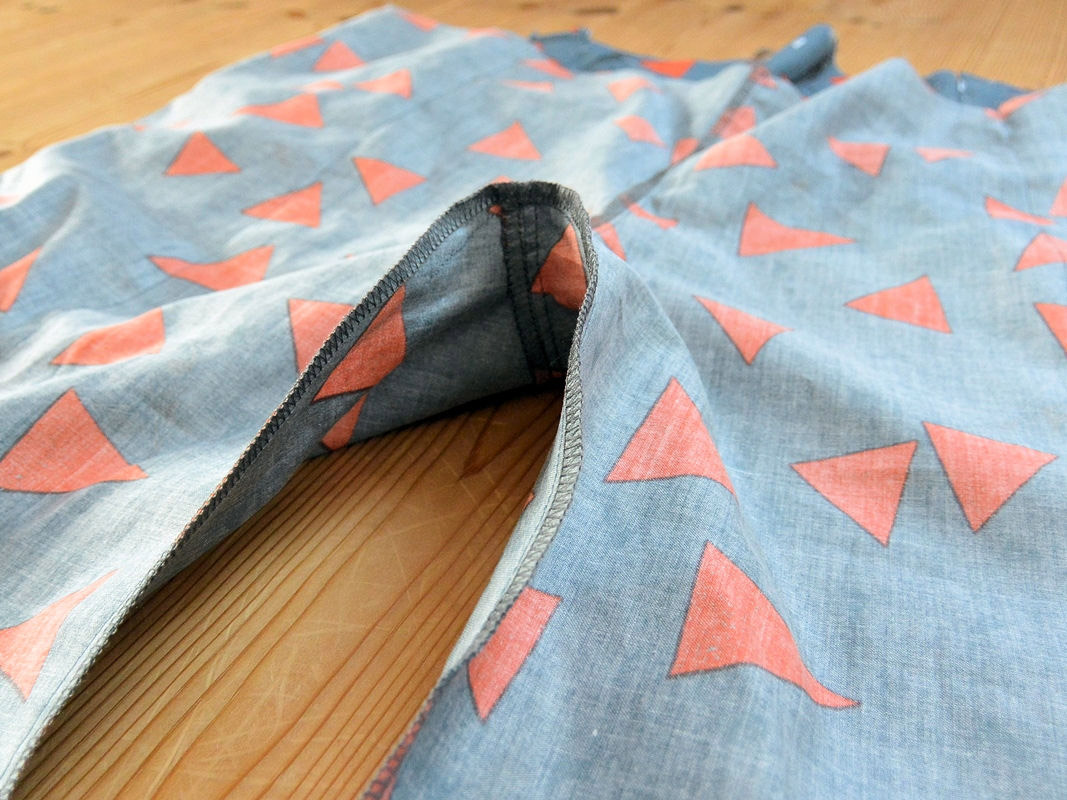
The picture shows the pants sewn together at the crotch, finished with top stitches. Stitches will look clean when sewn at 2mm from the line. Another trick is not to pull the seam too much when pressing it down.
2.
Prepare the pocket. The triangle at the bottom will be straightened to be a solid line when attaching to the pants. So cut a slit at the tip of the triangle. In order to keep the required fabric to 2m, two pockets are placed in the pattern within the fabric’s width with straight grain line. If you have extra fabric, you may want to cut the fabric so that the opening will be a bias. This way, you can achieve a better cascade look.
3.
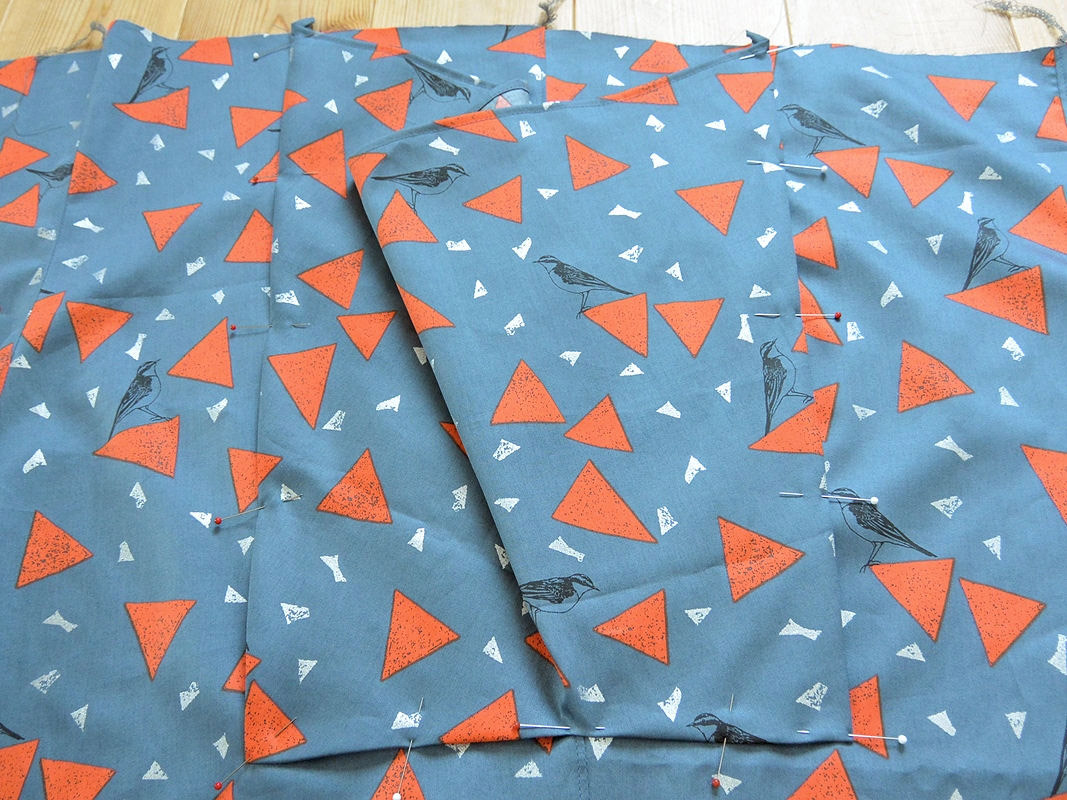
Attach the pockets. Contrary to the straight grain of the pants, the pockets are cut at an angle. This may stretch the pocket when sewing. I recommend using extra pins to avoid it being unaligned.
4.
Sew inside legs all the way. Make sure to match the markings to align as the sewing length is long.
5.
Attach the belt to the waist. Since the elastic wears out and shrinks/extends due to washing, leave the pocket opening open in the back so that you can adjust it later. As an option, you may make a button hole in the front to put through a drawstring or you can add belt loops.
6.

Attach the rib to the hem. After putting the elastic through the waist, try it on to adjust the length.
7.
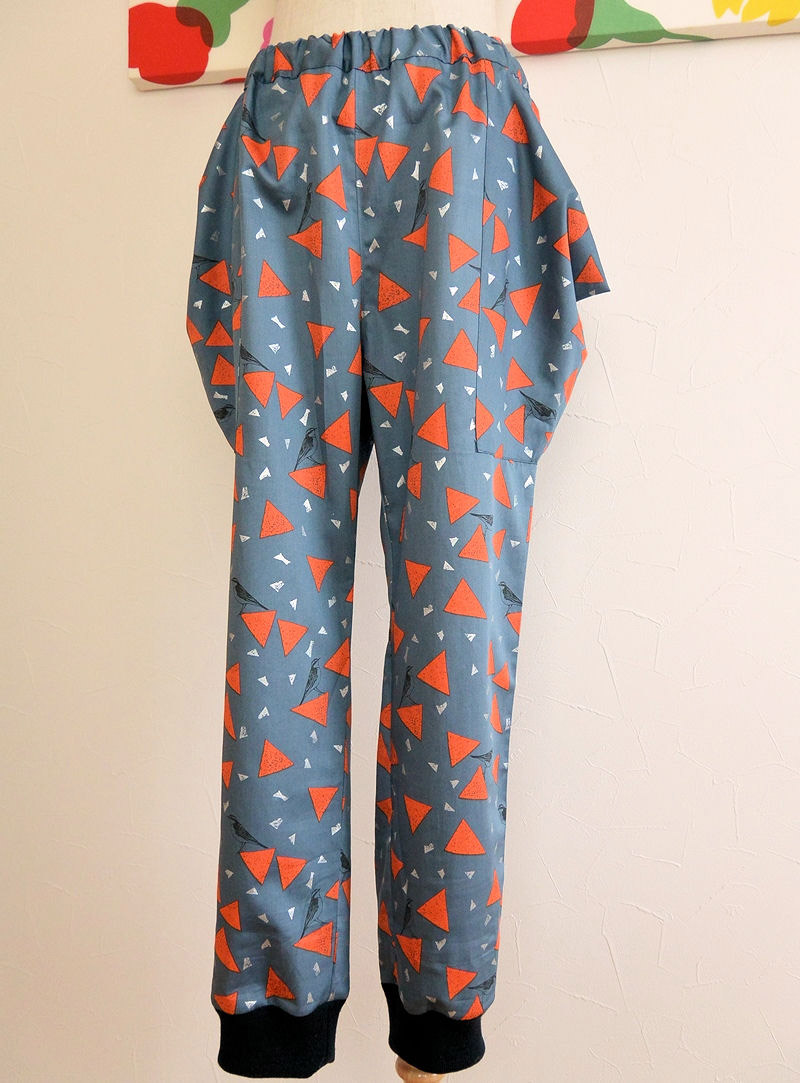
Finished!

 Sarouel pants in grandrelle yarn knit fabric
 Gathered Skirt for Kids – Sewing Instructions
 Semi Circular Skirt