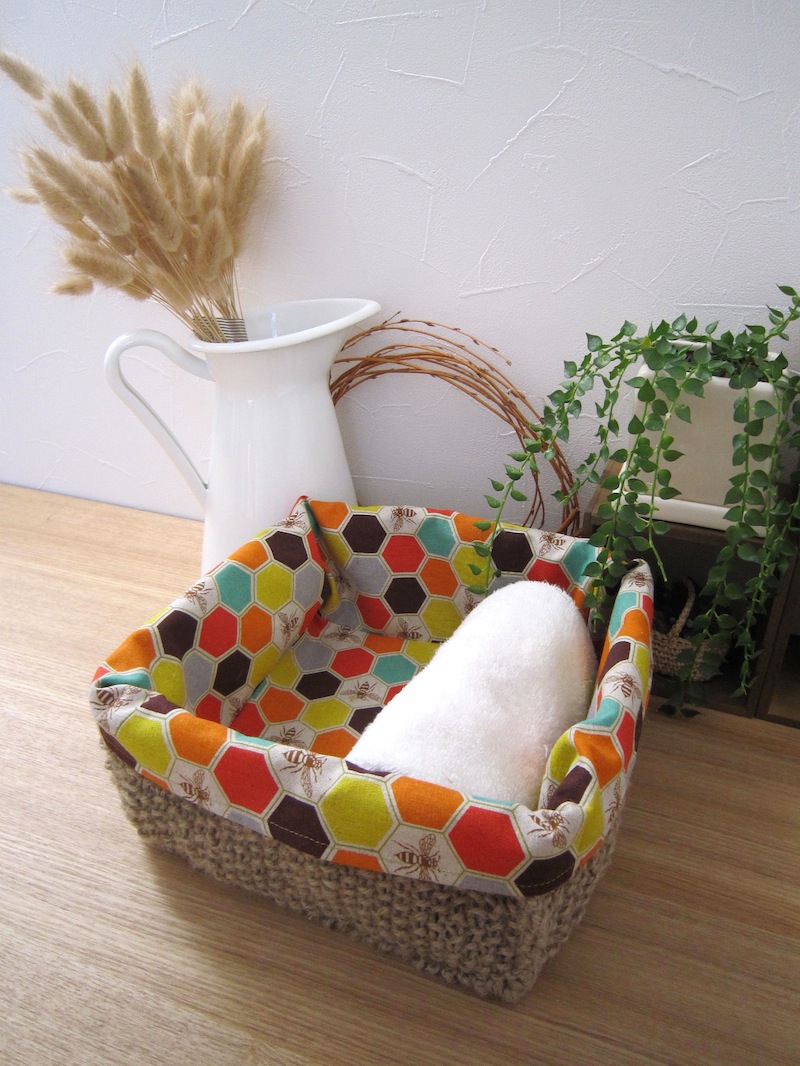
We are introducing a project using echino’s new 2014 design collection. Today’s creation uses echino’s “bee.” It has a unique beehive design with bees scattered around a sea of hexagons. The creator is Anri, the artist who introduced us to such projects as a lampshade and glasses case using echino’s decoro series of fabric. Her new creation incorporates “weaving (knitting).” Why not try to create this stylish basket that is perfect for using at home?
Fabric shown for this sample: echino bee JG95900-904 (c)
Materials:
□ Fabric (lining): 40cm×90cm
□ Hemp cord (medium thickness jute cord for gardening/shipping):One 100m roll
□ Two Size 10 Knitting Needles
We interviewed Anri about her creation:
Kokka Fabric (KF): What did you think about the fabric you used for this project?
Anri: It is a cute fabric. Because of its smoky color tone, I instantly thought of using it for a zakka (everyday household item) that has a natural feel.
KF: Can you tell us about any special elements or ideas that you incorporated into this creation?
Anri: Since a hemp cord for gardening and shipping is naturally twined, it has a nice feel. Adding a lining made from your favorite fabric quickly turns this into an original and darling basket.
KF: What are some tips for making this basket?
Anri: The basket is made using only moss stitches without having to increase or decrease stitches. You can create it in a variety of sizes by changing the measurements. Adjust the size of the lining bag after weaving the basket to match its size.
KF:How should we use this basket in everyday settings?
Anri: The lining is detachable and washable. It can be used in many settings. This time I made a square basket thinking it could hold towels and linens. By making it a rectangle, you can create a lovely house plant holder.
KF: Thank you very much, Anri! Here are sewing instructions along with step by step photos from her. Enjoy crafting!
Instructions: How to make Basket
1.
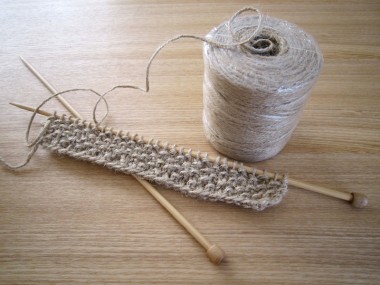
Weave (knit) a basket by using gardening/shipping jute cord. More natural than a craft thread, the jute cord will make it look naturally stylish. Above all it is very inexpensive.
2.
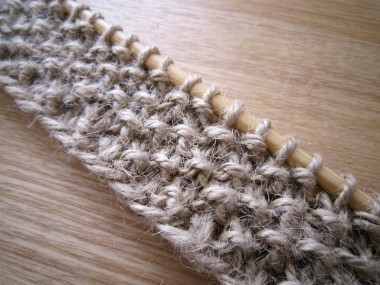
There is no increasing or decreasing of stitches. It is very easy with only moss stitches.
3.
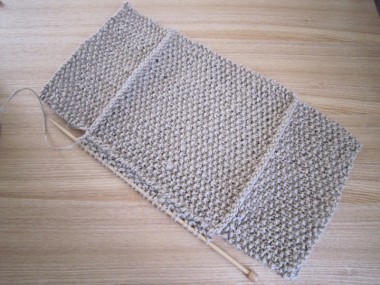
For the bottom, pick up stitches from four bottom sides. Though it takes an extra knitting step to continue from the bottom to the sides, it comes out to be a solid square basket.
4.
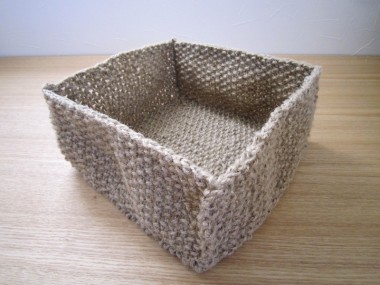
Close up the four corner sides using needles to finish the basket.
5.
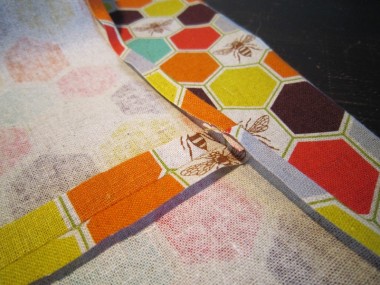
After cutting the fabric, fold and iron the top edge of the sides while it is still flat. Then sew together the sides and press the seam open.
6.
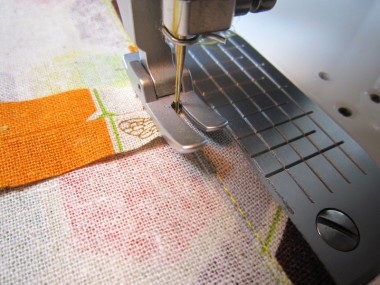
Leaving the side seams open, run a stitch over the fabric. For the thread, after some thinking I avoided tone on tone and chose yellow, one of the colors of the fabric that was really distinguishing.
7.
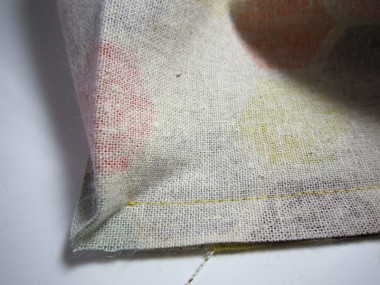
Sew together the bottom and sides. Before sewing, iron the corner edge of the sides. It works as a marking as well as making it easy to sew.
8.
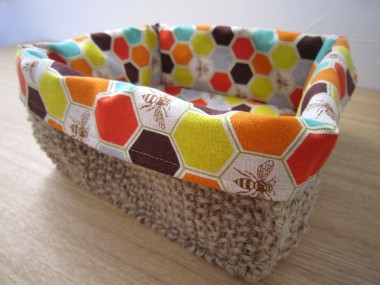
Cover the basket with the lining bag to finish.
9.
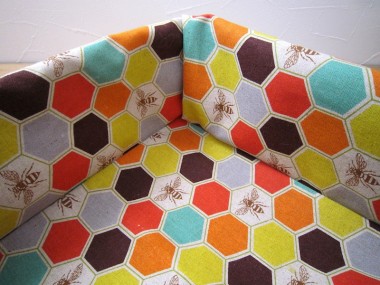
I wondered which directions of the design pattern on the side walls would be the best. For this one, I chose the direction so that it looks as if bees were circling around. If you are not too fussy about the directions of the pattern or the stitch lines, you could simply create a lining bag by making a rectangle bag with sides gussets.


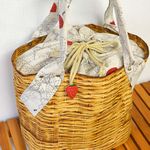 Tote bag with basket print fabric & strawberry print lining
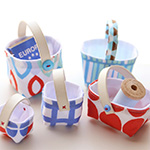 Miniature Basket-Style Bag
 Drawstring Bag