

New to sewing? Aimed at beginners, we are introducing this original segment where you can enjoy creating handmade pieces while learning the basics of sewing! On the first Wednesday of every other month, you will learn something new. This first issue features how to make a coaster and a place mat.
Fabric shown for this sample:EKX-90001-B
Materials:
- Fabric: 110cm wide x 50cm
Size:Coaster 10cm x 10cm Place Mat 30cm x 20cm
Instructions
1.

Prepare two 12cmx12cm fabrics (seam allowance included). With the front sides facing each other, place them together.
2.
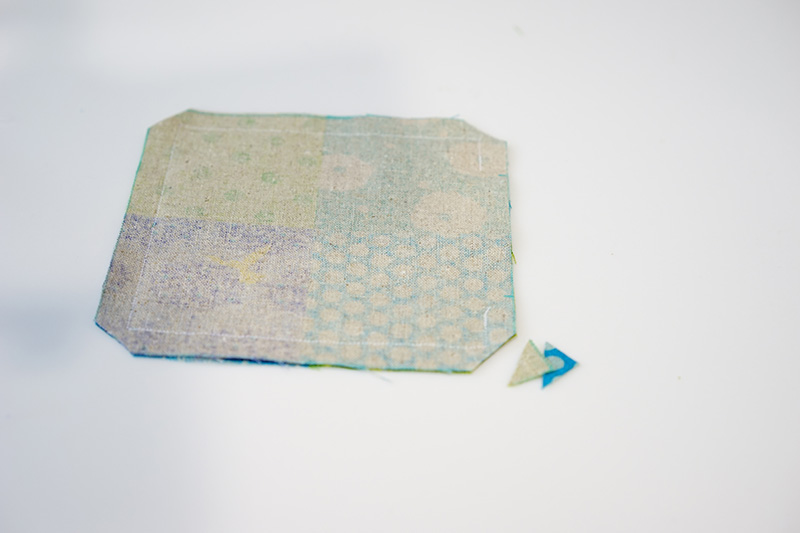
Set the needle position to be at 1cm seam. Sew all the way around, leaving 5cm unsewn for opening for turning. Cut off four corners of the seam so that it will look clean when it is turned inside out.
3.
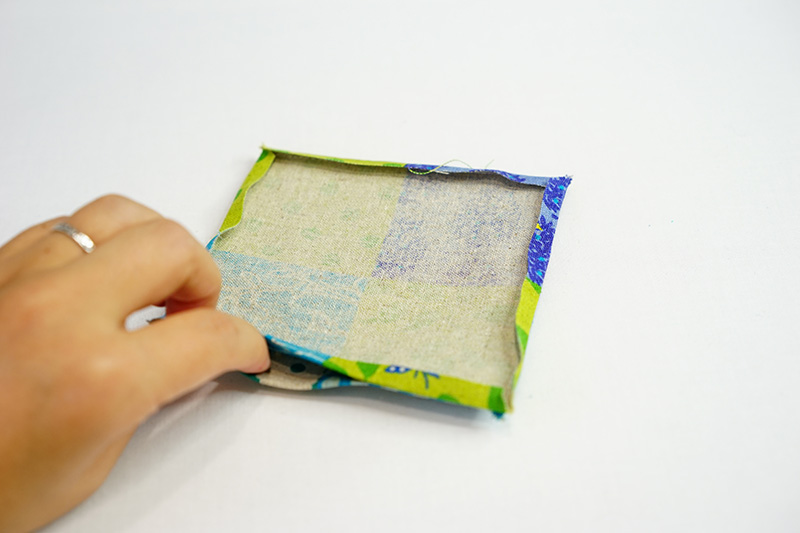
Press the seam open using an iron for a cleaner finish
4.
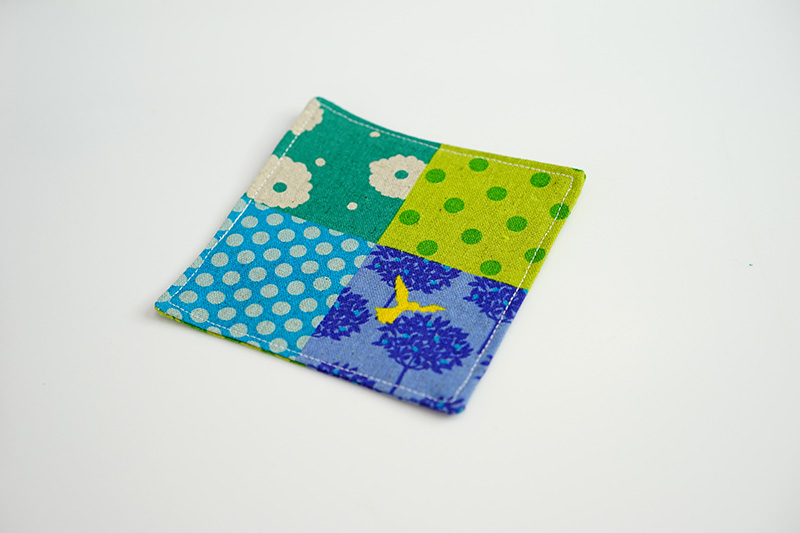
Turn it inside out and align the shape with the iron. Apply stitches all the way around at 0.5cm from the fabric edge. The coaster is finished.
5.

Let’s make the place mat. Cut the fabrics to 22cm (l) x 32cm (w) (includes seam).
6.
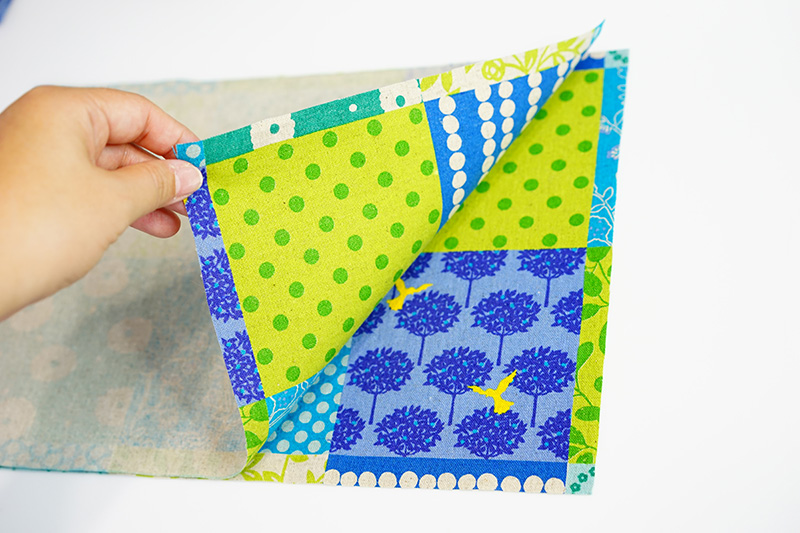
Like the coaster, place the fabrics with the front sides facing each other.
7.
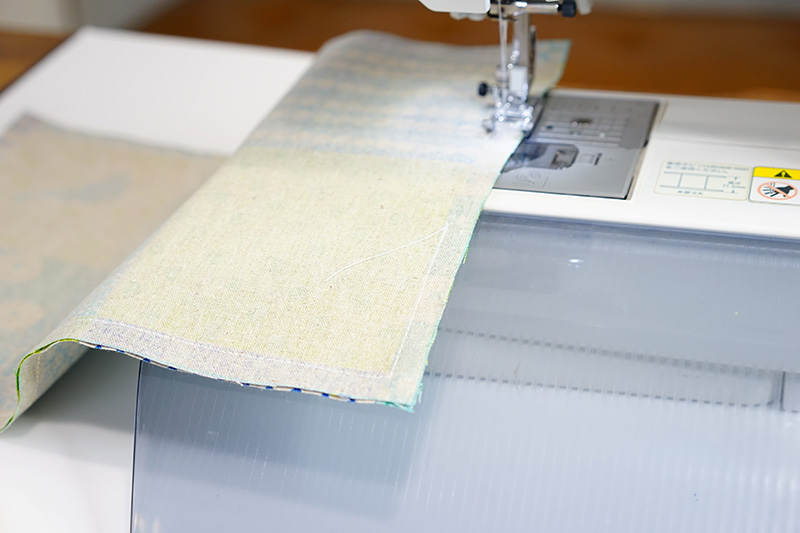
With 1cm seam, sew the pieces together, leaving the opening for turning unsewn.
Turn it inside out and apply stitches at 0.5cm from the edge.
8.

Matching coaster and place mat are now complete.
[Tips for making a beautiful piece]
●Iron frequently.
●When using a sewing machine, keep an eye on guides at the presser foot and fabric edge, rather than the needle. This gives you more control and helps with sewing straight.
●When you turn the fabric over and adjust the corner to make a square shape, pull out the corner seam gently using a stiletto and avoid accidentally picking the thread.
●When you start sewing, pull out the upper thread slightly and secure it with the back of the presser. This avoids threads getting tangled and helps with clean stitches.
If you end up with a tangled thread and if it is not visible from the front, then don’t worry as it can work as a finishing knot.)

◎Sewing Tutorial(PDF format / A4 size)

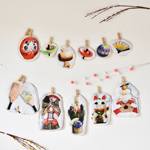 New Year Motif Coaster & Garland – Sewing Instructions
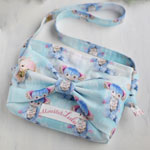 Ribbon Pochette – Free Sewing Tutorial
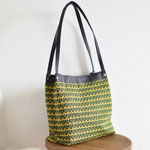 Knit Jacquard Bag – Free Sewing Tutorial