
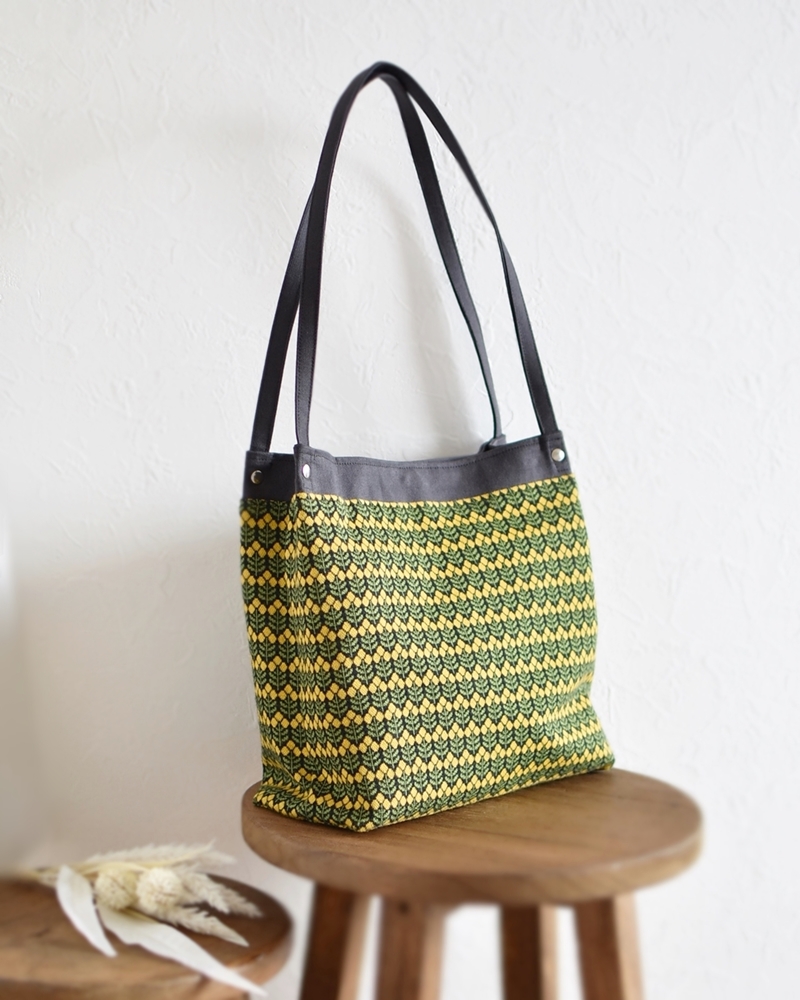
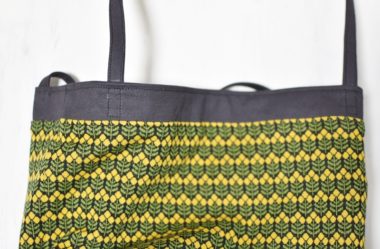
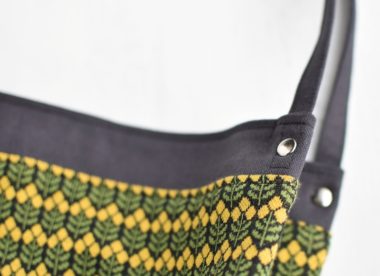
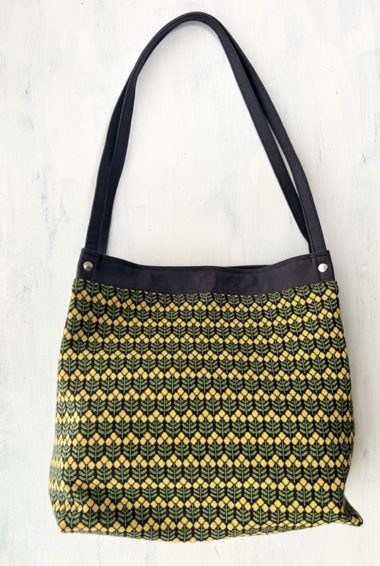
This knit jacquard bag is characterized by its softness. The use of #11 canvas for the lining is the secret to make this bag solid, while keeping its soft texture. The thin handle and silver rivet give it a stylish look. The fabric used for this bag is from the “mimosa” series, a 100% cotton knit jacquard. The eye-catching yellow mimosa pattern adds brightness to the darker toned autumn/winter wardrobe.
Fabric shown for this sample:YKA-99070-1C
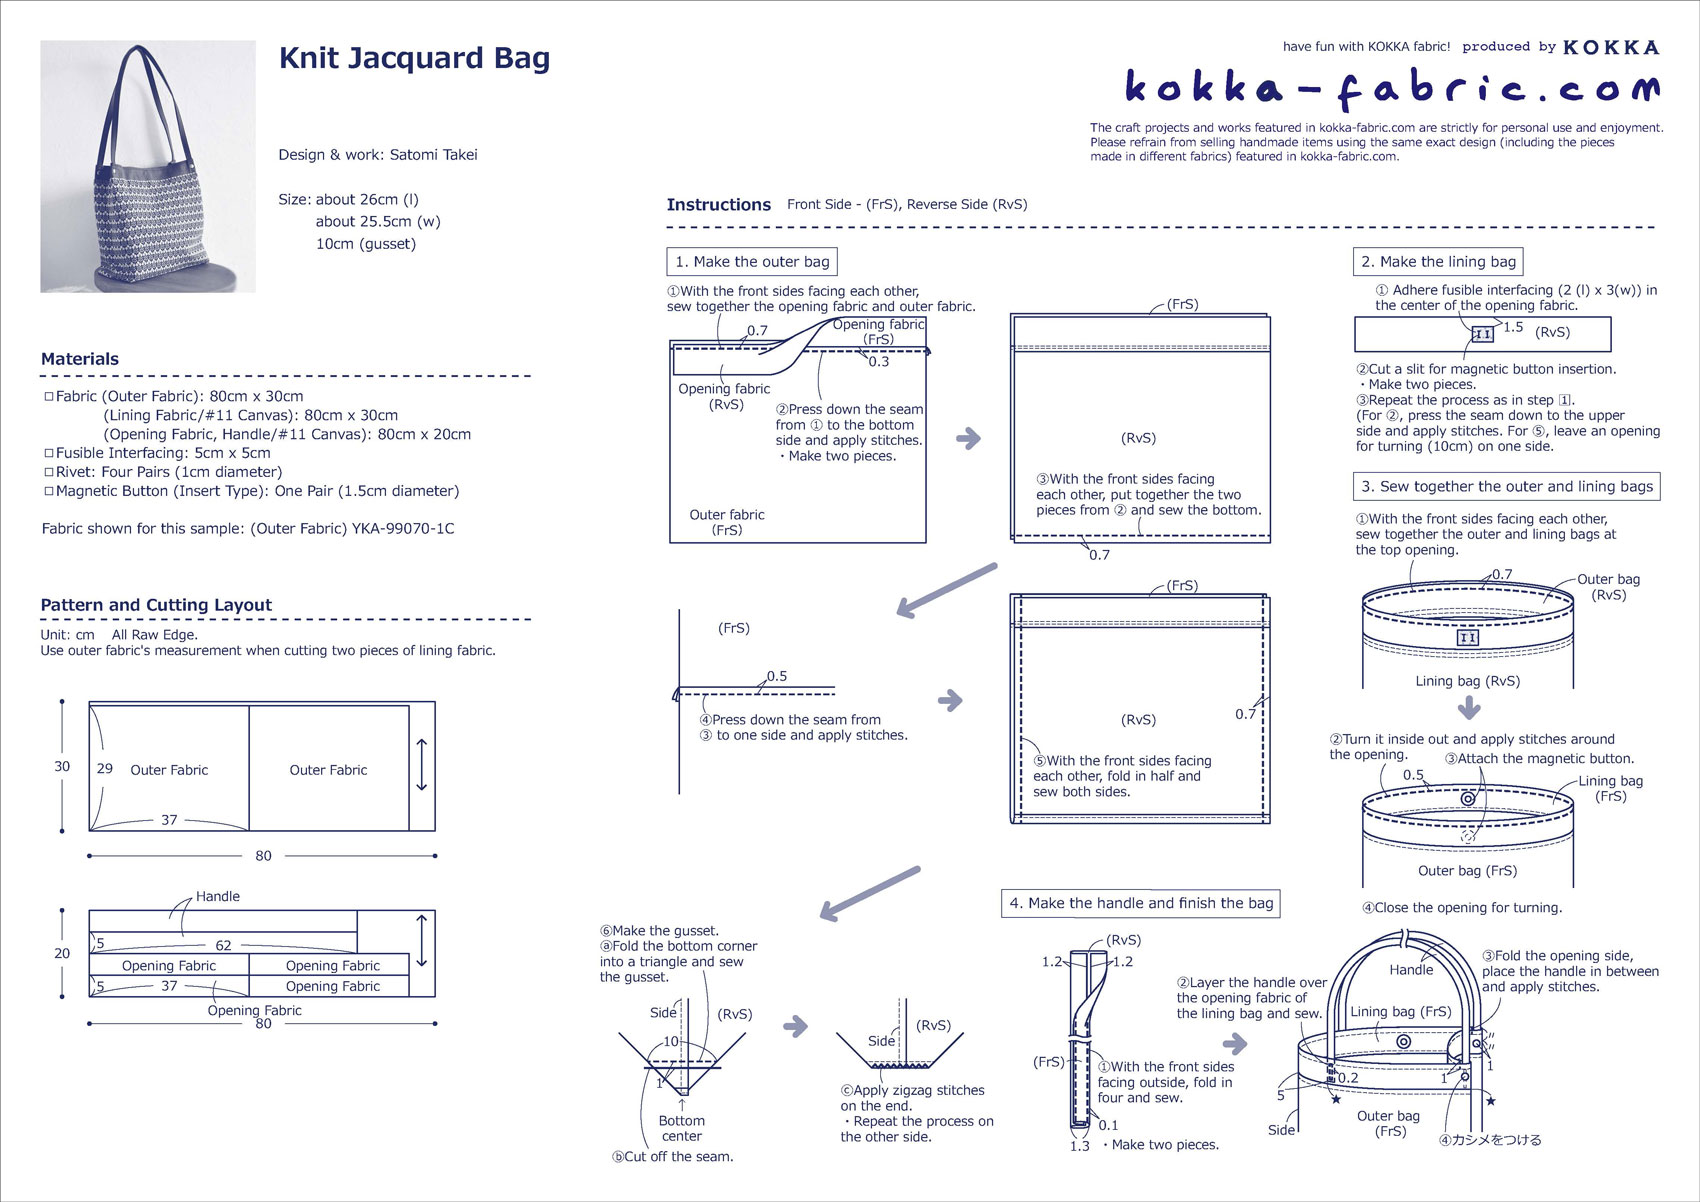
Materials:
- Fabric (Outer Fabric): 80cm x 30cm
- Fabric (Lining Fabric/#11 Canvas): 80cm x 30cm
- Fabric (Opening Fabric, Handle/#11 Canvas): 80cm x 20cm
- Fusible Interfacing: 5cm x 5cm
- Rivet: Four Pairs (1cm diameter)
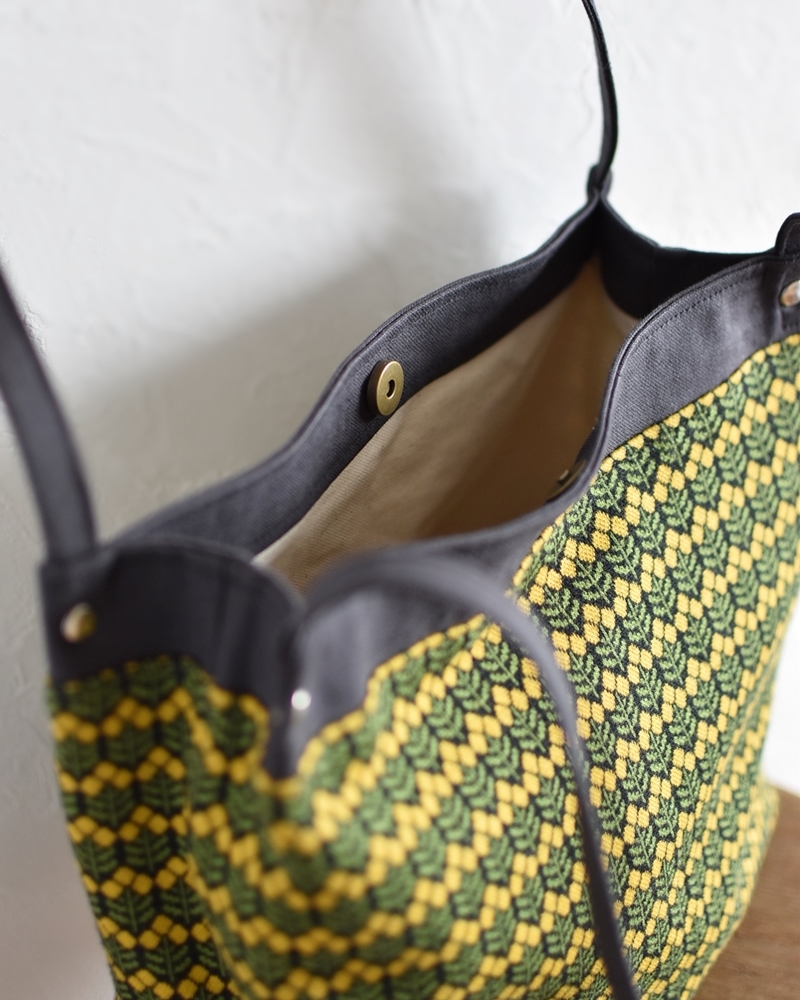
- Magnetic Button (Insert Type): One Pair (1.5cm diameter)
Size: about 26cm (l) about 25.5cm (w) 10cm (gusset)
We interviewed Satomi about her creation:
Kokka Fabric (KF): What did you think of the fabric you used for this project?
It is a very stylish fabric with a geometric mimosa design. It is a soft yet firm knit fabric, so I came up with a bag that is perfect for fall and winter.
KF: Can you tell us any special elements or ideas that you incorporated into this creation?
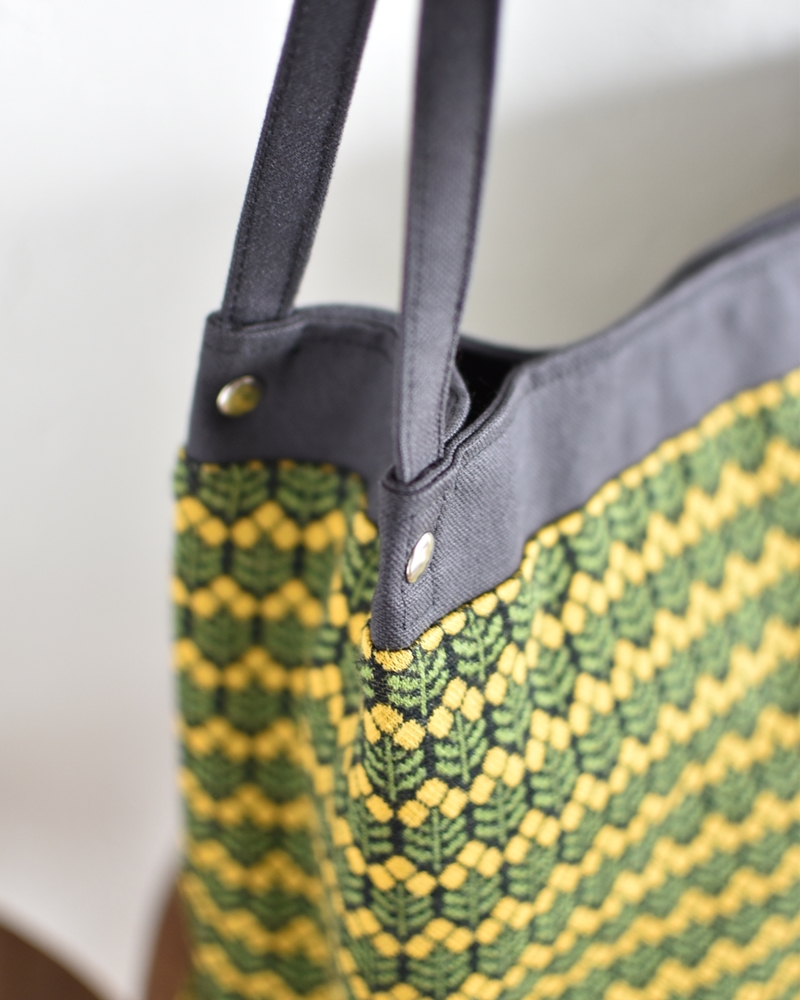
The width and position of the handles can greatly change the bag’s look. To make it stylish, a narrower handle is attached along the gusset with the rivet. In order to keep the softness of the knit jacquard, no fusible interfacing is applied. By using the #11 canvas for the opening, handle and lining, it creates a nice contrast.
KF: What are some tips for making this bag?
The area where it gets thick with the layer of #11 canvas and handle, it is best to use a thicker sewing needle or use a pulley to sew slowly to create a clean finish. When cutting an elastic knit jacquard, make sure the pattern lines up properly for a beautiful finish.
KF: How should we incorporate this bag into one’s styling?
As winter clothing tends to be darker in color, adding a vivid colored accent like a bag and accessories will brighten your mood. This fabric with mimosas has a perfect color tone for that purpose. The bag is just the right size, not too large or too small, so it is convenient for everyday use.
KF: Thank you very much, Satomi! Here are sewing instructions along with step by step photos from her. Enjoy crafting!
Instructions
1.
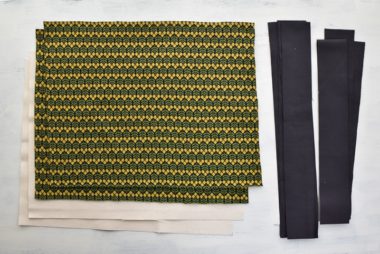
Cut the fabric and prepare materials.
2.
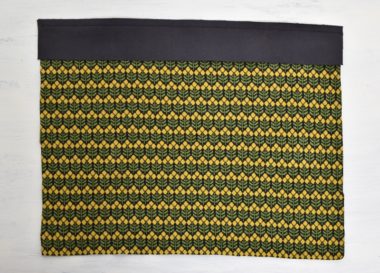
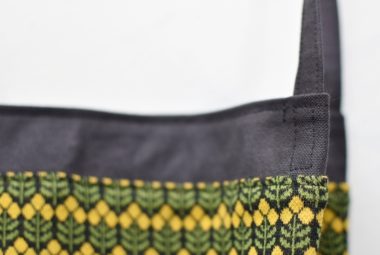
With the front sides facing each other, sew together the bag body and opening fabric.
3.
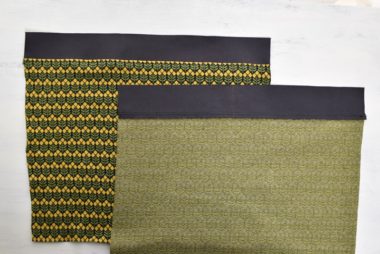
Press down the seam to the bottom side. Apply stitches from the front for a tight finish.
4.

Repeat steps 2 and 3 for the other piece of the outer fabric.
With the front sides facing each other, sew together the outer fabrics at the bottom.
5.

Press down the bottom seam to one side. Apply stitches from the front for a tight finish.
6.
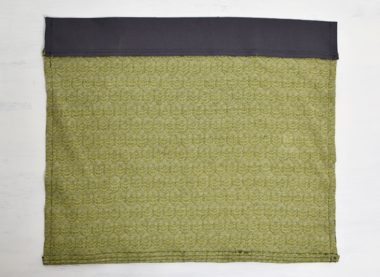
With the front sides facing each other, sew together both sides.
7.
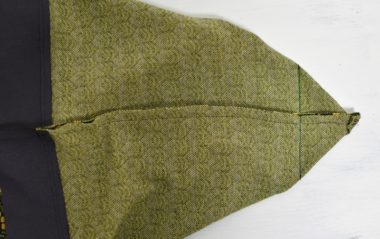
Make the gusset. Press down the seam to one side.
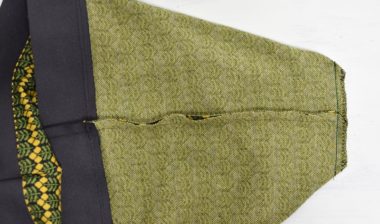
Leave 1cm seam from the stitch line and cut the excess. Apply zigzag stitches to secure.
8.
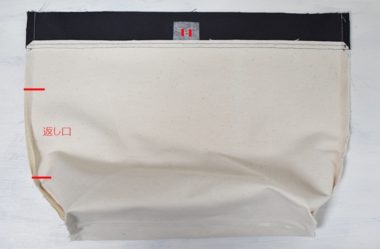
Repeat the process for the lining bag. When sewing the side, leave an opening for turning (about 10cm) on one side. Attach fusible interfacing in the center of the opening fabric for magnetic button reinforcement. Make a small slit for metal insertion.
9.
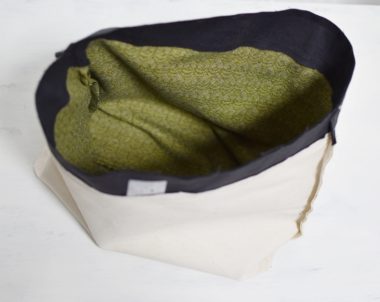
With the front sides facing each other, insert the outer bag into the lining bag. Apply stitches all the way around the top opening.
10.
Turn it inside out using an opening for turning and align the shape.
Apply stitches around the top opening at 5mm from the top → Attach the magnetic button (When attaching the one for the back side, use the opening for turning) → Close the opening for turning using blind stitches.
11.
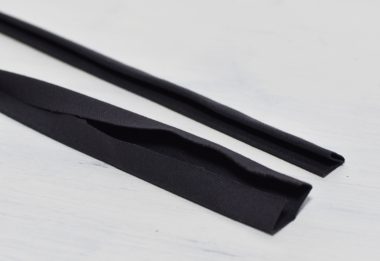
Make the handle. Fold the handle in four and iron. Apply stitches.
12.
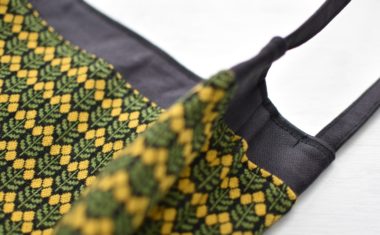
Attach the handle at 5cm from the bag body’s side seam line. Insert 3cm of the handle inside the opening fabric. Apply stitches from the front as shown. ※As it is thick, use the pulley and manually stitch slowly.
13.
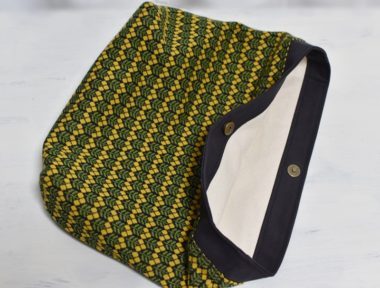
Fold the opening fabric on the gusset side as shown. Place the handle in between and sew together the thinner portion for about 1cm away from the handle.
Shown from the gusset side.
14.
Attach the rivet.
15.
Finished!
◎Sewing Tutorial(PDF format / A4 size)
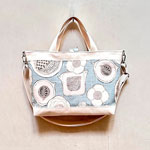 Two-Way Tote Bag – Free Sewing Tutorial
 Ribbon Pochette – Free Sewing Tutorial
 Extra Cute With A Lovely Ribbon♪ - Ring Handle Bag – Sewing Instructions