
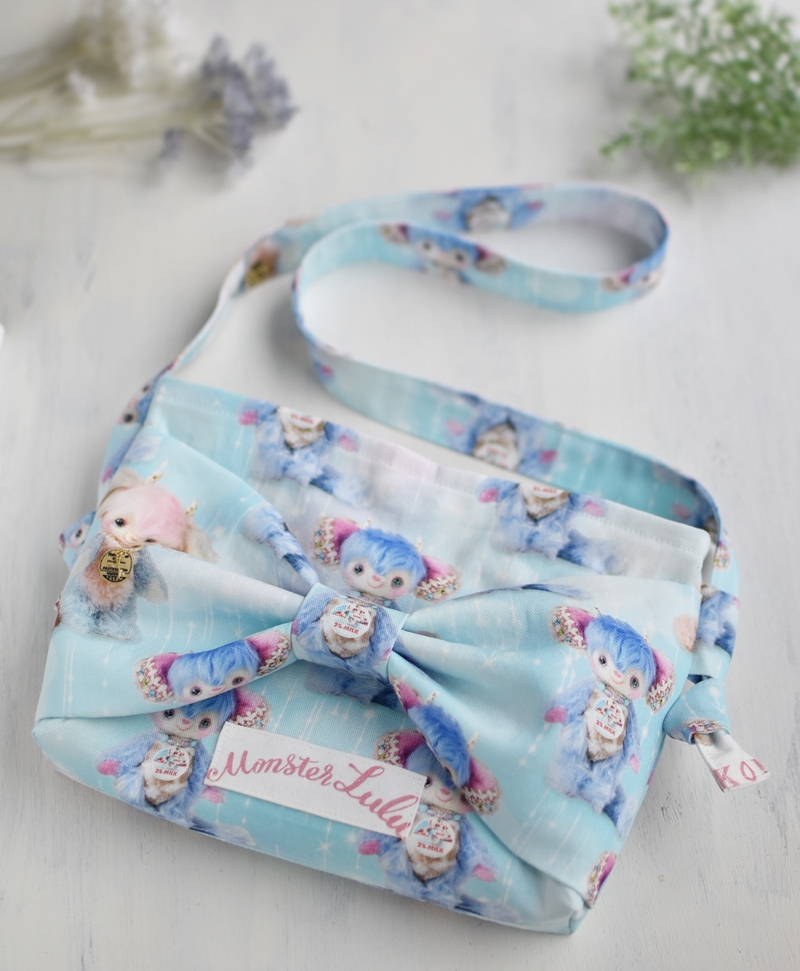
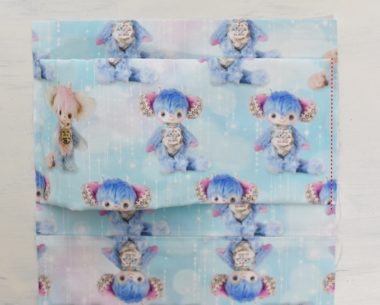
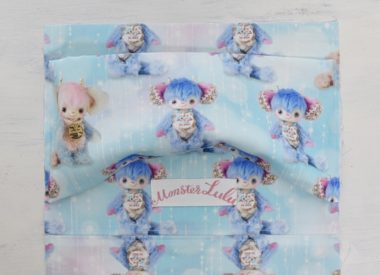
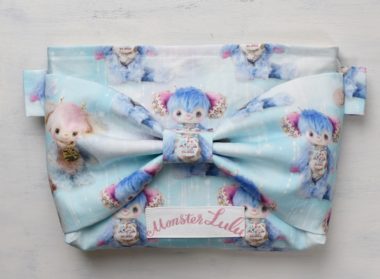
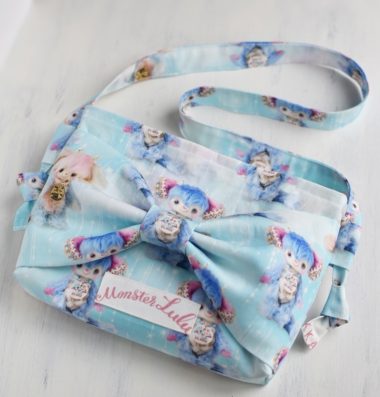
This ribbon pochette is accented with a large, fluffy ribbon. The featured fabric is “Sparkle Lulu light blue” from the “Monster Lulu” series. The design is sprinkled with the fancy and delicate world of Ayako Kishi, a three-dimensional figure creator and sculptor. It is 100% cotton oxford.
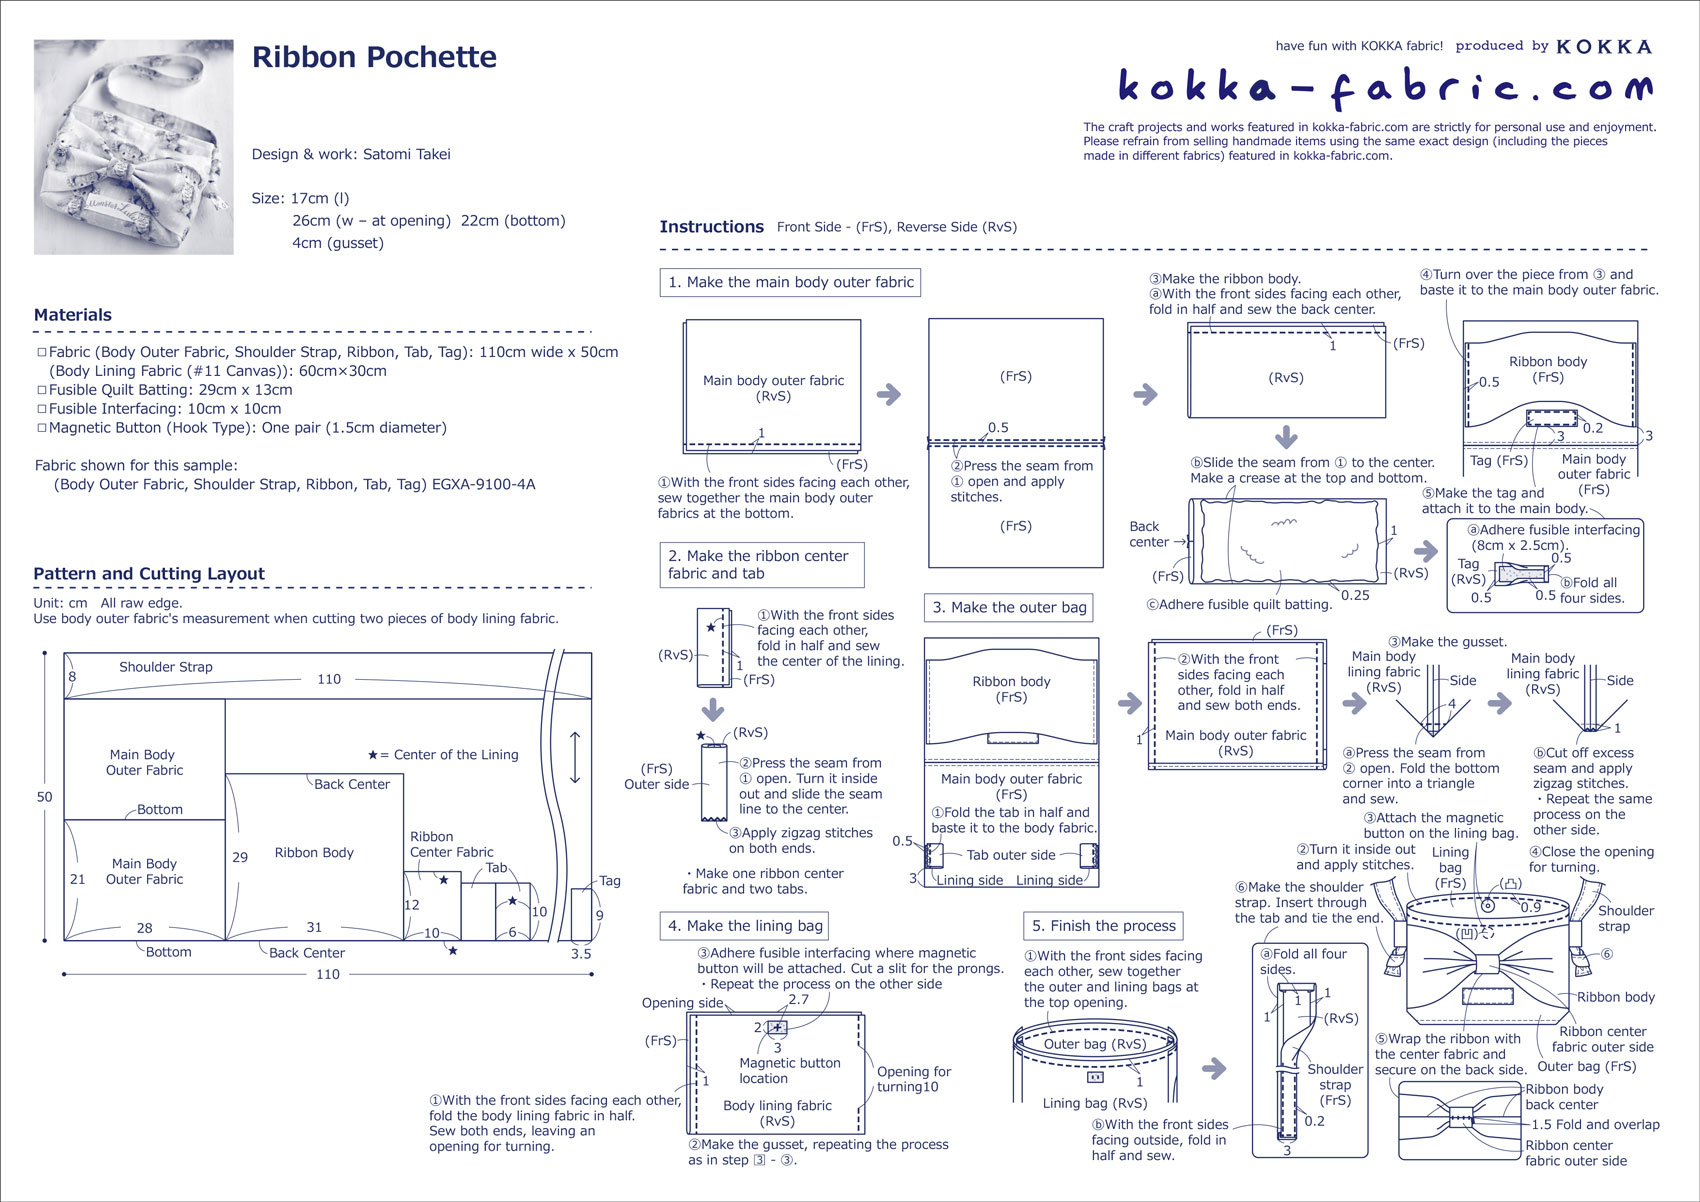
Fabric shown for this sample (Main Body Outer Fabric, Shoulder Strap, Ribbon, Tab, Tag):EGXA-9100-4A
Materials:
- Fabric (Main Body Outer Fabric, Shoulder Strap, Ribbon, Tab, Tag): 110cm wide x 50cm
- Fabric(Main Body Lining Fabric (#11 Canvas)):60cm×30cm
- Fusible Quilt Batting: 29cm x 13cm
- Magnetic Button (Hook Type): One pair (1.5cm diameter)
Size: 17cm (l) 26cm (w–at opening) 22cm (bottom) 4cm (gusset)
We interviewed Satomi about her creation:
Kokka Fabric (KF): What did you think of the fabric you used for this project?
As the characters are drawn with a soft and pretty touch, I tried to make a lovely bag by placing a charming ribbon on the front.
KF: Can you tell us any special elements or ideas that you incorporated into this creation?
The characters are printed at equal intervals, so I was careful when cutting. In particular, I worked on the front side and the ribbon part so that the characters would stand out. Also, using quilt batting is key to making a fluffy ribbon.
KF: What are some tips for making this bag?
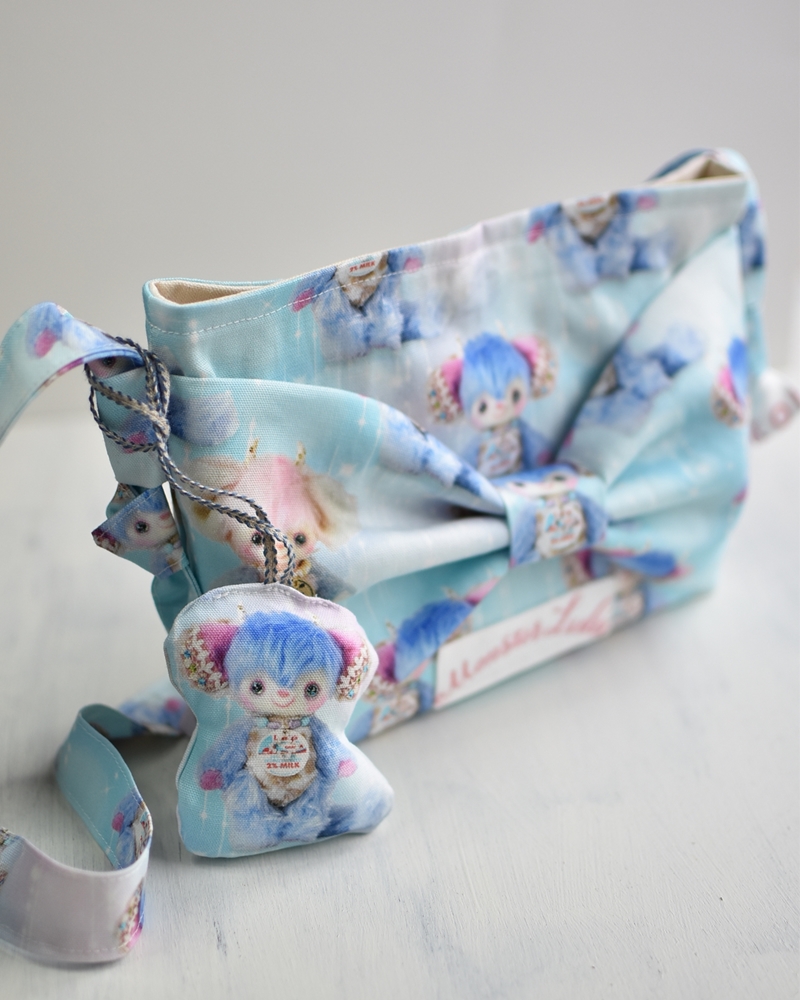
For this bag, I used a magnetic button for the opening, but you can change it to a zipper if you want a secure closure. Adding a pocket inside makes it even more convenient to use.
KF: How should we incorporate this bag into one’s styling?
Adjust the length of the shoulder straps according to your child’s size (if the length is too short, add extra fabric). You can change the ribbon part to synthetic fur or another fabric to give it a different look. Please try making a shoulder bag for your child with your favorite fabric.
KF: Thank you very much, Satomi! Here are sewing instructions along with step by step photos from her. Enjoy crafting!
Instructions
1.
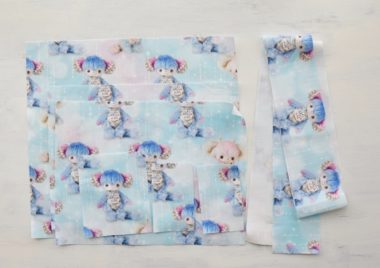
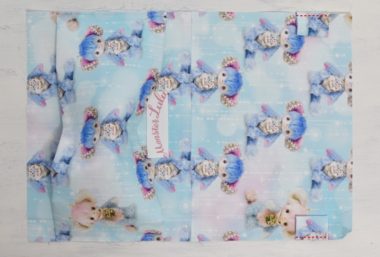
Cut the fabric and prepare the materials.
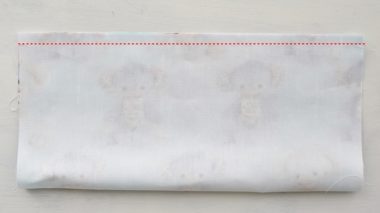
2.
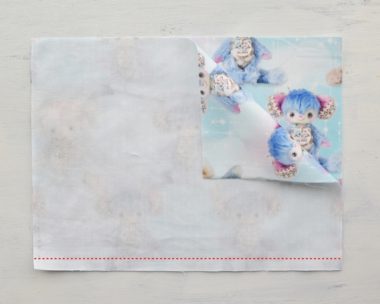
With the front sides facing each other, sew the bodies together at the bottom.
Press the seam open. Apply stitches at 5mm from the seam line.
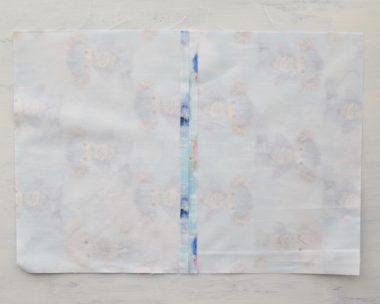
3.
With the front sides facing each other, fold the ribbon body fabric and sew together.

Press the seam open and fold and place the seam line in the center ※Iron the creases to make it easier to adhere the quilt batting.
4.
Turn it inside out. Adhere fusible quilt batting on the front side (side without seam) using the iron.
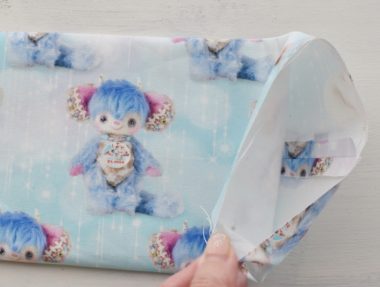
5.
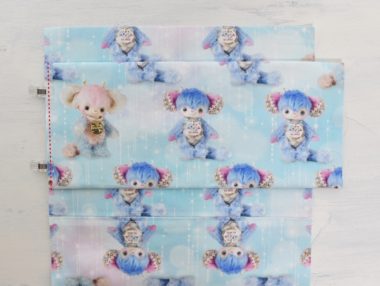
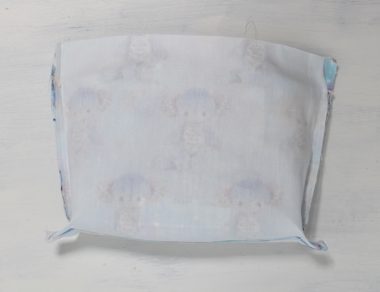
Place the ribbon on the front side of the body and sew one side at a time.
The ribbon fabric is longer horizontally than the main body fabric, so it will sag slightly as shown in the image.
6.
Cut out the fabric logo from the selvage. Adhere fusible interfacing on the back. Fold the corner and sew onto the fabric.
7.
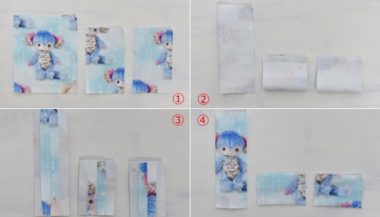
① Make the ribbon center fabric x 1 and Tab (cord insert) x 2 as shown.
② With the front sides facing each other, sew together.
③ Press the seam open.
④ Turn it inside out and align the shape. Apply zigzag stitches on the ends.
8.
Baste the tabs (two pieces) at 5mm from the edge on the back of the main body.
9.
With the front sides facing each other, sew both ends together, paying attention to the ribbon portion.
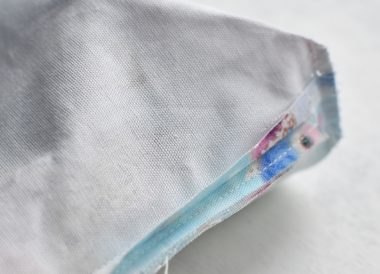
Make a 4cm gusset at the bottom. Cut off excess fabric to leave a 1cm seam. Apply zigzag stitches on the end.
10.

Repeat the same process with the lining fabrics.
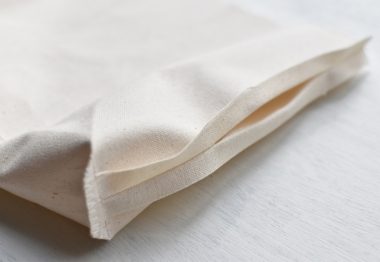
Leave an opening for turning (10cm) on the side.
11.
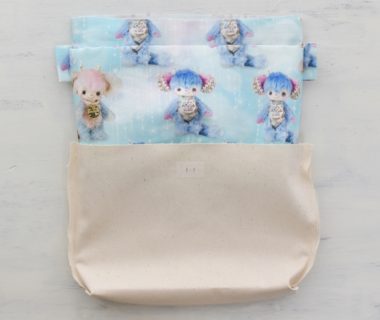
Adhere fusible interfacing on the back side of where the magnetic button will be attached. Cut a hole to insert the button prong. With the front sides facing each other, place the lining fabric in the main body and sew together as shown.
12.
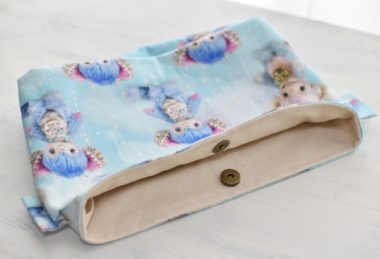
Turn the bag inside out using the opening for turning. Apply stitches at 0.7cm from the top edge to secure the fabric. Iron the piece to align the shape around the opening. Attach the magnetic button. After attaching the button, close the opening for turning using u-shaped blind stitches.
13.
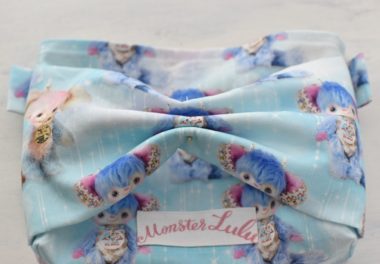
Fold the center of the ribbon so that three peaks are formed as shown in the image.
Wrap the ribbon center fabric around the ribbon and sew it in place with blind stitches.
14.
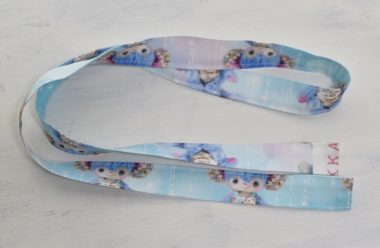
Make the shoulder strap.
15.
Insert the shoulder strap through tabs and tie the ends.
Finished!
◎Sewing Tutorial(PDF format / A4 size)

 Double Integrated Flap Shoulder Bag – Sewing Tutorial
 Ribbon Tote Bag -Sewing Instructions
 Extra Cute With A Lovely Ribbon♪ - Ring Handle Bag – Sewing Instructions