
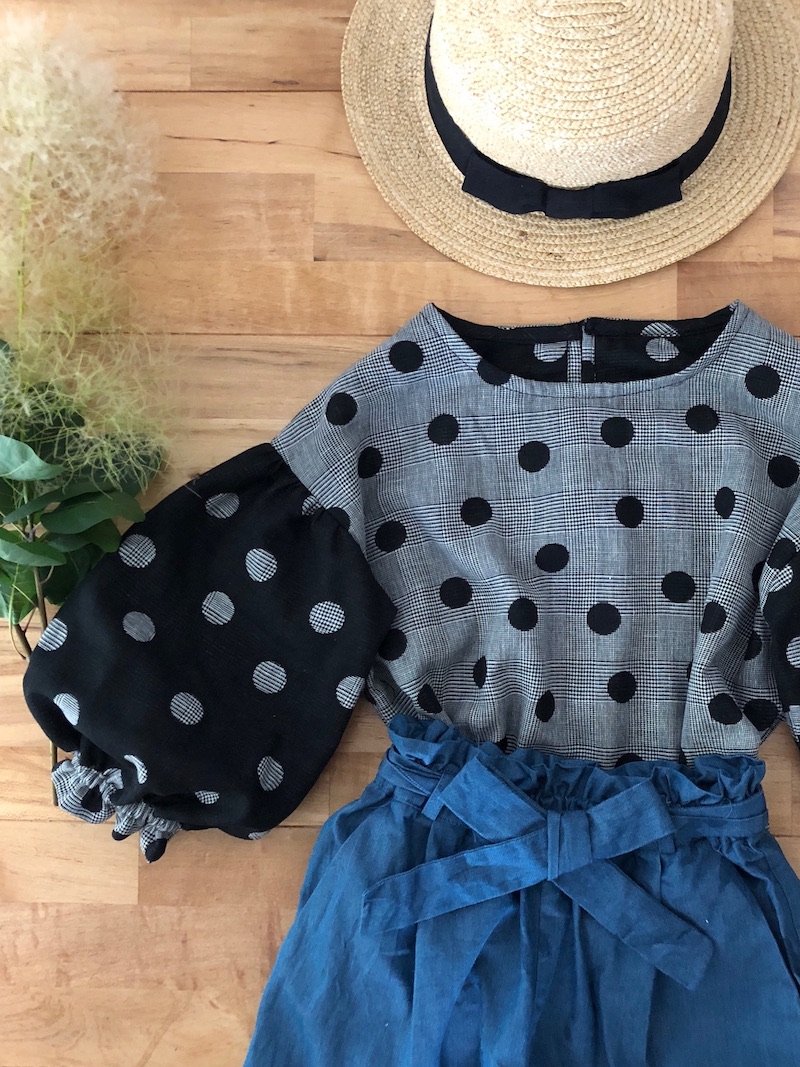
A charming kid’s blouse with puffy sleeves is featured. It comes in a reversible print fabric that can be enjoyed in two ways – both front and back. The body and cuff use the front side while the reverse side is used for the sleeve, making it a two-tone combination. The double gauze material produces a loose-fitting look. It is a lovely dress with such comfort.
Fabric shown for this sample:YK-56120-2A
Materials:
□ Fabric: 108cm wide x 1m
□ Elastic tape: 50cm (0.5cm diameter)
□ Button: One piece (1.1cm diameter)


*All Rights Reserved. Please refrain from the unauthorized use of project photos.
We interviewed Naomi about her creation:
Kokka Fabric (KF): What did you think of the fabric you used for this project?
The glen check gives a chic and mature look, yet the dot pattern on top makes it suitable for kid’s clothing. Taking advantage of the reversible character, I constructed it with a playful design by changing the colors on the body and sleeve.
KF: Can you tell us any special elements or ideas that you incorporated into this creation?
Though the sleeves are long, the dress is loose fitting in double gauze material. With the elastic, the cuff can be rolled up, making it perfect as a fall outfit. When the sleeves are scrunched up, it looks puffy and cute.
KF: What are some tips for making this dress?
As an accent, I applied a different color fabric for the cuff. If you use the matching fabric, add 3.5cm (seam) to the sleeve length when cutting the fabric.
KF: How should we incorporate this dress into one’s styling?
If you mix it with a pair of wide-cut pants or a longer skirt, your going out outfit will definitely look in style.
KF:Thank you very much, Naomi! Here are sewing instructions along with step by step photos from her. Enjoy crafting!
Instructions
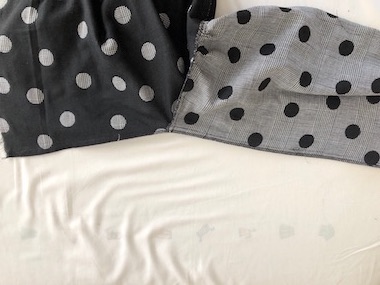
1.

Cut the fabrics.
2.
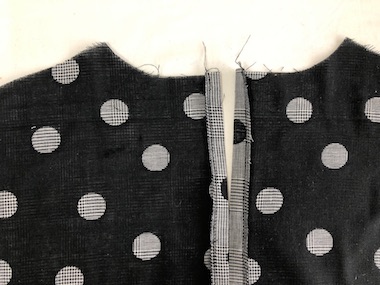
Piece together the back center, stitching up to where the opening stops. Press the seam open. Fold the edge of the opening (up to where it stops) in three and run stitches.
3.
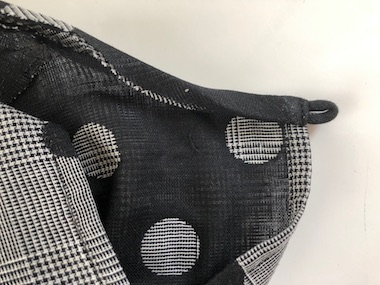
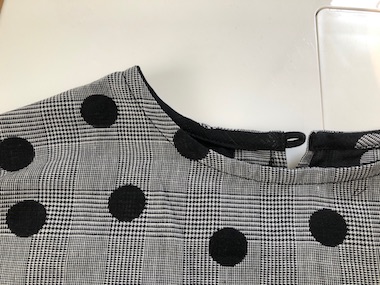
Finish the neckline with bias binding strip. Place the button loop in-between and sew.
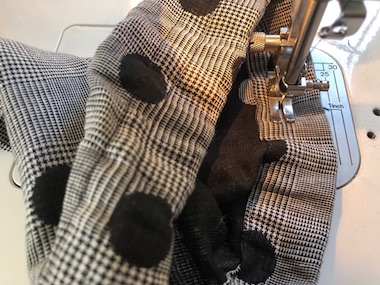
4.
Sew together the body and gathered sleeve.
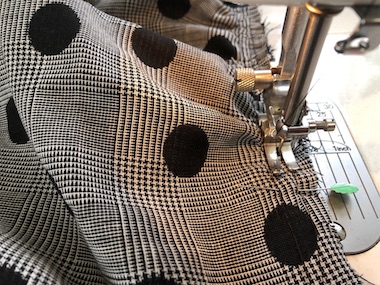
5.
Sew the sides, starting from the cuff all the way to the hem.
6.
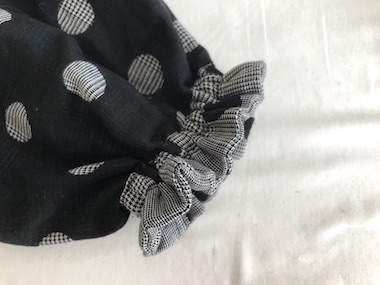
Turn over the cuff fabric and press with an iron. Sew the edge of this fabric all the way around with 2cm opening for elastic. Apply stitches all the way around at 2cm from the cuff opening. Put the elastic through the opening and close the opening.

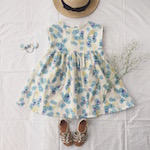 Dress with French Sleeves
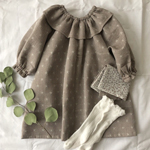 Dress with Clown-Style Collar Sewing Instructions
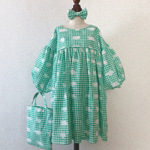 Handmade Kids Clothing – Fluffy Bunny Dress – Sewing Instructions