FREE SEWING TUTORIALS
Handmade Kids Clothing – Fluffy Bunny Dress – Sewing Instructions
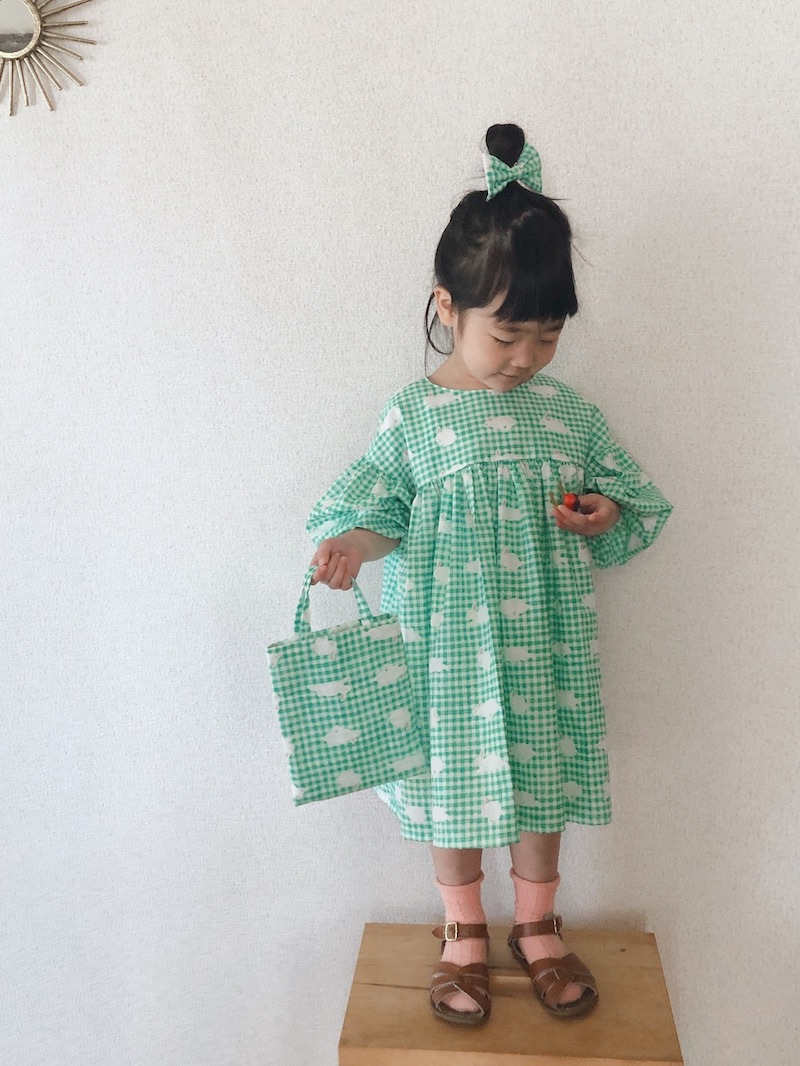
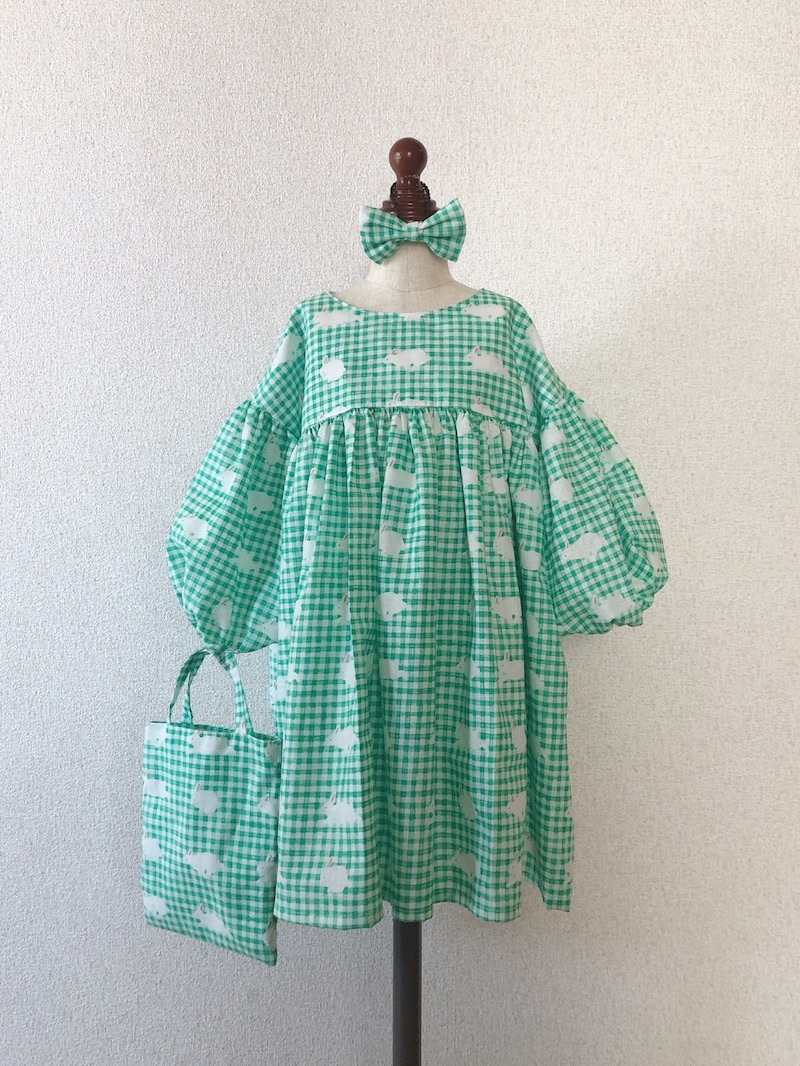
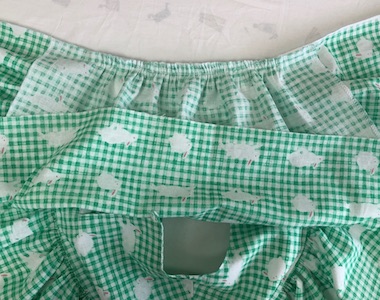
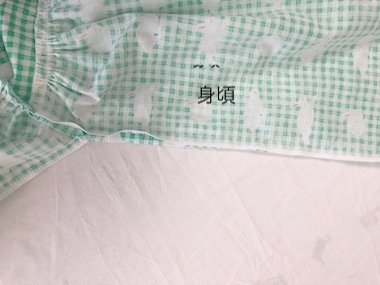
This kids dress incorporates yokes and ample gatherings, featuring lovely voluminous sleeves. For this dress, the Usa Gingham from the kotorinuno series is used. This textile brand presents the exclusive design by the craft artist, trikotri who is known for the Dobutsu (animal) Pom Pom felt animal mascots.
Fabric shown for this sample:kotorinuno Usa Gingham EKX-2100-1B
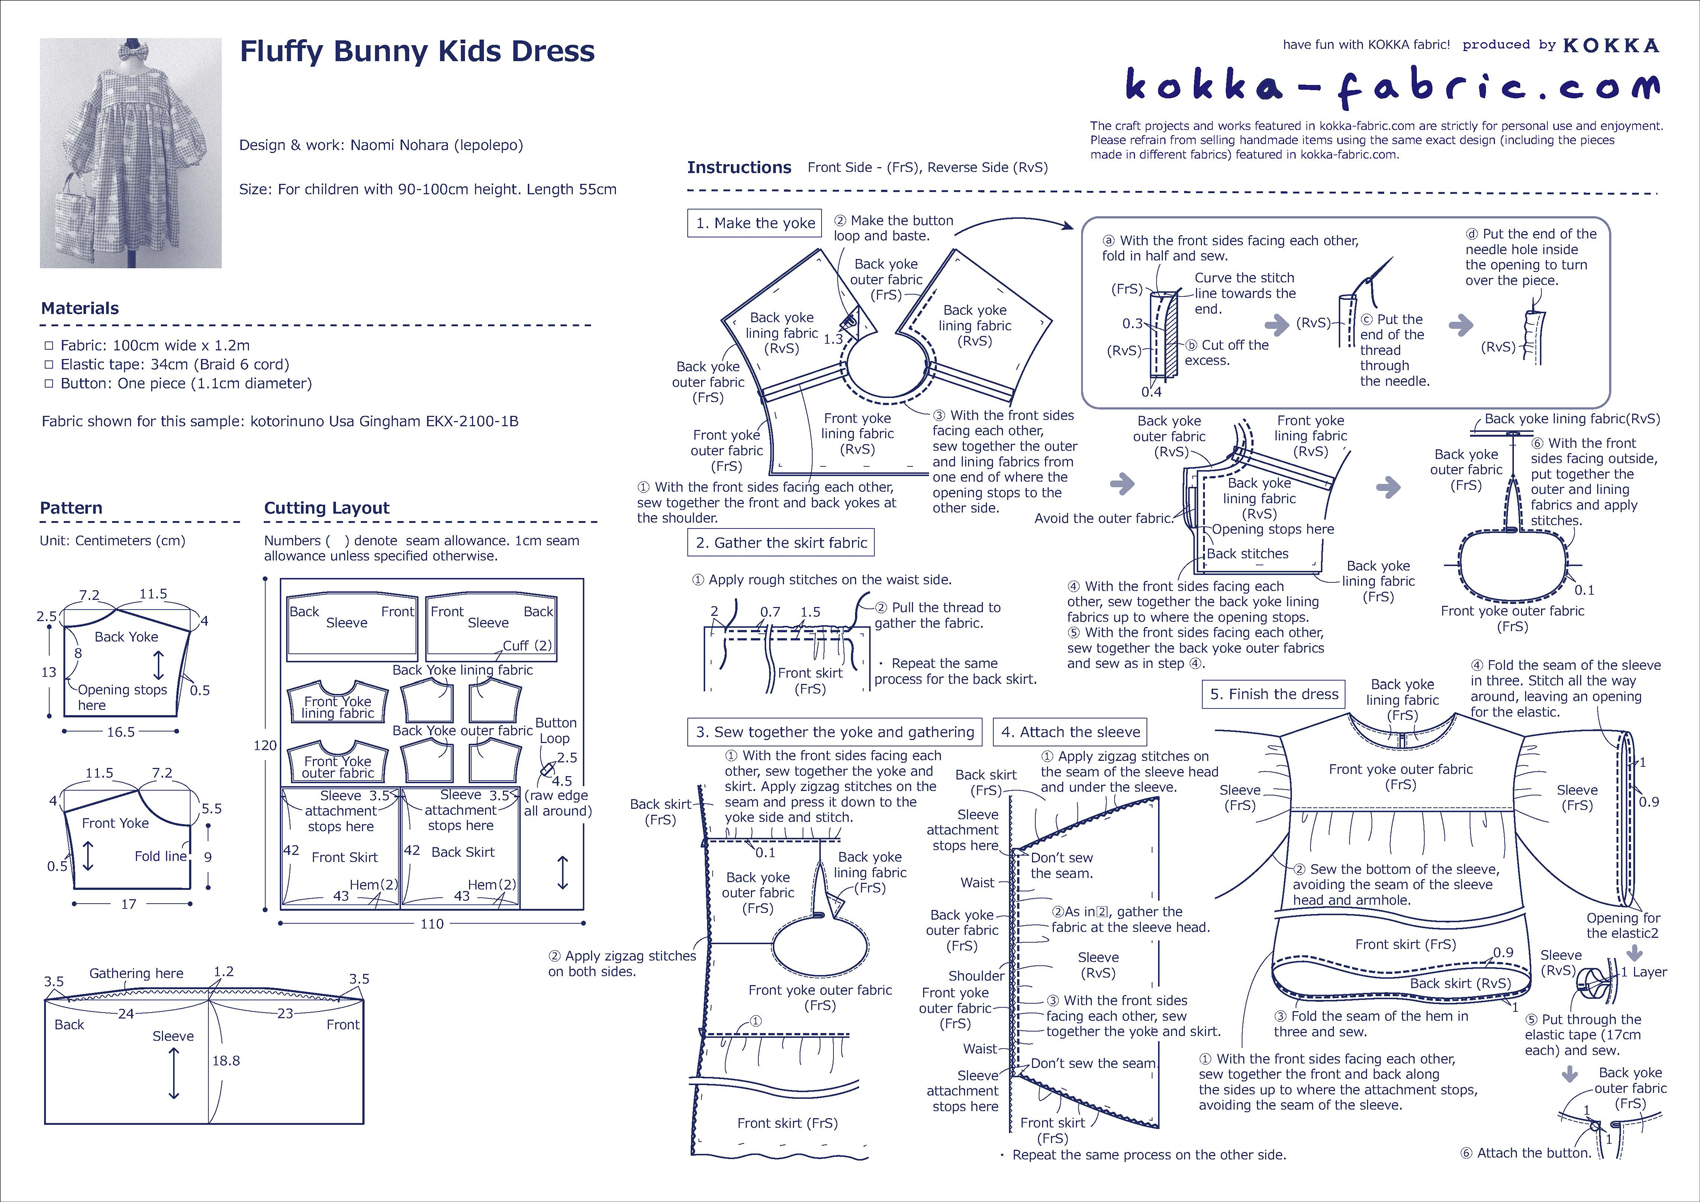
Materials:
□ Fabric: 100cm wide x 1.2m
□ Elastic tape: 34cm (Braid 6 cord)
□ Button: One piece (1.1cm diameter)
Size:For children with 90-100cm height. Length 55cm
We interviewed Naomi about her creation:
Kokka Fabric (KF): What did you think of the fabric you used for this project?
A soft-looking faded print is lovely. To make use of this feel, I created a fluffy and voluminous one-piece dress. With the right amount of solid texture, this fabric creates beautiful gatherings and is easy to sew.
KF: Can you tell us any special elements or ideas that you incorporated into this creation?
To make it easy for sewing beginners, the yoke is incorporated into the design. The voluminous sleeves creates a lovely look when rolled up over forearms. It will be fitting for the upcoming hotter weather.
KF: What are some tips for making this dress?
As the bottom of the sleeve and side of the body are sewn separately, please make sure to apply back stitches at the end of each stitch line.
KF: How should we incorporate this dress into one’s styling?
Using the leftover fabric, I created a small purse and hair accessory. My 3-year-old daughter who modeled for this photo shoot said “They are so lovely,” and the items became her favorite. With such lovely print design, this fabric is to be fully enjoyed by making matching items to go along with the dress.
KF: Thank you very much, Naomi! Here are sewing instructions along with step by step photos from her. Enjoy crafting!
Instructions
1.
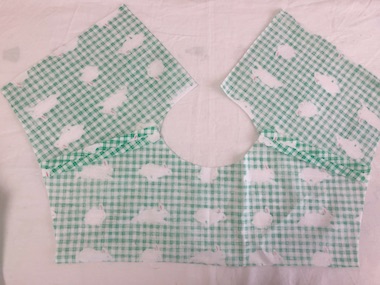
With the front sides facing each other, sew together the front and back yokes at the shoulder. Press the seam open using an iron.
2.
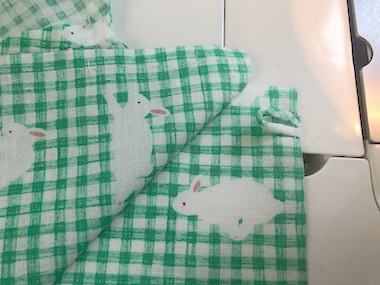
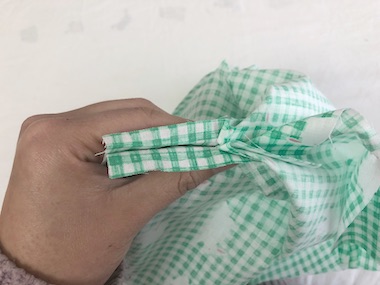
Make the button loop, and baste it to the yoke.
3.
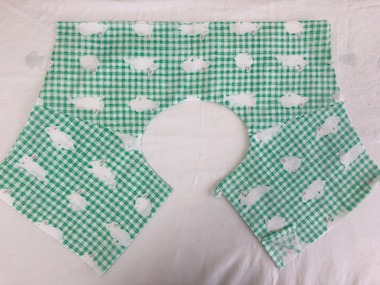
Turn over the yoke and iron to align the shape.
4.
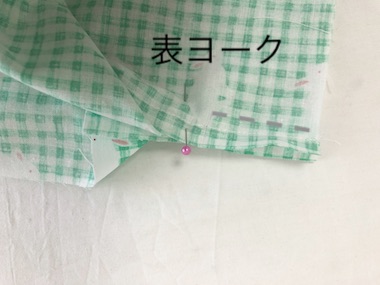
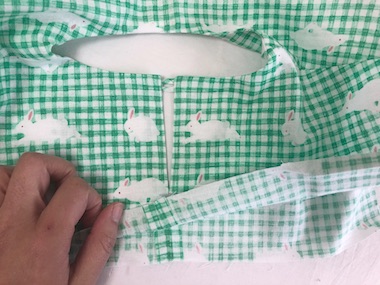
With the front sides facing each other, piece together the front and back yokes respectively, sewing up to where the opening stops.
5.
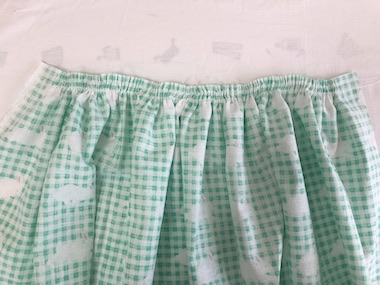
Apply rough stitches on the waist side of the front and back skirts at 0.7cm and at 1.5cm. Gather the fabric. Fully gather the fabric and iron to hold.
6.
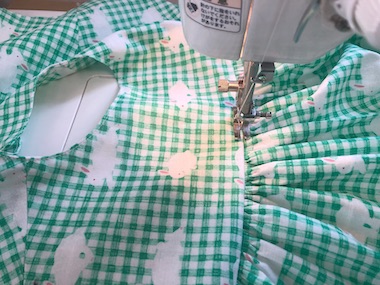
With the front sides facing each other, sew together the yoke and skirt. Apply zigzag stitches on the seam. Press down the seam to the yoke side and apply stitches.
7.
Apply rough stitches on the top portion of the sleeve at 0.7cm and at 1.5cm. Gather the fabric and piece together with the side of the body.
8.

With the front sides facing each other, sew together the side of the body under the armhole, and under the sleeve respectively.
◎Sewing Instructions
◎Sewing Instructions (PDF format / A4 size)