
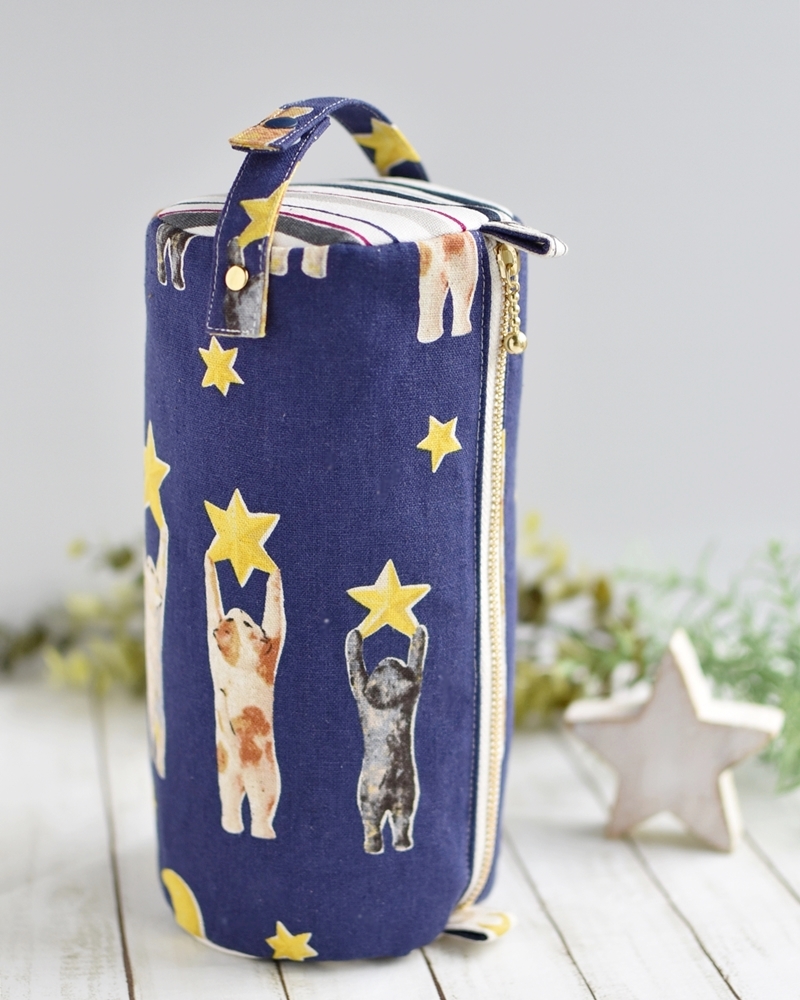
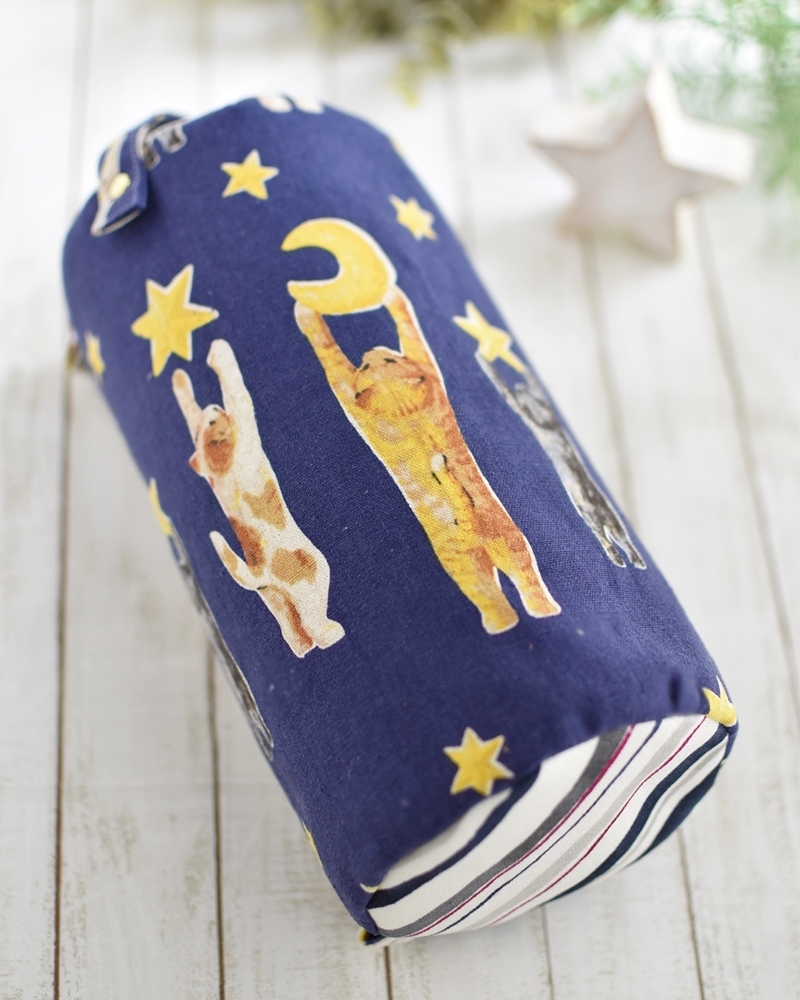
This is a tube-style pouch with a handle. It can be used as a pouch for makeup items or sewing supplies, or as a pen case. The fabric used for this case is from the “Can’t Wait Until Night” series of “Nekono Textile,” designed by sculptor Sakura Hanabusa. The poses of the cats reaching for the stars and moon are quite adorable. The cotton linen canvas is perfect for making bags and pouches.
Fabric shown for this sample:EGXA-8800-2A-CA
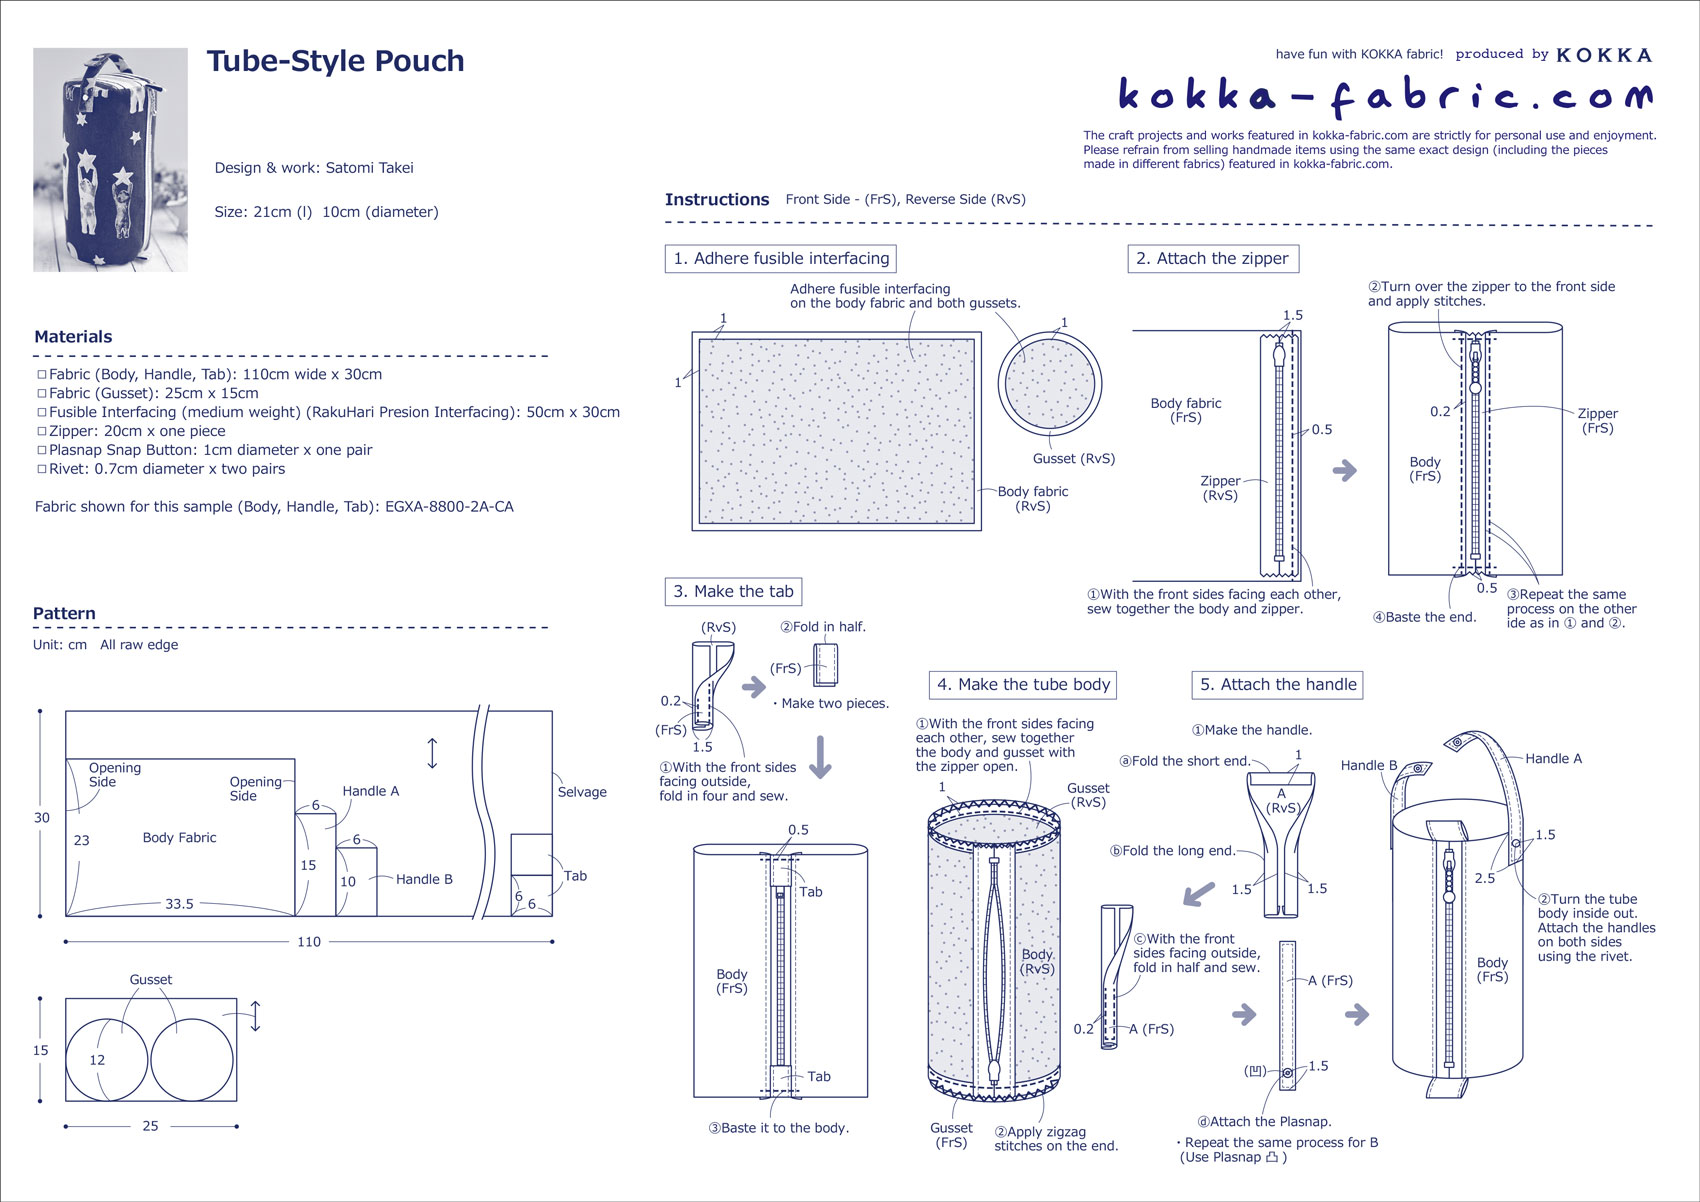
Materials:
- Fabric (Body, Handle, Tab): 110cm wide x 30cm
- Fabric (Gusset): 25cm x 15cm
- Fusible Interfacing (medium weight) (RakuHari Presion Interfacing): 50cm x 30cm
- Zipper: 20cm x one piece
- Plasnap Snap Button: 1cm diameter x one pair
- Rivet: 0.7cm diameter x two pairs
Size:21cm (l) 10cm (diameter)
We interviewed Satomi about her creation:
Kokka Fabric (KF): What did you think of the fabric you used for this project?
I wanted to feature the design of the orderly aligned cats decorating the stars, thinking that a tubular shape will be perfect for that.
KF: Can you tell us any special elements or ideas that you incorporated into this creation?
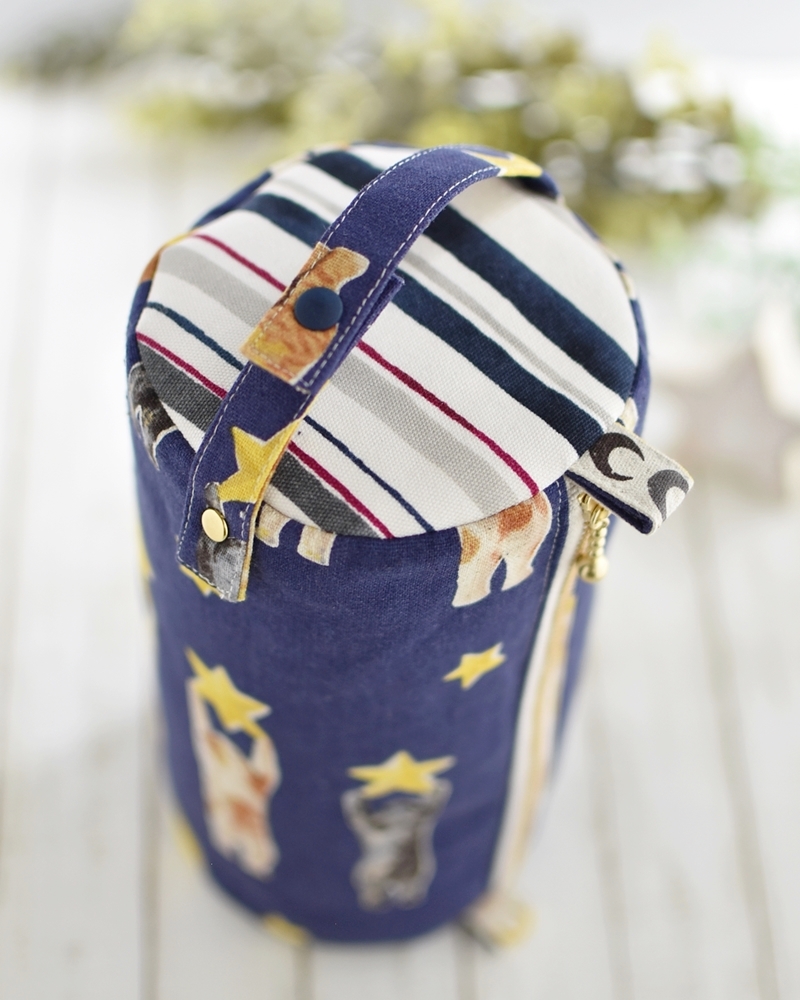
The circular gusset may seem a bit difficult to sew, but by making a single circle larger, it is easy enough to sew even for the beginners.
As the handle is attached afterward with a rivet, it keeps the round portion from being thick around the handle, making it easier to sew.
KF: What are some tips for making this bag?
When sewing a circle, please do it slowly, aligning the matchmarks for a clean finish.
KF: How should we incorporate this bag into one’s styling?
The tubular shape and handle make it easy to put the case in and out of the bag. With more room than you think, it is versatile to be used as a makeup pouch, a pen case, or to carry sewing supplies in. Enjoy making your original case.
KF: Thank you very much, Satomi! Here are sewing instructions along with step-by-step photos from her. Enjoy crafting!
Instructions
1.
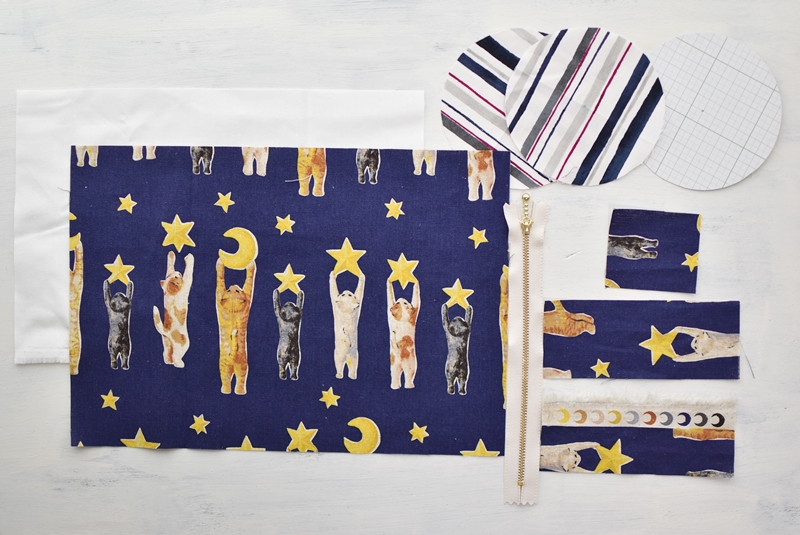
Cut the fabrics.
2.
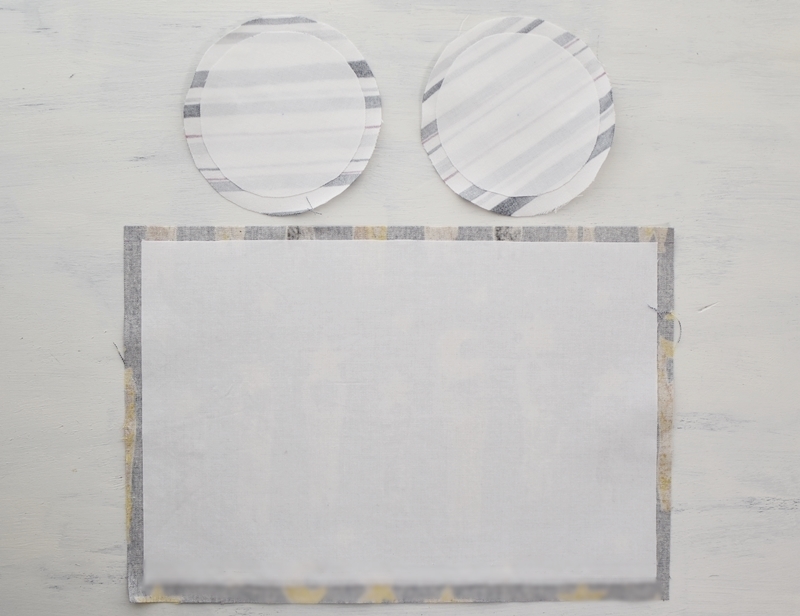
Place the fusible interfacing over the body and side gusset fabrics at 1cm from the edge. Iron the interfacing to the fabric.
3.
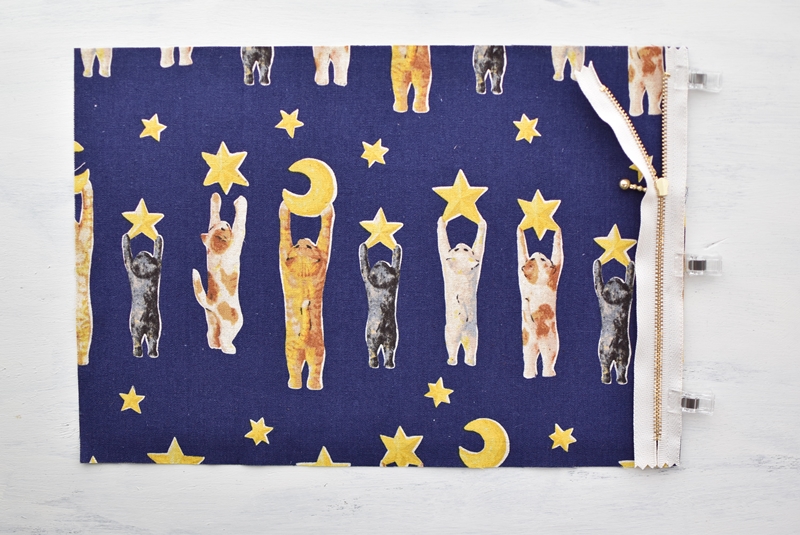
Sew together the zipper and fabric.
4.
Apply stitches from the front.
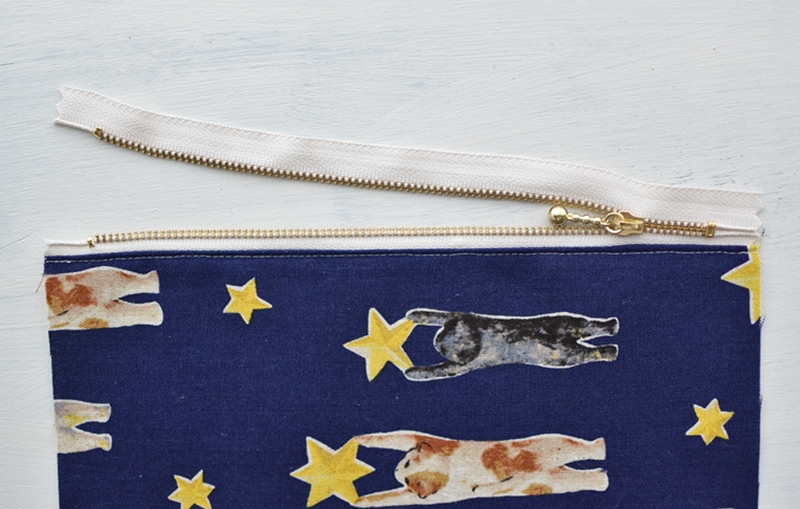
5.
Sew together the zipper on the other side and apply stitches from the front as well.
6.
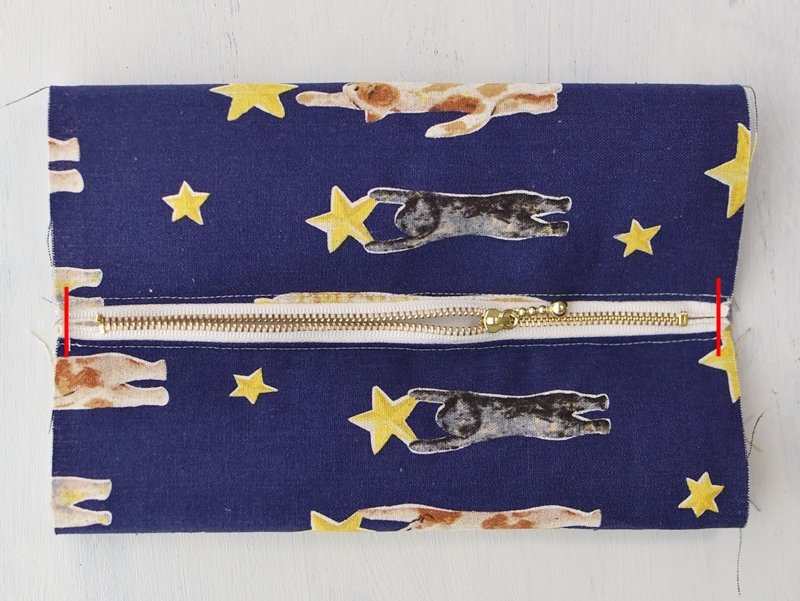
Baste the zipper end (shown in red line).
7.
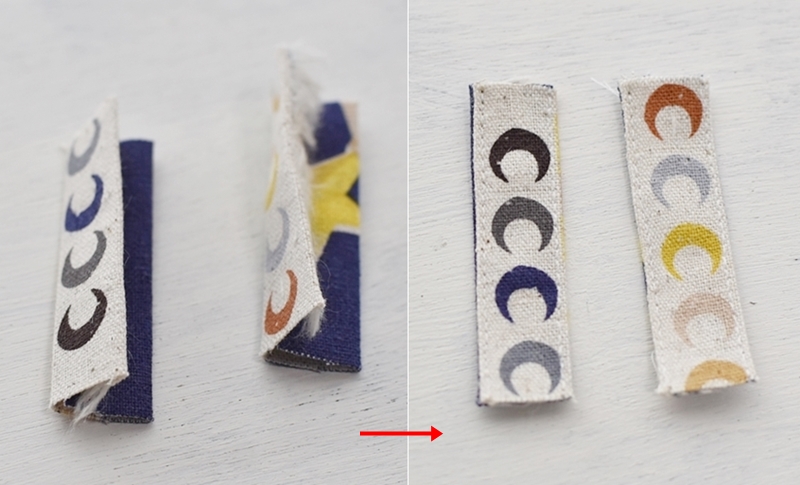
Make a zipper tab using the selvage.
8.
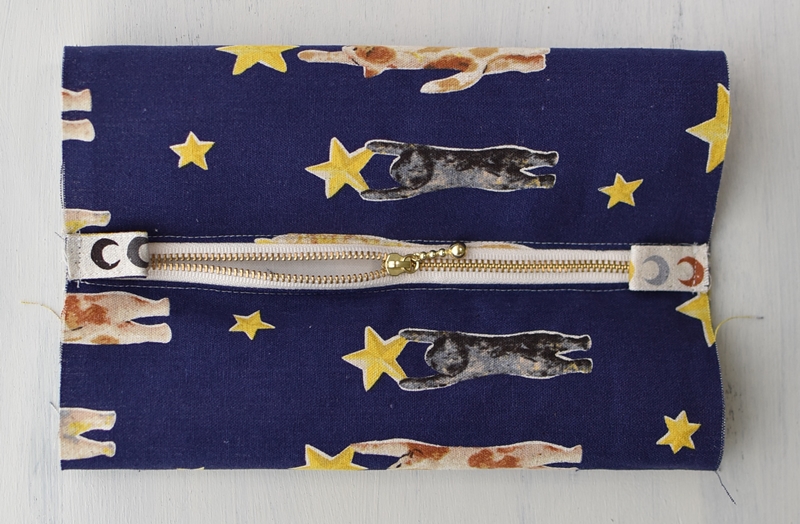
Fold the tab in half and attach it to the zipper end.
9.
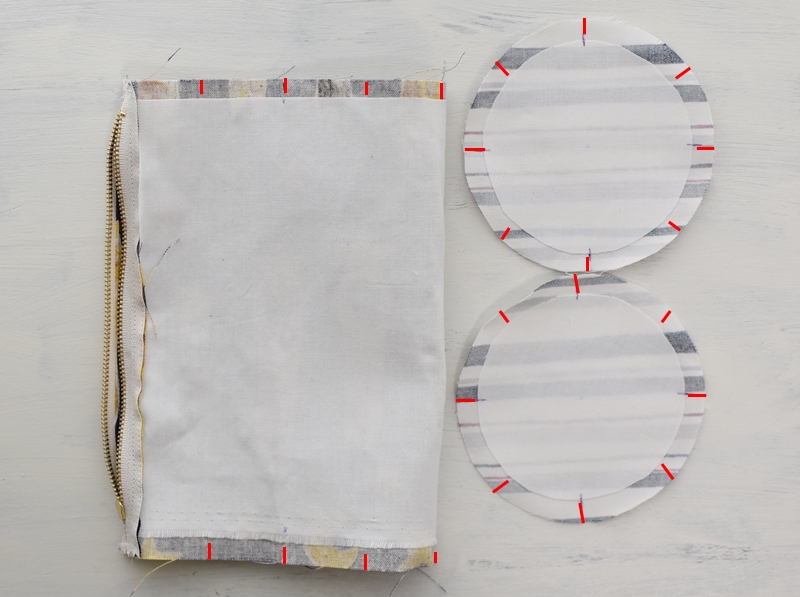
Cut a slit over the matchmark (shown in red line) on the body and side gusset.
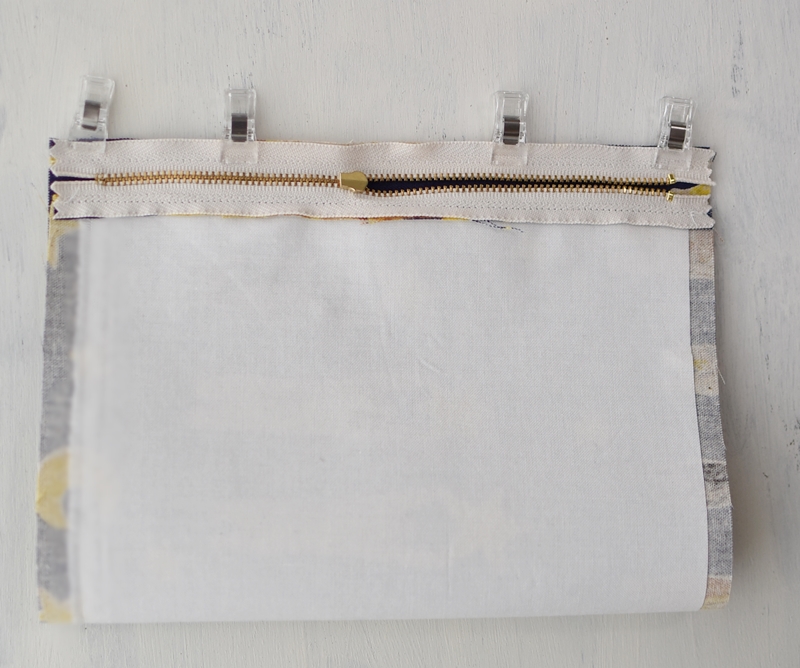
10.

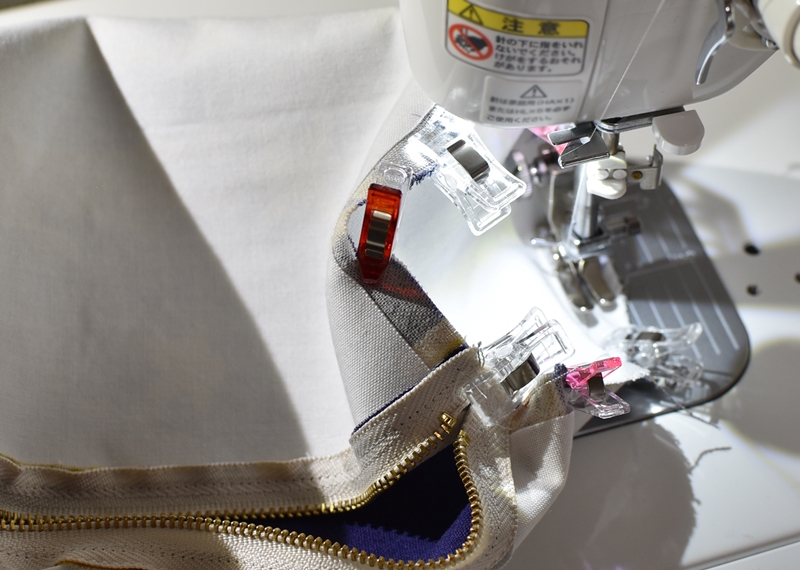
Align the matchmark and hold the fabrics using clips or pins, and sew all the way around with 1cm seam.
11.
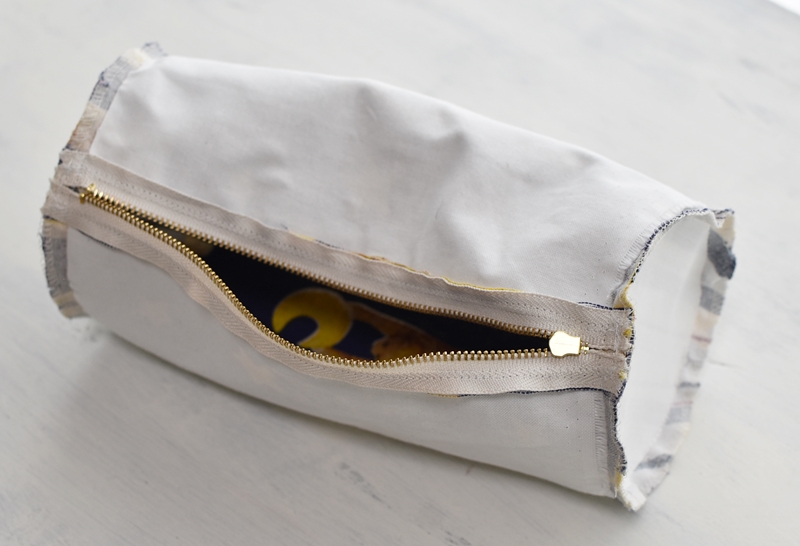
Smooth the seam from 10 and apply zigzag stitches.
12.
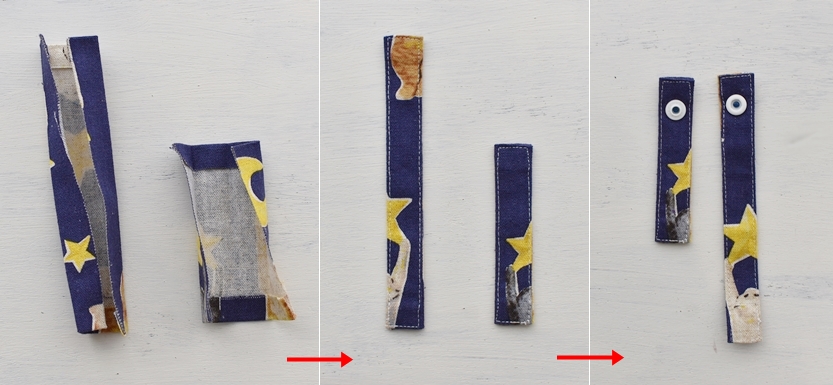
Make the handle and attach the Plasnap snap button.
13.
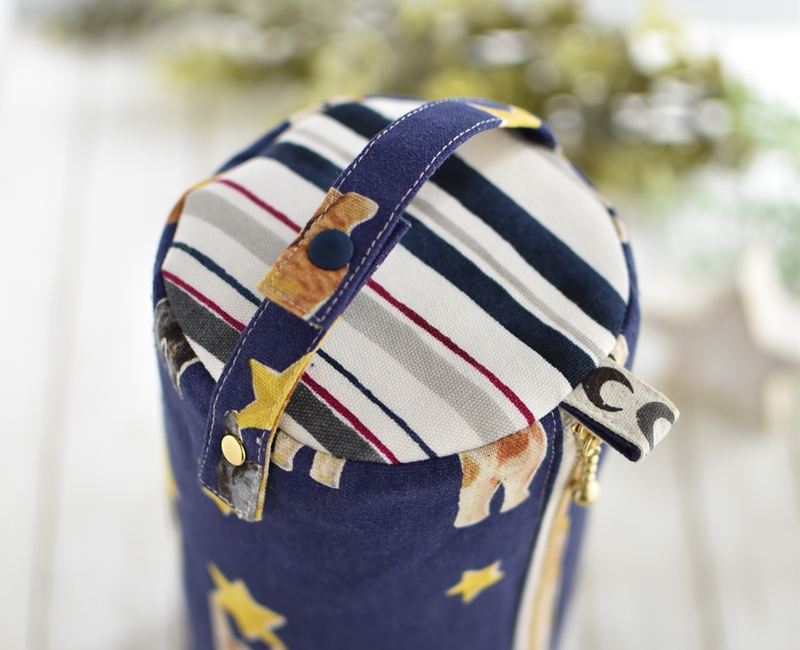
Turn the tube body inside out and attach the handle. Finished!
◎Sewing Tutorial(PDF format / A4 size)

For inquiries regarding wholesale in North America

Visit our site for the official wholesale distributor of KOKKA fabrics in North America (United States of America and Canada.)
KOKKA’s official online shop information
![]()
Kokka Fabrics is the official online store run by Kokka USA, Inc. We specialize in printed fabrics but also have a wide range of high-quality solid textiles.
We ship to the United States and Canada from our warehouse located in Torrance, California.
 Book Tote Style Bag – Free Sewing Tutorial
 Knit Jacquard Bag – Free Sewing Tutorial
 Gathered Top Bag – Free Sewing Tutorial