FREE SEWING TUTORIALS
Structured Design Nicely Displays The Printed Pattern♪ – Oval Bottom Drawstring Bag – Sewing Instructions
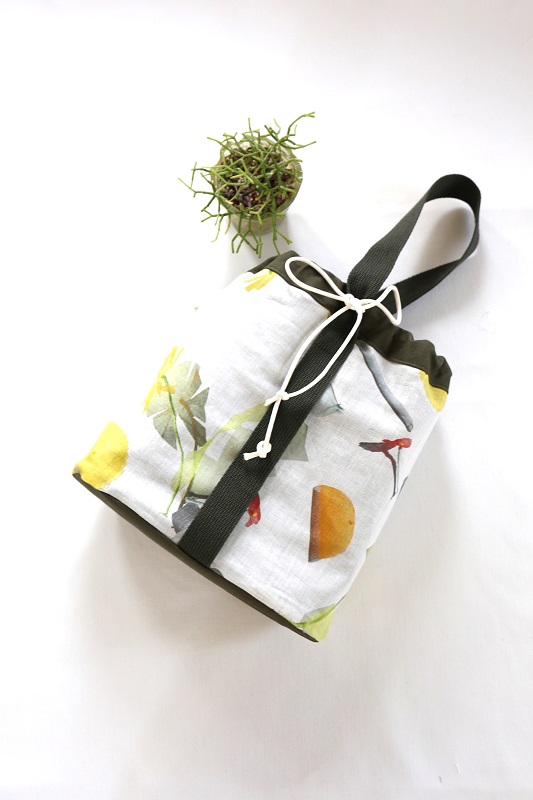
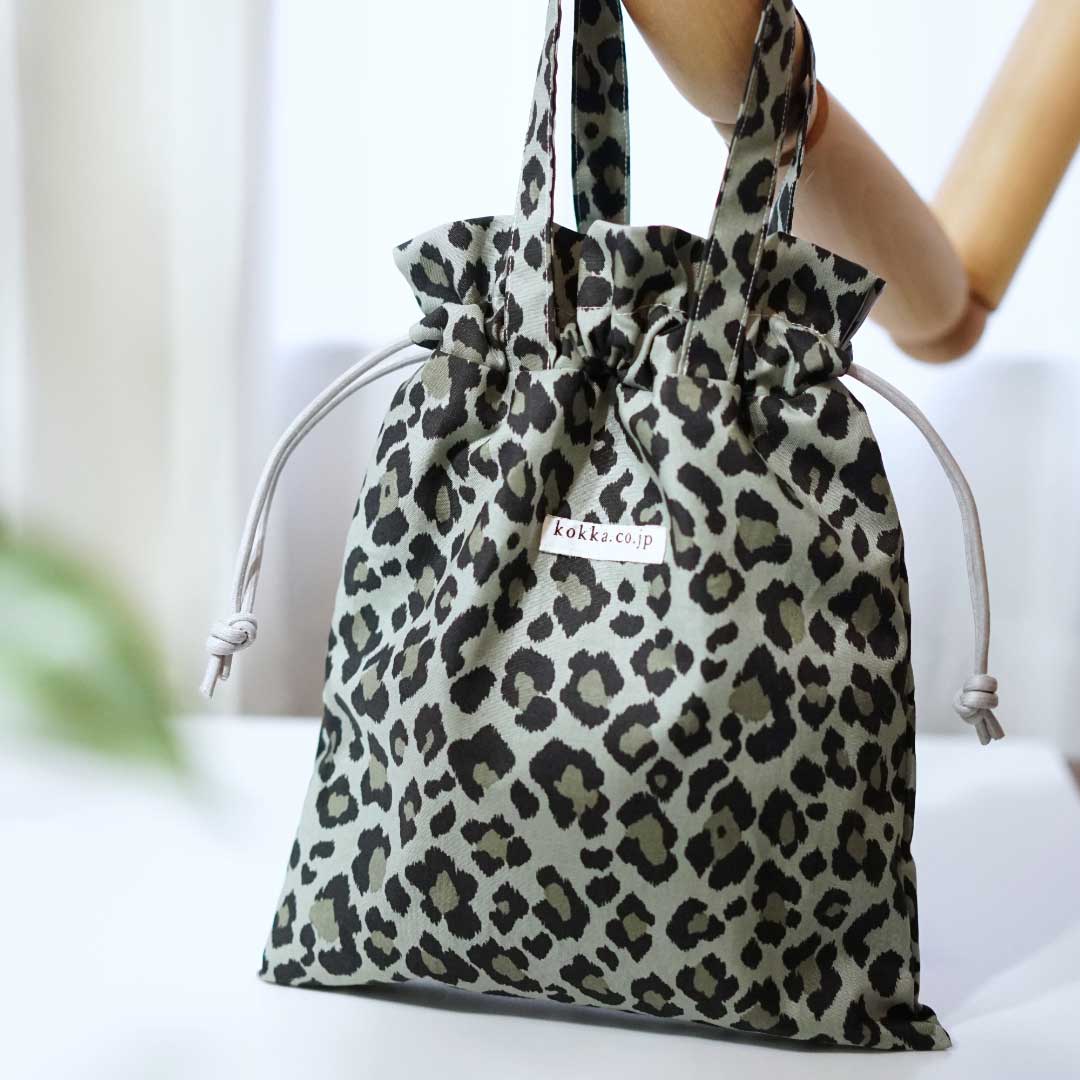
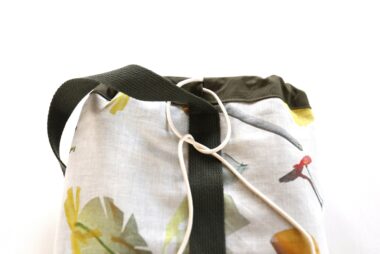
This is a well-constructed drawstring bag with #9.5 canvas for the lining. The featured fabric is [Tanpopo] from the “Homemade Utopia” series. The textile is inspired by the image of a gentle world full of handmade products, and the natural colors create a comfortable feeling.
It works well as an accent when coordinated with simple outfits.
Fabric shown for this sample: (Panel Outer Fabric)EWX-3901-1A
Materials:
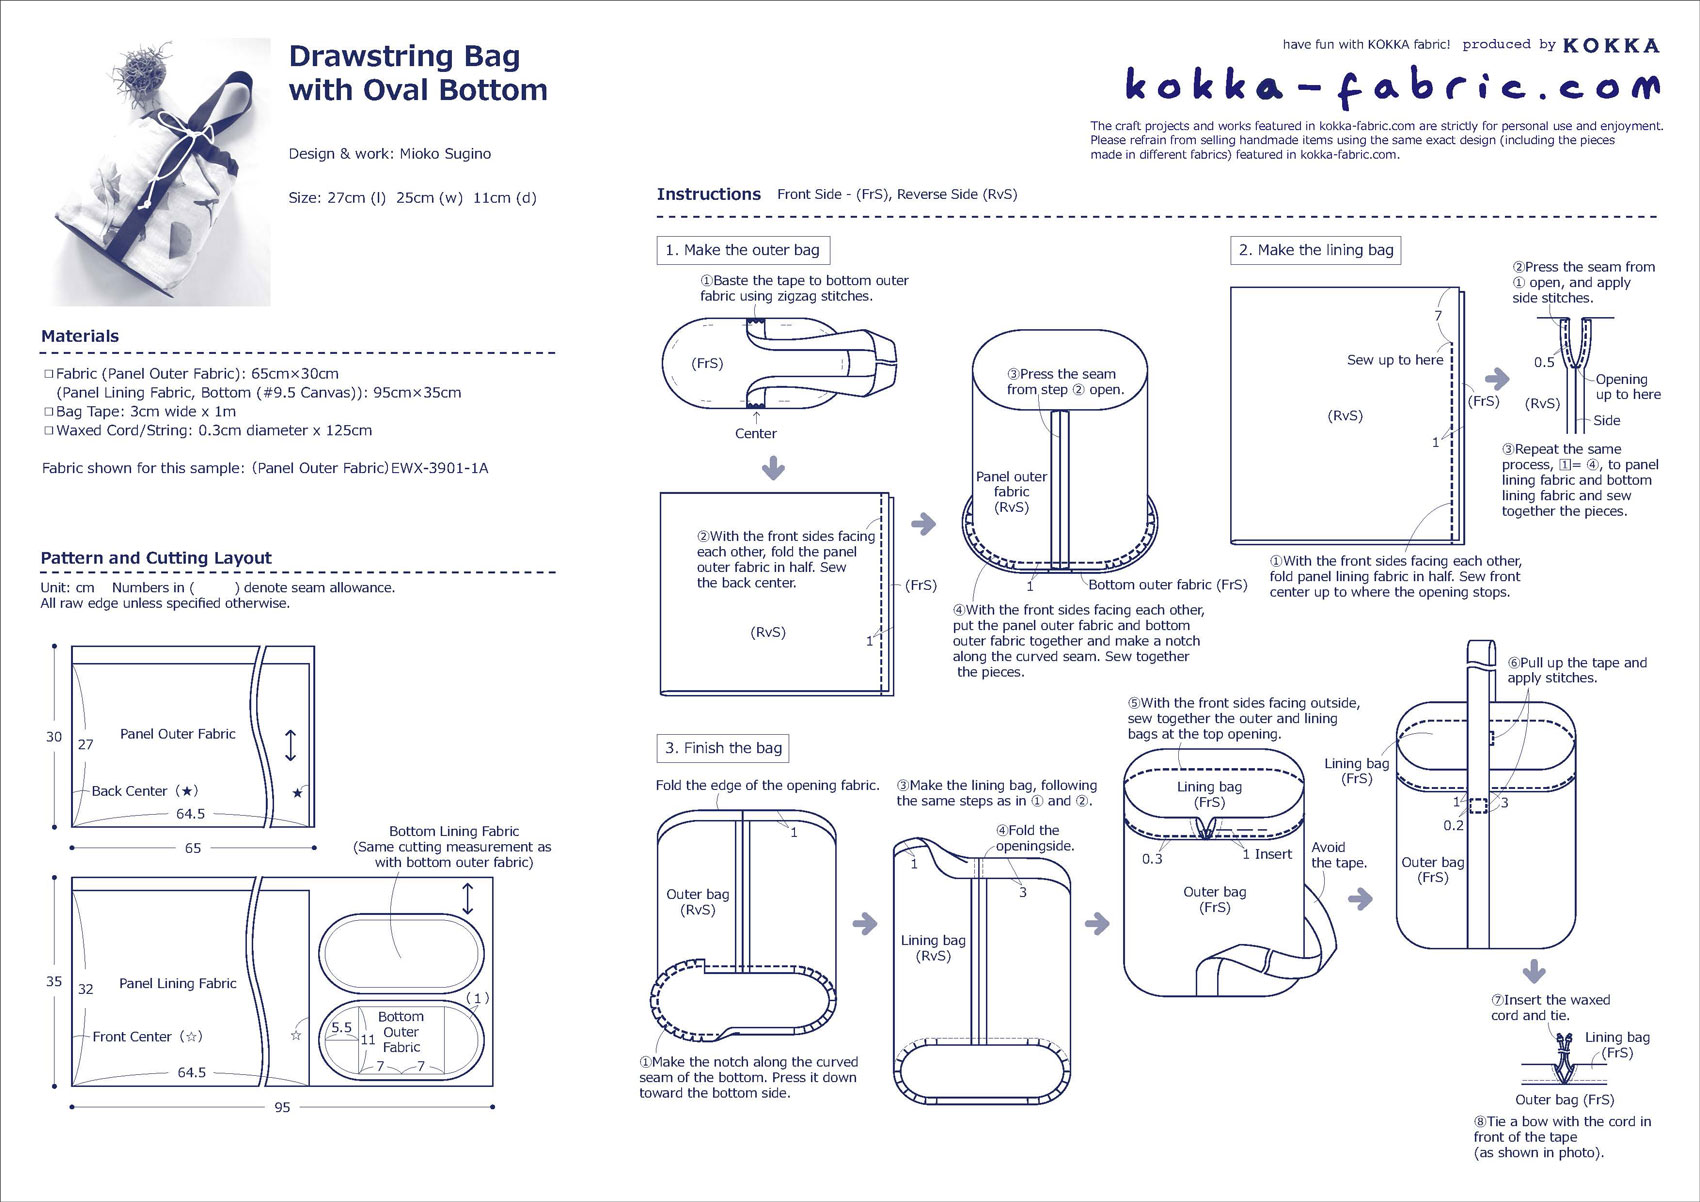
□ Fabric (Panel Outer Fabric): 65cm×30cm
(Panel Lining Fabric, Bottom (#9.5 Canvas)): 95cm×35cm
□ Bag Tape: 3cm wide x 1m
□ Waxed Cord/String: 0.3cm diameter x 125cm
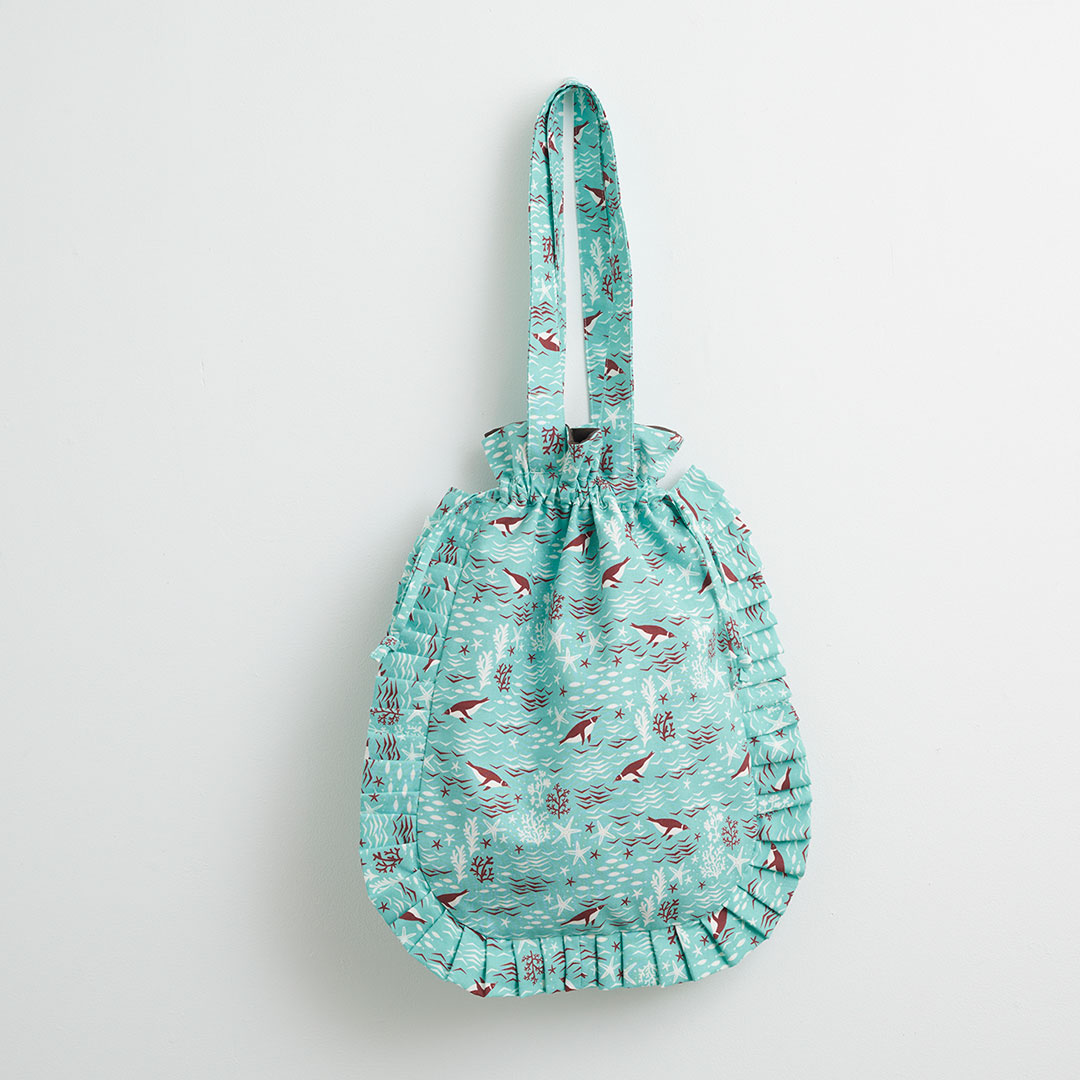
Size: 27cm (l) 25cm (w) 11cm (d)
We interviewed Mioko about her creation:
Kokka Fabric (KF): What did you think of the fabric you used for this project?
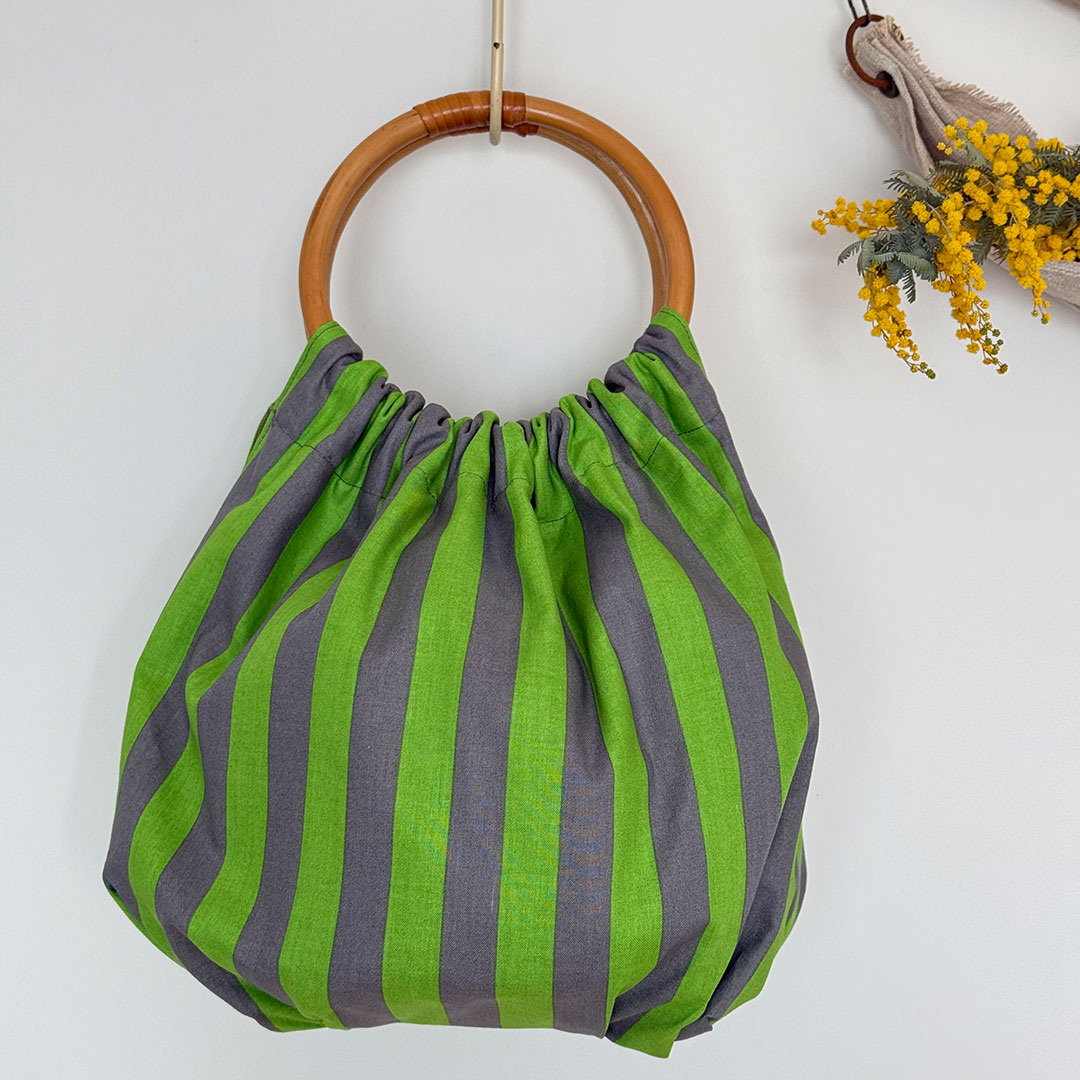
While the larger pattern is impactful, natural color tones make it pleasant to look at. With many colors in use in design, it makes it easy to coordinate with a wide range of color options.
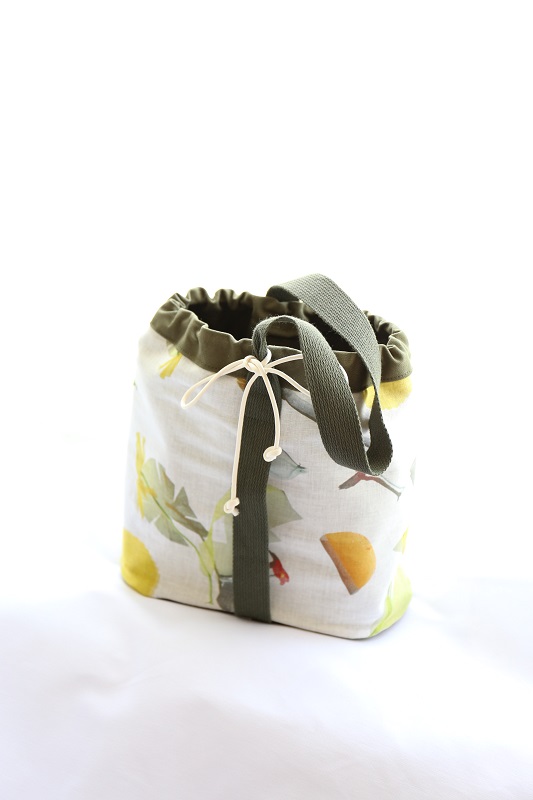
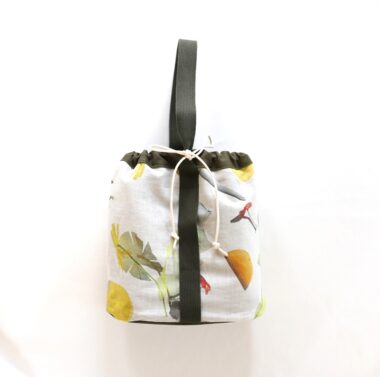
KF: Can you tell us any special elements or ideas that you incorporated into this creation?I wanted to show the colors and patterns clearly. For that I used #9.5 canvas on the bottom and inside to give it a solid shape in order for the pattern to be shown clearly as a surface.
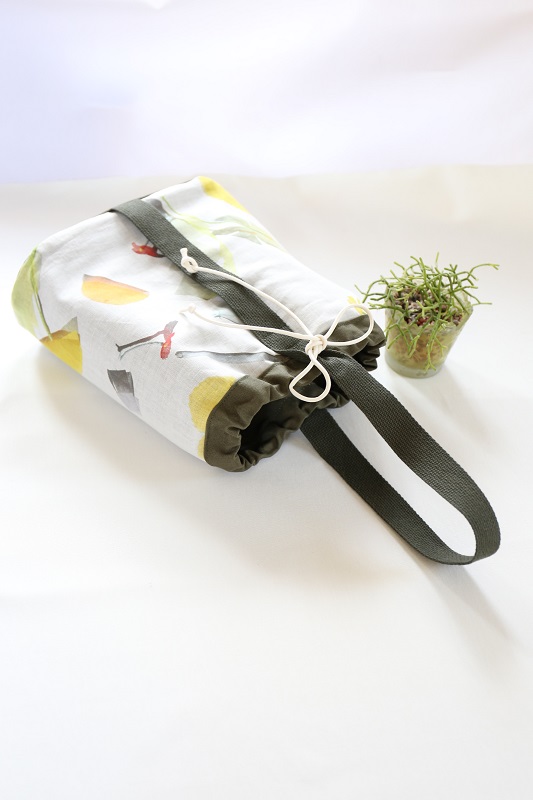
While the drawstring is for the bag’s closure, it can also help cerate the silhouette you want.
KF: What are some tips for making this bag?
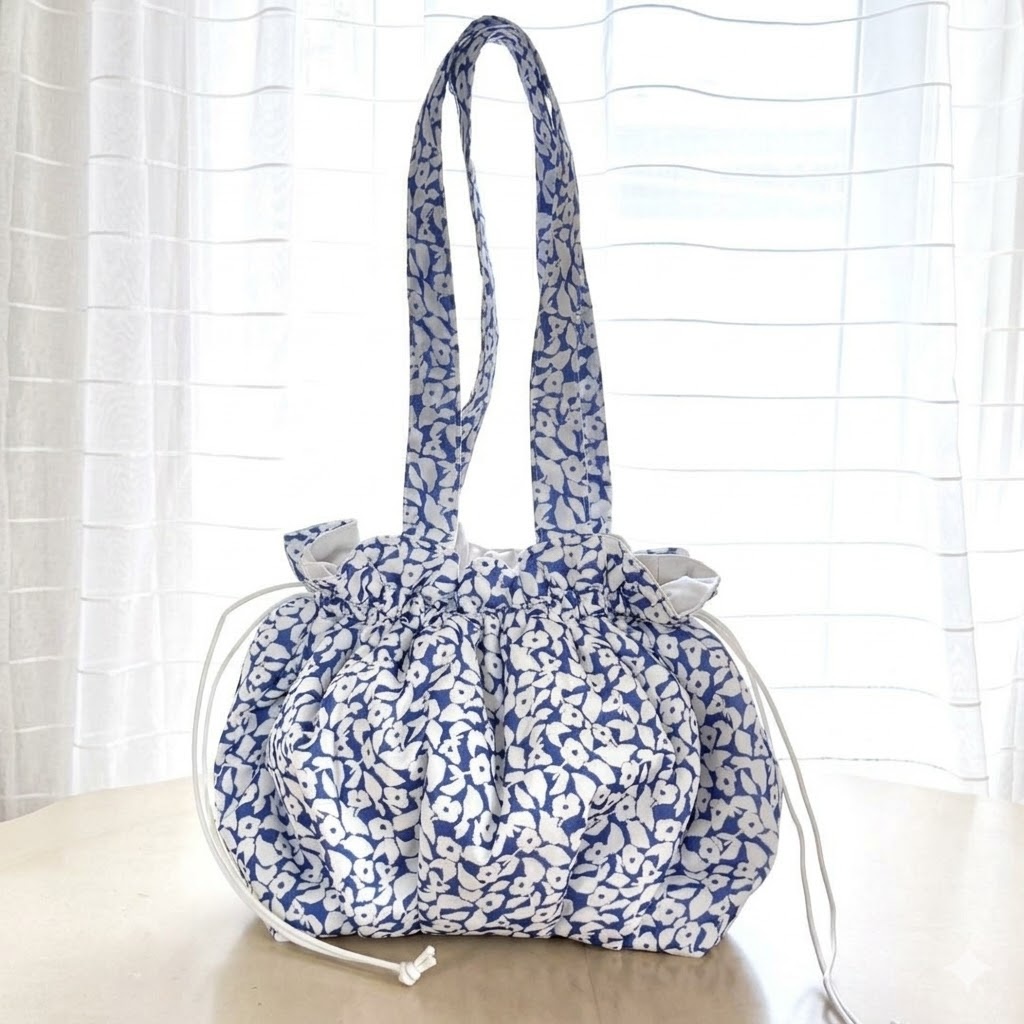
Cut a clear slit on the bottom edge of the panel and sew it together, tightly following the curve of the bottom. Check the shoulder straps carefully to make sure they are straight up, and sew a square at the top only.
KF: How should we incorporate this bag into one’s styling?
The color and pattern of the bag will be a nice accent when paired with a solid color dress or other simple wardrobe. The use of the canvas gives this bag a nice structure, so you can also simply enjoy the square shape of the bag without using the drawstring.
KF: Thank you very much, Mioko! Here are sewing instructions along with step by step photos from her. Enjoy crafting!
Instructions
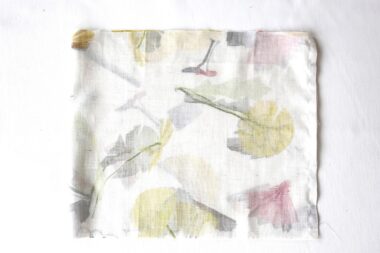
Preparation
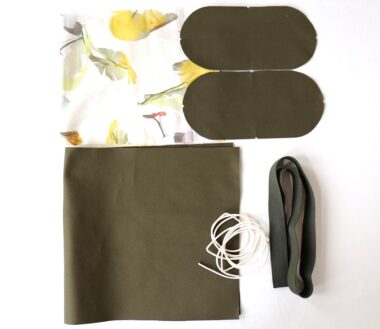
Prepare the materials and cut the fabrics according to the measurement.
1.
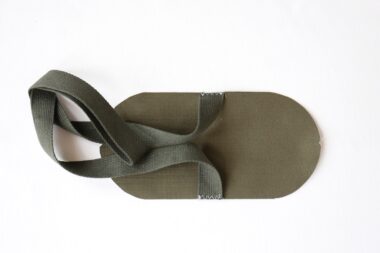
Baste the bag tape in the center of the bottom outer fabric.
2.
With the front sides facing each other, fold the bag panel outer fabric in half and sew the vertical ends.
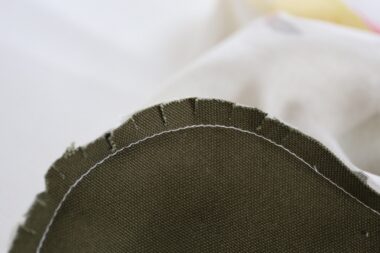
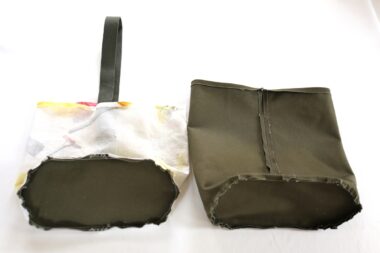
3.
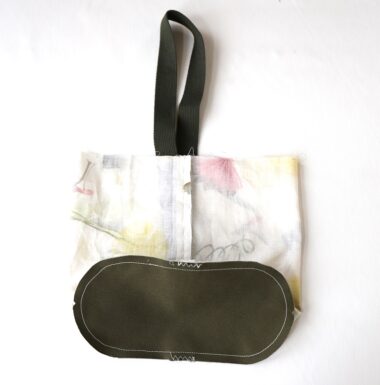
Press the seam of the bag panel outer fabric open. With the front sides facing each other, sew together with the bottom outer fabric. ※Cut a slit along the curved bottom edge of the outer fabric’s seam.
4.
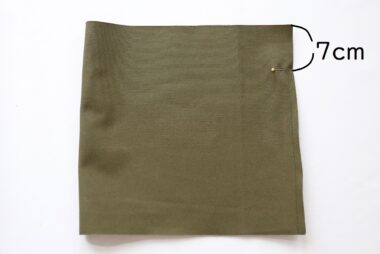
Sew the vertical ends of the lining fabric, leaving 7cm unsewn from the top.
5.
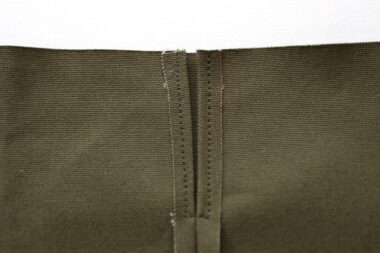
Press the seam open. Secure the unsewn portion (7cm) with stitches.
6.
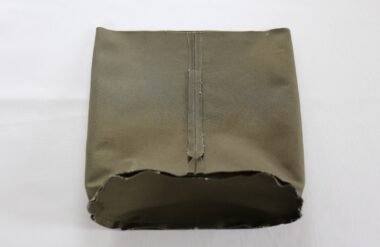
As in Step 3, sew together the bag panel lining fabric and bottom lining fabric.
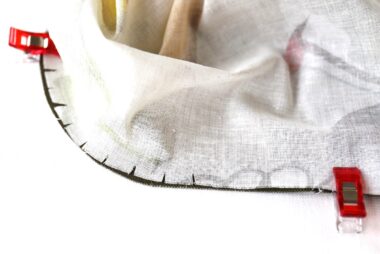
7.
Cut a slit along the curve of the bottom outer fabric and bottom lining fabric. Fold the seam of the bottom toward inner side.
8.
Fold the top end of the outer bag and lining bag for 1cm to the lining fabric side.
9.
Fold the top opening of the lining bag with 3cm width. Turn only the outer bag inside out. With the front sides facing outside, place the lining bag into the outer bag.
10.
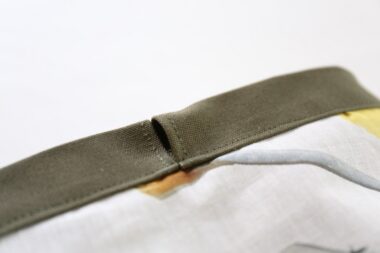
Layer the top opening of the lining bag for 1cm over the top opening of the outer bag. (Apply stitches, avoiding the tape.)
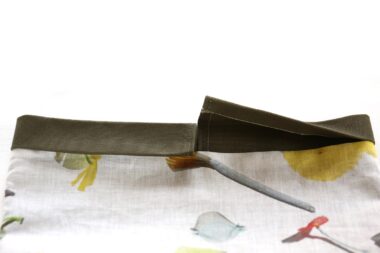
11.
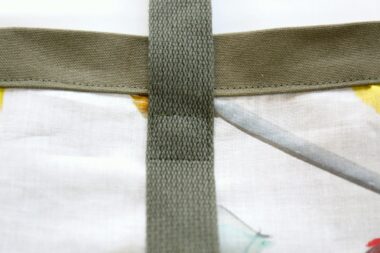
Pull up the tape to the top and secure with square stitches. ※On both sides.
12.
Insert the waxed cord. Cross the cord over the tape and tie the cords.
13.
Finished!
◎Sewing Instructions
◎Sewing Instructions (PDF format / A4 size)