FREE SEWING TUTORIALS
Versatile As A Bag and A Spreadable Mat- Drawstring Tote – Sewing Instructions
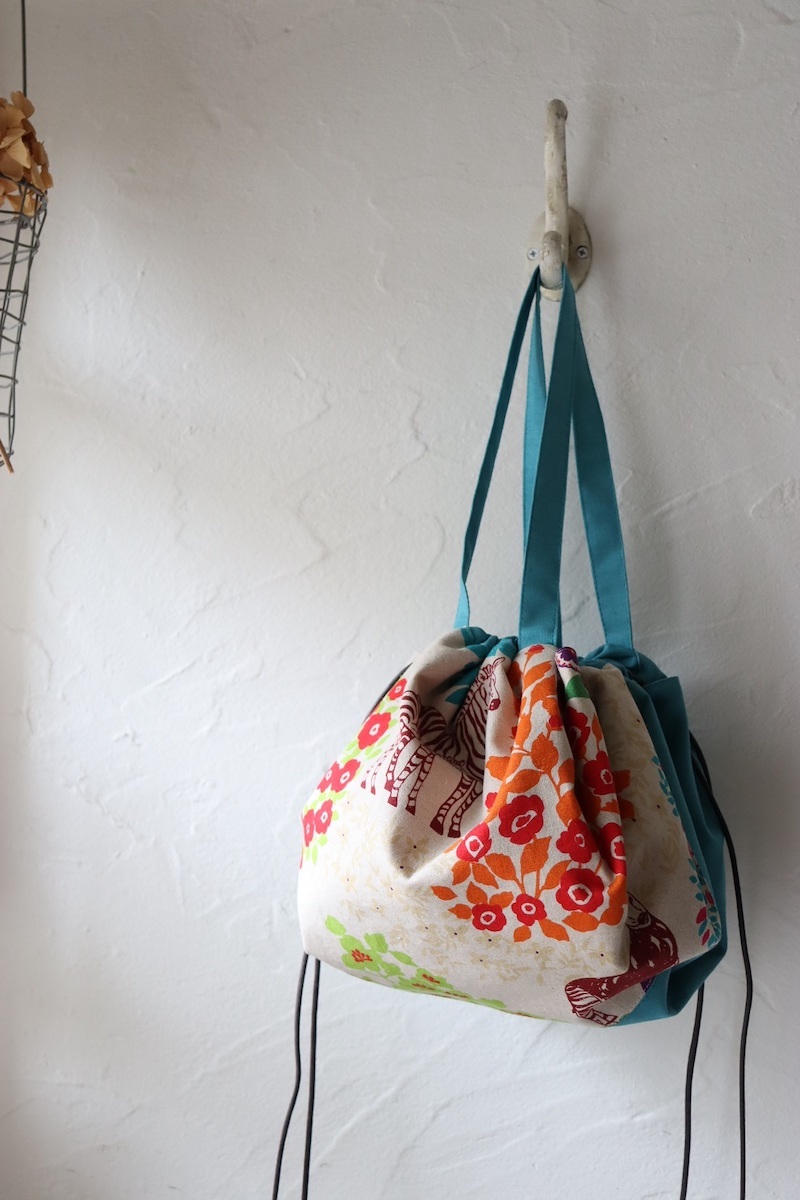
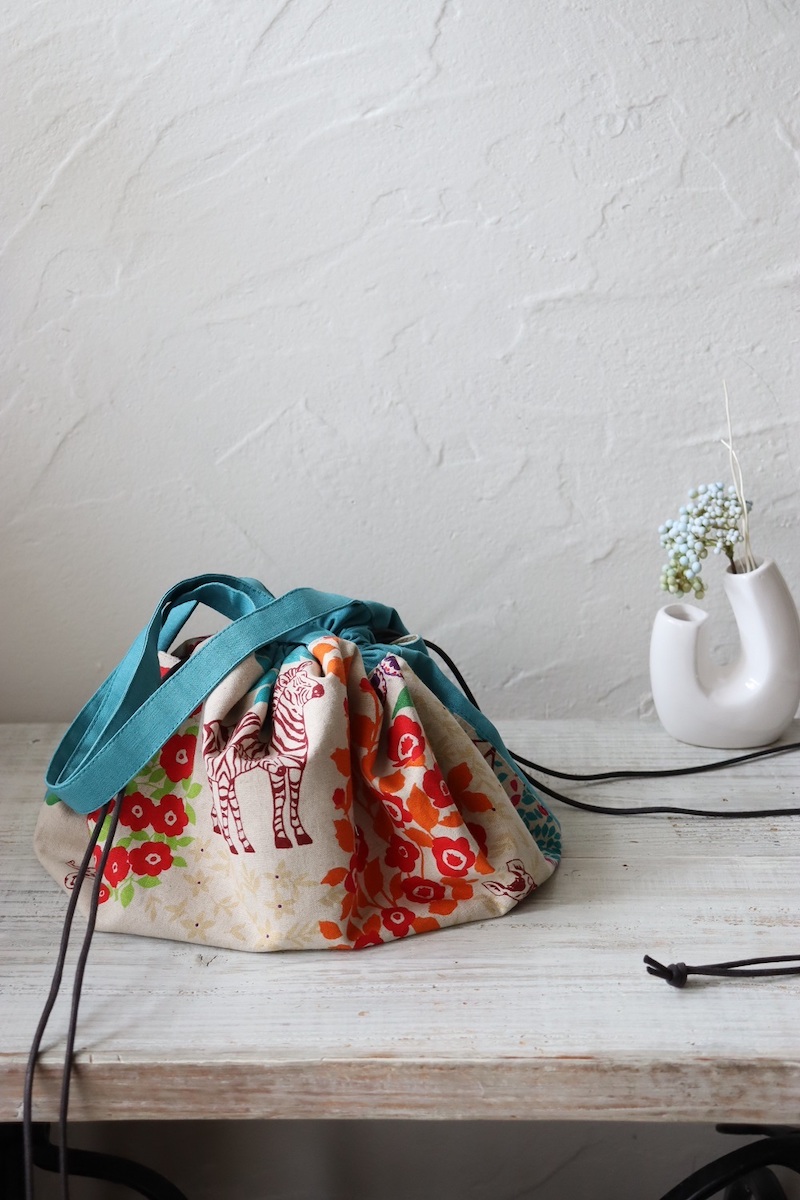
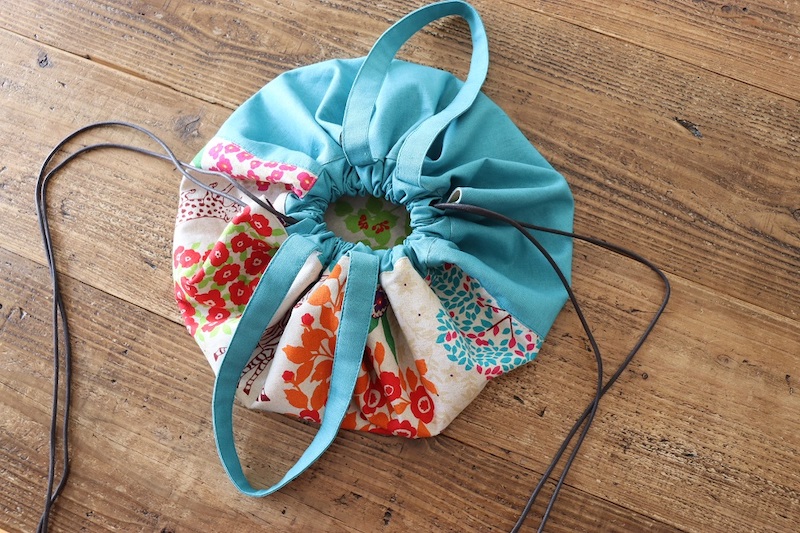
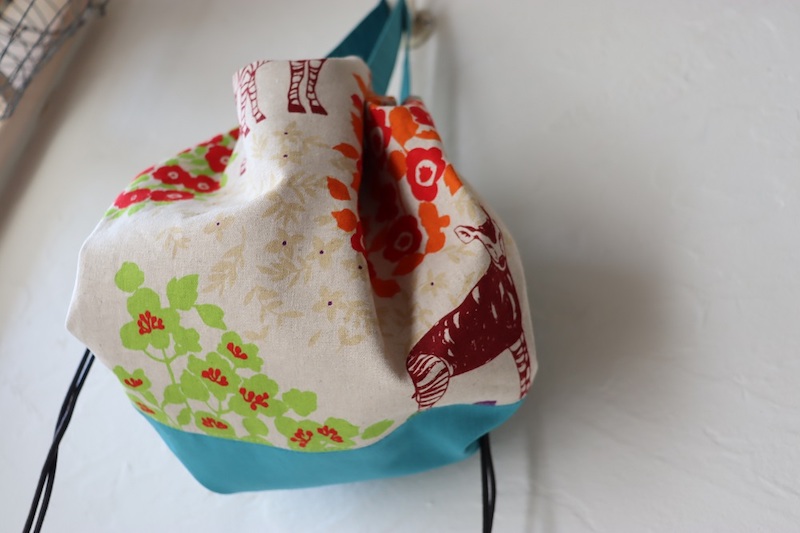
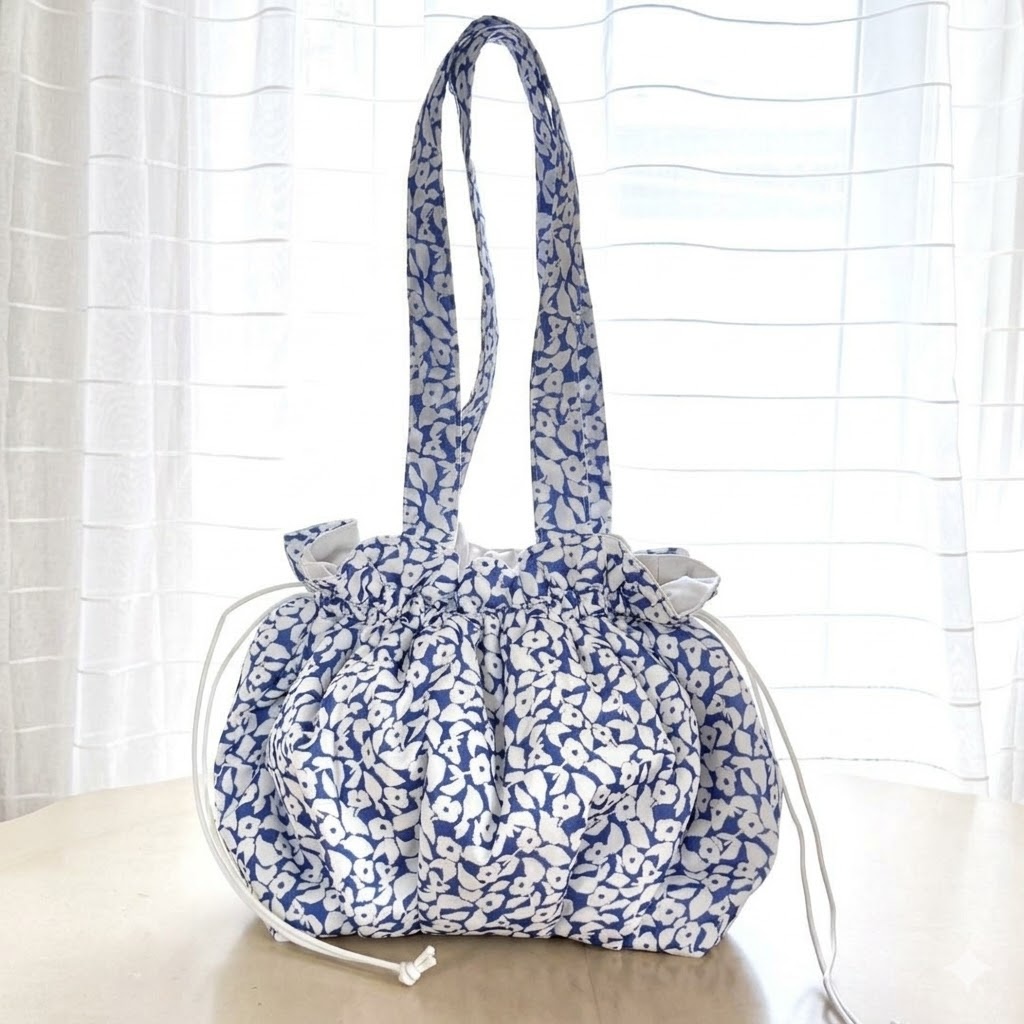
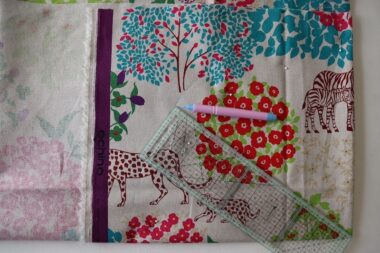
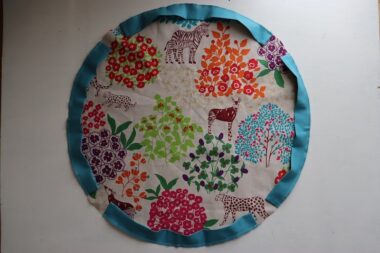
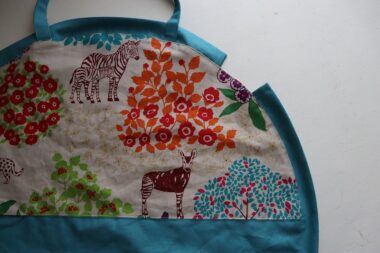
This is a vivid-colored drawstring tote made of a combination of patterned and solid color fabrics. When unfolded, this convenient bag can be used as a mat. It becomes handy as storage to gather and put away cluttered small items in a flash. The featured fabric is “bond” from the “echino Standard 2022” series. It is characterized by the echino-like vivid color tones against a textured cotton linen canvas base. Beautiful flowers and animals make an impactful design. The large pattern allows you to enjoy a different feel depending on where you cut it.
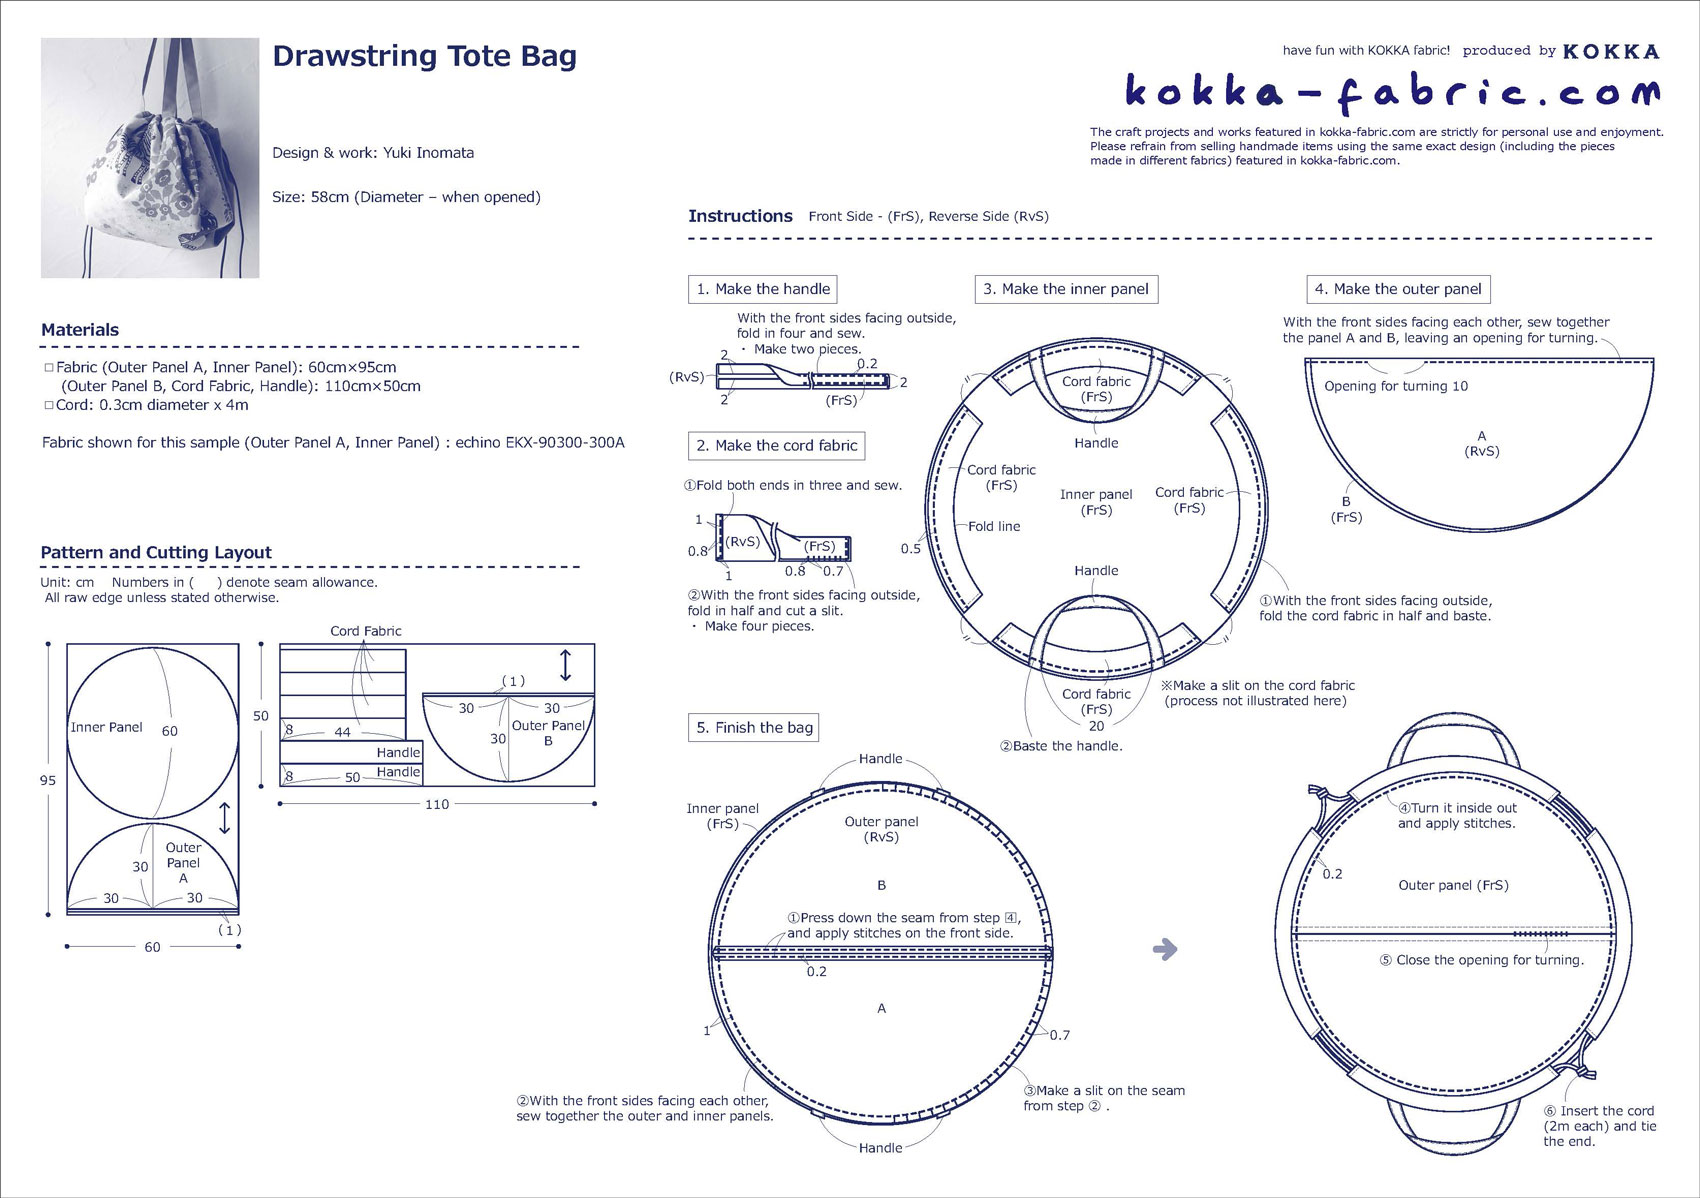
Fabric shown for this sample: (Outer Panel A, Inner Panel)echino EKX-90300-300A
Materials:
□ Fabric (Outer Panel A, Inner Panel): 60cm×95cm
(Outer Panel B, Cord Fabric, Handle): 110cm×50cm
□ Cord: 0.3cm diameter x 4m
Size:58cm (Diameter – when opened)
We interviewed Yuki about her creation:
Kokka Fabric (KF): What did you think of the fabric you used for this project?
echino’s colorful design matches the slightly vivid, eye-catching turquoise color. I made this bag with the image of a drawstring bag that can be unfolded and enjoyed for the coming spring.
KF: Can you tell us any special elements or ideas that you incorporated into this creation?
Normally, I do not place a large pattern in the center when cutting a fabric, but this time, I did so for the design I would like to feature most to be in the center when the bag is closed. When working on the piece, I keep the finished bag in mind and pay careful attention so as not to accidentally change the direction of the pattern.
KF: What are some tips for making this bag?
While curved circles may seem a bit difficult to sew, by making a cutout first, you can proceed with relative ease. So please give it a try!
KF: How should we incorporate this bag into one’s styling?
It is a reusable bag as well a spreadable mat. It is convenient for a quick shopping trip and handy for tidying up and storing children’s toys when you have unexpected visitors.
KF: Thank you very much, Yuki! Here are sewing instructions along with step by step photos from her. Enjoy crafting!
Instructions
1.
Using a ruler, mark a circle. Fold the fabric in four, then mark a fan shape from the center using a 30cm ruler. Cut the fabric.
2.
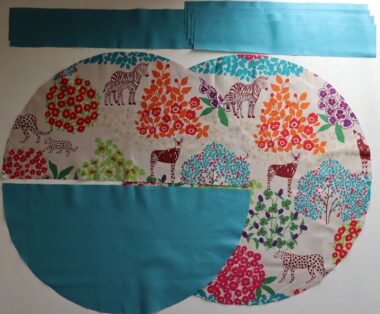
Parts needed are:
Outer panel – half circle, add 1cm – patterned and solid fabric – one piece each
Inner panel – one circle
Cord fabric – 8cm (l) x 44cm (w) – four pieces
Handle – 50cm (l) x 8cm (w) – two pieces
Cord – about 2m – two pieces
3.
Fold the handle in four.
4.
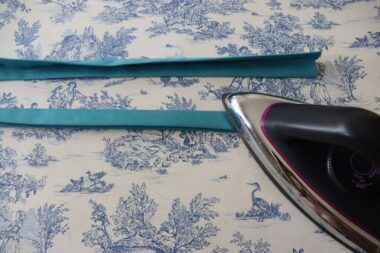
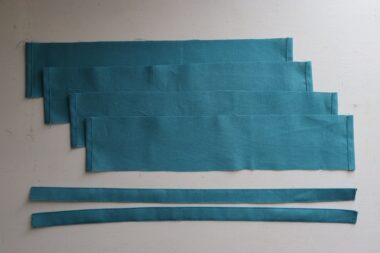 Sew both ends of the handle. Fold both ends of the cord fabric in three at 1cm interval and sew.
5.
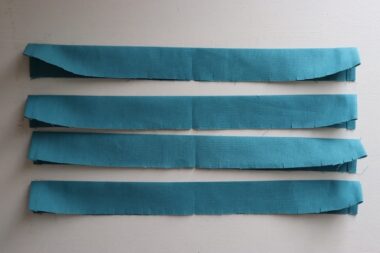
Fold the cord fabric in half. With 7mm spacing, make 8mm cutouts.
6.
Baste the cord fabrics to the inner panel with 5mm seam.
7.
Leave 20cm unsewn, and baste the handle.
8.
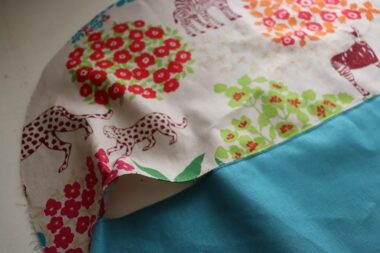
With the front sides facing outside, layer two outer panels. With 1cm seam, sew together, leaving 10cm for opening for turning.
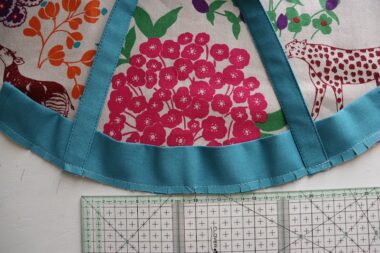
9.
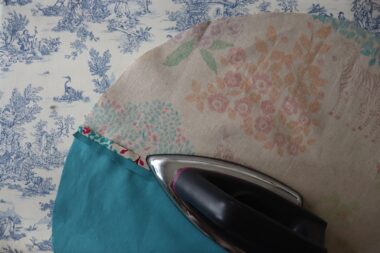
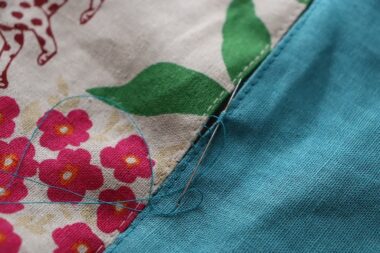
Press the seam open with an iron and stitch the edge.
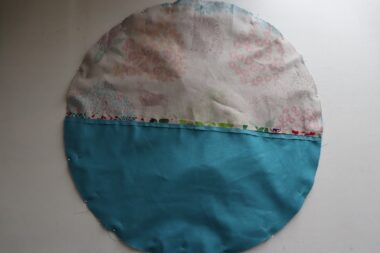
10.
It should look like this.
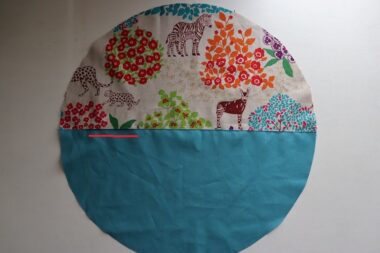
11.
With the front sides facing each other, pin the perimeter with the inner piece and sew together.
12.
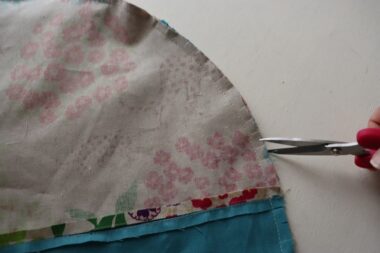
With 7mm spacing, make cutouts close to the edge of the stitch line all the way around.
13.
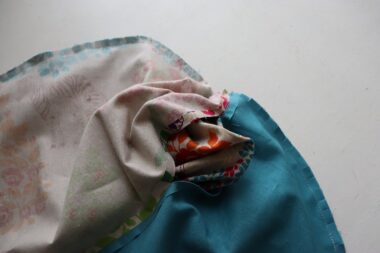
Turn it inside out using the opening for turning.
14.
Align the shape using an iron and stitch the edge.
15.
Close the opening for turning, using the blind stitch.
16.
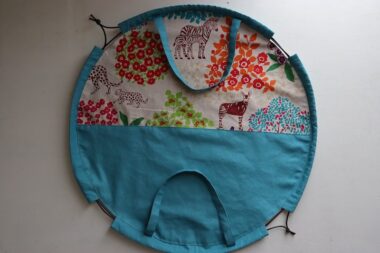
Insert the cord to finish.
◎Sewing Instructions
◎Sewing Instructions (PDF format / A4 size)