
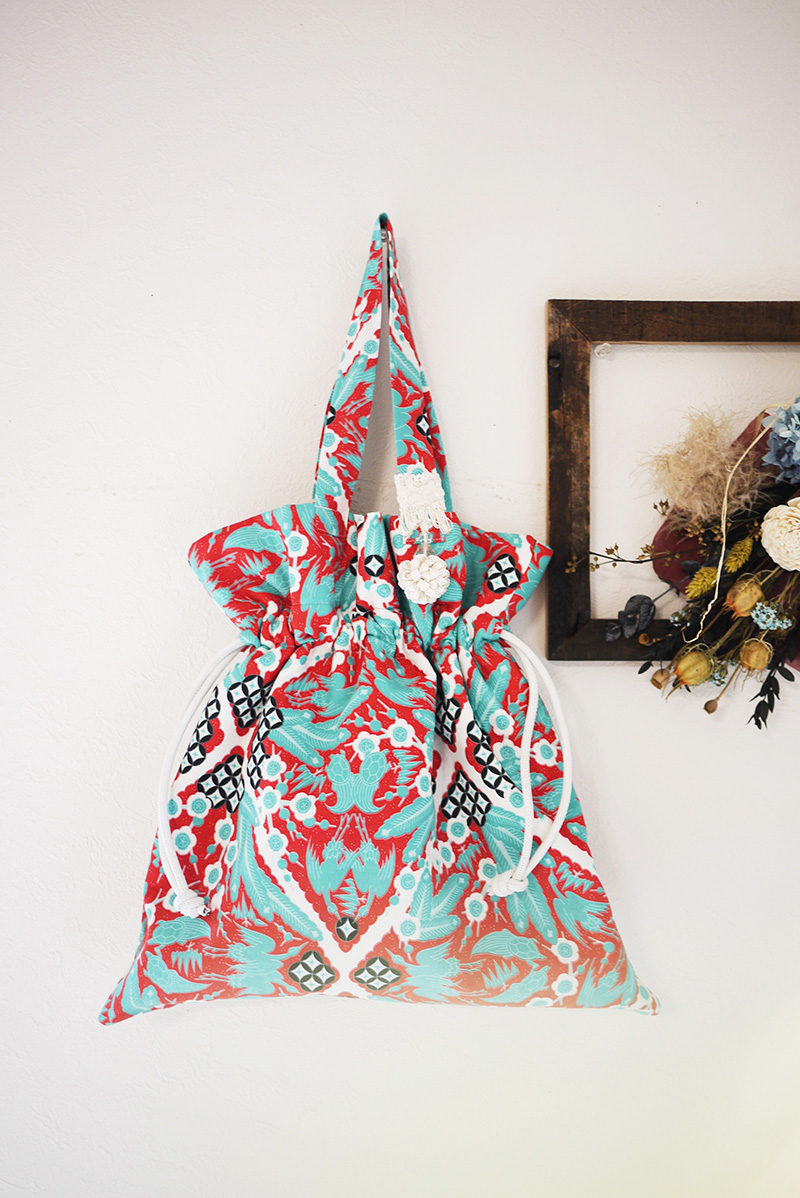
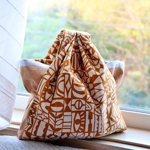
Handy for keeping small articles, a drawstring bag is now transformed into a large key fashion piece that can complement your styling. The bag’s impactful outer fabric is from uremos,
a series by the Kaga Yuzen (dyeing) artist, Daisuke Yoshimoto. Utilizing the representative Kaga Yuzen technique known as Itome, the accented white outline creates a modern look of the beautiful elements of nature.
Fabric shown for this sample: uremos EKA-1060-1A
Materials:
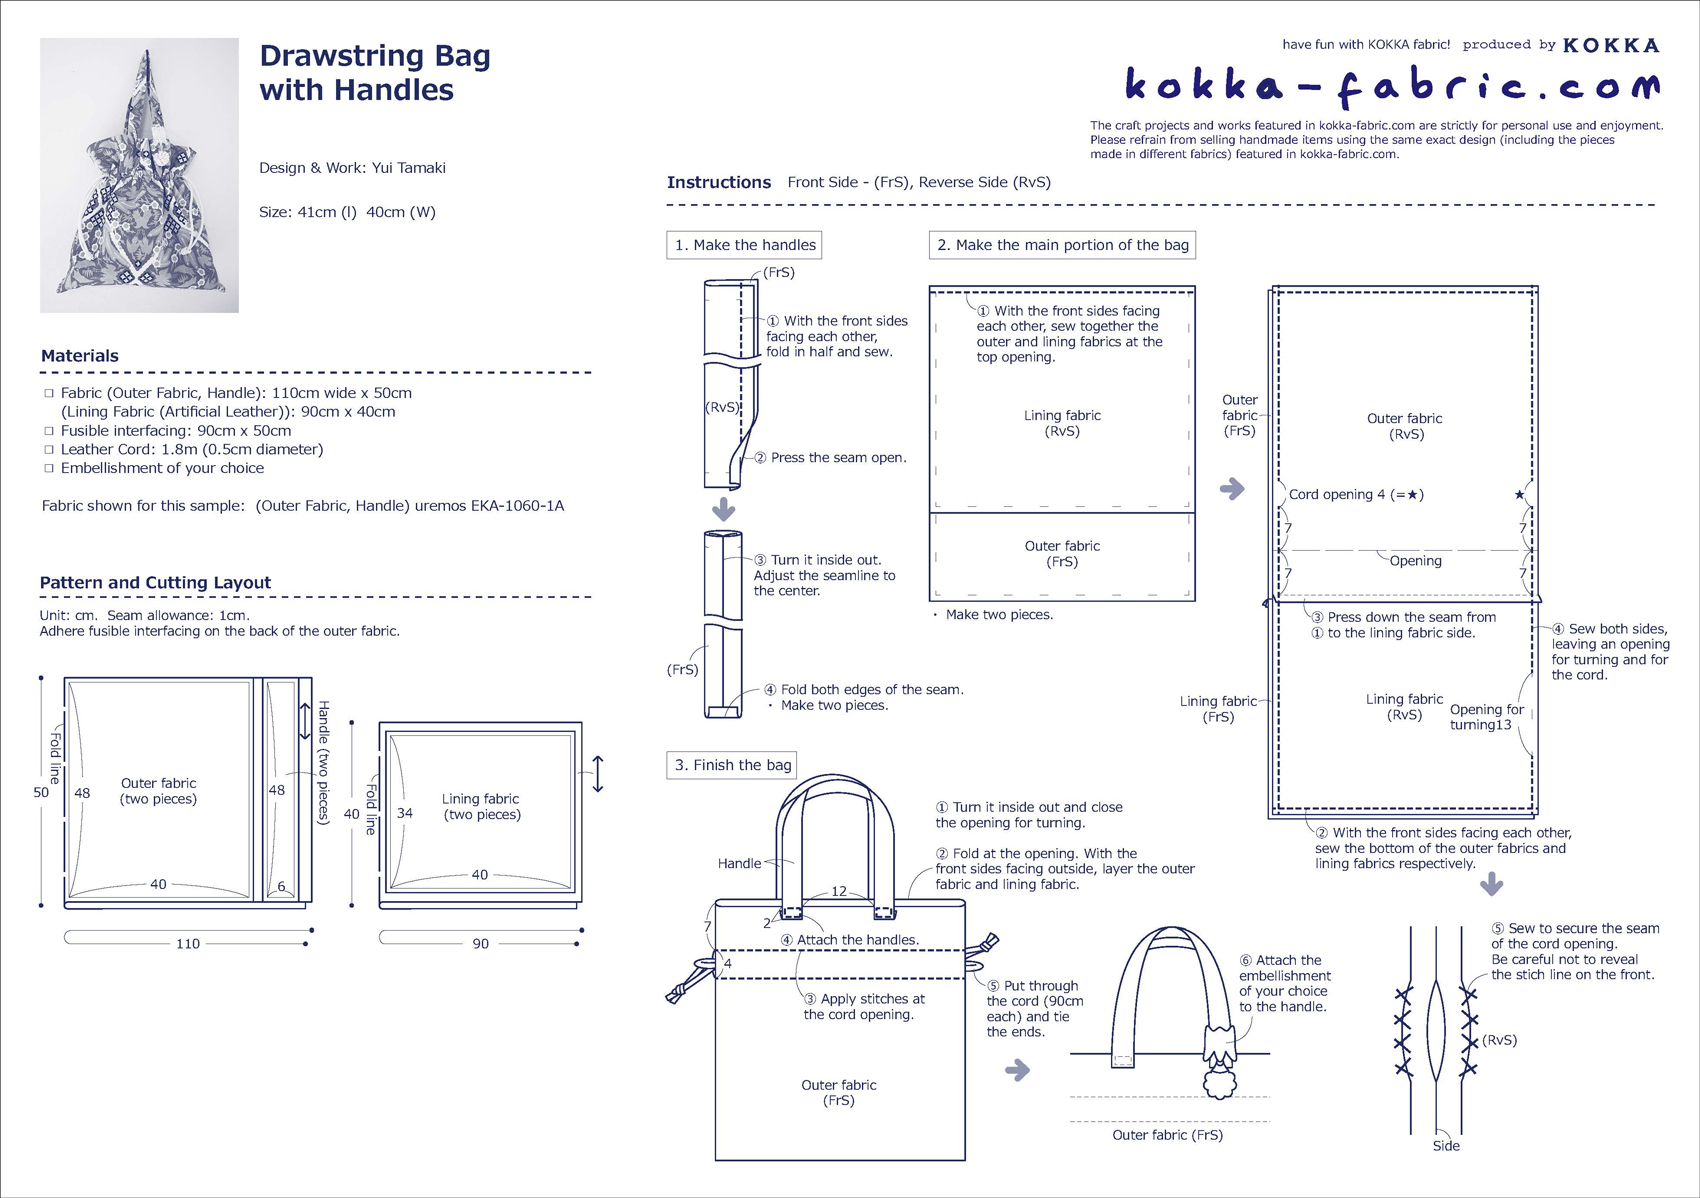
□ Fabric (Outer Fabric, Handle): 110cm wide x 50cm
(Lining Fabric (Artificial Leather)): 90cm x 40cm
□ Fusible interfacing: 90cm x 50cm
□ Leather Cord: 1.8m (0.5cm diameter)
□ Embellishment of your choice
Size: 41cm (l) 40cm (W)
We interviewed Yui about her creation:
Kokka Fabric (KF): What did you think of the fabric you used for this project?
Gorgeous and stylish, it perfectly fits my taste. It was so much fun thinking about what to make with this fabric. The design features Japanese festive motifs of cranes and turtles, so I came up with a bag with drawstrings, which is inspired by a Japanese style.
KF: What are some tips for making this bag?
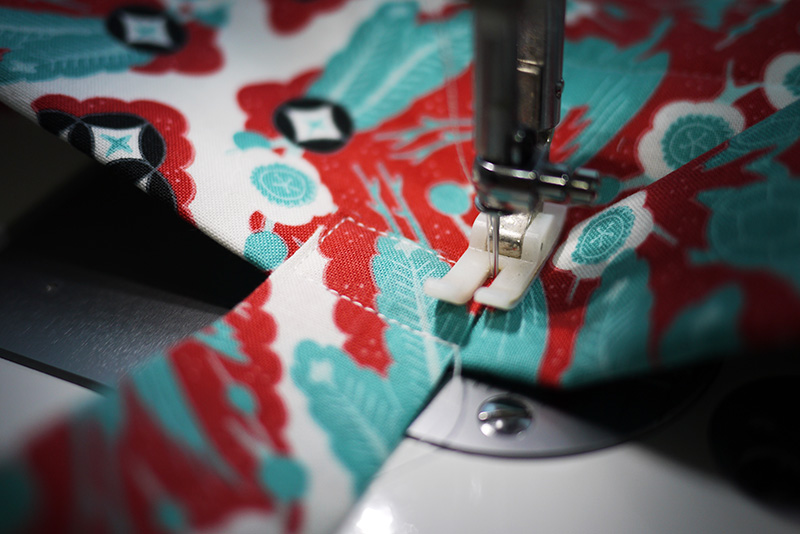
The opening for the cord requires a long straight stitching. You could use an erasable pen to mark the stitch line. If not, you could place a piece of masking tape on the sewing machine to mark where the edge of the fabric should be. These methods will help to stitch a straight line.
KF: What are some tips for making this bag?
The opening for the cord requires a long straight stitching. You could use an erasable pen to mark the stitch line. If not, you could place a piece of masking tape on the sewing machine to mark where the edge of the fabric should be. These methods will help to stitch a straight line.
KF: How should we incorporate this bag into one’s styling?
It will look great with simple styling whether it is Kimono or western outfits!
KF: Thank you very much, Yui! Here are sewing instructions along with step by step photos from her. Enjoy crafting!
◎Instructions
1.
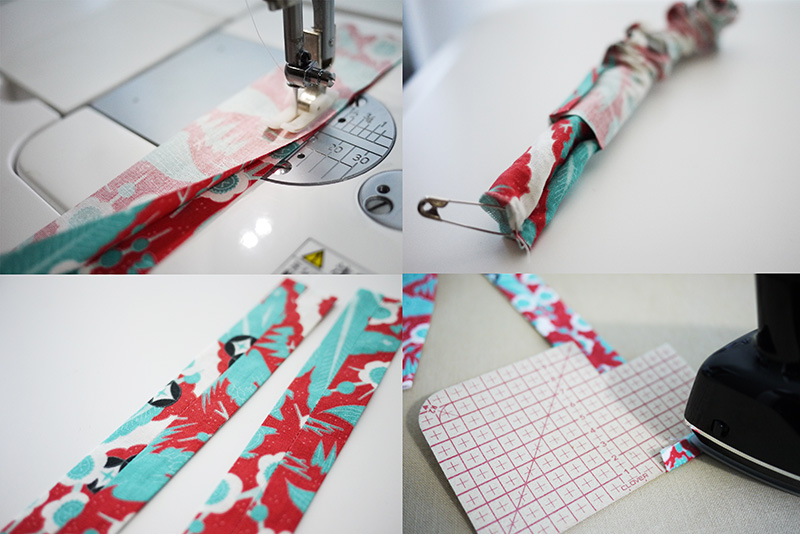
Make the handles. With the front sides facing each other, fold the long end in half and sew the edge. Press the seam open and turn it inside out. Fold the ends for 1cm.
2.

With the front sides facing each other, sew together the outer and lining fabrics at the top opening. (Repeat the same process on the other side.)
3.
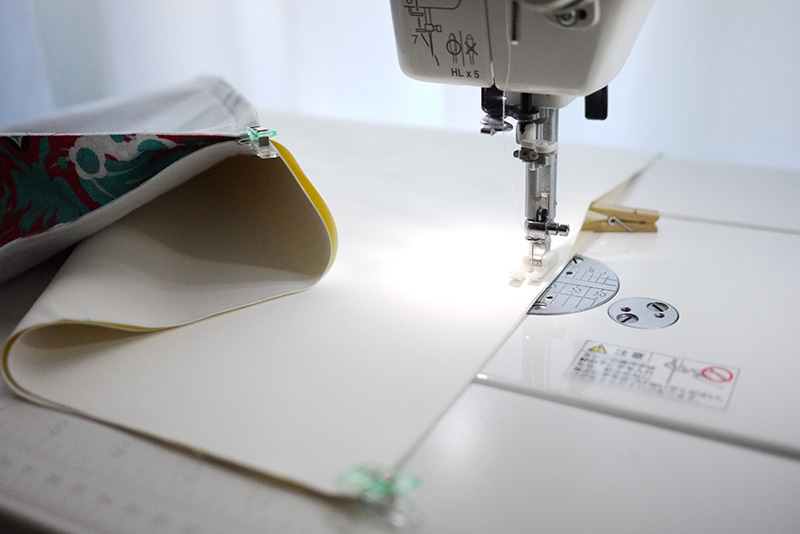
With the front sides facing each other, sew together the outer fabrics and lining fabrics at the bottom respectively. (Leave an opening for turning on the lining fabric.) Press down the seam to the lining fabric side.
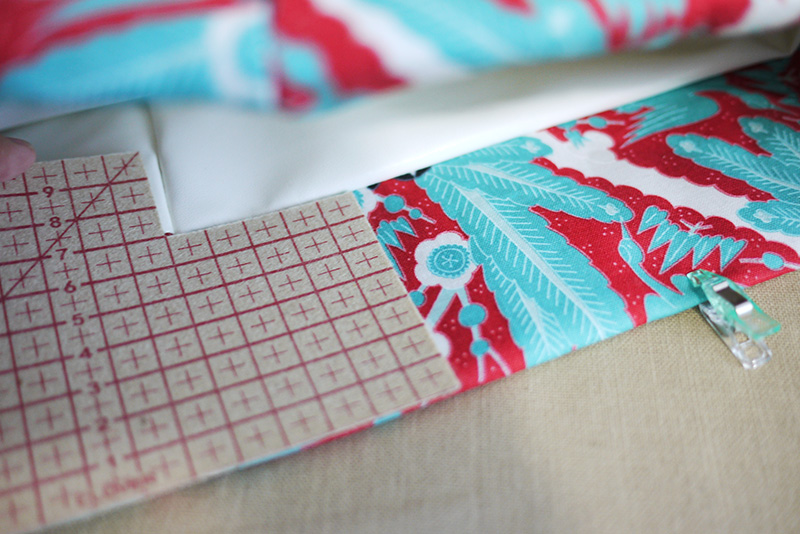
4.
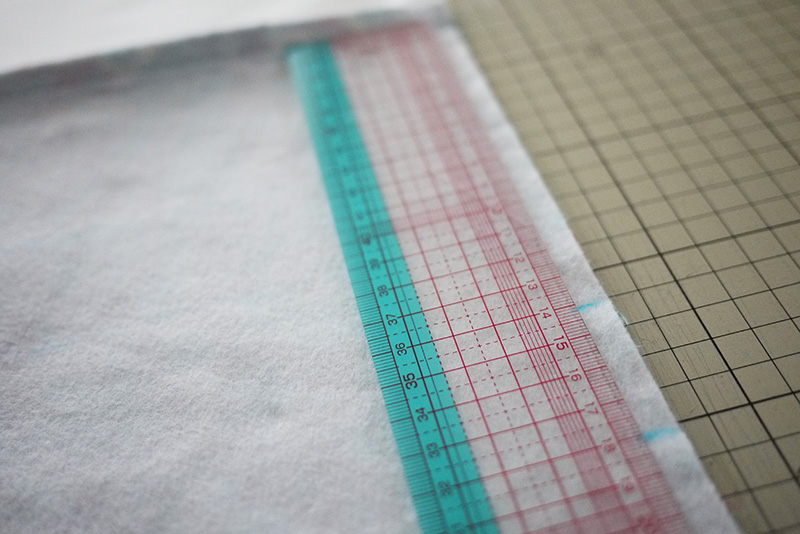
Mark the area for cord opening. Sew the sides together, leaving the cord opening unsewn.
5.
Press down the seam of the cord opening to the lining fabric side and sew to secure for a clean look.
6.
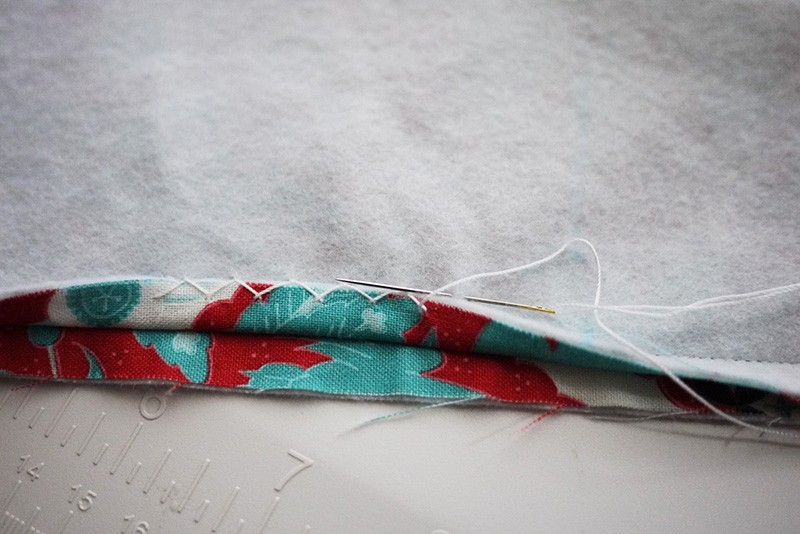
Turn it inside out and close the opening for turning.
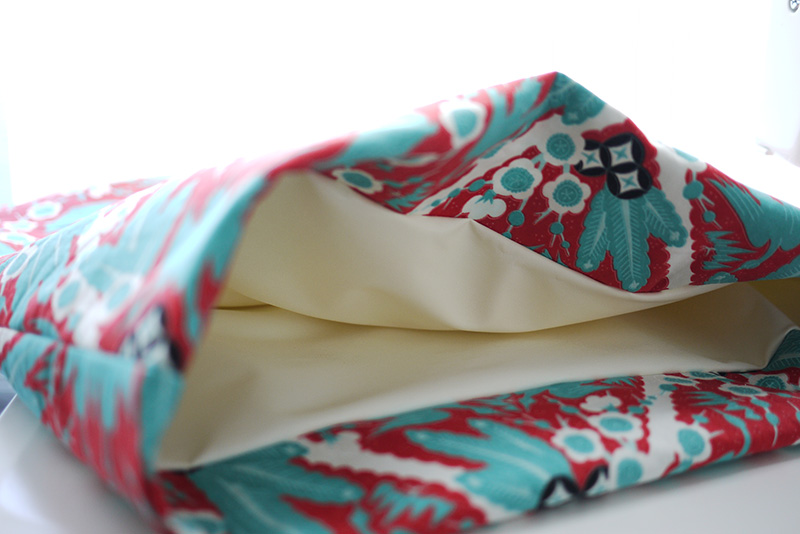
7.
Align the shape and iron.
8.
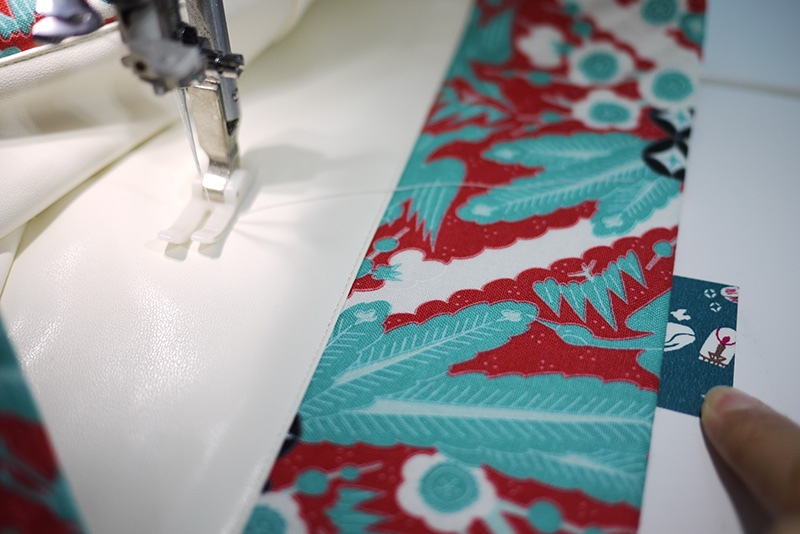
Apply two lines of stitches all the way around for the cord opening.
9.
Attach the handles.
10.
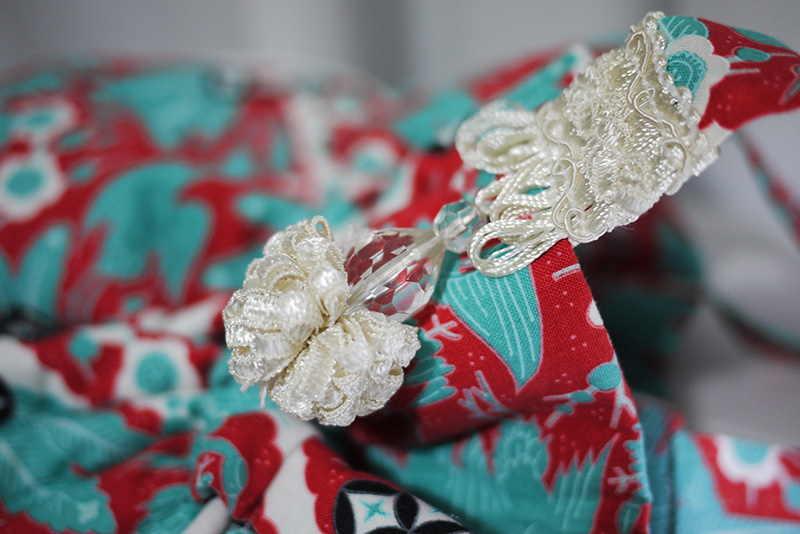
Attach the embellishment of your choice to finish.
 Tucked Handle Bag Sewing Instructions
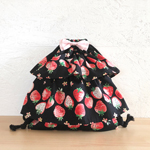 Frilled Drawstring Backpack Sewing Instructions
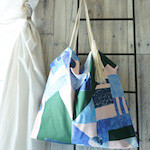 Big Tote with Cotton Cord Handles