FREE SEWING TUTORIALS
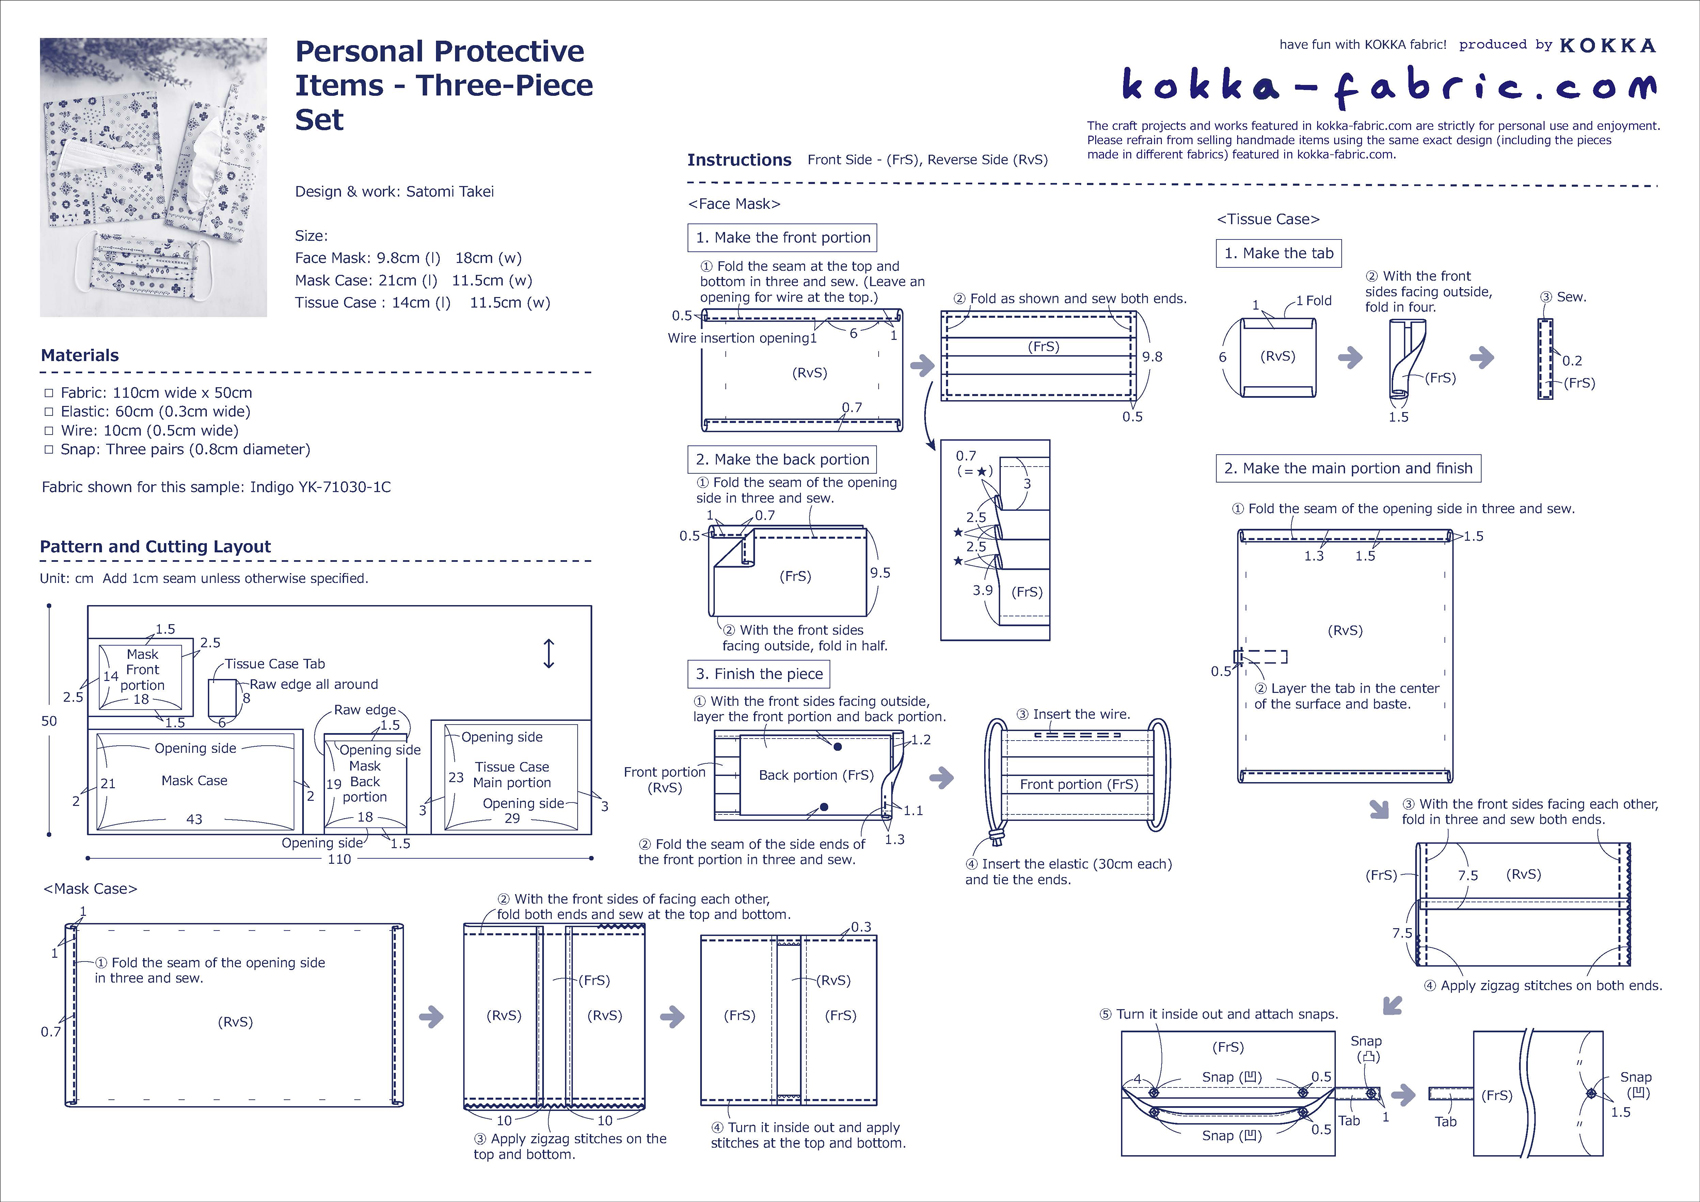
Three-piece Set Containing a Pleated Face Mask, Mask Case and Tissue Case – Made with Only 50cm of Fabric – Sewing Instructions
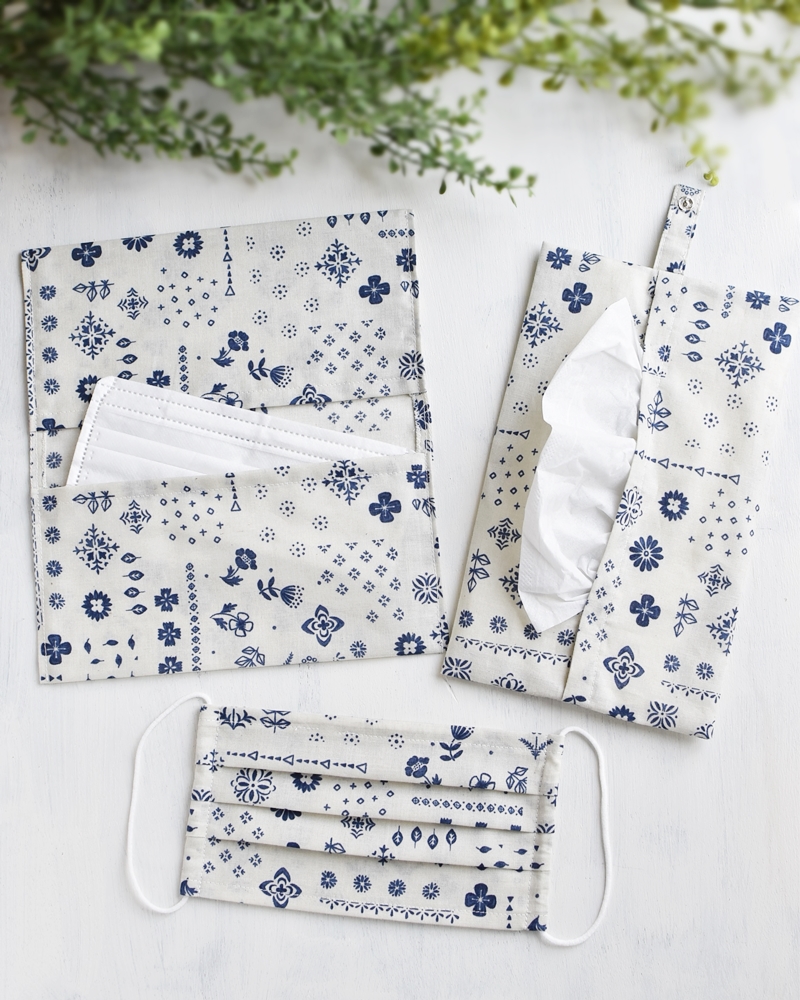
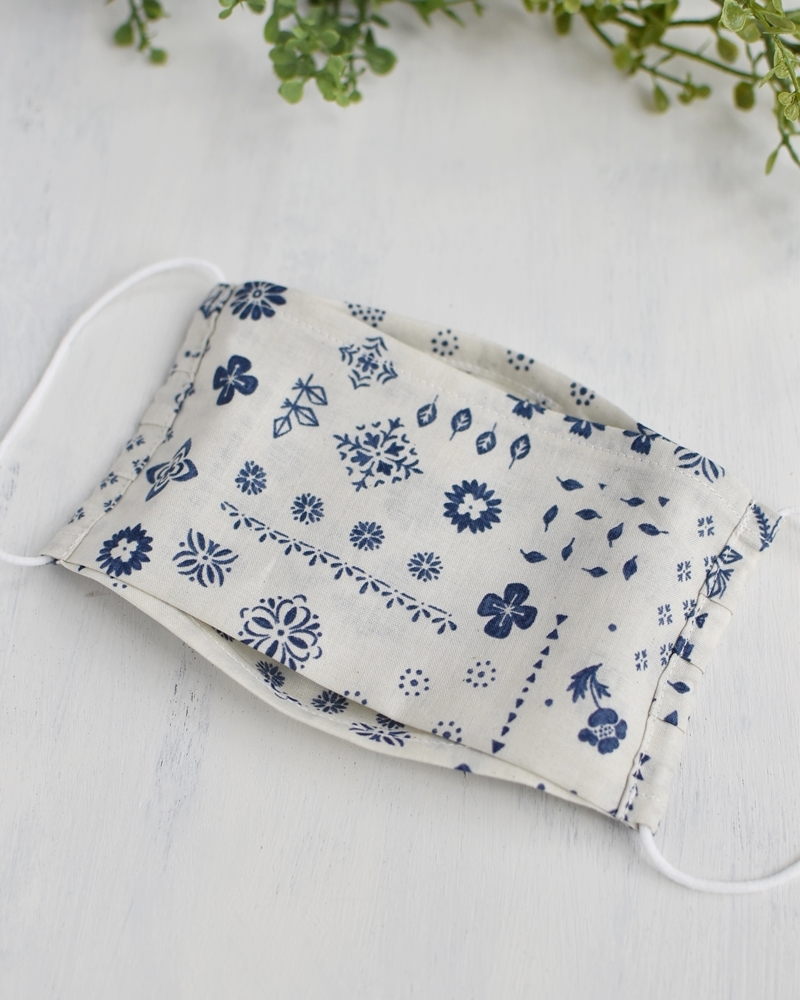
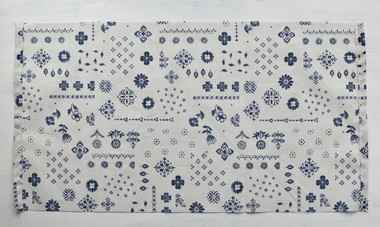
The face mask has become an essential item for personal protection when going out. With only 50cm of 110cm-wide fabric, you can make a face mask along with a mask case and a tissue case. The tissue case, not specifically for a usual pocket tissue, allows you to conveniently carry folded box-size tissues. The smooth sheeting cotton 100% fabric from the Indigo series is a perfect fit for making these personal items. As all items are washable and dry quickly, you can always keep them safe and clean.
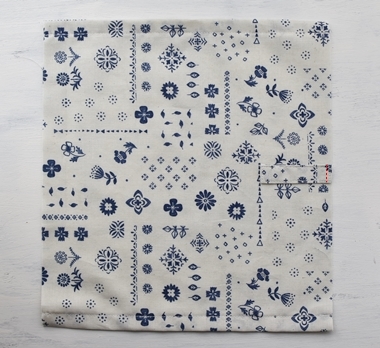
Fabric shown for this sample:Indigo YK-71030-1C
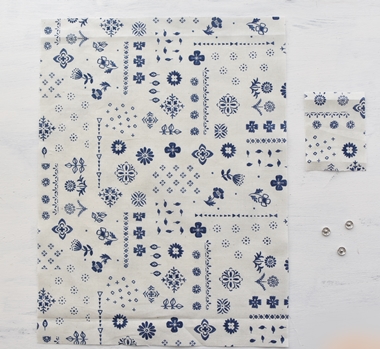
Materials:
□ Fabric: 110cm wide x 50cm
□ Elastic: 60cm (0.3cm wide)
□ Wire: 10cm (0.5cm wide)
□ Snap: Three pairs (0.8cm diameter)
Size:Face Mask: 9.8cm (l) 18cm (w) Mask Case: 21cm (l) 11.5cm (w) Tissue Case: 14cm (l) 11.5cm (w)
We interviewed Satomi about her creation:
Kokka Fabric (KF): What did you think of the fabric you used for this project?
A soft cotton 100% sheeting fabric is perfect for a personal protective item like face mask. Charming motifs with a refreshing feel are a great fit for summer.
KF: Can you tell us any special elements or ideas that you incorporated into this creation?
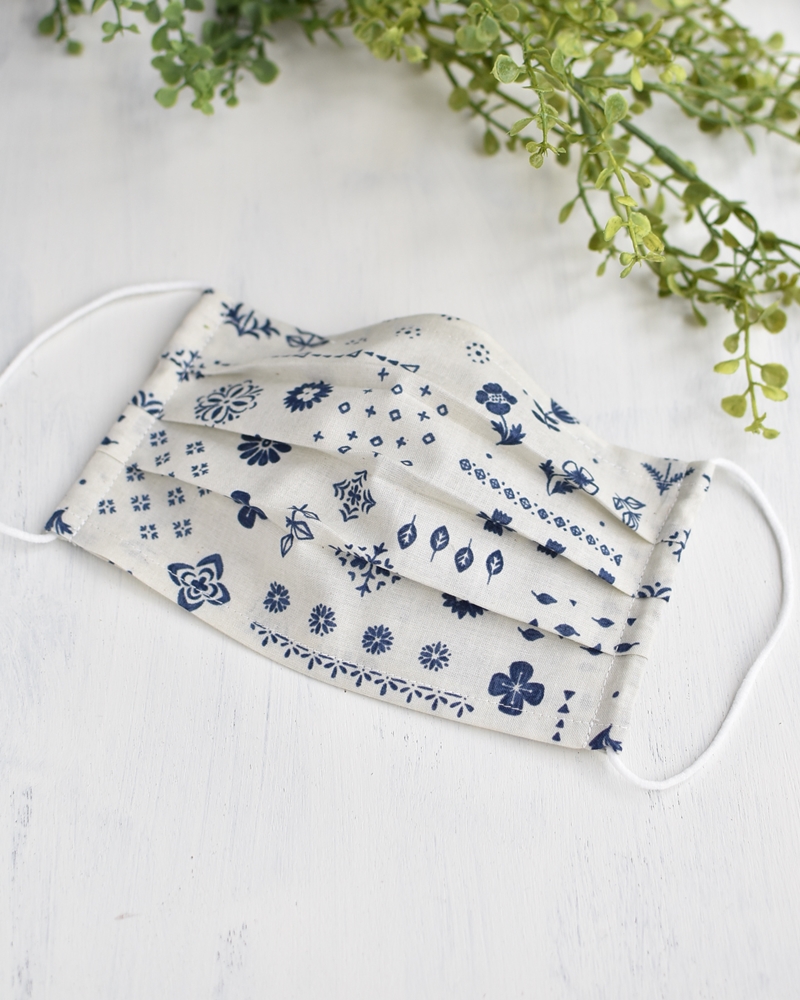
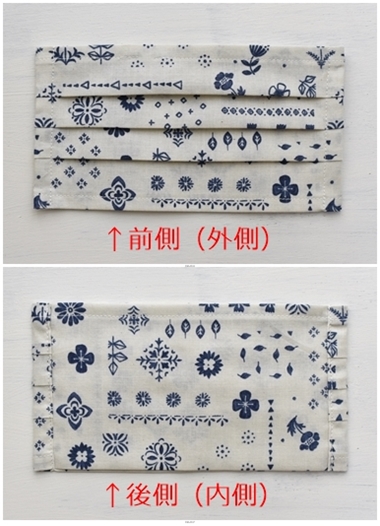
Keeping the summer climate in mind, this face mask is pleated on the outside and flat on the inside, allowing it to be breathable. The mask case and tissue case are both single layer so that it dries quickly after a wash. The making process is so simple that you can make these pieces in no time.
KF: What are some tips for making these pieces?
Some fabrics may shrink, so I recommend pre-wash and natural dry it first. Utilize the iron during the process for a clean finish. As these pieces will be washed frequently, allow for extra back stitches to give you peace of mind for wear and tear.
KF: How should we use these pieces in everyday situations?
While you may think a mask should be made with gauze fabric, a cotton 100% mask can also be comfortable with breathability. In that sense, this sheeting fabric is highly recommended. Since inside is flat, it can create a soft look if you make it with gauze material.
KF:Thank you very much, Satomi! Here are sewing instructions along with step by step photos from her. Enjoy crafting!
Instructions
Pleated Mask 1.
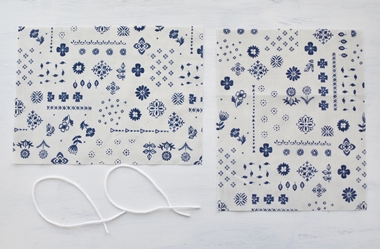
Cut the fabrics.
2.
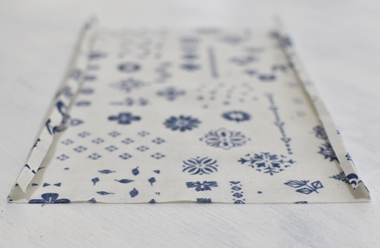
Start with the front portion first. Fold both top end and bottom end in three (0.5cm, 1cm). Iron the fabric to crease.
3.
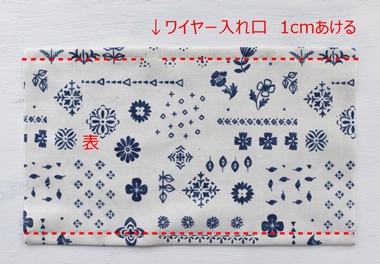
Sew at 0.7cm from the edge. ※When doing this, leave a space at 8.5-9.5cm from the side ends on the top portion to be uses as an opening for wire insertion. Make sure to apply backstitches. For the opening, apply 1cm backstitches to avoid fraying.
4.
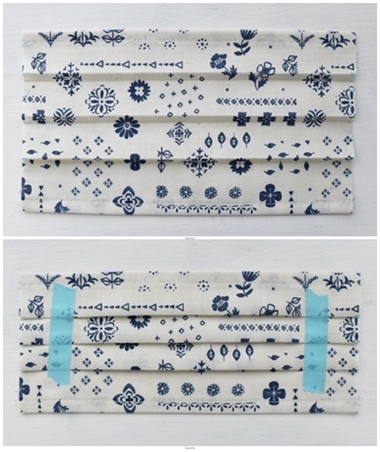
Using the crease as a guide, fold the fabric with valley folds and mountain folds. Once folded, the piece should be 9.5cm in length. Iron the piece to secure the folds.
※ Masking tape will help secure the folds.
5.
Sew the folded portion at 5mm from the side ends to secure the fold.
6.
Next, make the back portion. As with the front portion, fold both top end and bottom end in three (0.5cm, 1cm). Sew at 0.7cm from the edge.
7.
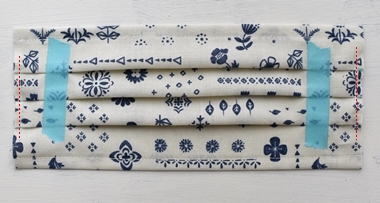
With the front sides facing outside, fold in half. Sew both side ends at 5mm from the edge.
8.
With the front sides facing outside, layer the front portion and back portion. (Both ends of the front portion is 2.5cm wider than the back portion)
9.

Fold both right and left ends of the front portion in three and hold it with a clip. Sew at 1cm from the edge.
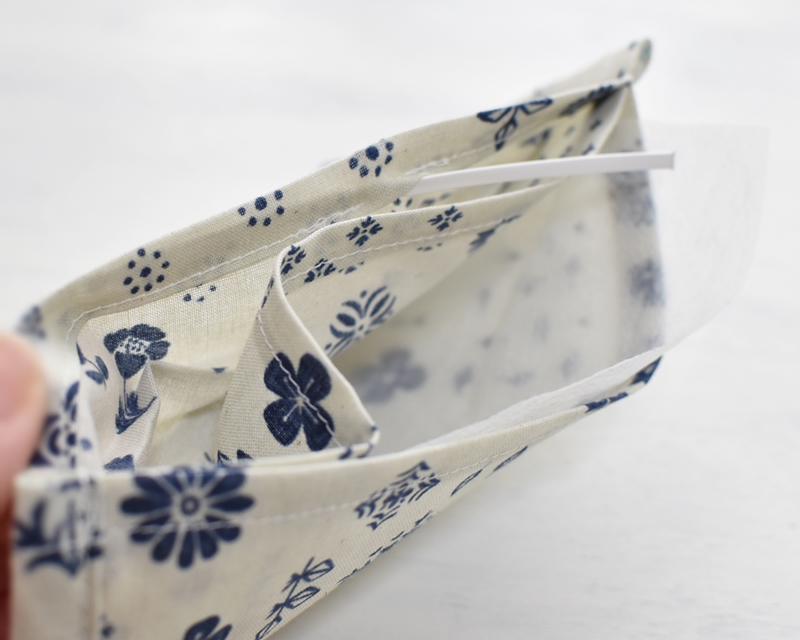
10.
Insert the elastic cord to finish!
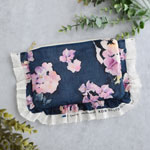
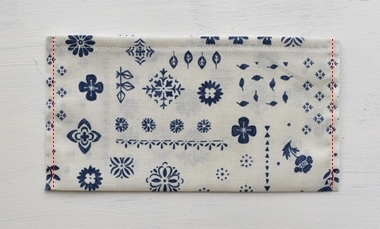
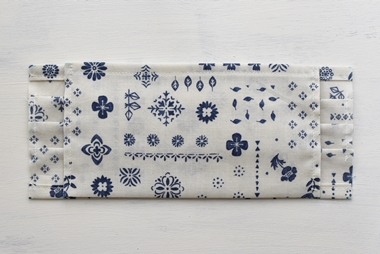
Mask Case 1.
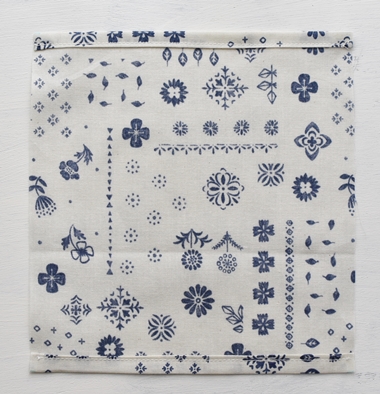
Cut the fabric. Fold both right and left ends (pocket opening) in three (1cm, 1cm) and sew at 0.7cm from the edge.
2.

With the front sides facing each other, fold both right and left sides for 10cm. Sew at 1cm from the top and bottom edge. To avoid fraying, apply zigzag stitches on both top and bottom.
3.
Turn it inside out. Iron to align the shape. Apply stitches (about 0.3cm) at the top and bottom to finish!
Folded Portable Box Tissue Case 1.
Cut the fabrics. For this project, sew-on type snaps are used. If plastic snaps are preferred, I recommend using fusible interfacing or slightly thicker fabric.
2.
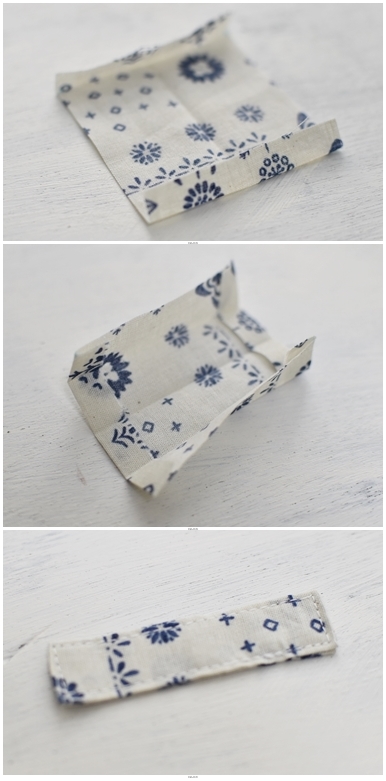
Make a tab. Fold both long ends for 1cm, then fold right and left ends in four. Apply stitches all the way around the piece.
3.
Fold both top and bottom long ends of the main piece in three (1.5cm, 1.5cm) and sew at 1.3cm from the edge. Baste the tab from step 2 at 5mm from the edge in the center of the right portion.
4.

With the front sides facing each other, fold the piece. Fold in a way so that the opening portion created in step 3 is layered. Sew both right and left ends at 1cm from the edge. Apply zigzag stitches to avoid fraying.
5.
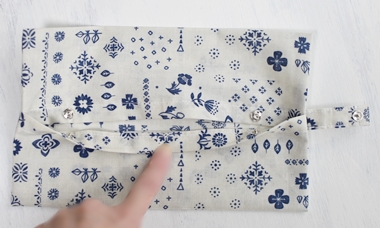
Turn it inside out and iron to align the shape. Attach snap buttons to finish!
◎Sewing Instructions
◎Sewing Instructions (PDF format / A4 size)