
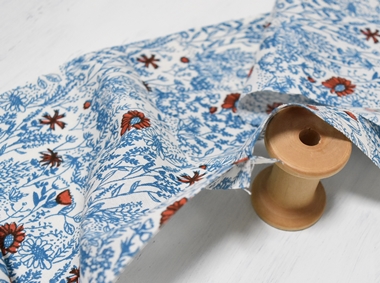
Masks are necessities these days for allergies and keeping viruses away. With your mask, you would always want to carry a tissue packet. Why not make a convenient tissue case with a pocket? All you need to do is just fold the fabric and sew. The featured fabric is the WILD FLORAL from the egg press series. This cotton 100% thin muslin fabric is perfect for making small items.
Fabric shown for this sample::
Materials:
□ Fabric:30cm×45.5cm
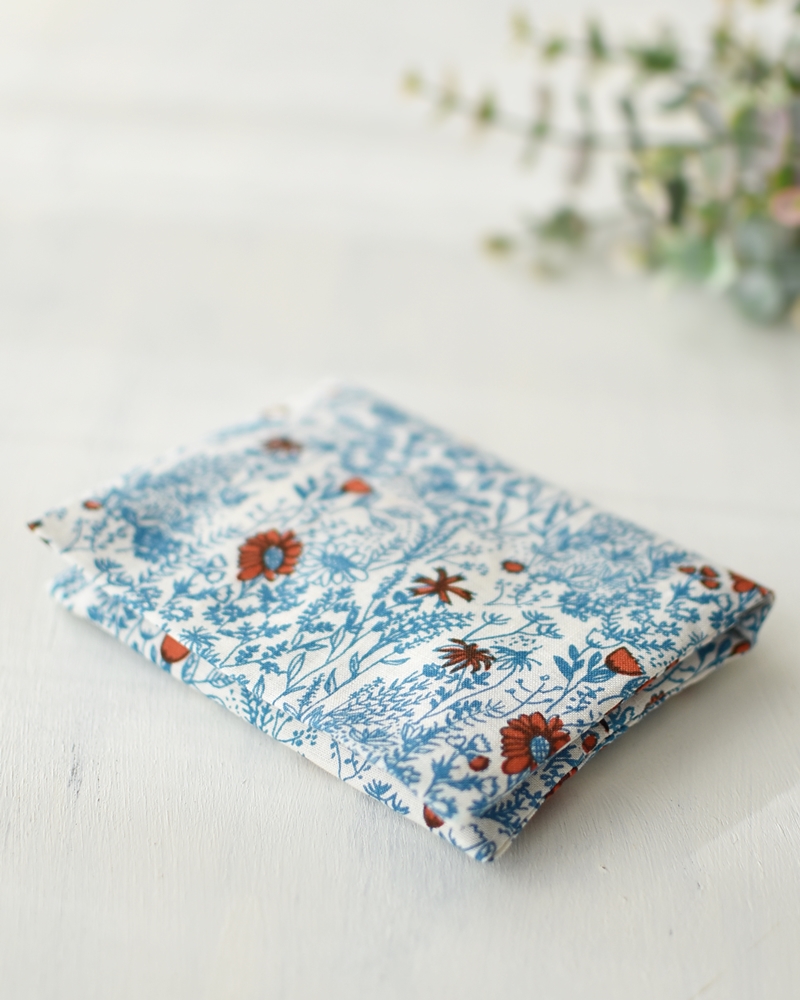
Size: 10cm (l) 13cm (w – when folded in half)
We interviewed Satomi about her creation:
Kokka Fabric (KF): What did you think of the fabric you used for this project?
To take advantage of the classy and clean design, I came up with a small item that can be used everyday.
KF:: Can you tell us any special elements or ideas that you incorporated into this creation?
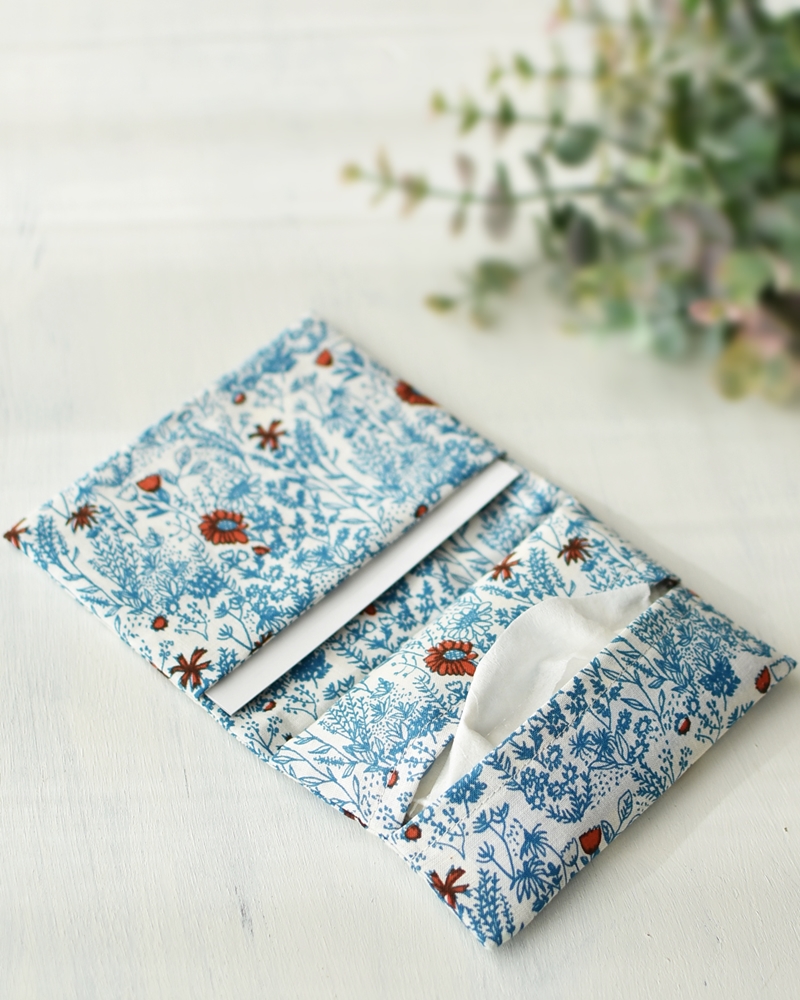
What I wanted was a tissue case that allows you to carry things like a band aid or sanitary items together. So this case has two pockets. It also helps you to organize the items in your purse.
KF: What are some tips for making this case?
If the fabric’s design does not go in one direction, you will be able to use only one piece of fabric to make the case.
KF: How should we use this case in everyday situations?
A pocket tissue case is a girl’s must-have item. Once you learn how to fold the fabric, you can quickly and easily make it. Why not use your favorite fabric to make a piece? It will make you look even more lovely. If it is made with a gauze fabric, it can be used as a handkerchief in emergency situations. To keep the flaps closed, adding a snap button is a good idea.
KF:Thank you very much, Satomi! Here are sewing instructions along with step by step photos from her. Enjoy crafting!
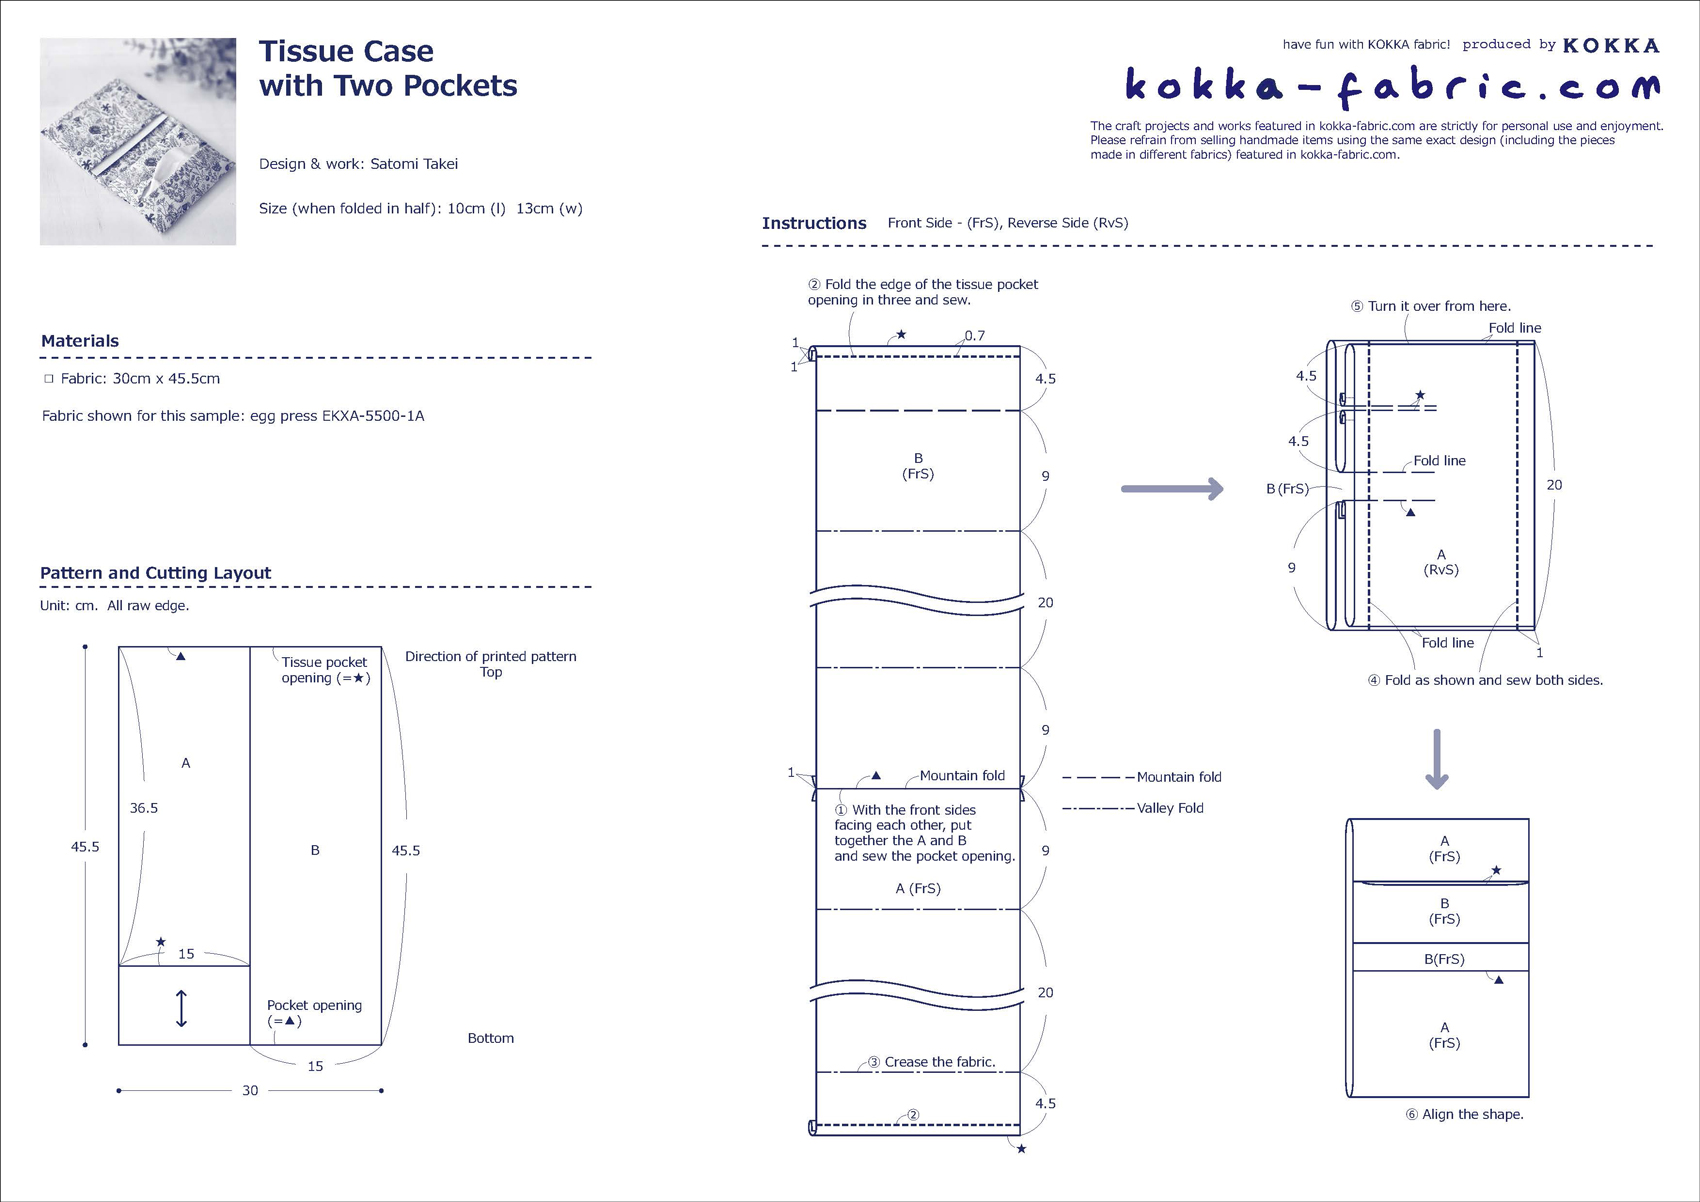
1.
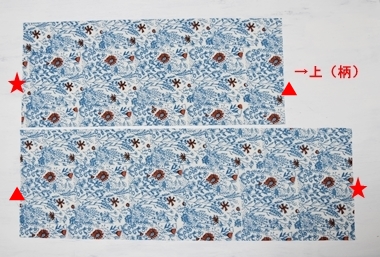
Cut the fabrics. ※ If the patterns are lined in one direction, cut the fabric as shown so that the top and bottom patterns will be lined nicely when folded.
2.
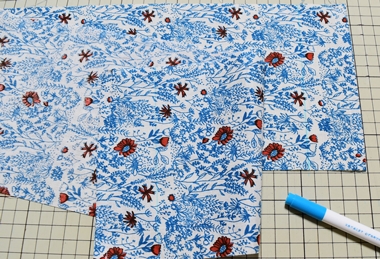
With the front sides facing each other, align the fabric where it is marked with ★ in the first picture. Sew together the fabrics with 1cm seam. ※ Make sure the patterns are aligned in the same direction. Where it is sewn together is going to be the pocket opening of the flap.
3.
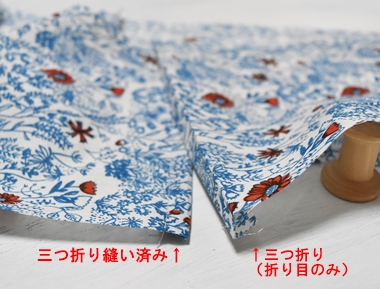
Fold the area marked with ▲ in the first picture in three. Stich at 7mm from the edge. ※ This will become the tissue opening.
4.
Fold and crease on the outer side.
5.

Follow the crease line and carefully fold the fabric with mountain fold and valley fold.
6.

Fabric is folded (shown from the side). ※ Opening for the tissue is on the bottom right.
7.
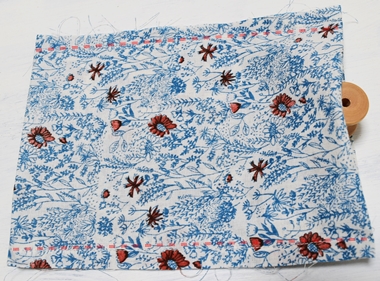
Using a clip, hold the fabric and sew the top and bottom at 1cm from the end.
8.

Turn it inside out, using the opening on the pocket.
9.
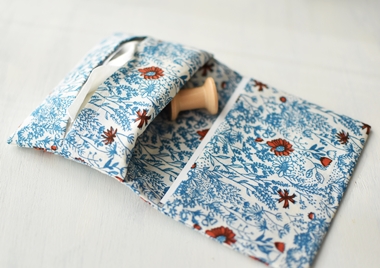
Pull out the corner using a stiletto. Align the shape and securely iron to finish!
Sewing Instructions (PDF format / A4 size)

 Three-piece Set Containing a Pleated Face Mask, Mask Case and Tissue Case – Made with Only 50cm of Fabric – Sewing Instructions
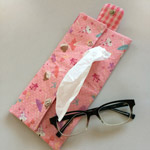 Portable Box Tissue Case
 Mask Holder L-Shaped Pouch for Toiletries – Sewing Instructions