
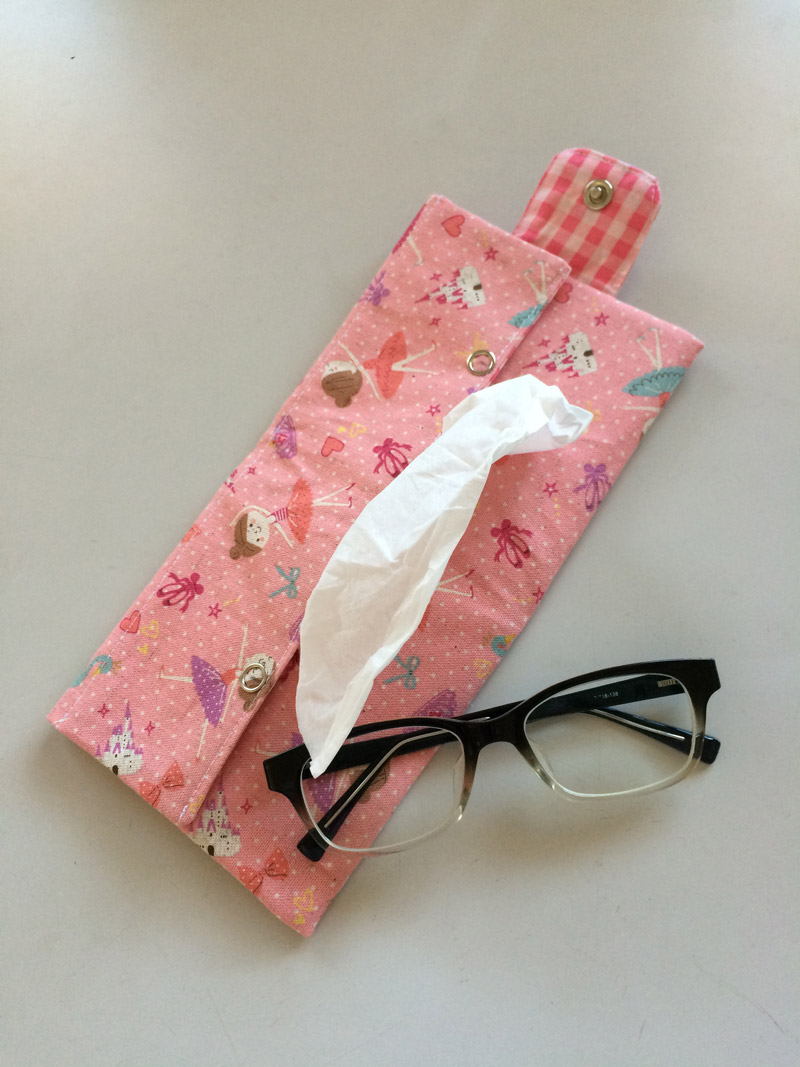
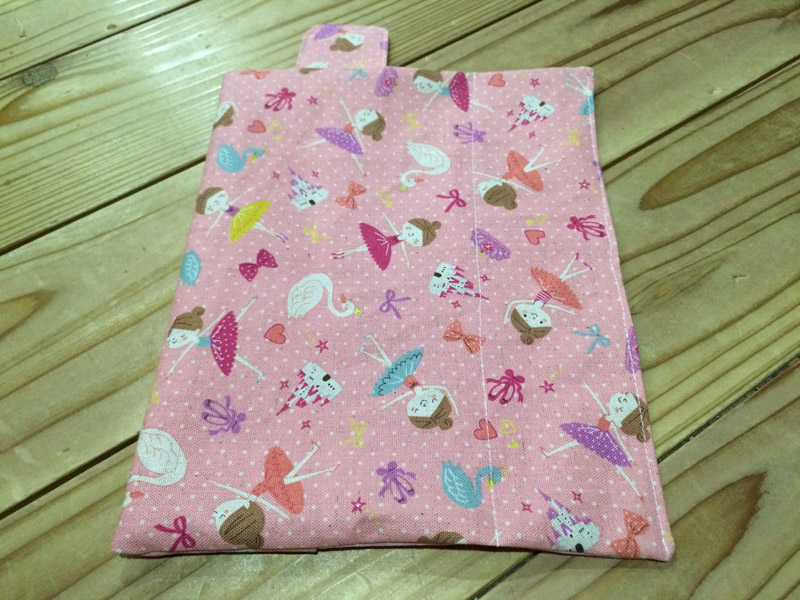
This convenient tissue case will allow you to convert a box of tissue into something portable. The fabric from PUTITE ECOLE series with motifs of girls in love with a ballet is featured. A tab and snap buttons make the case compact and portable. Masumi Saito, who is always full of unique ideas and known for her small cute items is sharing her creation.
Fabric shown for this sample:PUTITE ECOLE H10400-401 (B)
Materials:
□ Fabric (Outer fabric): 40cm x 30cm
(Lining fabric): 40cm×30cm
□ Ring Snap Button: 3 pairs (1cm diameter)
We interviewed Masumi about her creation:
Kokka Fabric (KF): What did you think of the fabric you used for this project?
It has such lovely design that makes girls feel something special. So I wanted to come up with an item that you can always carry around.
KF: Can you tell us any special elements or ideas that you incorporated into this creation?
With one of the sides that can fully open, it is easy to refill the case.
KF: What are some tips for making this case?
It is an easy project even for sewing beginners with mostly straight lines for cutting and sewing.
KF: How should we use this case in everyday situations?
Though snap buttons are used this time, you can substitute it with a Velcro or rope so that it can hang on the wall.
KF: Thank you very much, Masumi! Here are sewing instructions along with step by step photos from her. Enjoy crafting!
Instructions
1. Prepare the materials.
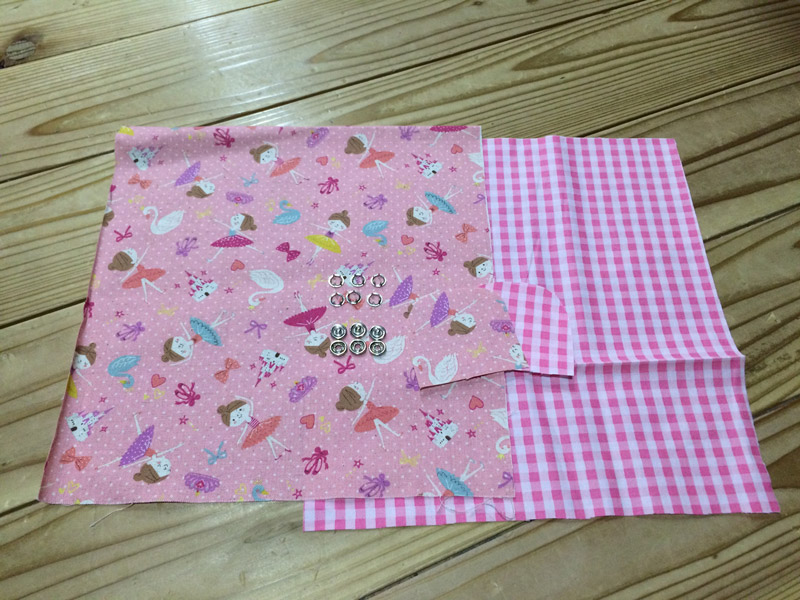
・28cm(l) × 26cm(w) – two pieces (outer x 1, lining x 1)
・about 7cm×7cm – for a tab
・Snap button – 3 pairs (1cm diameter)
2. Make the tab.

・With the front sides facing each other, sew together with 1cm seam. (Leave the top unsewn where it is attached to the case.)
・ Using the opening, turn it inside out. Sew around the edge.
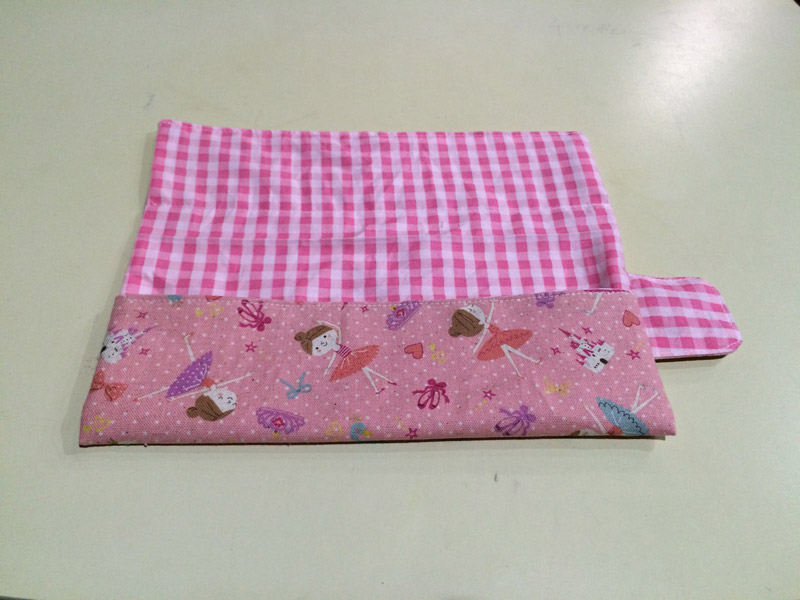
3. Make the main case.
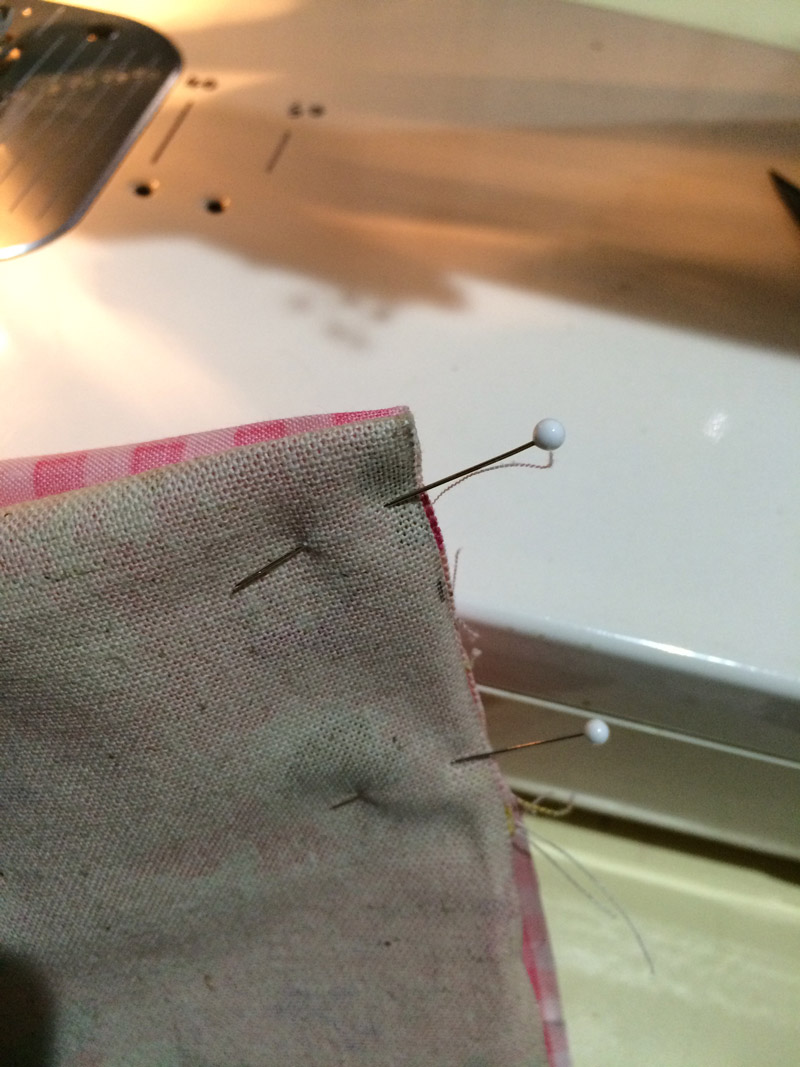
・With the front sides facing each other, sew the bottom side (24cm side) with 1cm seam.
Turn it inside out and run stitches on the edge.
・Again with the front sides facing each other, fold inward for 7cm and pin it to secure.
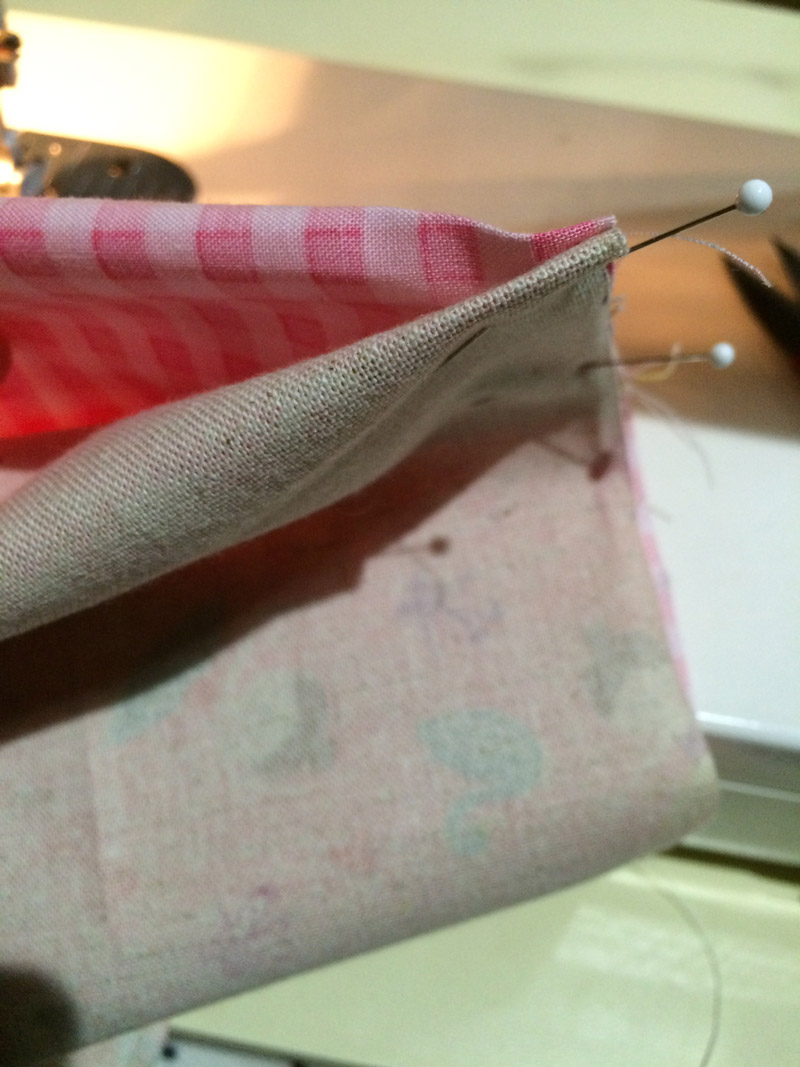
・With the front sides facing each other, sew together the other 24cm piece with 1cm seam (Leave 5cm unsewn for opening for turning.)
4.
・ Place the tab in-between where it was folded for 7cm in Step 3. Sew both ends with 1cm seam.
・Using the opening for turning, turn it inside out. Sew at 6cm from the top edge.
5.
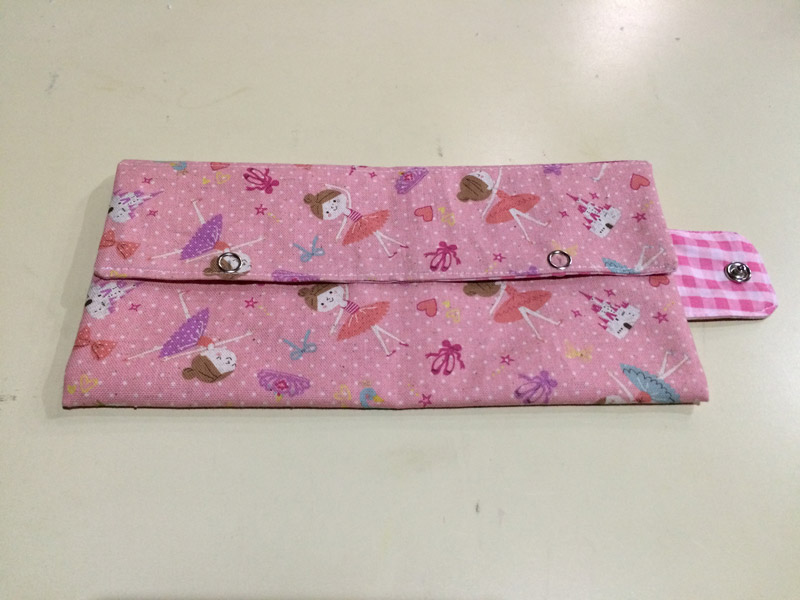
Overlap for about 1cm. Attach the snaps at about 5cm from both ends.
6.

Attach the snap on the tab to finish.

 Tissue Box case
 Three-piece Set Containing a Pleated Face Mask, Mask Case and Tissue Case – Made with Only 50cm of Fabric – Sewing Instructions
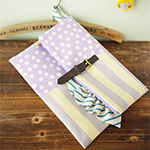 Clutch Bag