
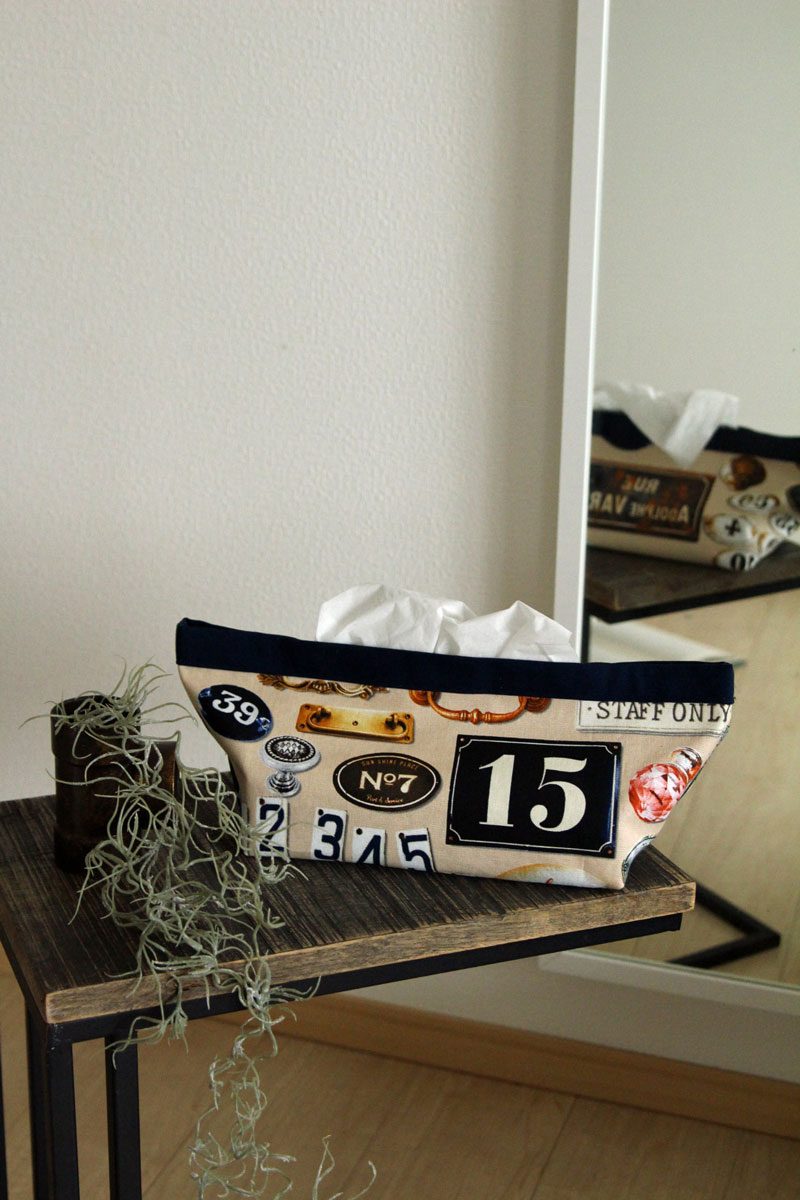
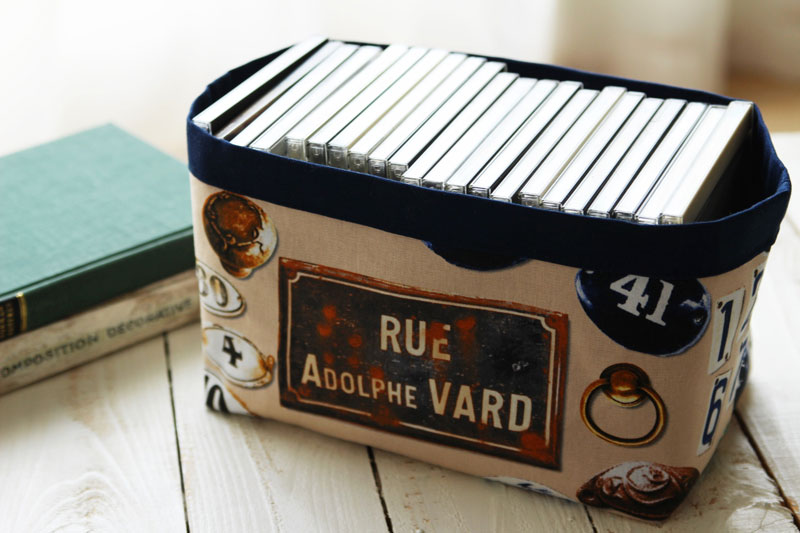
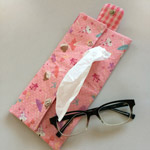
A lively looking fabric from the Real Printe series is turned into a tissue box case. The fabric’s design features randomly placed license plates and sign boards. This dual-purpose case can also be used as a CD storage box, making it useful for organizing the clutter in any room.
Fabric shown for this sample: (Outer fabric)Real Printe P46000-601A Canvas
Materials:
□ Fabric (Outer fabric): 110cm wide×30cm
(Lining fabric): 40cm×60cm
□ Snap: Two pairs (1cm diameter)
*All rights reserved. ©Kokka
We interviewed Kanae about her creation:
Kokka Fabric (KF): What did you think of the fabric you used for this project?
The design features stylish plates and sign boards, the motif that is perfect for DIY activity that is currently considered trendy. It was fun thinking about which part of the design to use.
KF: Can you tell us any special elements or ideas that you incorporated into this creation?
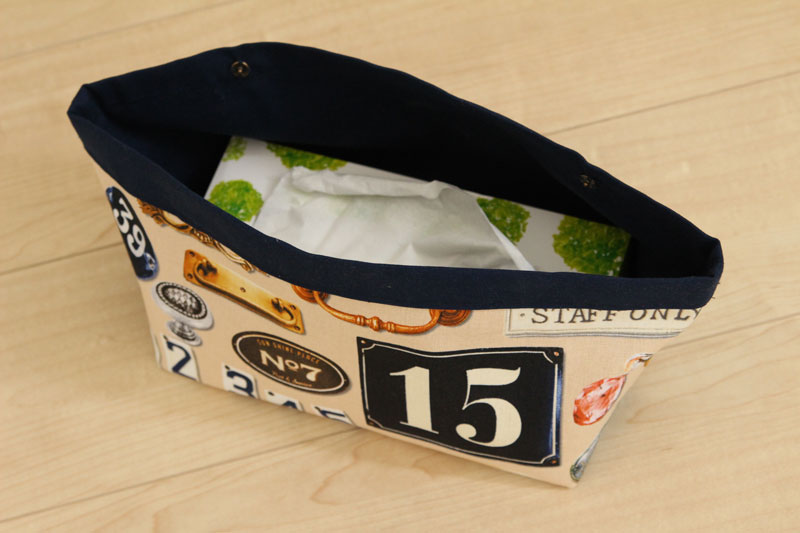
You can quickly make this simple design case as it does not have an opening for turning and no hand stitching is needed. The fabrics around the opening has four layers so it can maintain a solid shape without a core board.
KF: How should we use this case in everyday situations?
While it is primarily a tissue box case, it can be used as a clutter organizer by opening a snap.
It also serves as a CD storage.
KF: Thank you very much, Kanae! Here are sewing instructions along with step by step photos from her. Enjoy crafting!
Instructions
1.

When cutting the outer fabric, try to place the design you want in the space between 2.5cm and 14cm from the top.
2.
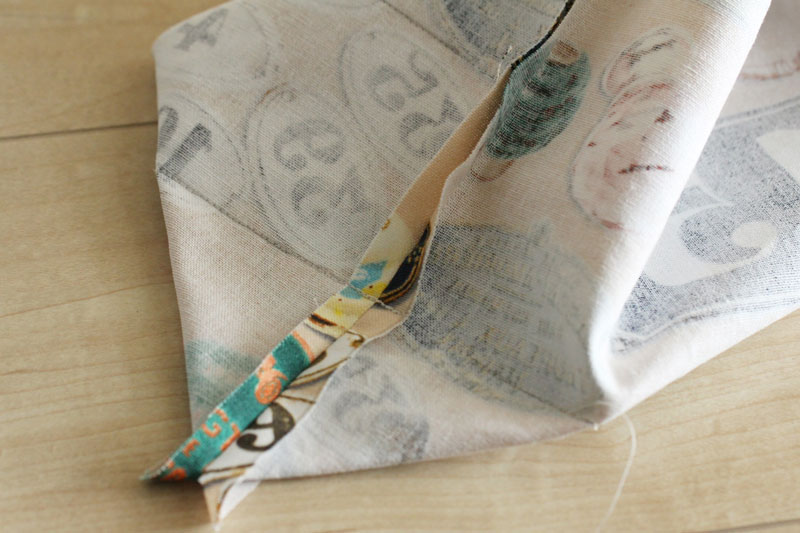
Both sides of the outer fabric, bottom and gusset (12cm) are sewn (pictured).

The other side also shows a desired design.

3.
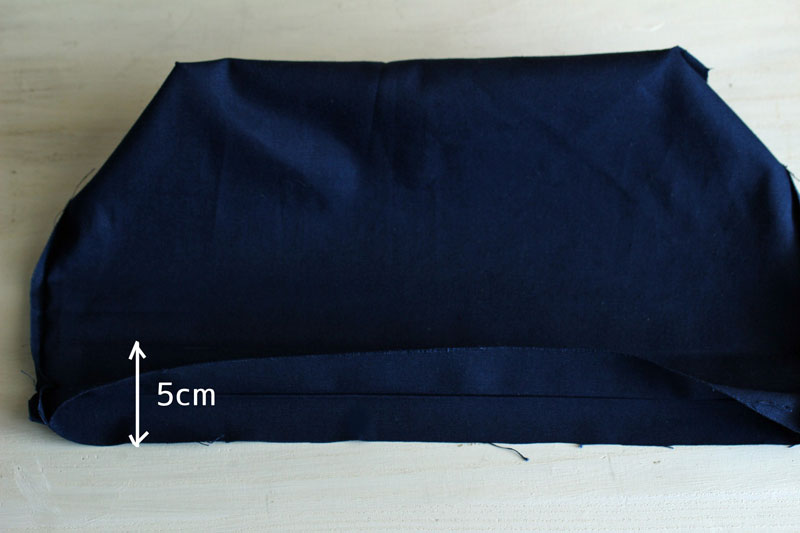
Sew both sides and gusset of the Lining fabric. With the front sides facing each other, fold the top for 5cm (double fold of 2.5cm) and iron to score.
4.
Fold one more time and iron to score. Unfold once to a double fold.
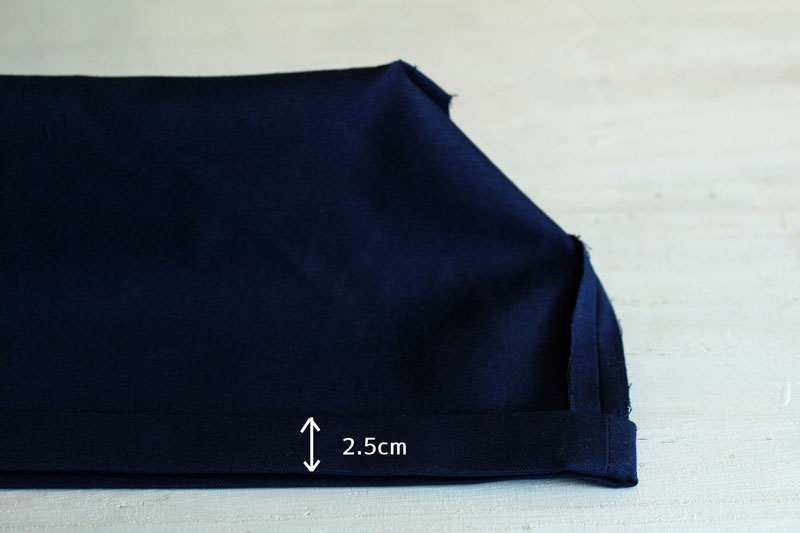
5.
Place the lining bag (front side facing inside) into the outer bag (front side facing outside). The lining bag is sticking out at the top by 2.5cm. Using this portion, overwrap the edge of the outer bag.
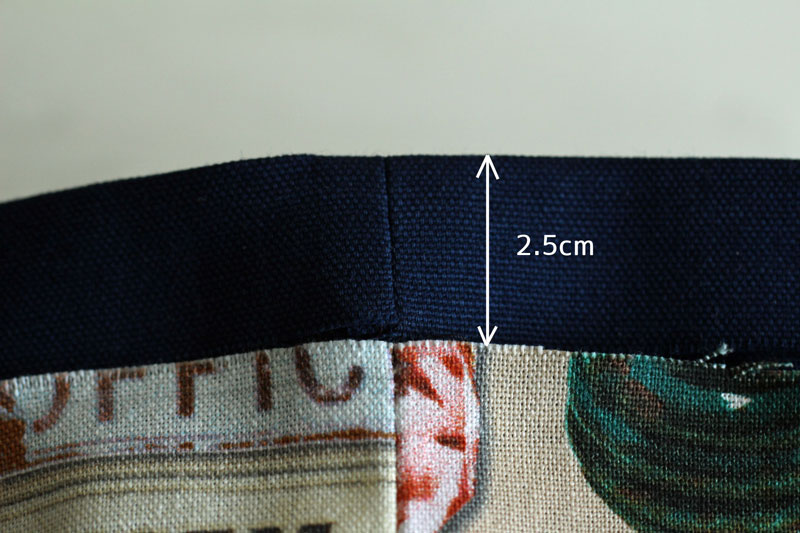
6.

Press the fabric using an iron and pin the edges.
7.
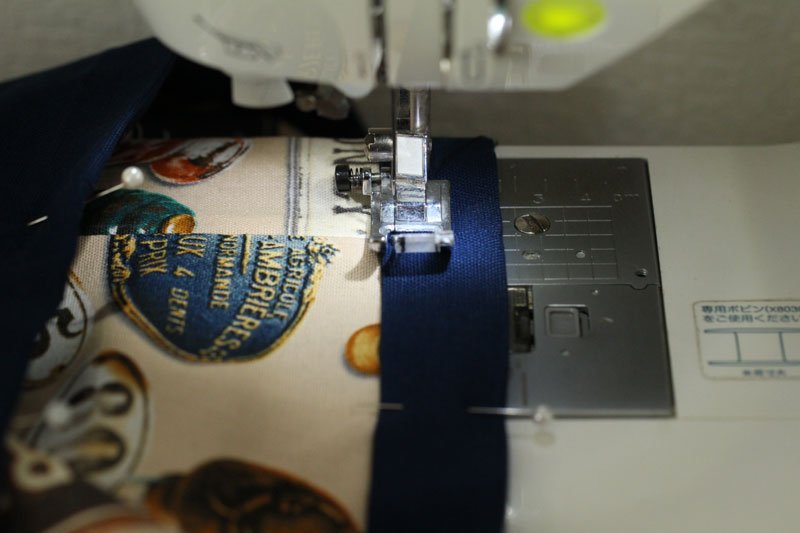
The top opening fabrics are layered as shown. Apply stitches all the way around over the lining fabric. (stitches on the lower end) Attach two snap buttons at the inside opening to finish.

 Portable Box Tissue Case
 Three-piece Set Containing a Pleated Face Mask, Mask Case and Tissue Case – Made with Only 50cm of Fabric – Sewing Instructions
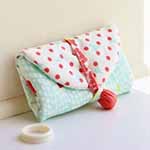 Accessory Case