
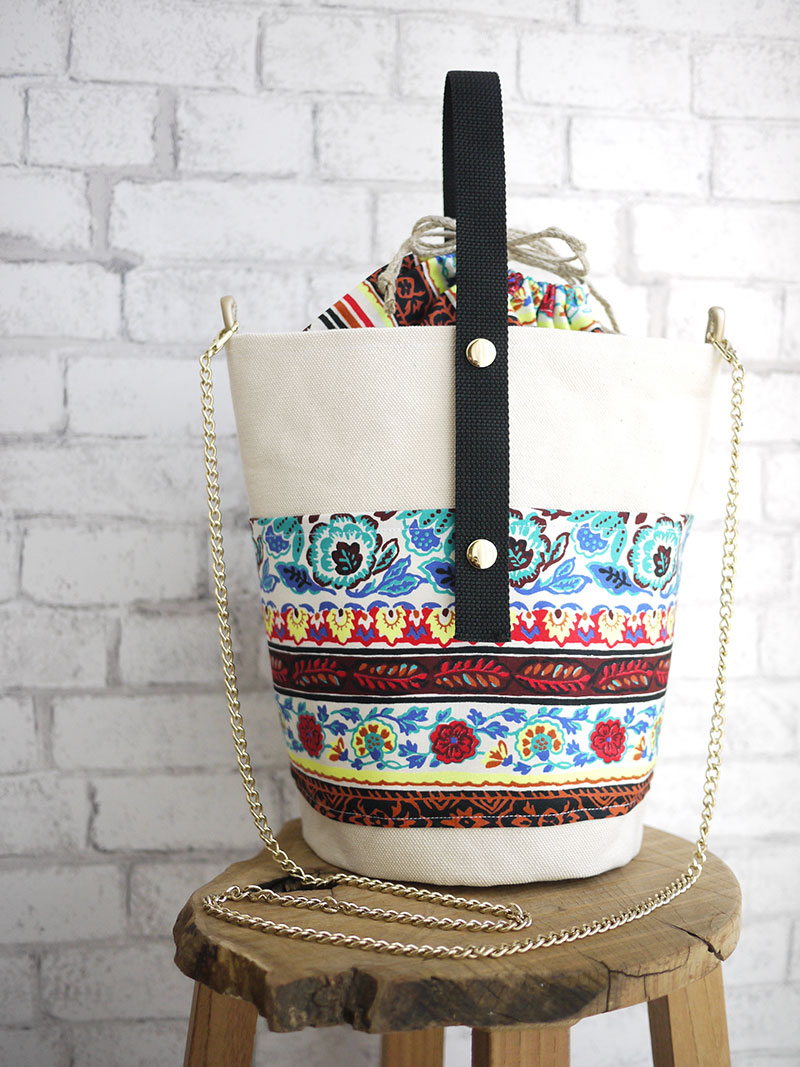
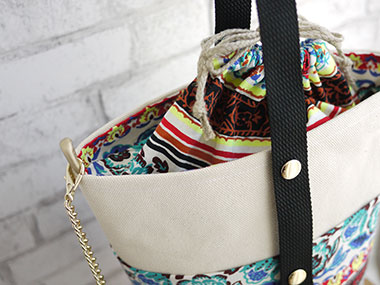
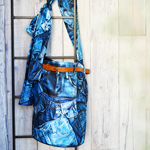
Despite its small size, this bucket-style bag can hold many going-out necessities such as a wallet and cell phone. The main part of the bag uses a bright african color, a fabric that has such vivid fluorescent color tones. The bag has a proper style and comes in a simple yet solid #6 canvas. The handle is adjustable with snap buttons and it adds a nice twist to the creation. By attaching a strand of chain, you can turn this into a shoulder bag.
Fabric shown for this sample:P46100-100ASheeting
Materials:
□ Fabric (Pocket, Opening fabric): 70cm×50cm
(Panel, Bottom (#6 Canvas)): 80cm×30cm
□ PP Band (PolyproPylene band): 50cm (2.5cm wide)
□ One sided stitched leather cord: 14cm (0.8cm diameter)
□ Hemp cord: 1.2m
□ One touch Plasnap button (plastic snap button): two pairs (1.4cm diameter)
*All rights reserved. ©Kokka
We interviewed Yui about her creation:
Kokka Fabric (KF): What did you think of the fabric you used for this project?
The fluorescent color caught my eyes. I really like its color and design combination. I wanted to make something that is versatile and can be used often from spring to fall.
KF: Can you tell us any special elements or ideas that you incorporated into this creation?
This trendy bucket-style bag is just the right size to carry. It has enough space for your everyday items like a wallet, cell phone and pen case. The contents can be covered and a handy pocket is placed outside. The handle length is adjustable with snap buttons. By attaching a strand of chain, you can turn this into a shoulder bag.
KF: What are some tips for making this bag?
While the #6 canvas fabric has a slightly rough texture, it goes perfectly well with the african color and can create a proper look. When sewing together the round bottom and the bag top, I recommend taking extra steps by using sewing clips or basting for a clean round finish.
KF:How should we use this bag in everyday situations?
It serves as a nice accent when coordinated with a simple style of clothing. The size of this bag is so perfect that it makes you want to use it every day!
KF: Thank you very much, Yui! Here are sewing instructions along with step by step photos from her. Enjoy crafting!
Instructions
1.
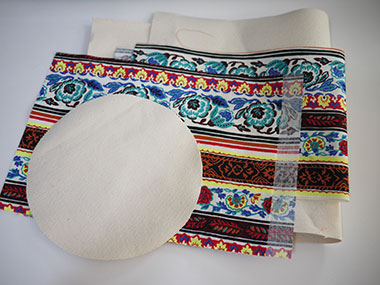
Cut the fabrics with seams.
2. Make the opening fabric.

Double fold the top opening side and iron to score. Repeat the process on the other fabric.
3.

Open the fold once. With the front sides facing each other, sew two pieces together at the sides up to the opening. Press the seam open. Apply stitches from the front over the seam.
4.
Double fold the fabric again and create the opening for the cord.
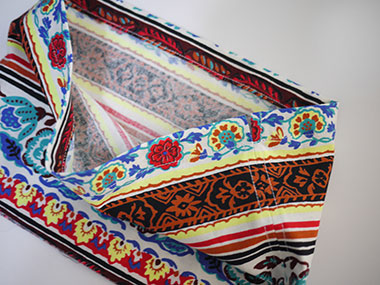
5. Make the pocket and the top bag portion.

Double fold the top end and bottom end. Apply stitches on the top end.
Layer the pocket and baste the sides. Sew the bottom end of the pocket onto the bag fabric.
Serge the seam. ※You can do this to the opening side later.
With the front sides facing each other, lightly fold the bag portion in half. Sew together the sides.
6.

Press the seam open. With the front sides facing each other, sew together the top bag portion and bottom.
7.
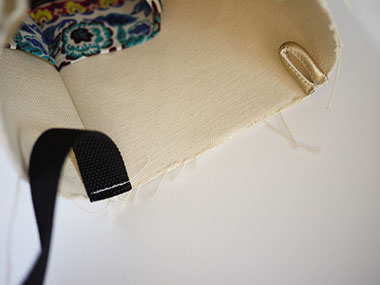
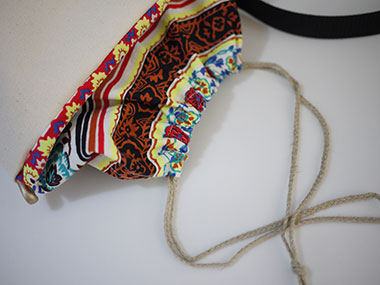
Place the stitch line to the back center.
Baste the handle at the back center. Baste the cords on both sides.
8. Sew together the opening fabric and bag.
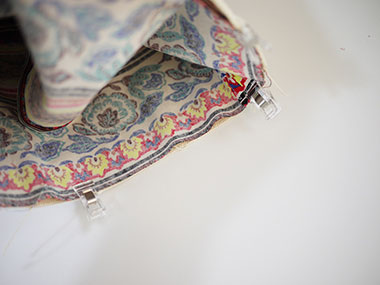
With the front sides facing each other, place the opening fabric over the bag. Sew all the way around at the top. Serge the seam
9.
Turn it inside out. Put the cord through the opening.
10.
Place the opening fabric inside the bag and sew all the way around the top opening.
Serge the edge of the handle and apply liquid seam sealant to avoid fraying,
Attach the snap buttons on the bag and handle to finish.

 Recycled Denim-Style Bucket Bag Sewing Instruction
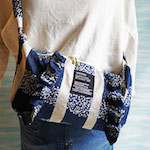 Perfect for Everyday Use – Sewing Instructions for Shoulder Bag Frills
 Tucked Handle Bag Sewing Instructions