
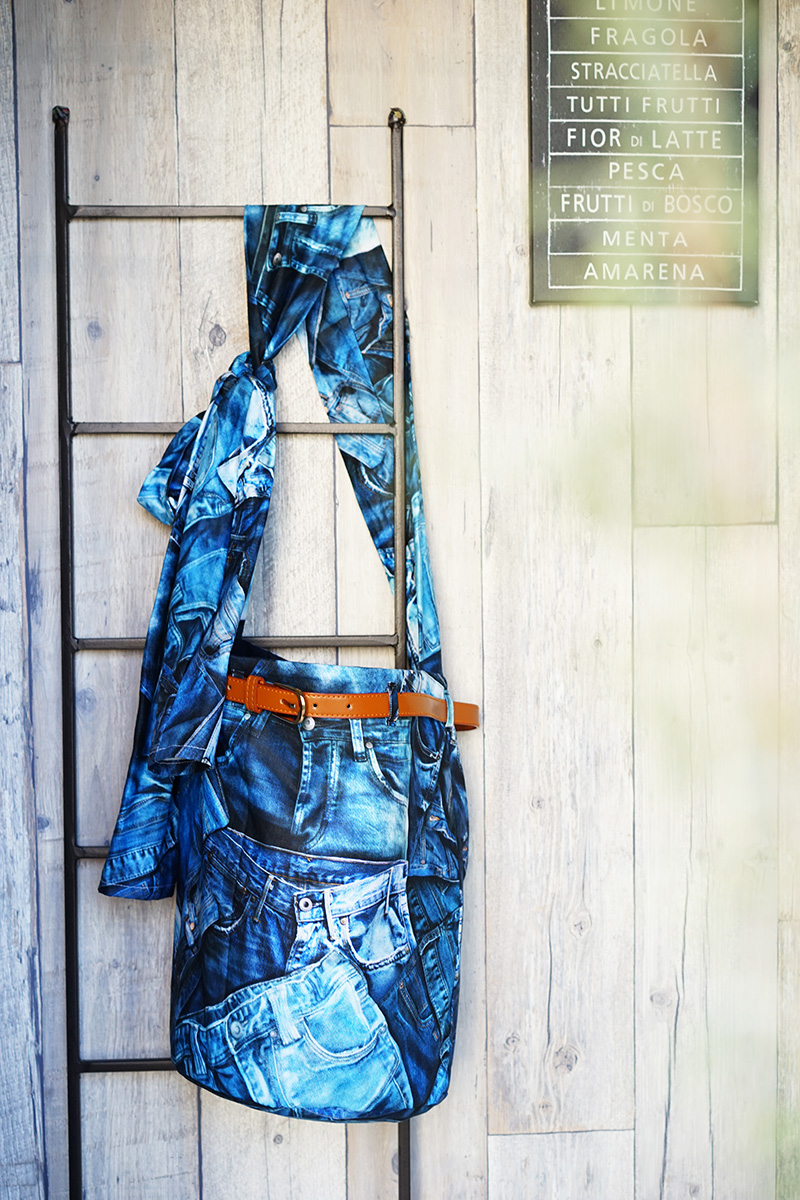
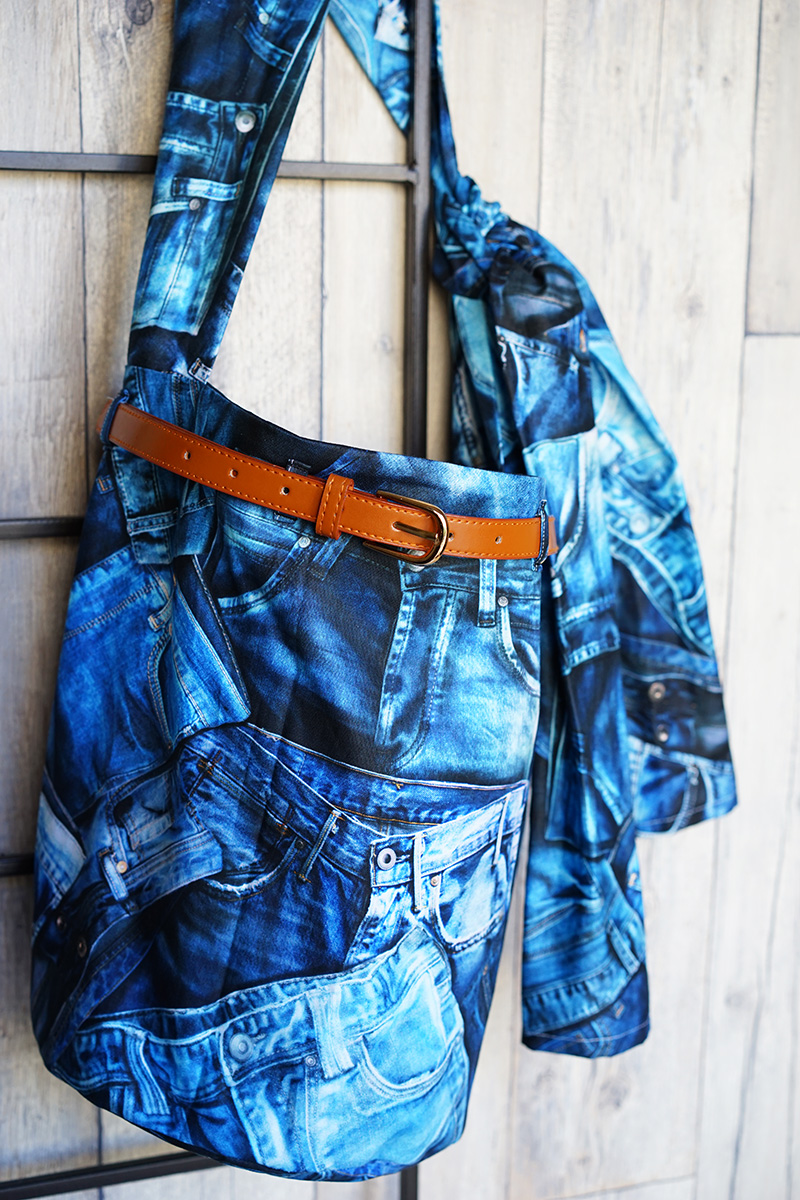
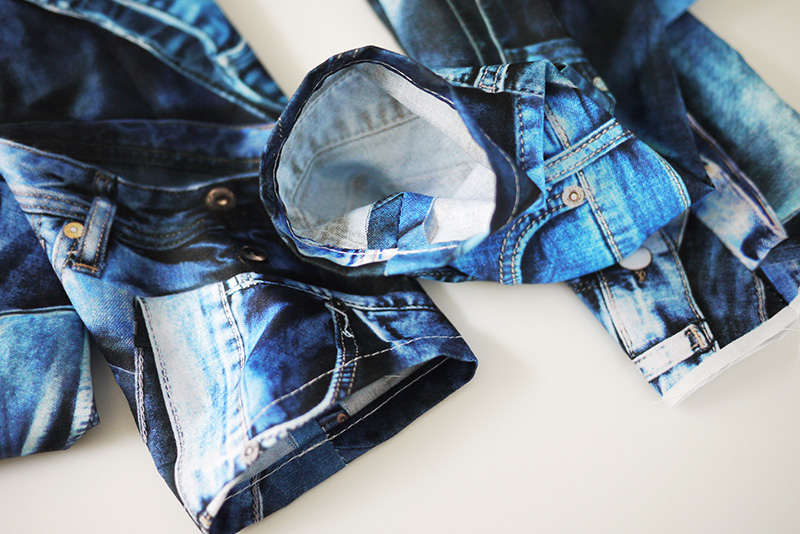
With a belt around it, this large bucket bag really looks like a pair of jeans. The length of the tied-handle is adjustable. The realistic print of the layered jeans is from the Ink Jet Series. It will be fun to make a matching tissue case and pouches.
Fabric shown for this sample:LG-29100-4A
Materials:
□ Fabric (Outer fabric, Handle, Belt tab): 110cm wide×90cm
(Lining fabric(#11 Canvas)): 110cm wide×40cm
□ Belt: 2cm wide – One piece
Size:35cm (l) 25cm (bottom diameter)
We interviewed Yui about her creation:
Kokka Fabric (KF): What did you think of the fabric you used for this project?
It has a unique design with a layered jeans motif, and the print is very realistic. While I thought that even a small item in this fabric will definitely stand out, I came up with a large bag so that the printed jeans design can be fully enjoyed.
KF: Can you tell us any special elements or ideas that you incorporated into this creation?
A regular belt is matched with a tubular bag, reminding you exactly of a pair of jeans. For the handle, what I had in mind was a tied denim shirt around your shoulder or hip. With ample room and an adjustable handle, this bag is quite convenient.
KF: What are some tips for making this bag?
When piecing together the round bottom, you may find it slightly difficult. The tip to finish it nicely is to use multiple sewing clips for holding fabrics together or basting beforehand.
KF: How should we incorporate this bag into one’s styling?
I used a belt from a dollar shop this time. You can replace it with the one you already have depending on your mood. You may also use a ribbon or a scarf for a different look. This bag can be a stylish accompaniment for a simple outfit.
KF: Thank you very much, Yui! Here are sewing instructions along with step by step photos from her. Enjoy crafting!
1.
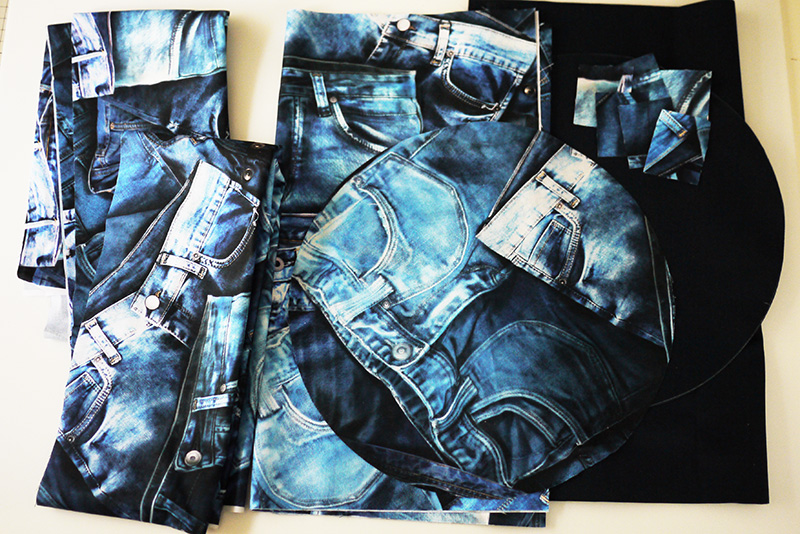
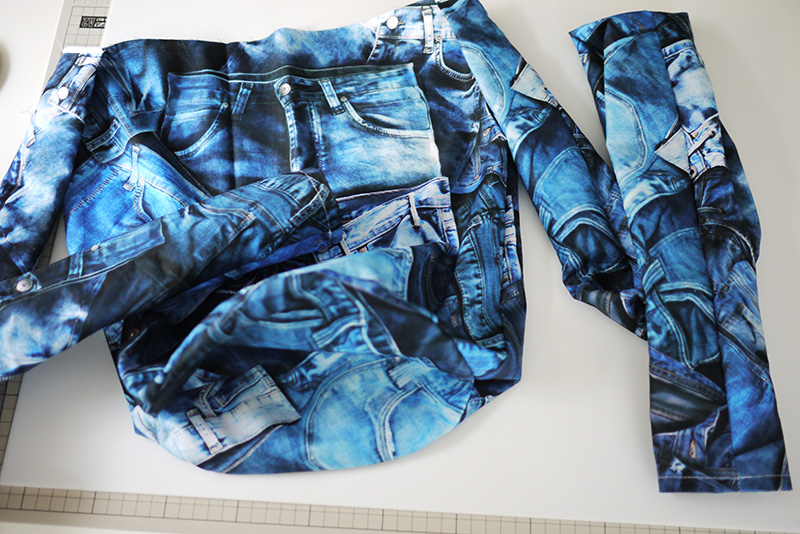
Cut the fabrics – Bag panel (outer and lining x 1 each), Bottom (outer and lining x 1 each), Belt tab (outer x 6)
2.
Fold the handle in half to make a long piece (with the front sides facing each other). Sew the long end at 1cm from the edge and turn it inside out.
3.
Fold one end of the handle (non-attachment side) in three (like the hem of a dress) and apply stitches. Make another piece.
4.

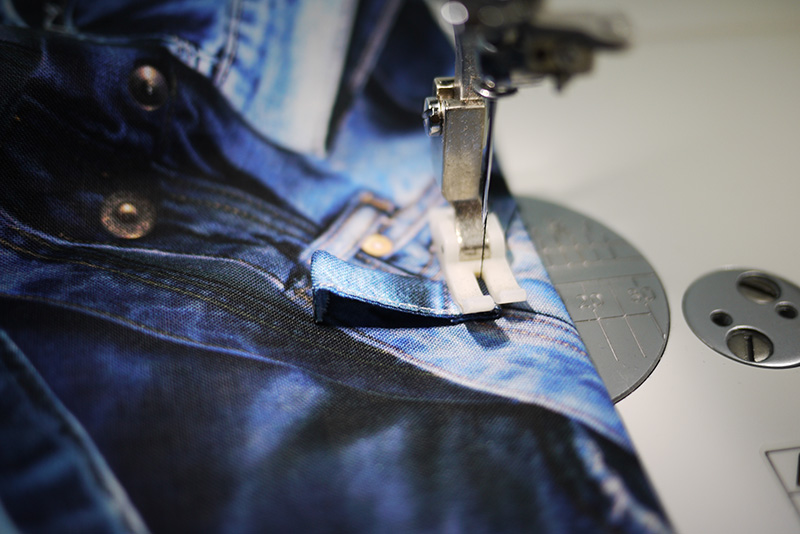
Fold the fabric for belt tab and apply stitches on the end.
5.
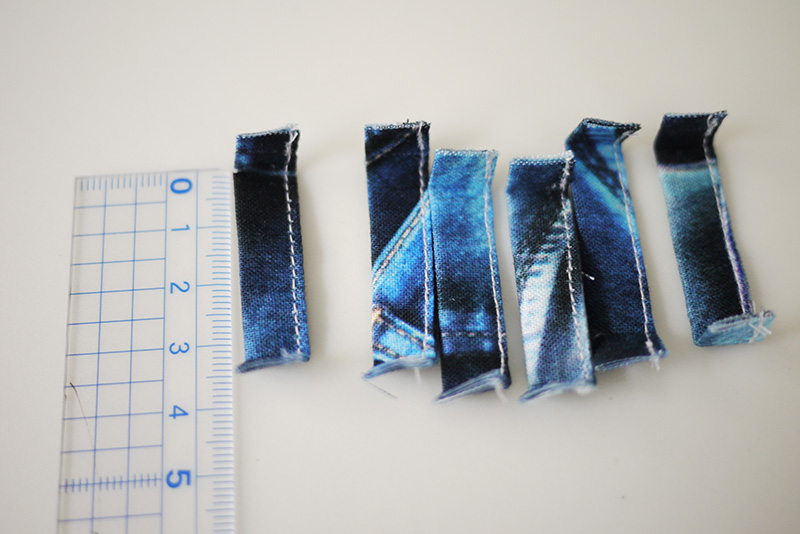
Fold top and bottom of the belt tab.
6.
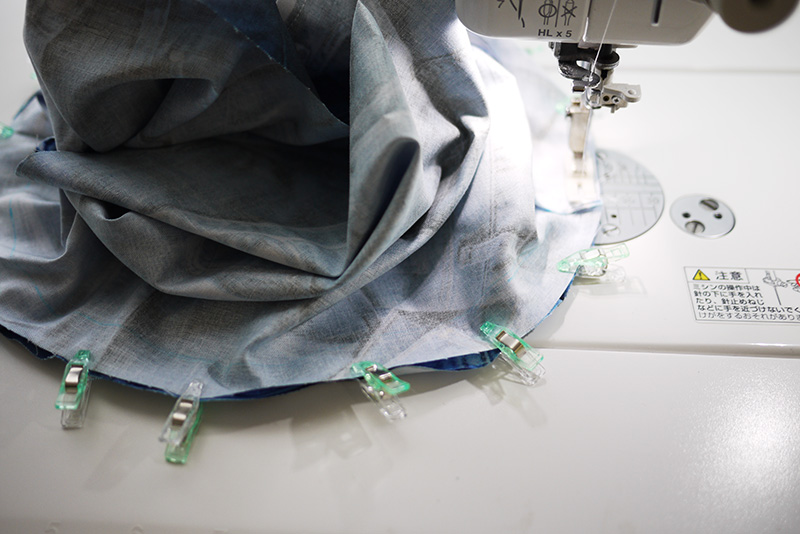
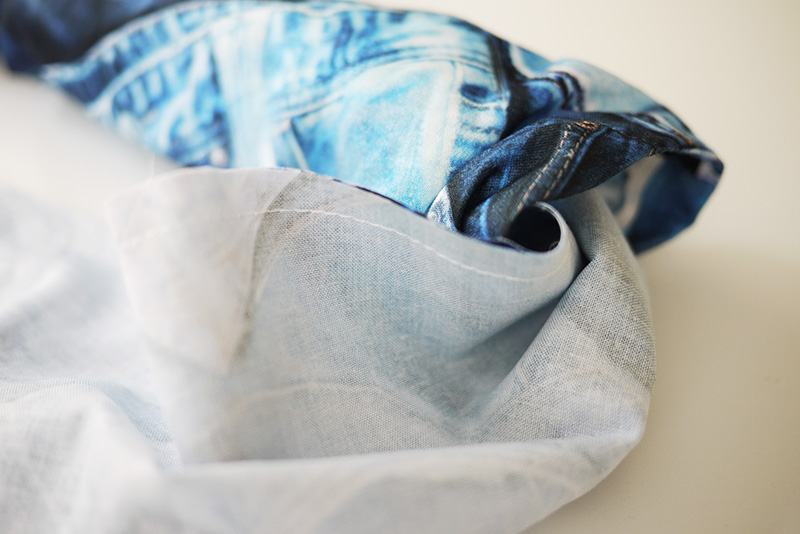
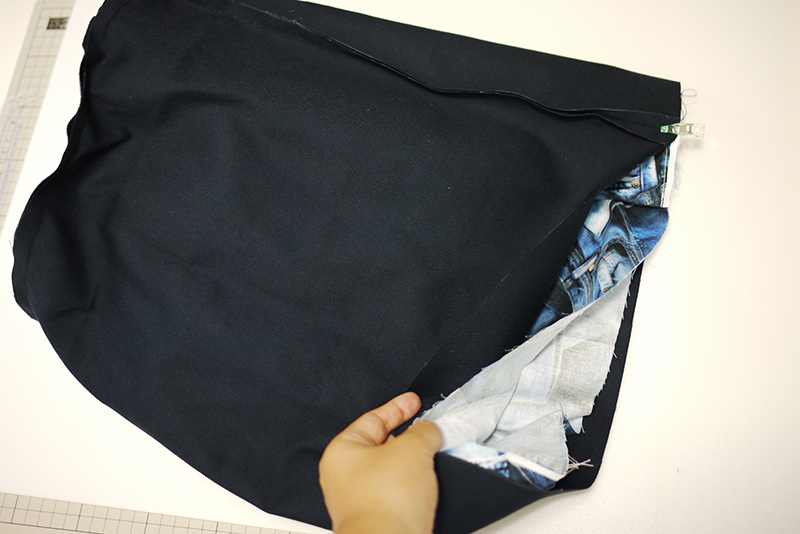
With the front sides facing each other, fold the bag panel outer fabric and sew. Using clips, hold the bottom fabric together and sew (with the front sides facing each other).
Repeat the process for the lining bag. (For the lining bag, leave an opening for turning on the side.)
7.
Place the handles to the outer bag and baste them.
8.
With the front sides facing each other, sew together the outer and lining bags all the way around at the top opening. Turn it inside out and close the opening for turning.
9.
Attach the belt tabs.
10.
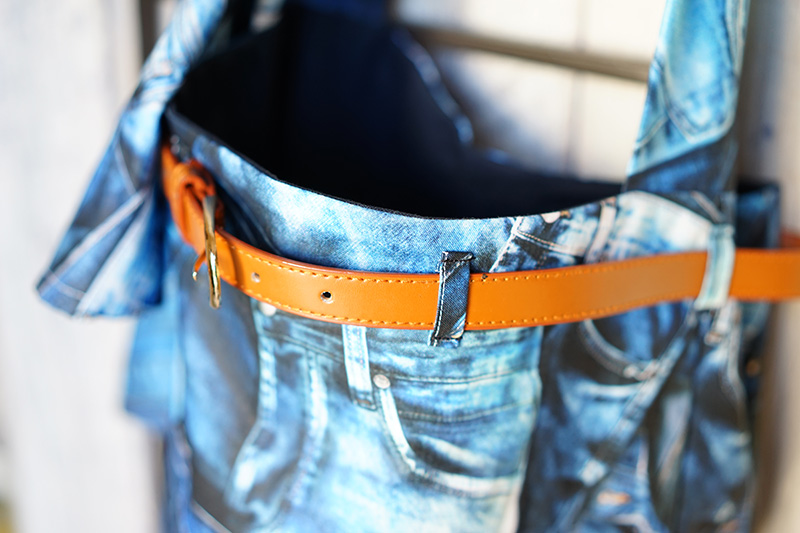
Put through the belt of your liking and tie the handle at desired length.

 Tote Bag with a Look of Recycled Denim
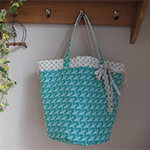 Round Bottom Bucket Bag
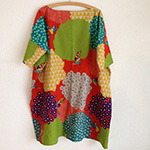 echino’s square style dress