
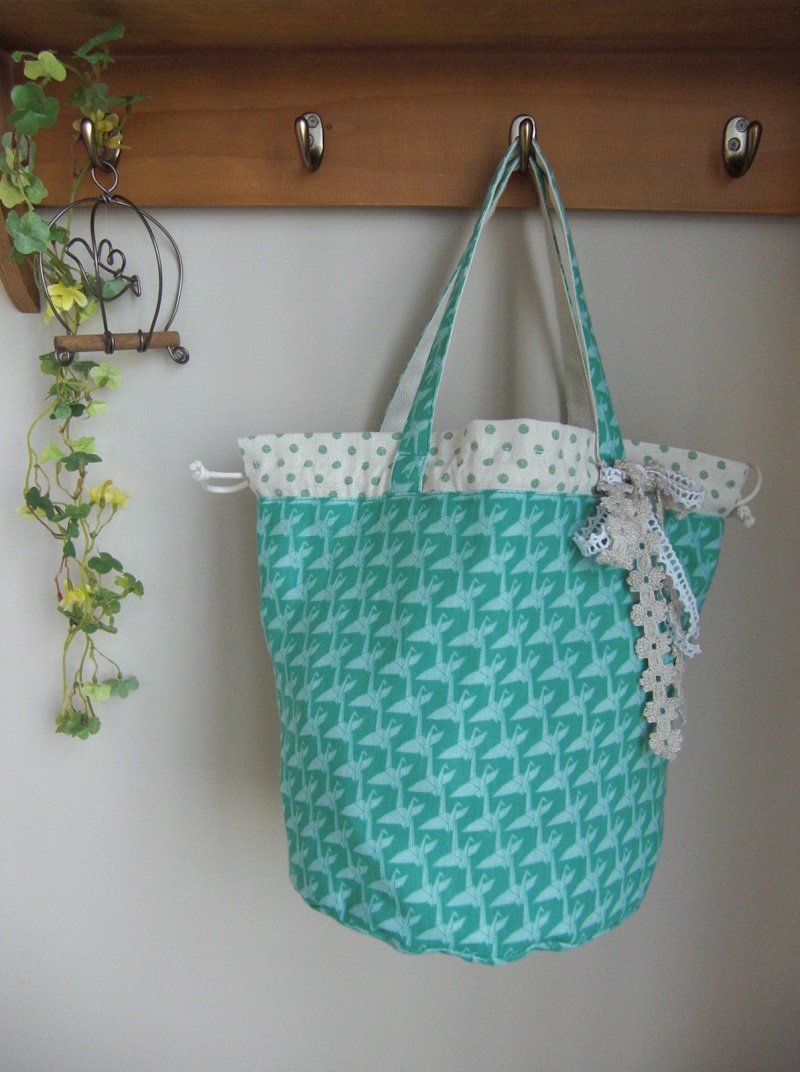
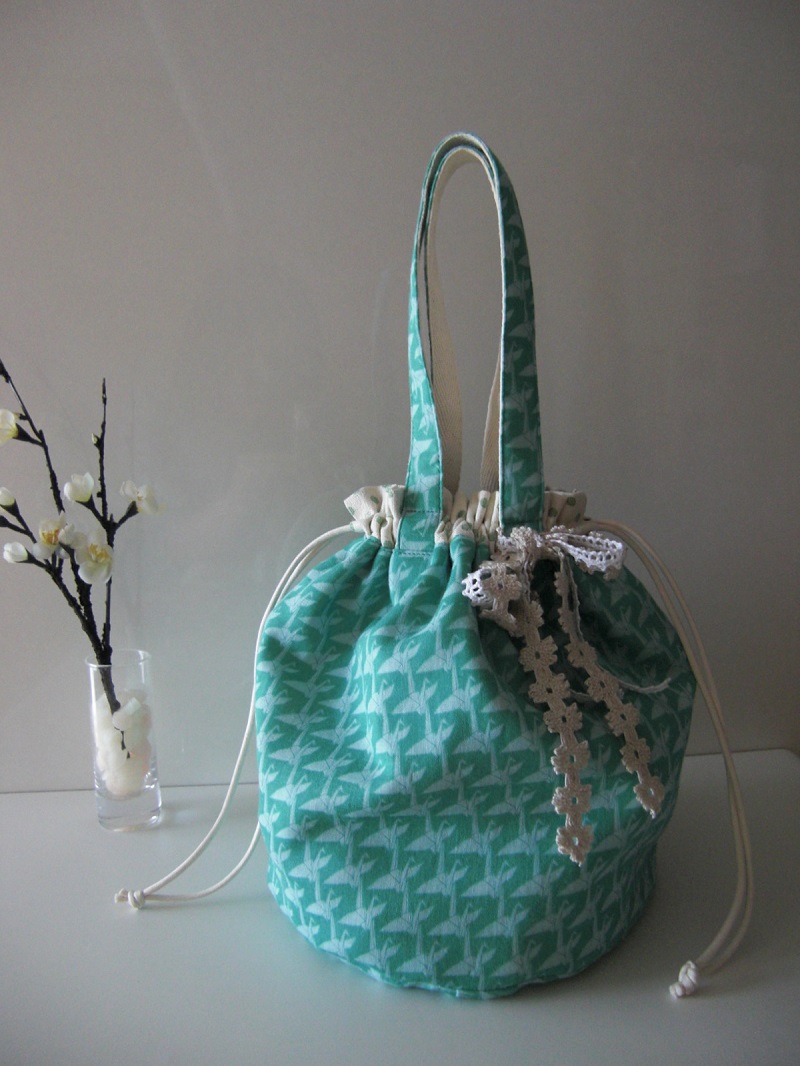
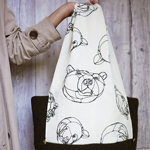
The bucket bag is made with Small Cranes, a folded-paper crane motif fabric from Ellen Baker’s latest collection, Monochrome. The bag’s round bottom creates a lovely plump shape when tied at the top. The contributor is Yuko Ohno, a famous blogger known as yu*yu from her “yu*yu’s Handmade Diary.”
Fabric shown for this sample: ellen baker monochrome JG42400-400(B)
Materials:
□ Fabric (Outer fabric, Handle): 70cm×50cm
(Lining fabric): 100cm×40cm
□ Interfacing: 10×50cm
(or Fusible tape: 90cm (2cm wide – finished measurement)
□ Twilled cotton tape: 90cm (2cm wide)
□ Waxed cord: 1.6m (0.4cm wide)
□ Lace: 55cm (1.9cm wide) and 50cm (1cm wide)
We interviewed Yuko about her creation:
Kokka Fabric (KF): What did you think of the fabric you used for this project?
Beautifully aligned, folded cranes looked impressive and I immediately came up with the idea of a bag for yukata (Japanese summer kimono). By using a dot motif fabric for the lining, it does not feel too Japanese and can also be used in an everyday setting.
KF: Can you tell us any special elements or ideas that you incorporated into this creation?
Double gauze is thin and easy to make a gathering. Taking advantage of these characteristics, I designed a drawstring bucket bag. A round bottom creates a lovely plump shape when tied at the top.
KF: What are some tips for making this bag?
While the bottom is round, it is not too difficult to sew as the diameter is large. When sewing the bottom, match four markings first, and then align another four (for a total of eight) and pin it. With this method, you can sew without misaligning it.
KF: How should we use this bag in everyday situations?
Though it is a bucket bag, it can certainly go well with yukata when the top is closed. It becomes a shopping bag with an open top. The size accommodates a wide wallet for everyday use.

KF: Thank you very much, Yuko! Here are sewing instructions along with step by step photos from her. Enjoy crafting!
Instructions
1.

Cut the fabrics.
Outer fabric (Panel x 2, Bottom x 1) Lining fabric (Panel x 2, Bottom x 1)
Handle x Outer fabric 2, 2cm Cotton tape x 2, Interfacing or 4cm wide Fusible tape 44cm
2.
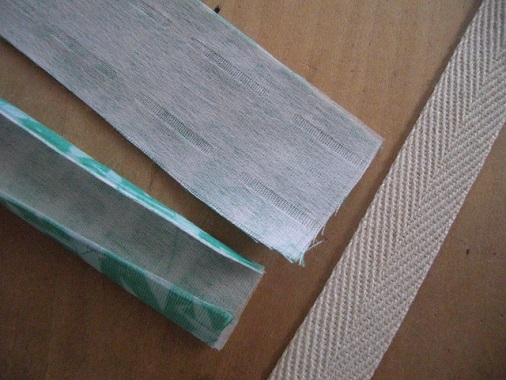
Adhere interfacing to the handles. Iron it to fold to the finished measurement. Place it on top of the cotton tape and run stitches from the front.
3.

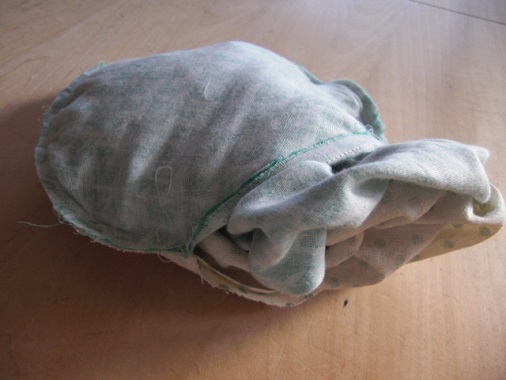
Sew together at the side of the outer panels and lining panels respectively, and press the seam open using an iron. For lining fabric, sew up to where the opening stops. Leave an opening for turning on one side. Where the opening ends, run a u-shaped stitch. Iron to shape the opening for both outer and lining fabrics. Fold the bottom fabrics in half and mark both ends. Then, fold again to match the markings, and mark the ends again. (This creates markings in four locations.)
*Marking is a 3mm slit.
4.
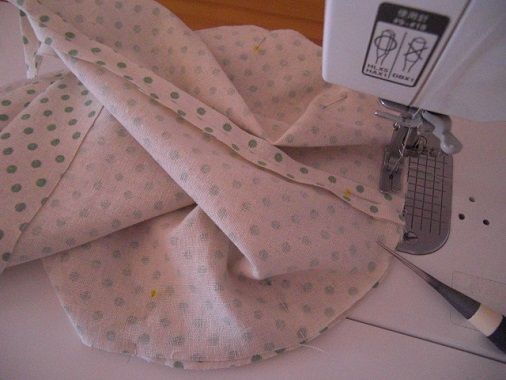
Place the bag fabrics over the bottom. Pin four locations at the markings. Pin another four locations in-between the markings. (Total of eight locations.)
Wit bag fabrics on top, slowly sew them together using a stiletto to guide the fabrics. This process applies to both outer bag and lining bag.
5.

Baste handles to outer bag fabric.
6.

With front sides facing each other, sew together the outer and lining bags at the top, going all the way around.
7.

Press down the seam to the bottom side and iron.
8.
Layer the seams of the outer bag fabric and lining bag fabric. Run a stitch in the middle of the seam (0.5cm from the edge.) Stitch about three quarters of the circle.
*By adding this process, the seams of the outer and lining fabrics are sewn together and become stable.
Pull out the bag fabric from an opening and turn it inside out. Close the opening using the ladder hem stitch.
9.
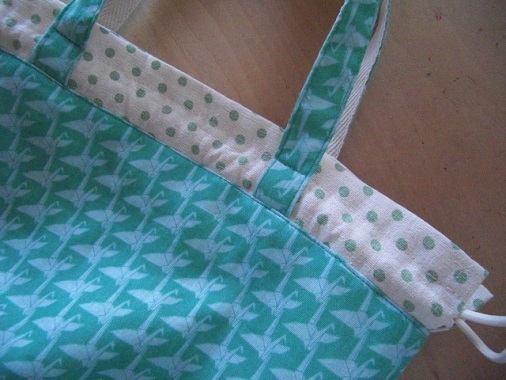
Run stitches in the following order:
① Top opening of the lining fabric (pull the handle downward when sewing)
② Edge of the outer fabric (press the seam downward when sewing)
③ Secure handles
Put the lace between the handle and lining fabric and tie. Put the tape through to finish.

 Single Soft Handle Bag with a Round Bottom – Sewing Instructions
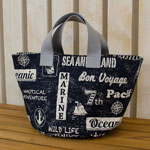 Round Bottom Bag
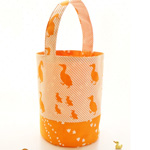 One Handle Round Bag