
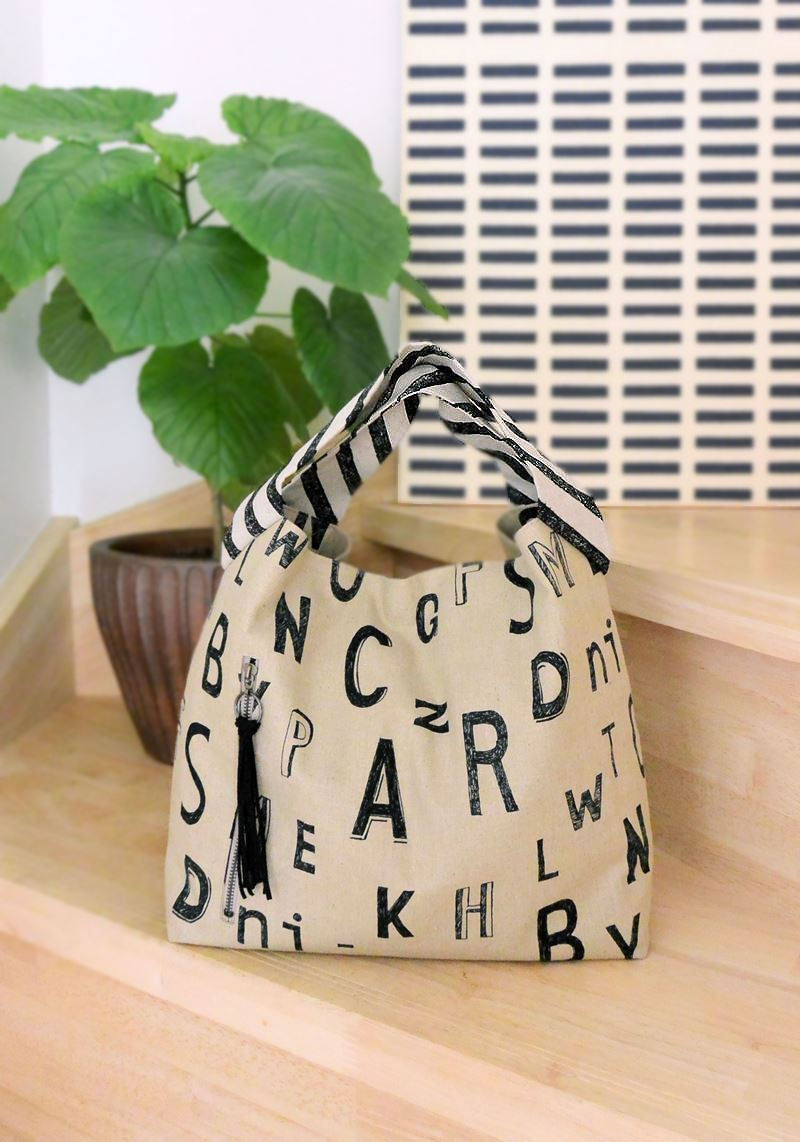
The featured project is a tote bag made with echino ni-co’s sign, a hand drawn alphabet and bias stripe pattern fabric that will let you enjoy two different designs. The front pocket with a zipper will make this bag even more convenient. To match the color tone of the fabric, a fringe tied on the slider comes in a chic color. Depending on the season or your mood, you may play with different colors or materials.
Fabric shown for this sample: echino ni-co JG90000-103 (A)
Materials:
□ Fabric (Main bag outer fabric, Handle): 110cm wide×80cm
(Main bag lining fabric): 40cm×60cm
□ Fusible interfacing: 80x40cm
□ Fusible tape: 20cm (1cm wide)
□ Zipper: One piece (15cm long)
□ Magnetic hook (sew on type): One pair (1.4cm diameter)
□ Faux suede tape: 1m (0.3cm wide)
We interviewed Anriko about her creation:
Kokka Fabric (KF): What did you think of the fabric you used for this project?
This is not the first combination fabric from echino, but this one has a large design right in the center. I thought of making something that will feature both designs.
KF: Can you tell us any special elements or ideas that you incorporated into this creation?
While maintaining the masculine feel of the ni-co series, the pattern is linear. Since the handle is flat, you can enjoy a different look while holding a bag or when a bag is placed.
KF: What are some tips for making this bag?
The invisible zipper pocket is convenient to learn. Except for this pocket, the instructions are quite simple. Also, I came up with an easy to follow steps that would help hide the roughness of the stitches. There aren’t many places where the fabrics are layered, so a household sewing machine can do the job. Just to be safe, I used a #11 needle, and it was just fine.
KF: How should we use this bag in everyday situations?
An easy-to-tie fringe is added to the zipper slider. Even a simple shaped bag will look stylish with such an accent. I highly recommend adding a bottom cardboard so that the square look of the bag will even stand out.
KF: Thank you very much, Anriko! Here are sewing instructions along with step by step photos from her. Enjoy crafting!
Instructions
1.

At 1cm wide, run stitches around the zipper location. Mark it well. The marking will be covered completely. To finish cleanly, press the seam with an iron before adding a slit and turning it over.
2.
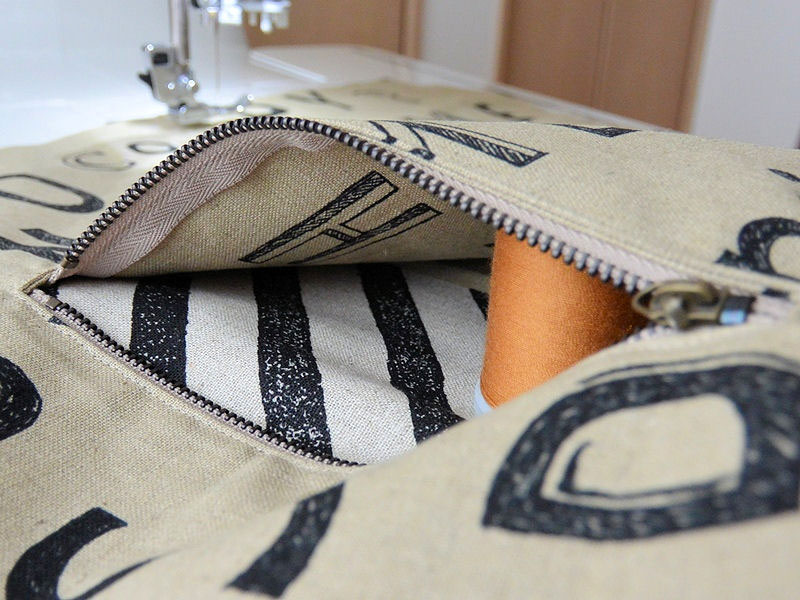
For the zipper side of the pocket, the same fabric (or pattern) as the outer fabric will blend in better even with a misalignment. For a pocket facing, bias design should be used since it will be visible when the pocket is opened.
3.
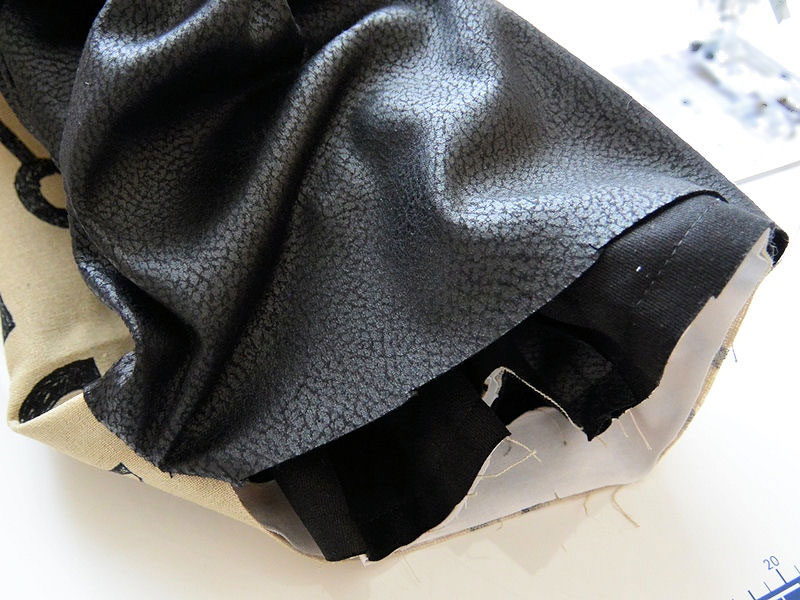
Outer and lining bags are sewn together. Sew by machine as much as possible for a faster process. It may look messy as shown, but it should look like this.
4.
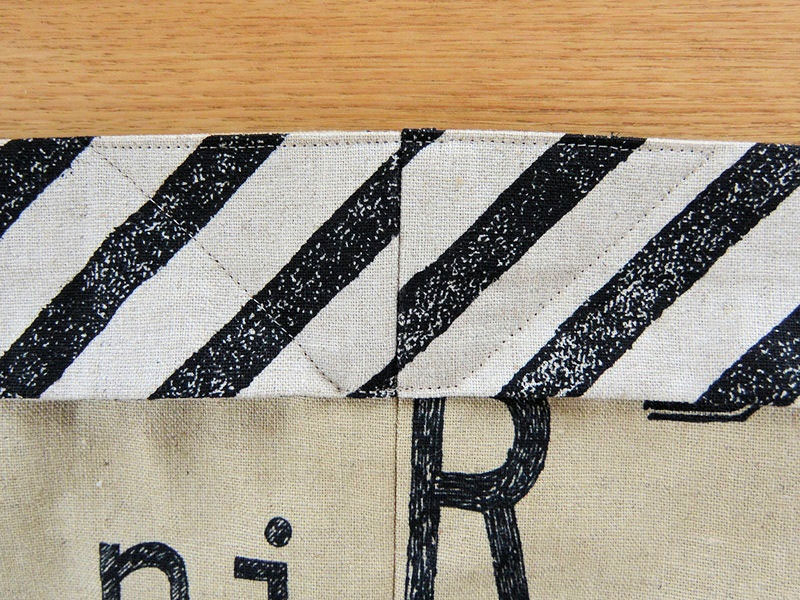
The handle is attached to the bag. As shown, sew in a diagonal so that it will fold to the topside when the bag gets heavy.
5.

It may not look finished, but this is the finished bag.

 Tote Bag with a Look of Recycled Denim
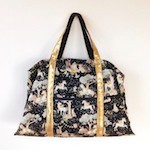 Boston Bag
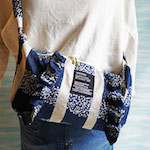 Perfect for Everyday Use – Sewing Instructions for Shoulder Bag Frills