
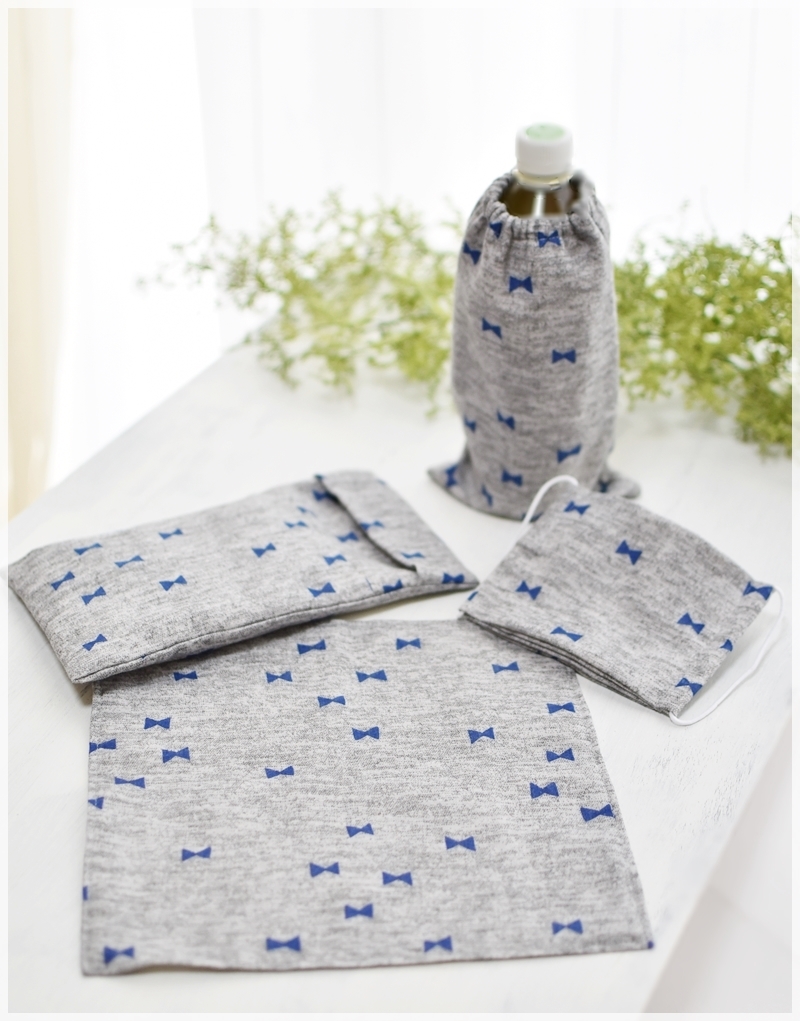
PET bottle cover 22.8cm (l) 12.3cm (w), Handkerchief about 24.5cm square
The project features a set of helpful items that are always handy. These include the following four pieces – a PET bottle cover that is perfect for a frozen bottle; a convenient handkerchief; an easy-to-make face mask that only requires folding and two stitch lines; and a cover for an ice pack that is hard to come by, yet definitely useful to have. All items come in a double gauze fabric from the Blue-Blue series with a simple ribbon design. Why not make a set for everyday of the week in different motifs and colors? Or, make different sets for your family, blue for your son and pink for your daughter.
Fabric shown for this sample:YK51150-1C
Materials:
□ Fabric: 108cm wide x 50cm
□ Round elastic cord for the mask: 0.3cm diameter x 50cm
□ Elastic tape: 0.5cm wide x 25cm

*All Rights Reserved. Please refrain from the unauthorized use of project photos.
We interviewed Satomi about her creation:
Kokka Fabric (KF): What did you think of the fabric you used for this project?
The calm tone of gray with a combination of scattered ribbons is perfect for making items that appeal to both young and old.
KF: Can you tell us any special elements or ideas that you incorporated into this creation?
These select items are easy to make, great for everyday use, and fully utilize the 50cm fabric.
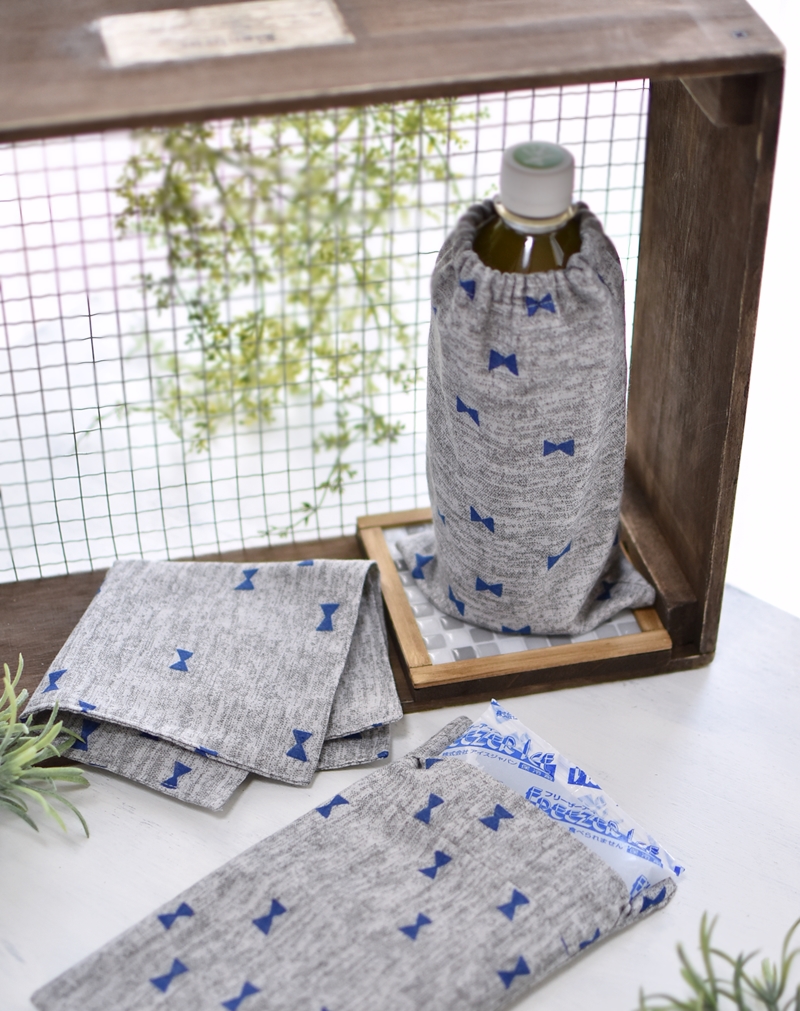
The ice pack cover becomes handy for going out with your baby or when kids sprain their fingers. Use the remnants to make a variety of sizes as they are convenient.
KF: What are some tips for making these items?
When making small items with a double gauze, use clips rather than pins, as the fabric tends to stay together better. When folding the fabric, use an iron for a clean finish.
KF: How should we use these items in everyday situations?
The double gauze cover helps absorb moisture and prevents items from getting wet as the frozen PET bottle starts to defrost. Put the gauze cover on and place it in a plastic bag, then keep it in the ice pack cover. This way the bottle is kept cold and prevents things from getting wet.
KF: Thank you very much, Satomi! Here are sewing instructions along with step by step photos from her. Enjoy crafting!
Instructions
Cut the fabric.
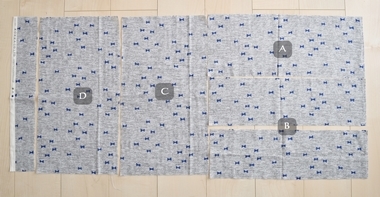
布を裁ちます。
A. Easy mask
1.
Fold the top and bottom long ends toward the center. Fold the right and left side, and keep the left side 2cm longer than the right side. Score the fabric using an iron.
※ Use the iron as you fold for a clean finish.
2.

Open the fabric once. Fold it again toward the center line, leaving 1cm open on each side from the center.
3.
Fold it again along the fold line. The left side is 1cm longer. Apply stitches on both sides at 1.2cm from the edge.
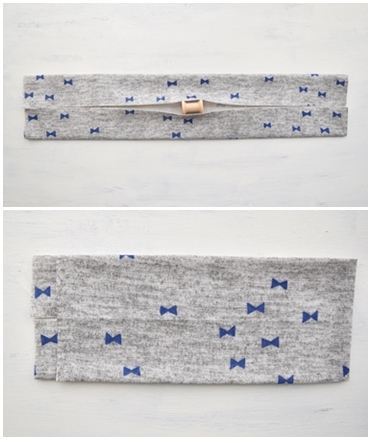
4.

Put the elastic through. Tie the ends and hide them inside. (the picture shows the front)
B. Ice Pack Cover
1.
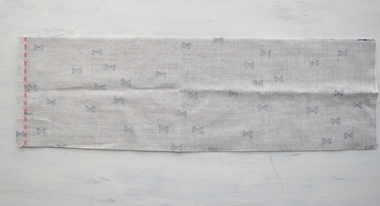
With the front sides facing each other, sew together only one side at 1cm from the edge. Press the seam open using an iron.
2.
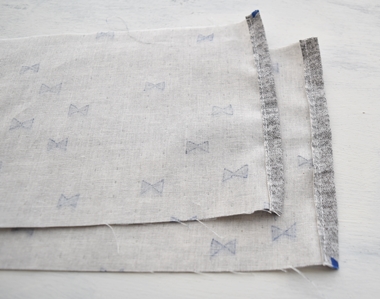
Fold both ends for 1cm and sew.
3.

Fold it in sequence and align the shape using an iron.
4.

Layer the opening for the ice pack for about 1.5cm and fold.
5.
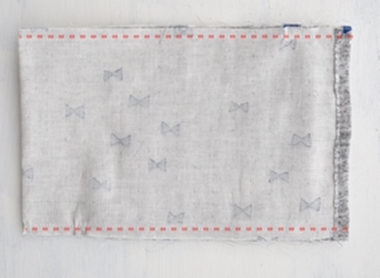
Sew both top and bottom ends at 0.7cm from the edge.
6.
Turn it over.
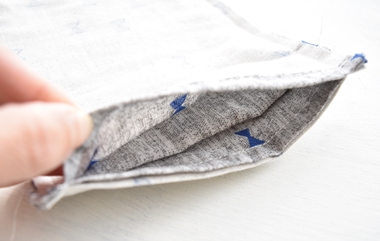
7.
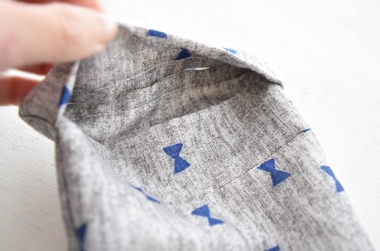
The edge of the fabric is concealed on the back side of the cover’s opening.
C. PET Bottle Cover
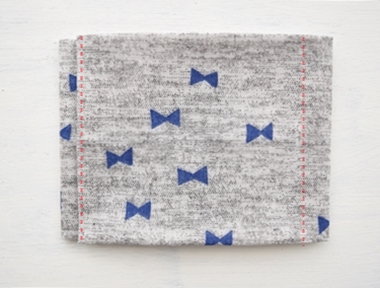
1.
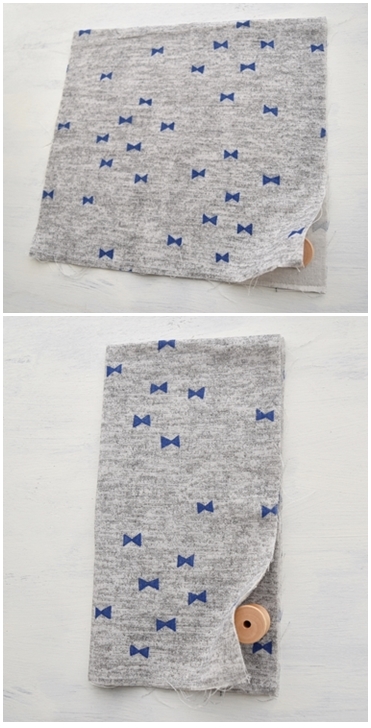
Fold in half. Put the fold line at the top and fold it in half again.
2.

Sew the ends at 0.7cm from the edge. Trim off the seam so that it is 0.5cm from the edge.
3.
After trimming off the seam, apply zigzag stitches for a clean finish.
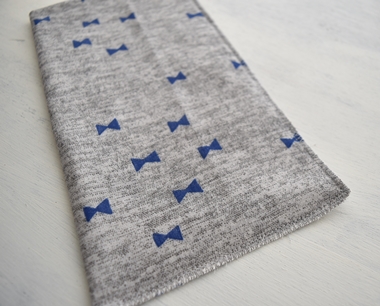
4.
Turn it over and fold the top opening for 1.5cm. Apply stitches all the way around at 1.2cm from the top. Makes sure to leave the opening for elastic for 1cm.
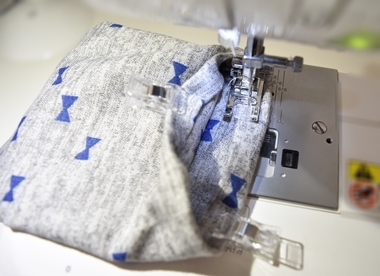
5.
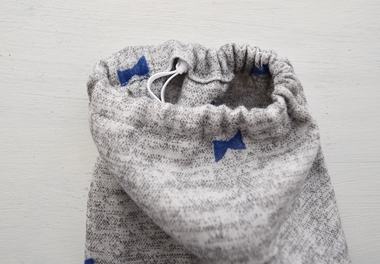
Put through the elastic to finish!
D. Gauze Handkerchief
1.

With 0.7cm seam, sew all the way around, leaving an opening for turning for 6cm.
2.
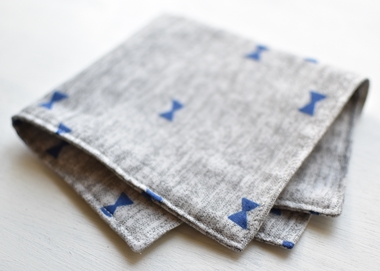
Turn it inside out and run stitches all the way around at about 3mm from the edge.

 Three-piece Set Containing a Pleated Face Mask, Mask Case and Tissue Case – Made with Only 50cm of Fabric – Sewing Instructions
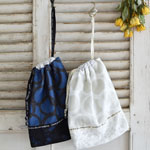 Fluffy Drawstring Bag in Double Gauze Fabric
 Cami dress in double gauze fabric