
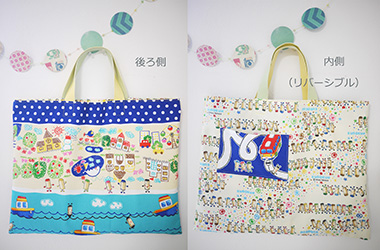
Today’s project uses a fabric with vehicle motifs. This fabric was created based on a blockbuster bestselling children’s book, Kurokun The Crayon. A handcraft artist, Yui Tamaki, created this lovely bag.
Utilizing various designs from a single fabric, different motifs are incorporated into various parts of the bag including the front, back, inside and pocket.
Fabric shown for this sample: Kurokun The Crayon JG47000-1
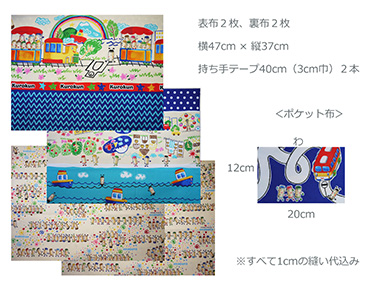
Materials:
□ Fabric (Outer Panel A, Pocket): 110cm×100cm
(Outer Panel B): 100cm×40cm
□ Tape: 80cm (3cm wide)

![]()
We interviewed Yui about her creation:
Kokka Fabric (KF): What did you think of the fabric you used for this project?
It has such a fun design, reminding you of a picture story book. I am sure the kids who are starting new schools will be happy to carry this bag around.
KF: Can you tell us any special elements or ideas that you incorporated into this creation?
In order to enjoy as much design as possible, different motifs are chosen for the front, back, inside and pocket. The end of the handles are hidden, placed in-between the front and lining fabrics so that the entire design is exposed.
KF: What are some tips for making this bag?
Making this bag is easy as it only requires straight stitches. It can be used as a reversible bag as long as the opening is cleanly finished with blind stitches. To make it durable, securely top stitch the end of the handles in between the panel fabrics.
KF: How should we use this bag in everyday situations?
Some schools designate the size of the bag to be 30cm x 40cm. Sometimes this is not large enough to carry a school supply box. So I made it slightly bigger at 35cm x 45cm. It can hold many things and I am sure you will find this size convenient.
KF: Thank you very much, Yui! Here are sewing instructions along with step by step photos from her. Enjoy crafting!
How to make Kurokun’s Lesson Bag
1.
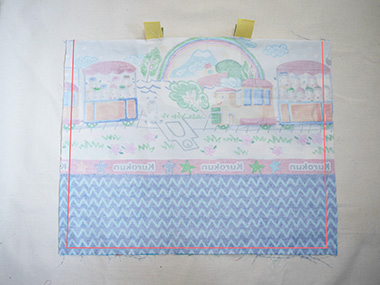
Cut the fabrics.
2.

Fold the pocket fabric in half. Leaving an opening for turning, sew around the edge.
3.
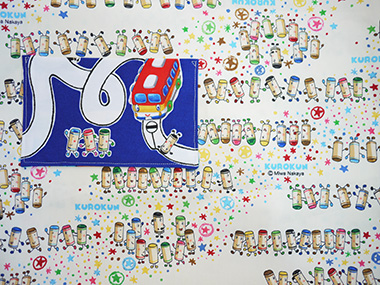
Turn the pocket inside out. Iron to align the shape and sew it onto the lining fabric.
4.

Prepare the lining bag. With front sides facing each other, sew together the lining fabrics, leaving the top opening and opening for turning.
5.
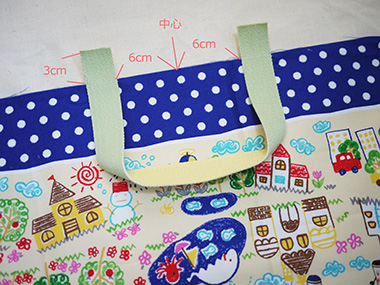
Baste the handles. The end pieces should stick out from the top of the fabric for 3cm. Measure 6cm on each side from the center of the fabric and baste the handles.
6.
Prepare the outer bag. With front sides facing each other, piece together the outer panel fabrics, leaving the top opening.
7.
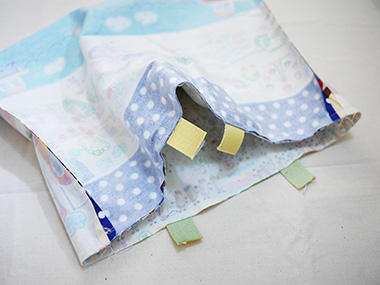
With front sides facing each other, piece together the outer and lining bags. Turn it inside out using the opening for turning on the lining bag. Close the opening using the ladder hem stitch. Align the shape.
8.
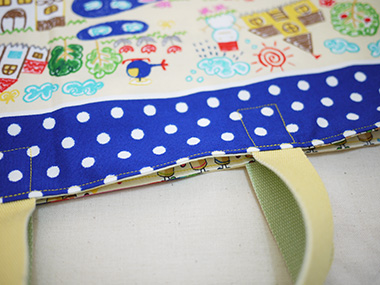
As shown, reinforce the handles using top stitches. Sew around the top of the bag to finish.

 Lesson bag in kitten design fabric
 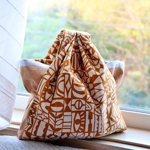 Tucked Handle Bag Sewing Instructions
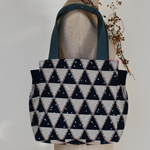 Square Bag with Gusset – Sewing Instructions