
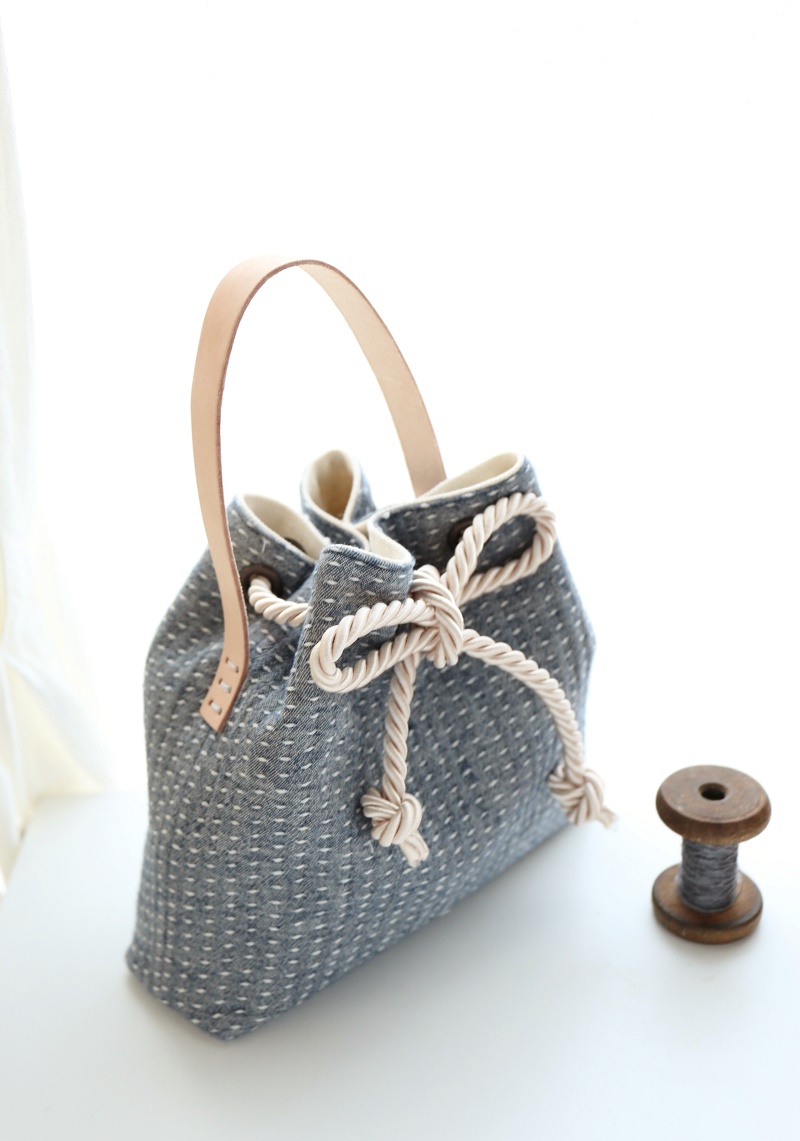
This drawstring bag comes in a double gauze yarn dyed fabric in the Sashiko needlework style. The grommet, rope and leather tape handle add a sharp accent to this muted Sashiko design. It goes well not only with a Japanese kimono wardrobe but also with casual denim pants or a natural style dress.
Fabric shown for this sample: (Outer fabric) LG-21080-1D
Materials:
□ Fabric (Outer fabric): 30cm×50cm
(Lining fabric): 30cm×50cm
□ Leather tape: 38cm (2cm wide, 0.2cm thick)
□ Rope: 1m (0.9cm diameter)
□ Grommet: 8 pairs (1cm inner diameter)

*All Rights Reserved. Please refrain from the unauthorized use of project photos.
We interviewed Mioko about her creation:
Kokka Fabric (KF): What did you think of the fabric you used for this project?
Because of its Sashiko style design, this fabric has a Japanese feel with a natural and stylish impression. Taking advantage of the chic color tone, I created a small size bag that can be coordinated with both Japanese and Western styling.
KF: Can you tell us any special elements or ideas that you incorporated into this creation?
This double gauze fabric is soft, yet its thickness gives a solid texture. The addition of a canvas fabric creates a drawstring bag that has both softness and sturdiness. With a leather handle, grommet and rope, it works well with a western style outfit.
KF: What are some tips for making this bag?
Since it is soft and fluffy with thickness, you should apply stitches slowly and carefully to help keep the fabrics neat and aligned. The leather handle is attached by hand and the stitch lines become visible both inside and outside, so please pay attention where you insert the needles.
KF: How should we incorporate this bag into one’s styling?
This design allows you to coordinate it with a Japanese kimono, casual denim style or soft look dresses. Why not make a handkerchief or pouch in the matching fabric to carry them inside? It will look lovely!
KF:hank you very much, Mioko! Here are sewing instructions along with step by step photos from her. Enjoy crafting!
Instructions
1.

Prepare the materials.
2.

With the front sides facing each other, fold the outer bag fabric in half and sew both sides.
3.
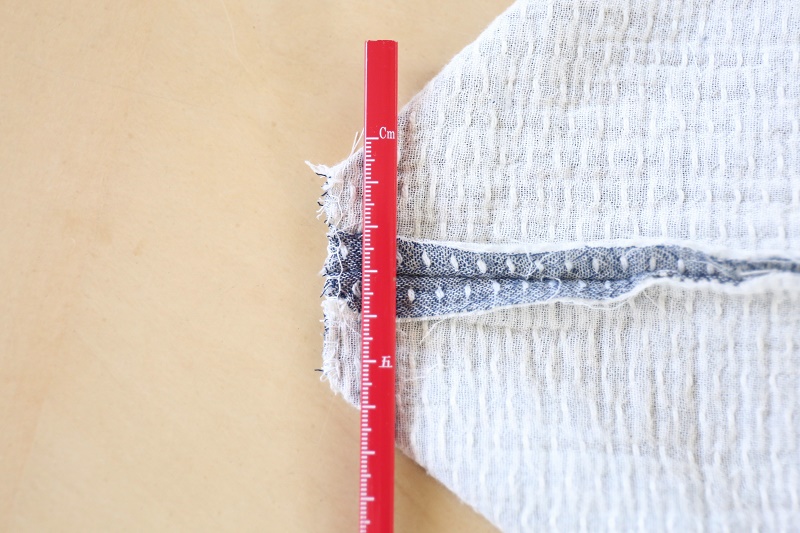
Make a 6cm gusset. Cut off excess fabric and finish with zigzag stitches.
4.
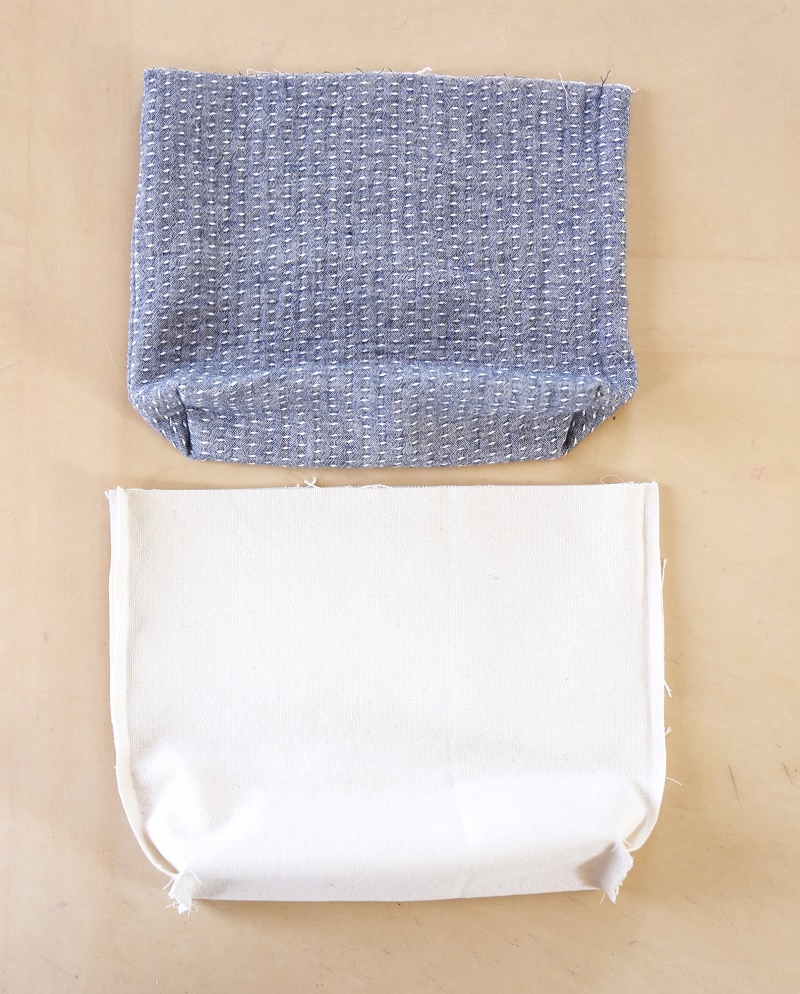
Make the lining bag as well, following steps 1 and 2.
5.
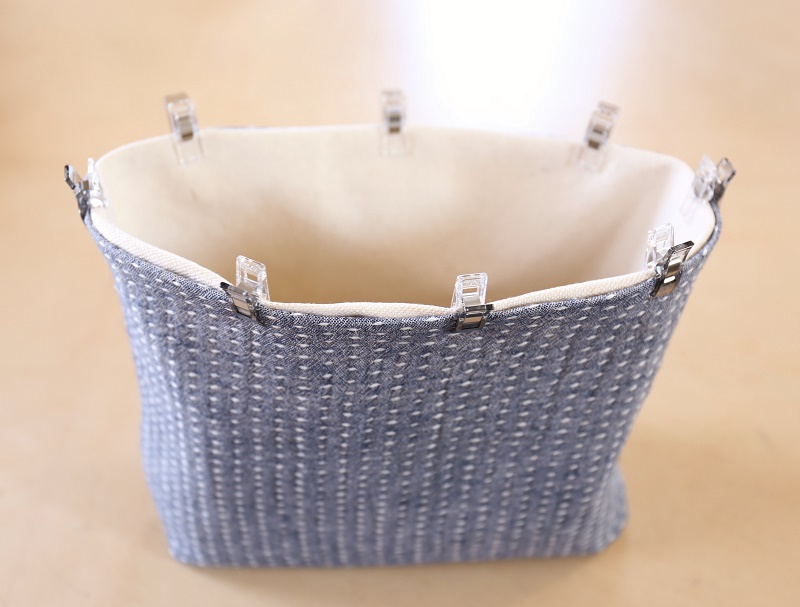
Fold the top opening of both outer and lining bags by 1cm respectively.
6.

Turn only the outer bag inside out. With the front sides facing outside, put the lining bag inside the outer bag. Sew together at the top opening.
7.
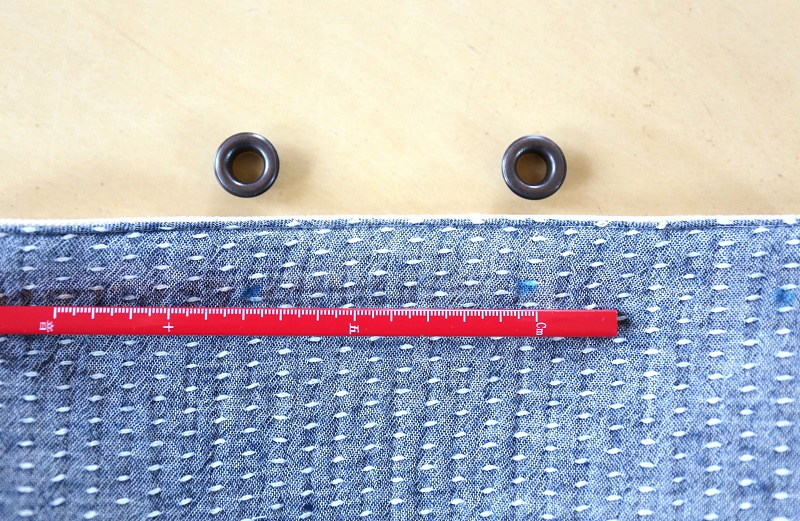
Mark where the grommets are attached at 7cm interval.
8.
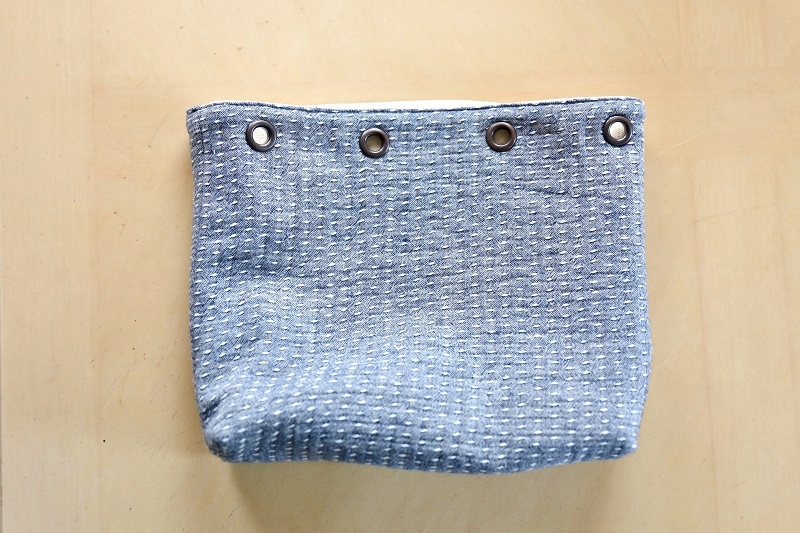
Make a hole and attach grommets.
9.
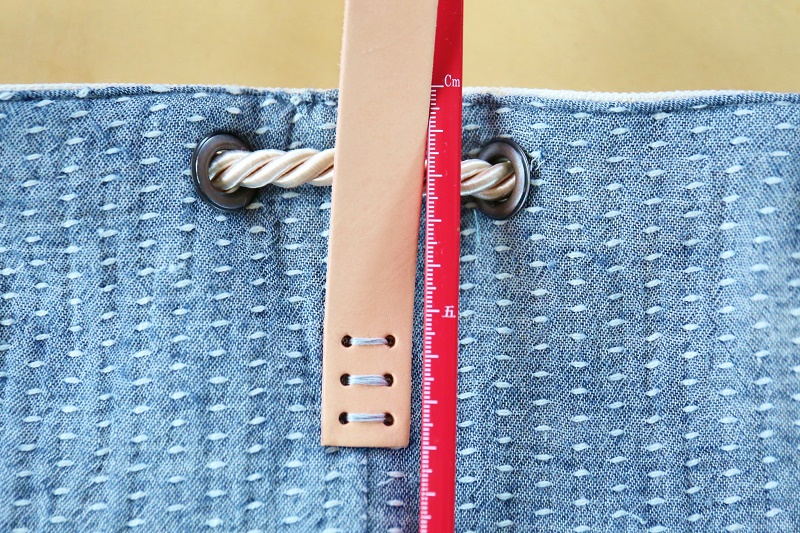
Attach the handle. (Put through the needle all the way to inside.)
10.
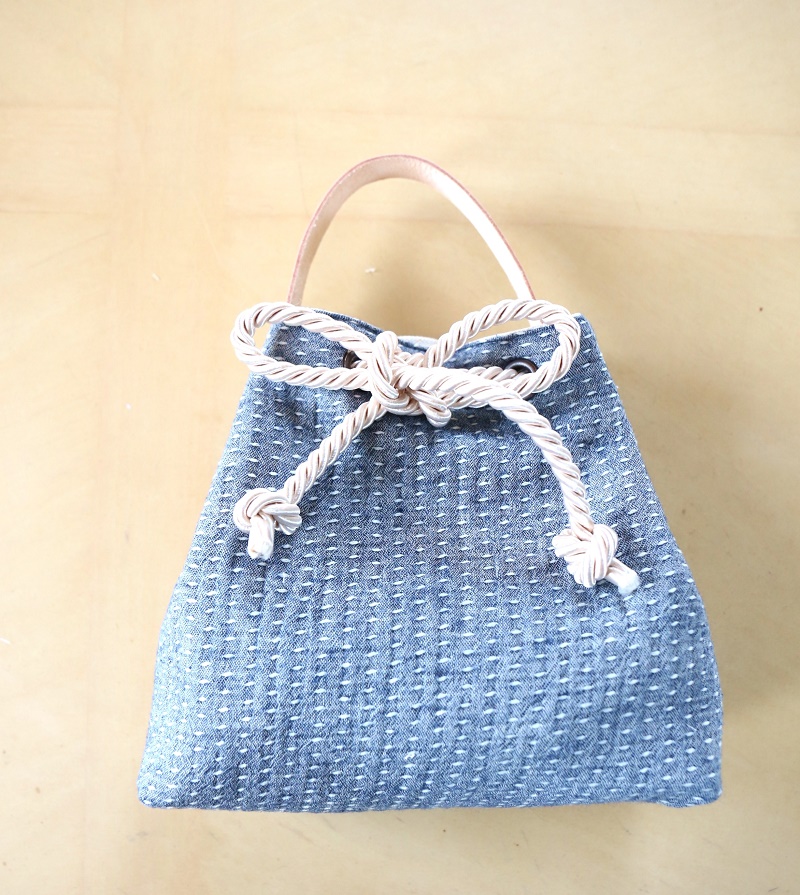
Put through the rope. Tie the end once to finish.

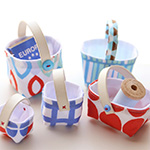 Miniature Basket-Style Bag
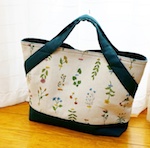 Curve Handle Bag
 Tube Stopper Bag